Offrez à vos amis 10 € de réduction sur leur première commande !
Parrainez un AMI








Un projet de notre émission en direct HSN Item 811137 - Live Your Story, My Sunshine · 26/09/2022 · à voir dès 1:00
Create a beautiful landscape card using a two-part lamination stamp technique that produces a realistic watercolour finish. The design features layered colours that blend together to look like hand-painted artwork, with an outline stamp adding detail and definition.
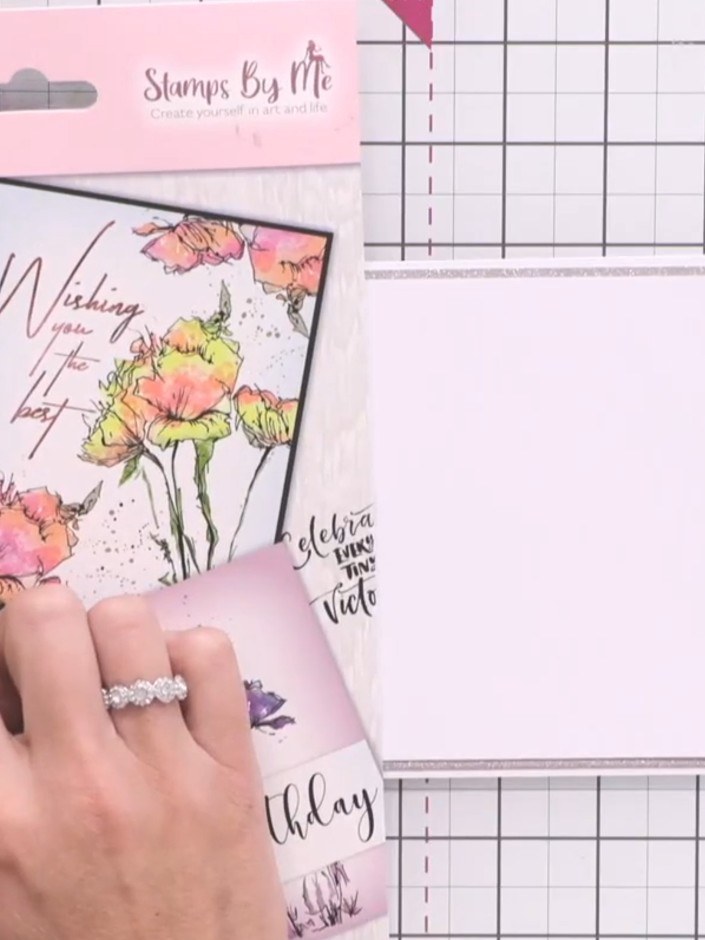
Examine your stamp set and identify the two parts: the solid stamp element used for adding colour and the outline stamp element used for adding detail and definition.
▶ voir cette étape (1:15)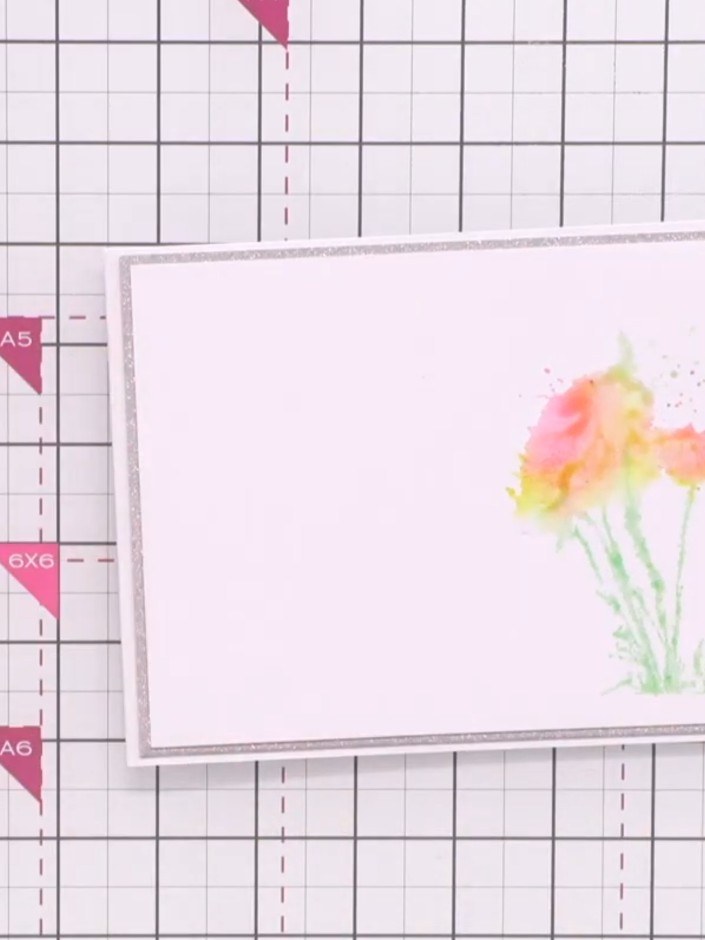
Apply green ink to the base of the floral stamp to create the landscape stems and foliage at the bottom of the design.
▶ voir cette étape (2:00)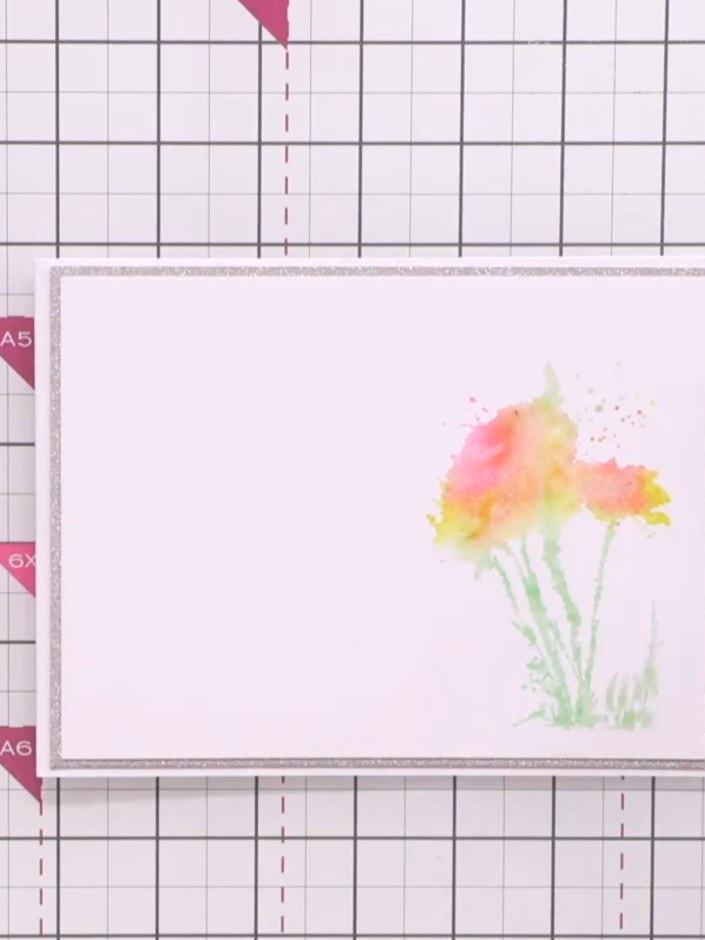
Spray water onto the stamped image to help blend the colours together naturally and create a soft watercolour effect.
▶ voir cette étape (2:15)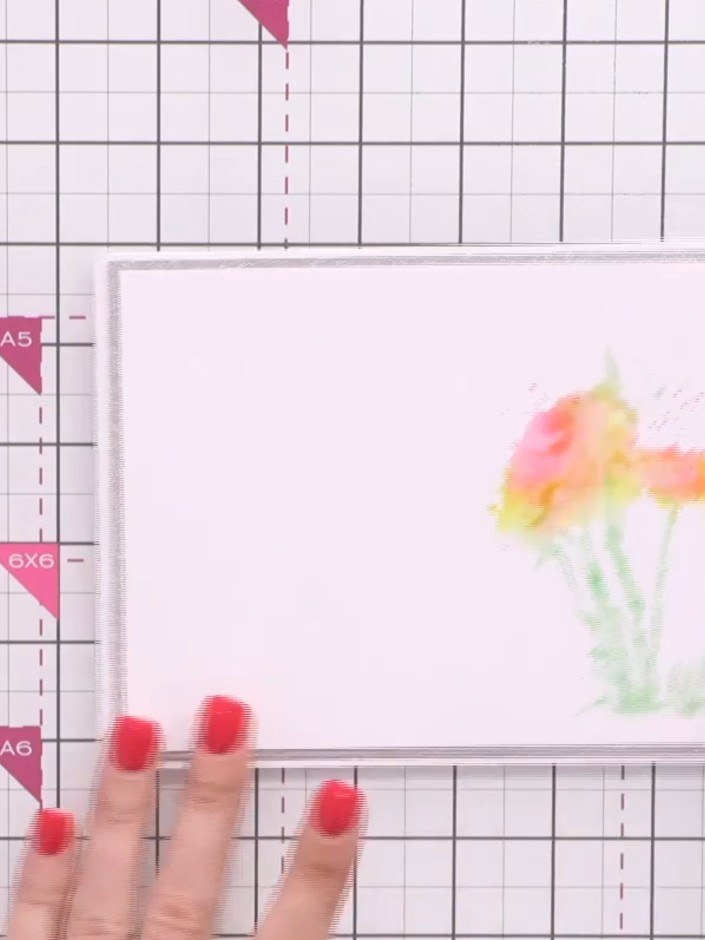
Press the wet, coloured stamp firmly onto your white cardstock to transfer the watercolour blended flower design. Ensure even pressure for a clear impression.
▶ voir cette étape (2:30)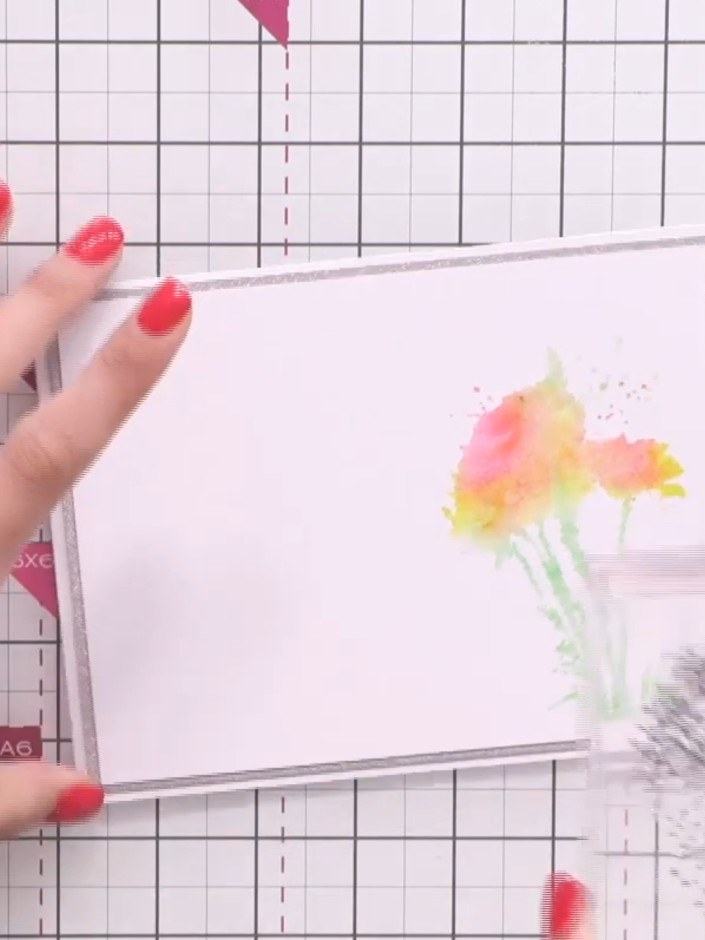
Stamp the outline floral image from the collection over your watercoloured design using black ink to add detail and definition to the flowers.
▶ voir cette étape (2:45)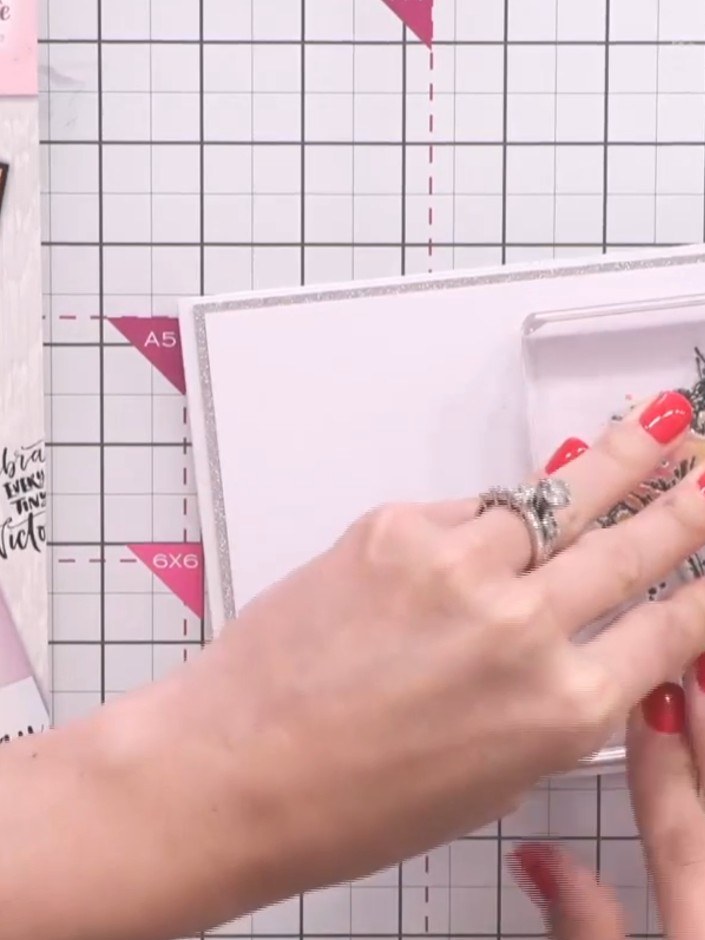
Select a sentiment stamp from the set and position it within or near your watercolour artwork. Place the stamp where it complements your design and press firmly to ensure a clear impression.
▶ voir cette étape (3:15)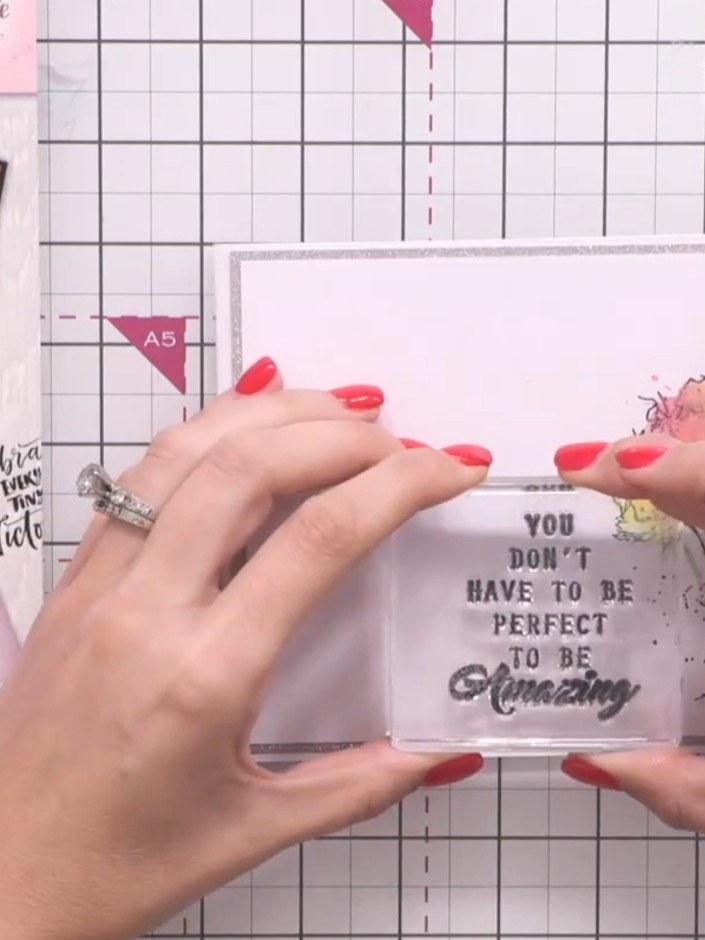
Stamp your chosen sentiment from the set onto the card front using black ink. Position the sentiment centrally on the card to complete your design.
▶ voir cette étape (3:45)Rédigé à partir de l'émission elle-même. Découvrez tous les guides de nos émissions · tutoriels gratuits · regarder en direct sur My Telly