Offrez à vos amis 10 € de réduction sur leur première commande !
Parrainez un AMI








Un projet de notre émission en direct MON PODCAST - Découvrez mes dernières nouveautés, épisode diffusé le 12 janvier 2026 · 12/01/2026 · à voir dès 31:00
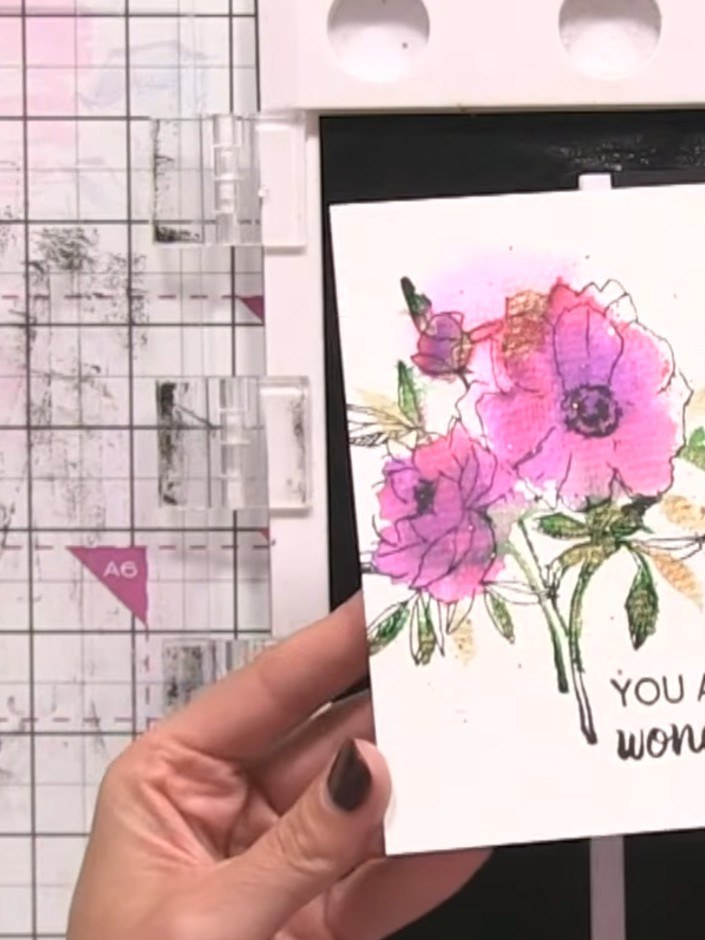
Réalisez une superbe carte de vœux effet aquarelle, ornée de fleurs roses et violettes rehaussées de touches dorées métallisées. Grâce à un système de tampons de lamination en deux parties, vous allez superposer des couches réalistes façon peinture avec des encreurs et un peu d’eau vaporisée, puis ajouter un tampon de contour noir et le texte « You are so wonderful ». Cette technique élégante associe tamponnage et effets aquarelle pour obtenir un rendu peint à la main, sans avoir besoin de savoir peindre !
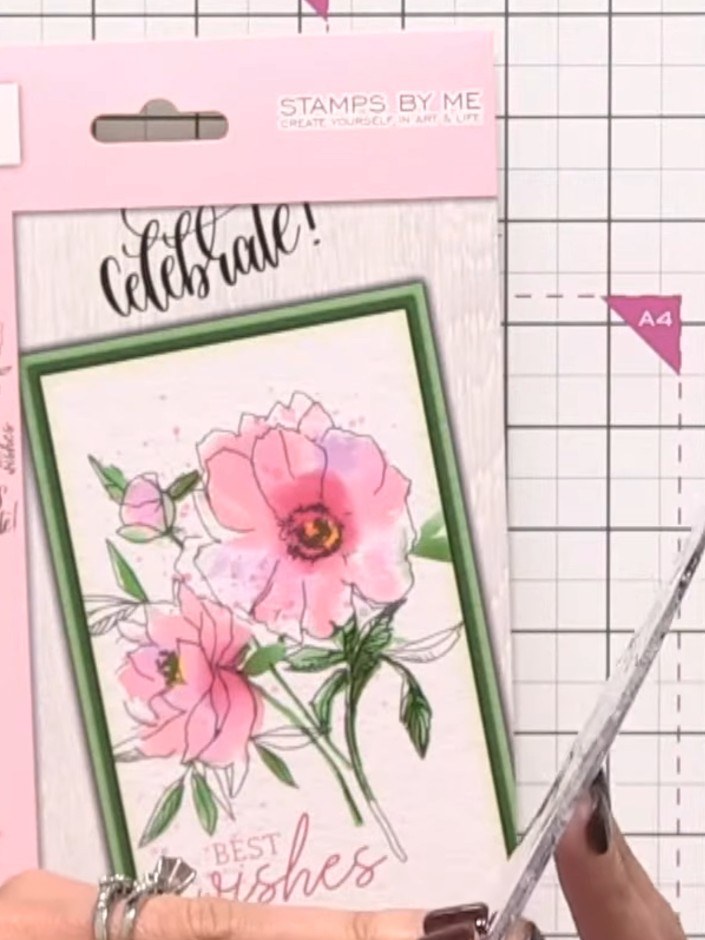
Position the solid (coloured) part of the lamination stamp on watercolour card stock, placing it slightly off to the side to leave room for a sentiment.
▶ voir cette étape (32:00)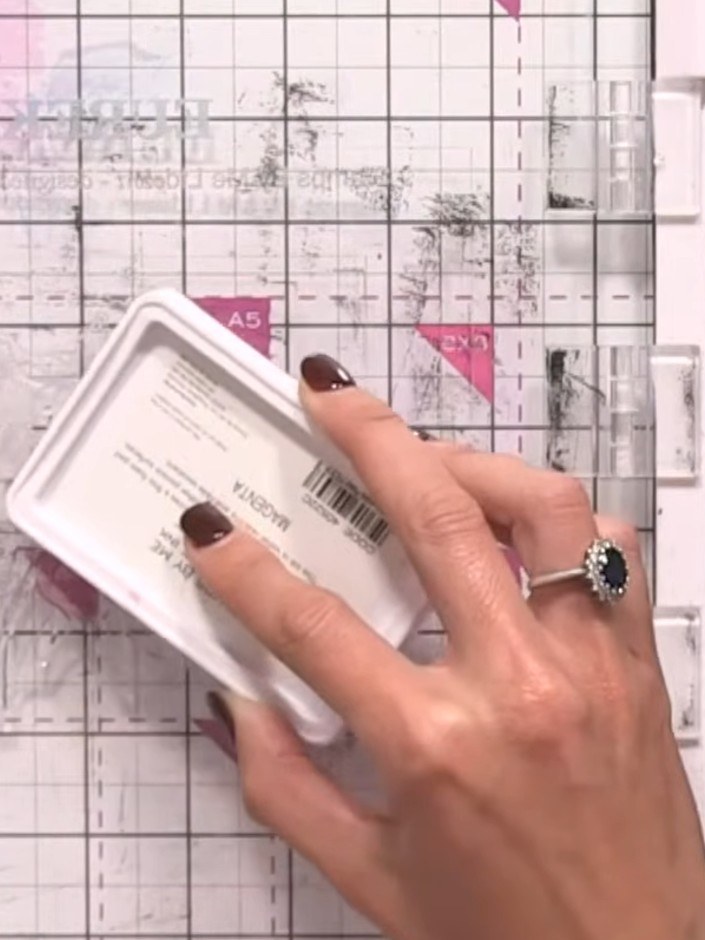
Tap the corner of the pink ink pad directly onto the flower head areas of the stamp to apply colour to those sections only.
▶ voir cette étape (33:45)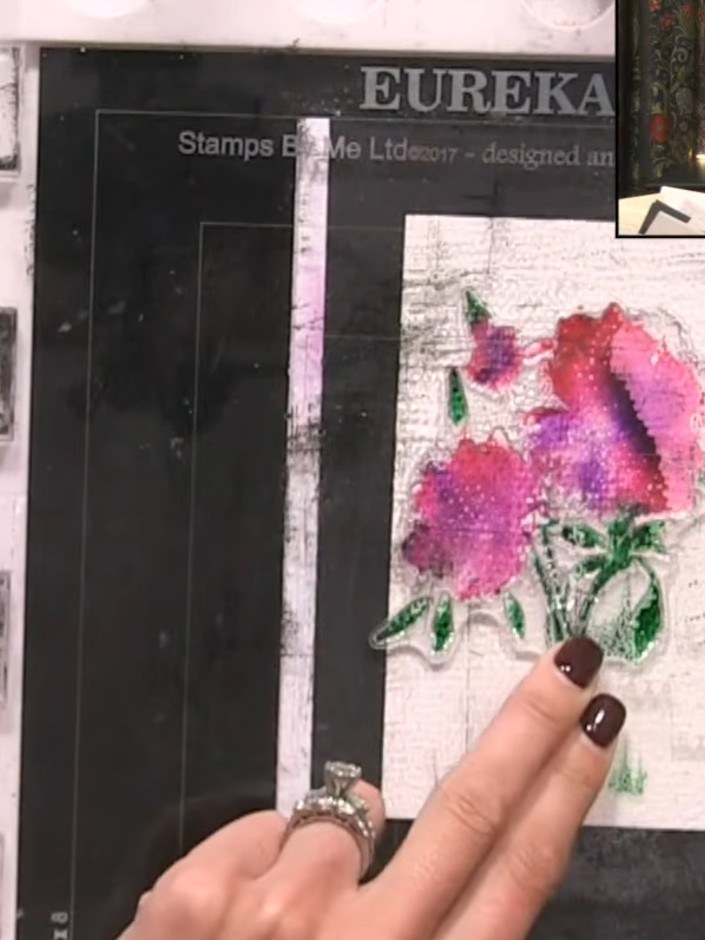
Add purple ink to the middle of the flowers using a blending tool or sponge to create colour blending and depth between the pink and red areas.
▶ voir cette étape (34:00)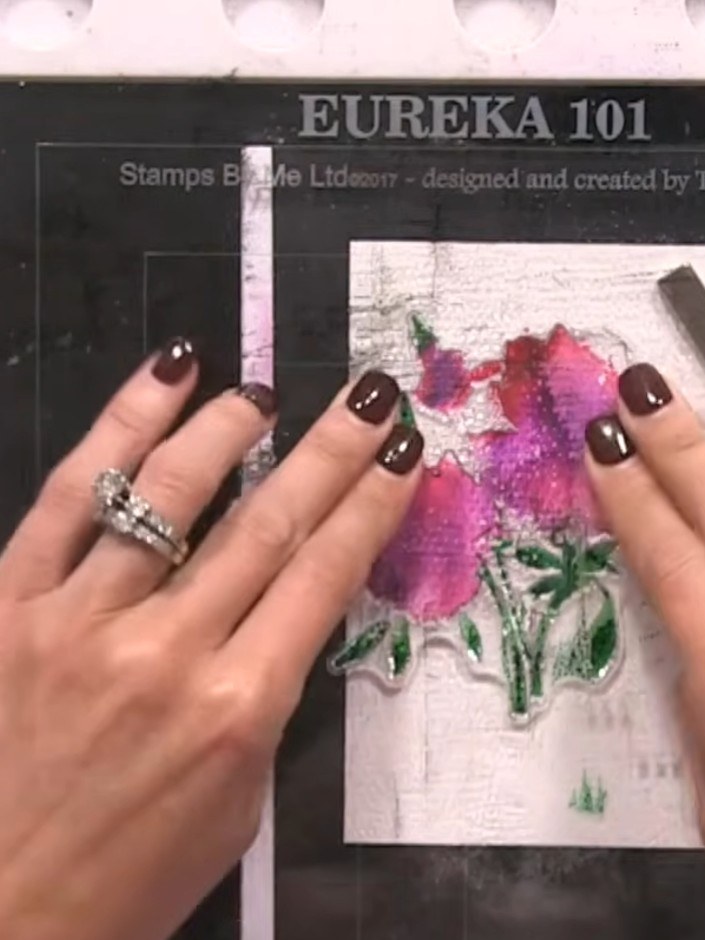
Using a green ink pad, apply colour to all the leaf areas of the stamped floral design.
▶ voir cette étape (34:15)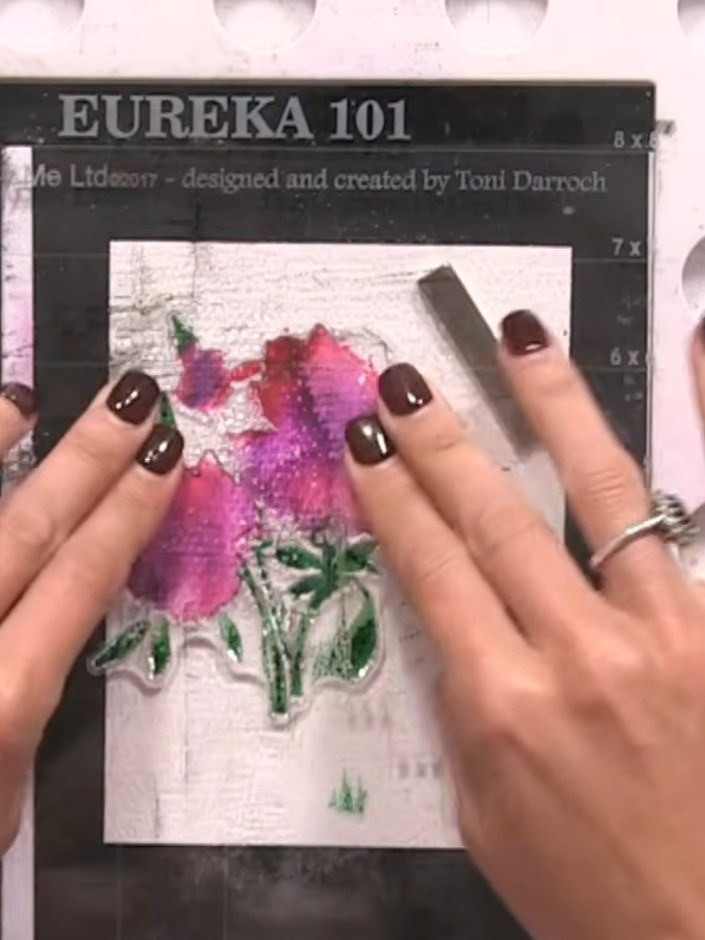
Spray the inked stamp two or three times with water from a spray bottle to allow the pink and purple colours to blend and bleed naturally on the white card.
▶ regarder cette étape (35:00)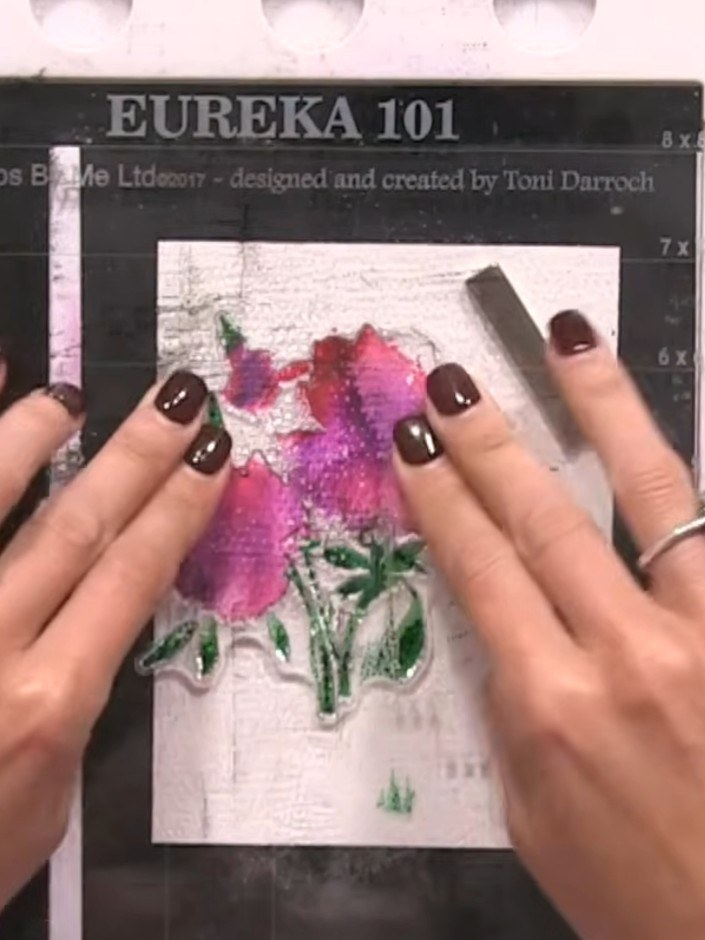
Whilst the card is still wet, use a brush to apply metallic gold watercolour paint to the centre of the flowers, adding shimmer and dimension to your design.
▶ voir cette étape (35:30)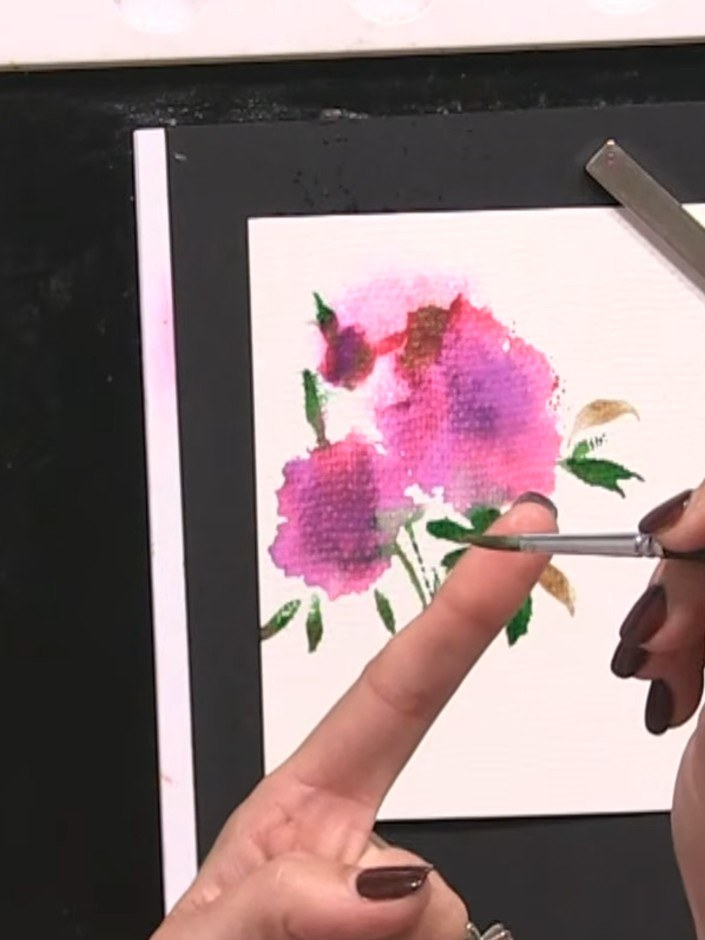
Optional: paint additional gold leaves freehand using a fine brush and the toe-belly-toe technique (tip of brush, belly, back to tip) to enhance the floral design.
▶ voir cette étape (37:00)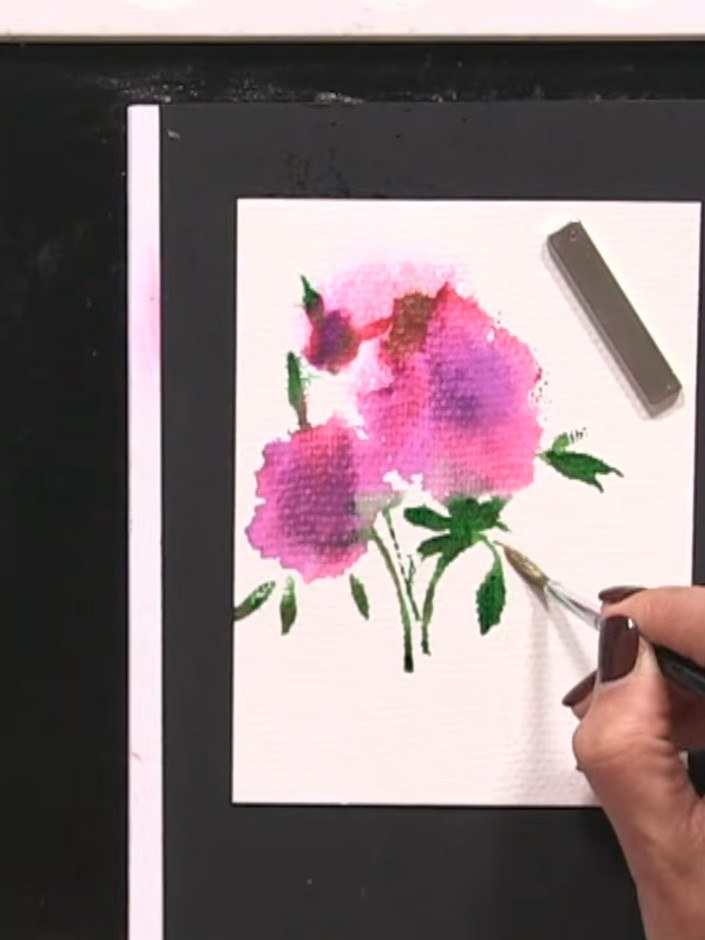
Once the watercolour base is completely dry, take the outline detail part of the lamination stamp and carefully line it up over the coloured flowers, positioning it to match the shapes beneath.
▶ regarder cette étape (38:00)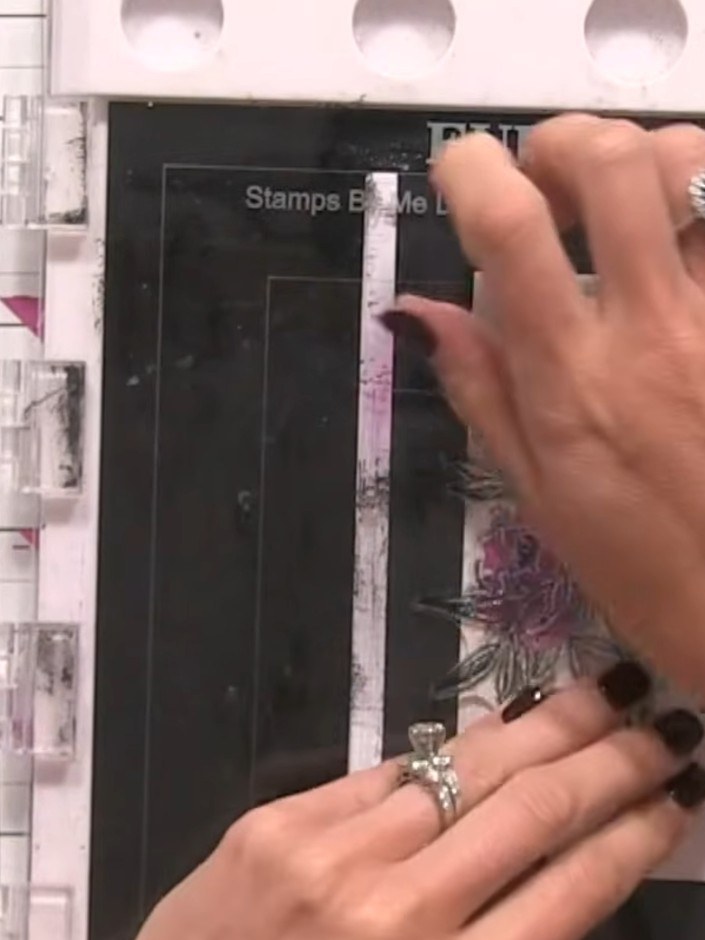
Stamp the outline portion of the floral design using a black ink pad over the laminated image. Don't worry about perfect alignment - the freehand effect adds to the artistic watercolour look.
▶ voir cette étape (41:15)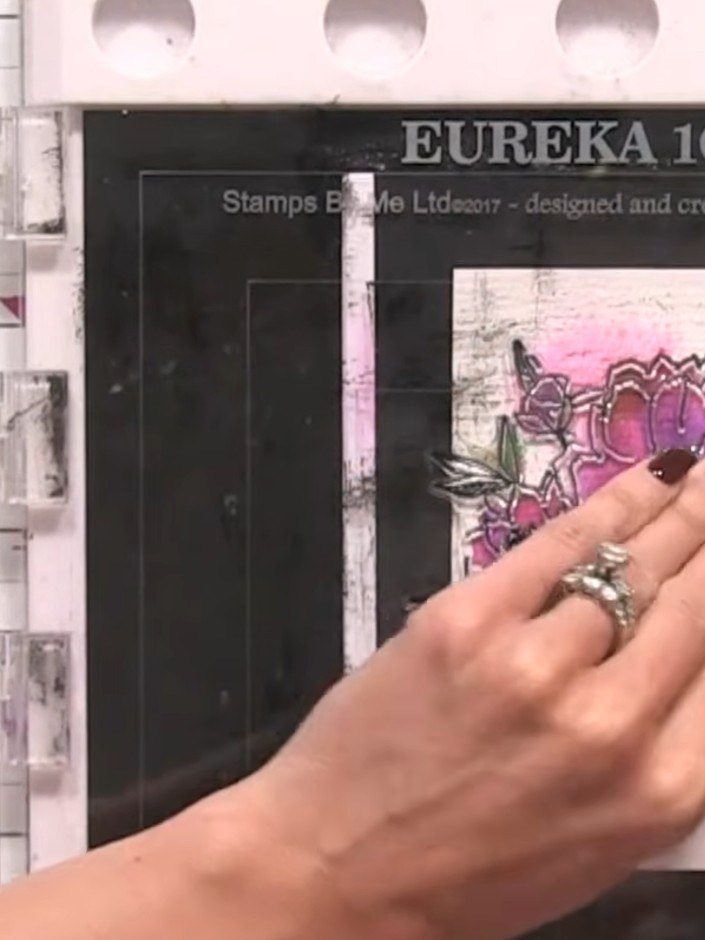
Apply gold embossing powder over the stamped flower outline. Heat set the embossing powder using a heat tool to create raised gold details.
▶ voir cette étape (42:45)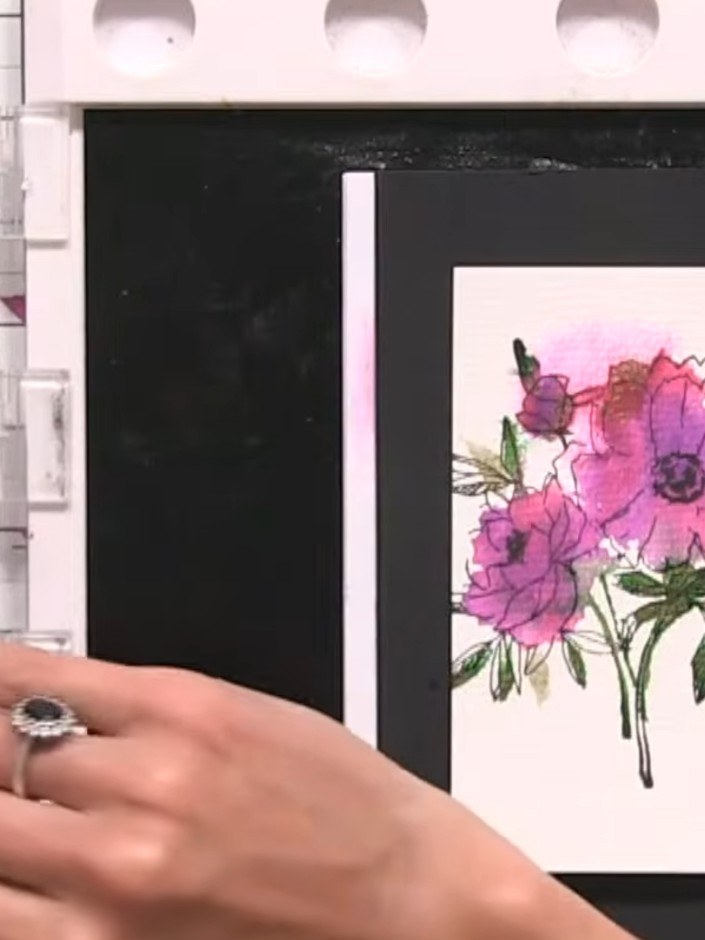
Add a sentiment stamp to the bottom of the floral panel. Mount the completed panel onto a black card base to finish your card.
▶ voir cette étape (43:00)Rédigé à partir de l'émission elle-même. Découvrez tous les guides de nos émissions · tutoriels gratuits · regarder en direct sur My Telly
