Offrez à vos amis 10 € de réduction sur leur première commande !
Parrainez un AMI








Un projet de notre émission en direct DEAL HUNTERS - Join Toni for bargains you cannot afford to miss - Diffusée le 27 octobre 2026 · 27/10/2026 · à voir dès 34:00
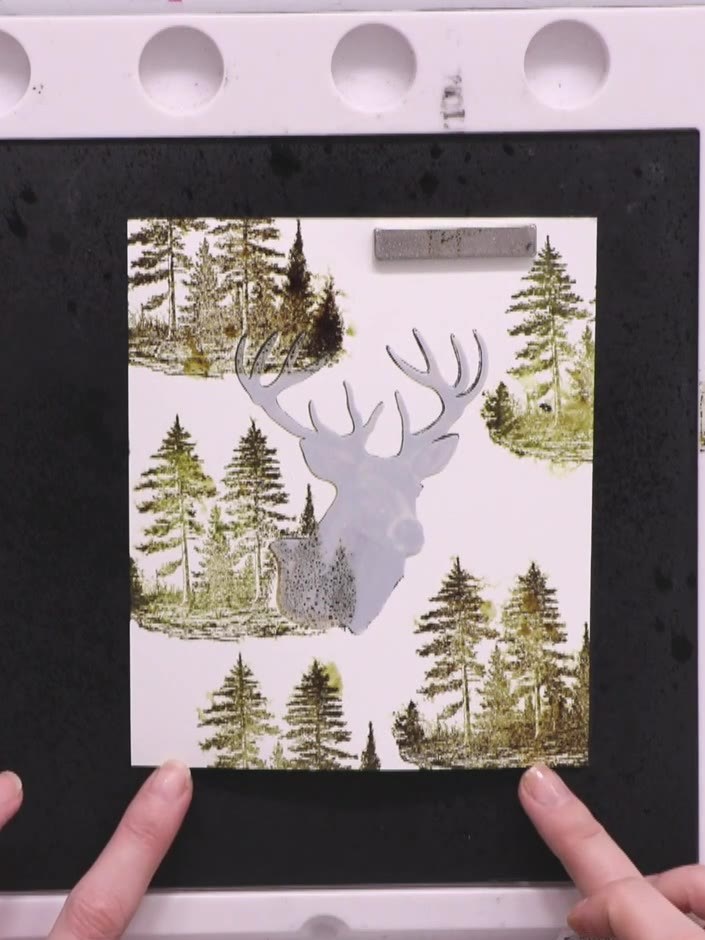
Create a stunning woodland wildlife card featuring a detailed stag surrounded by evergreen trees and a distressed, atmospheric background. This project uses stencil masking to protect your focal image whilst building layers of forest scenery with distress inks and splatter effects. The result is a dramatic card with depth and a beautiful halo effect that draws the eye to the magnificent stag at its centre.
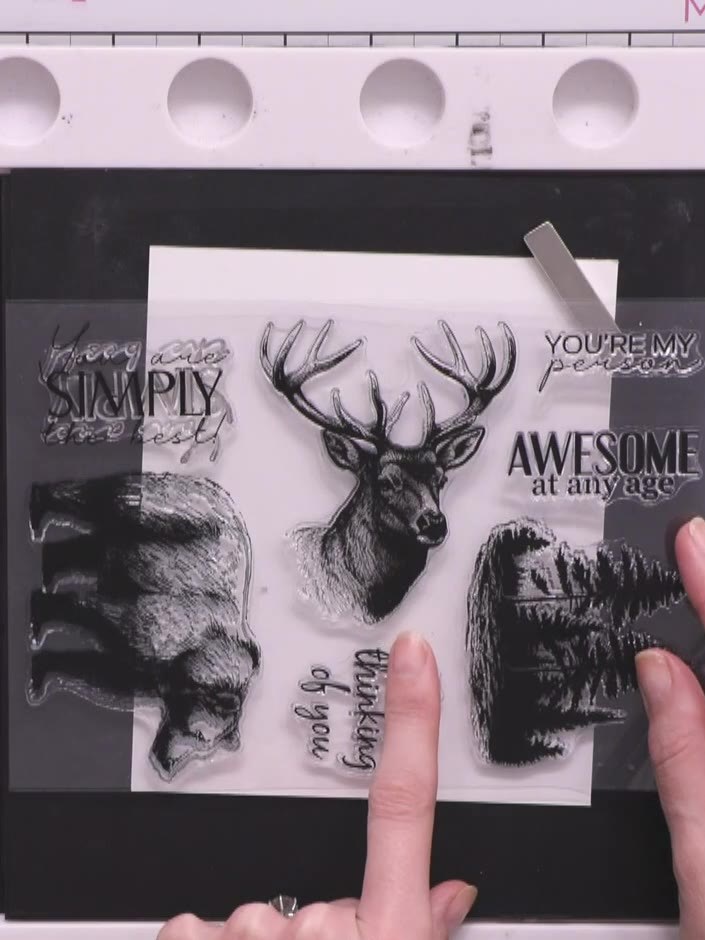
Stamp the stag's head in black ink in the centre of your white cardstock. Position the stamp carefully to ensure the image is centred on the card.
▶ voir cette étape (36:00)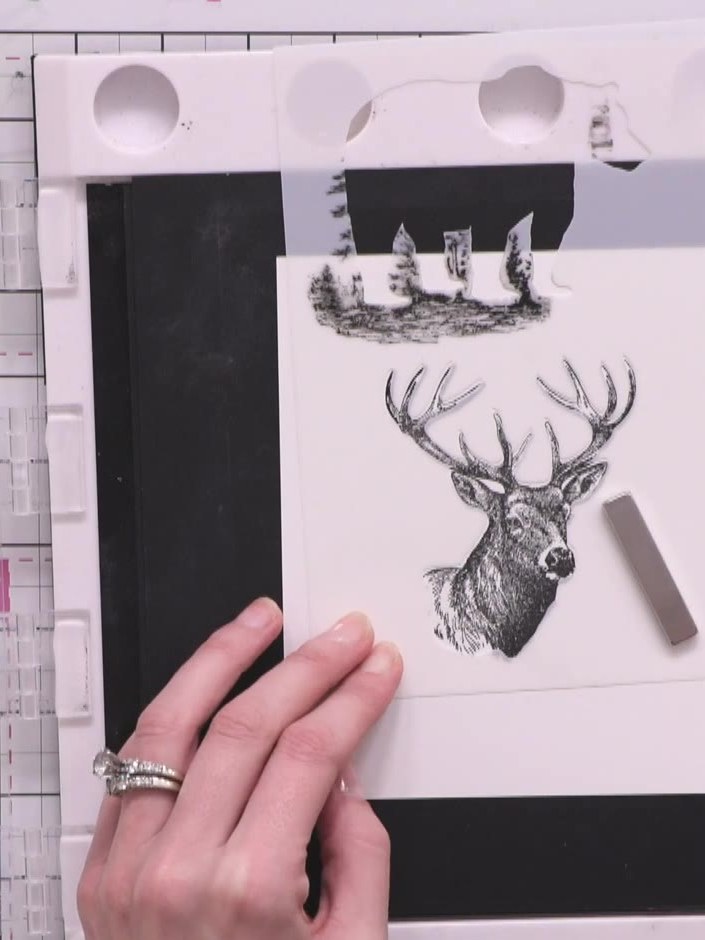
Position the interior stencil over the stamped stag image. Colour in the stag using brown distress inks (Frayed Burlap and Brushed Corduroy) with a blending brush, working through the stencil opening.
▶ regarder cette étape (38:00)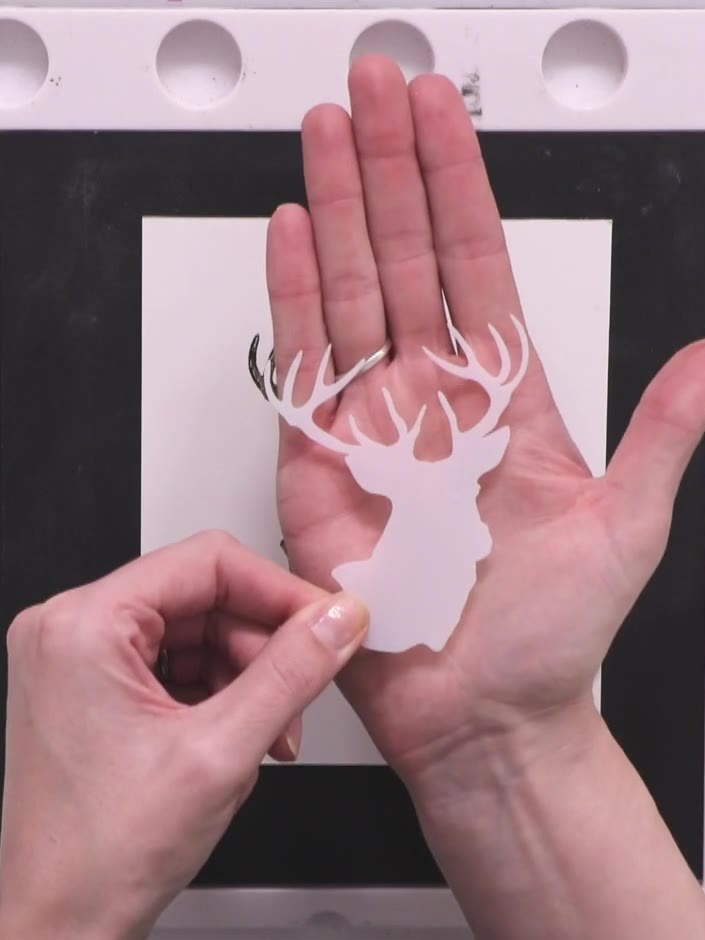
Secure the plastic stag mask over the stamped and coloured stag image using low-tack tape to protect it whilst working on the background.
▶ voir cette étape (41:30)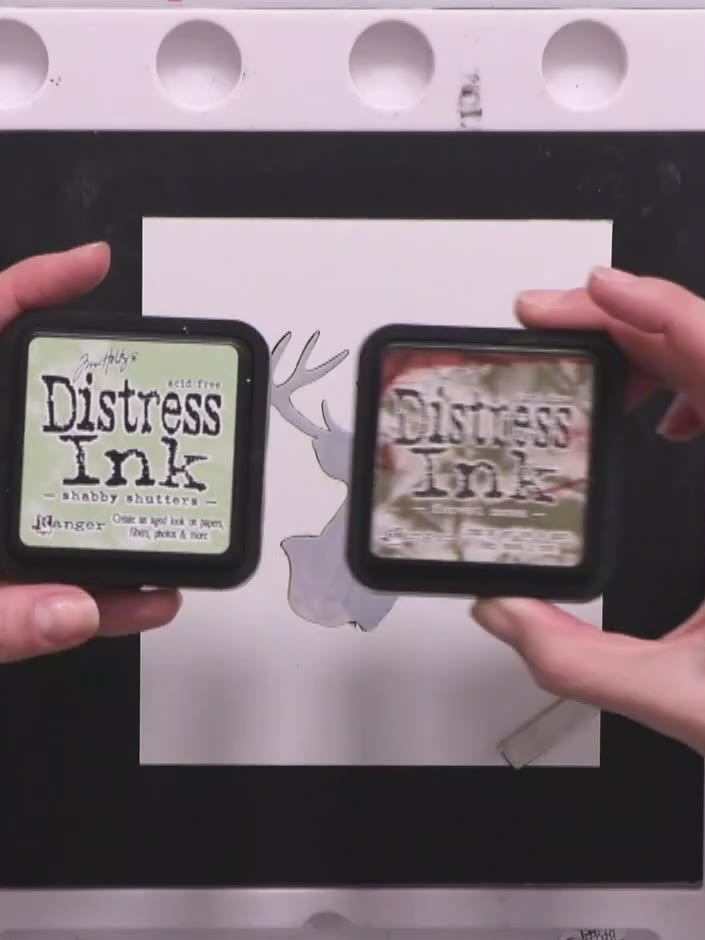
Stamp the tree images from the set randomly around the card using Forest Moss and Shabby Shutters Distress inks, working around the protected stag mask.
▶ voir cette étape (42:30)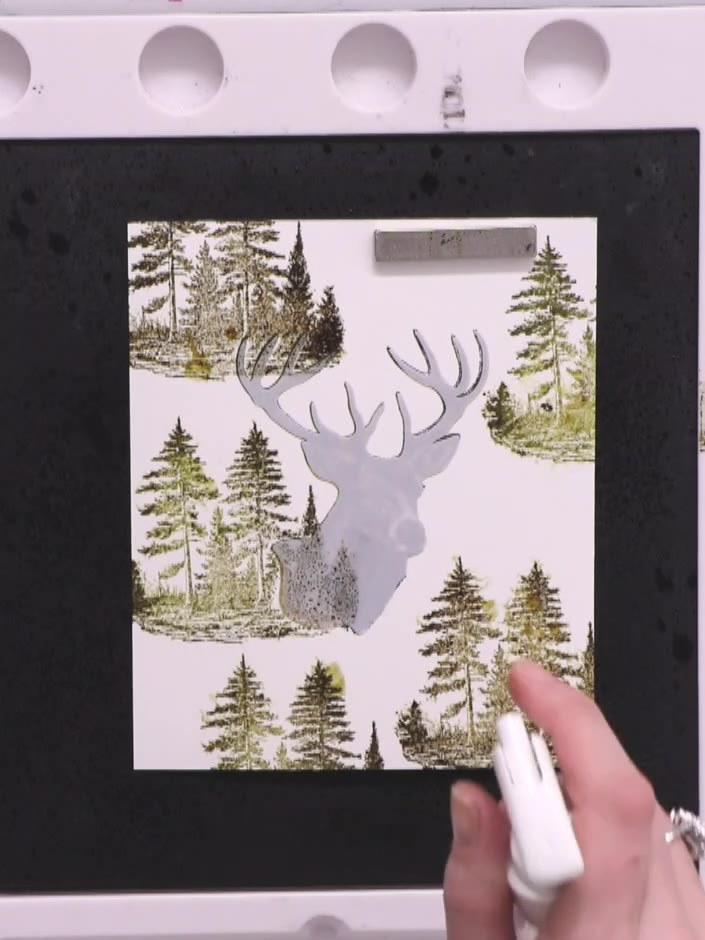
Lightly spray the entire card with water using a spray bottle. This will push out the detail and create a distressed, bleeding effect with the distress inks on the stamped trees and deer.
▶ voir cette étape (51:30)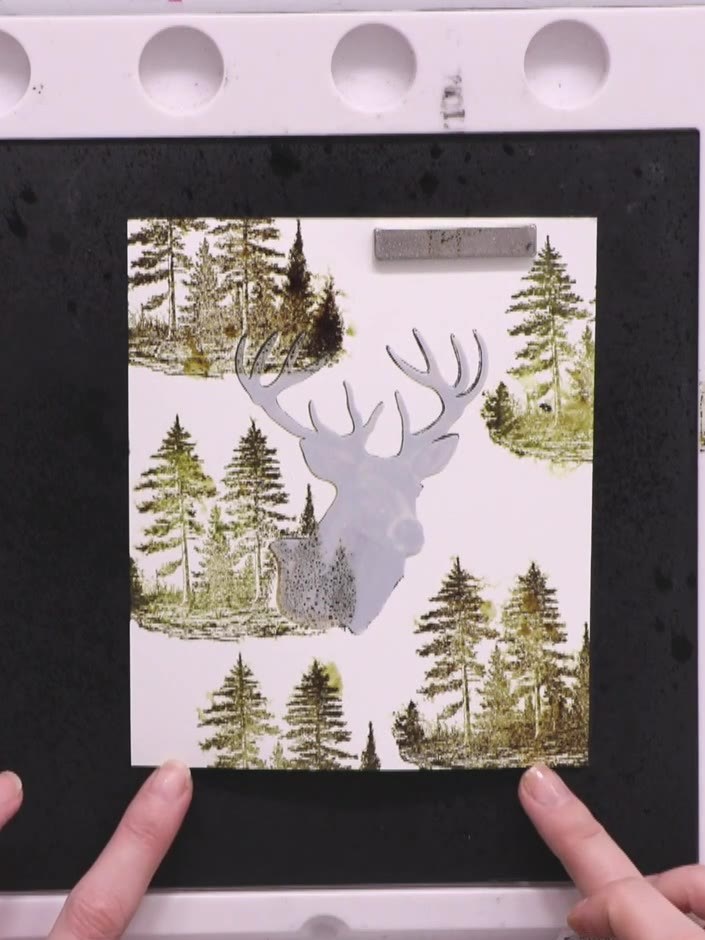
Dry the card thoroughly with a heat gun, holding it close and moving quickly to avoid lumps and bumps. Mop up any puddles with tissue as needed.
▶ voir cette étape (52:00)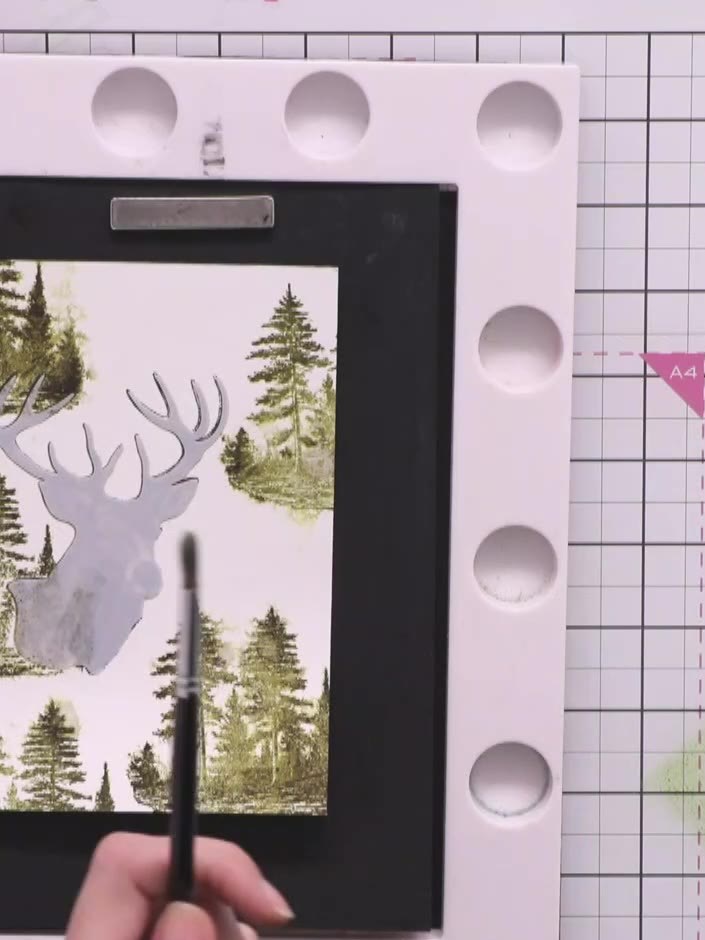
Add splatter effects by mixing green and brown distress inks on your craft mat, spraying with water, and flicking the brush onto the card around the trees to create texture.
▶ voir cette étape (54:00)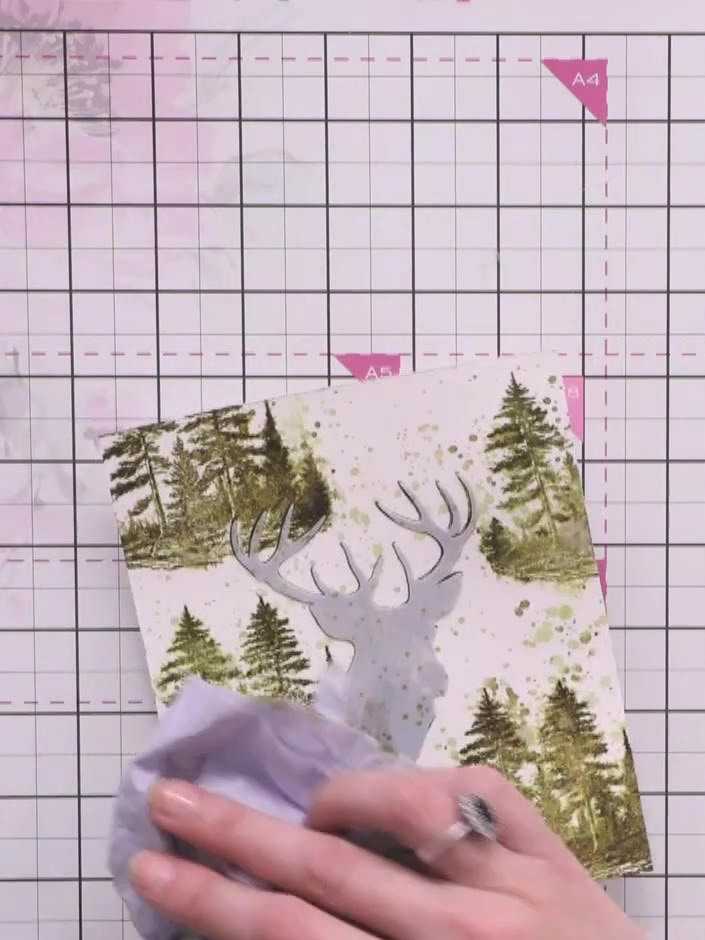
Carefully peel away and remove the mask to reveal the protected white stag silhouette underneath the stamped and stencilled background.
▶ voir cette étape (56:00)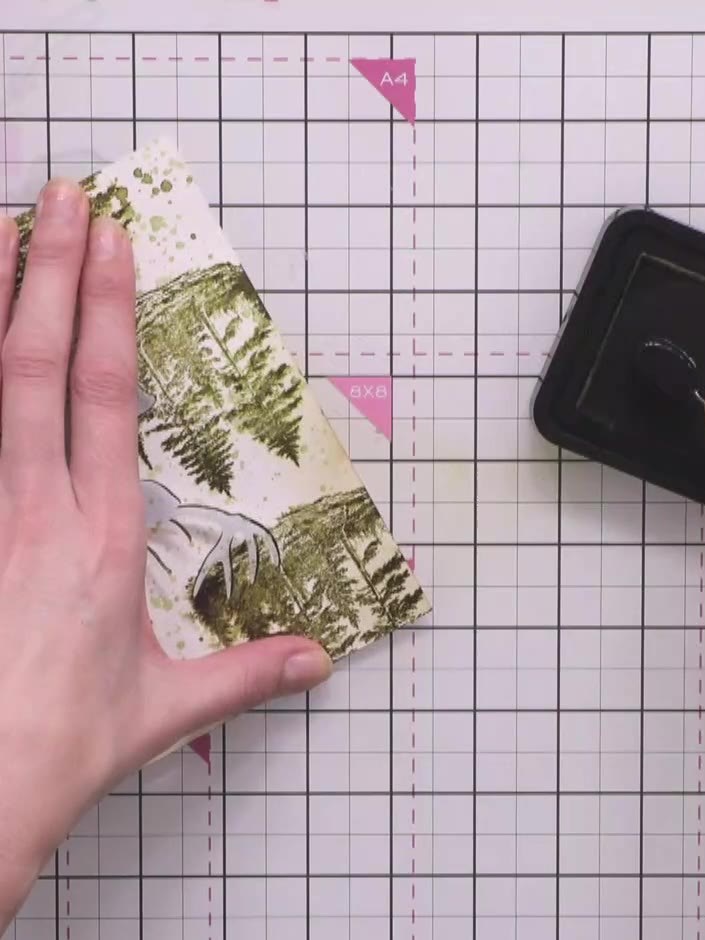
Using a blending brush, apply Brushed Corduroy Distress Ink around the entire outer edge of the card front, creating a halo effect. Start with light pressure and build up the colour gradually.
▶ voir cette étape (57:00)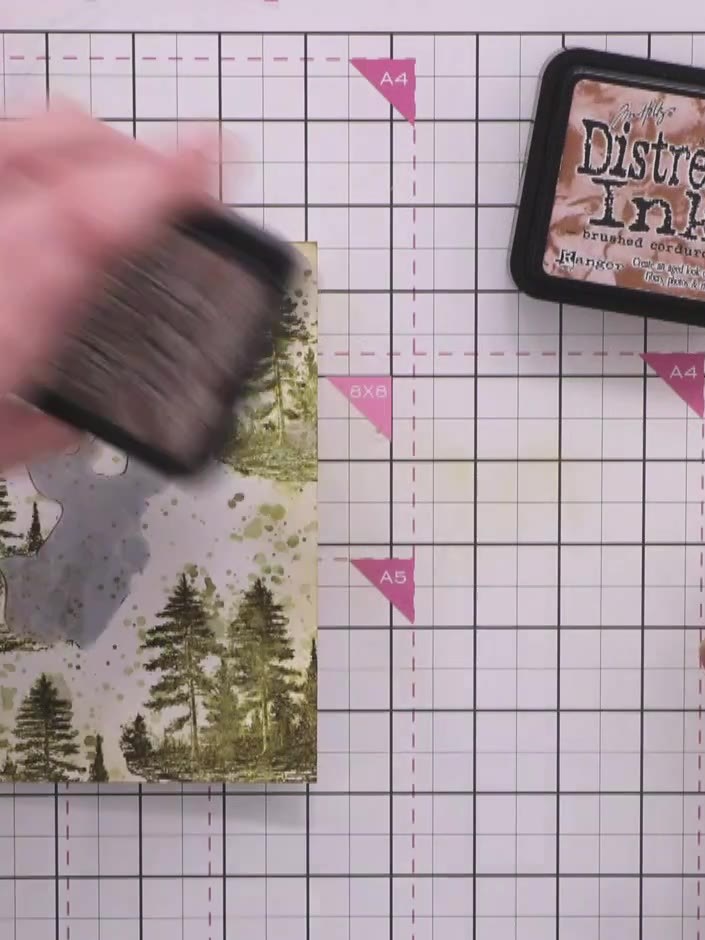
Apply a darker brown ink closer to the edges of the card. Finish by adding a light wash of black ink around the very edge to create extra depth and dimension.
▶ voir cette étape (57:45)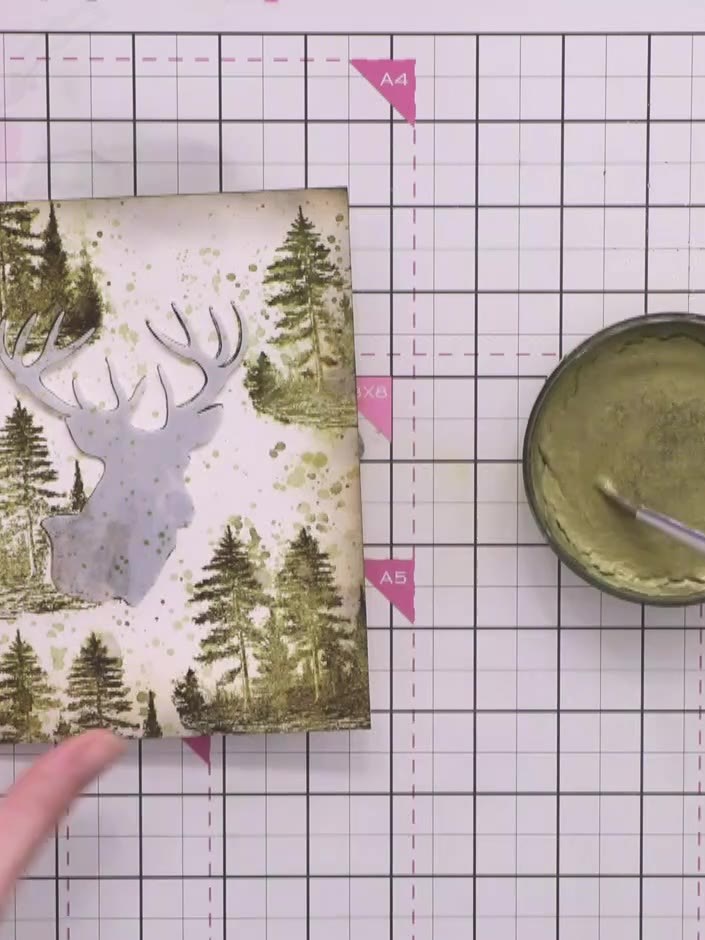
Using a paintbrush, apply gold ink from the pot to add touches of shimmer around the card, catching the light on the trees and deer elements.
▶ voir cette étape (59:30)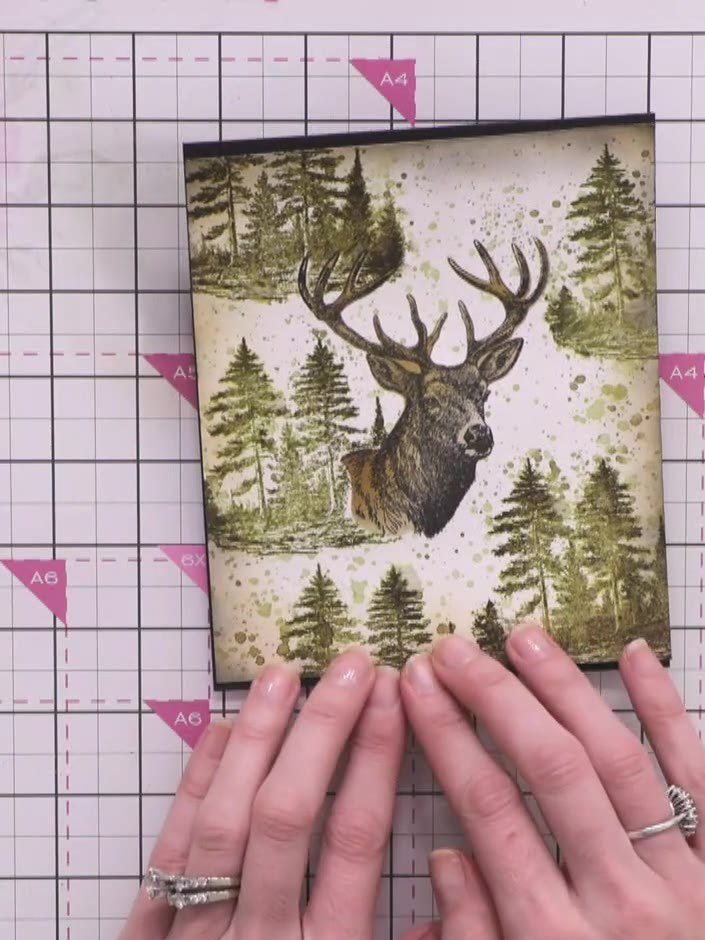
Mount the finished artwork onto black cardstock, leaving a thin border at the top and bottom. Attach the mounted piece to a kraft-coloured card base using fast-grab glue.
▶ voir cette étape (1:02:30)Rédigé à partir de l'émission elle-même. Découvrez tous les guides de nos émissions · tutoriels gratuits · regarder en direct sur My Telly
