Offrez à vos amis 10 € de réduction sur leur première commande !
Parrainez un AMI








 Deal Huntersmar. 3 nov. 10 h 00
 Hidden Gemsmer. 4 nov. 6 h 00
 The Thursday Dropjeu. 5 nov. 14 h 00
Les prix sont mis à jour immédiatement. Les traductions sont réalisées par Google.
Une création de notre émission en direct CREATE AND CRAFT EXCLUSIVE - Retrouvez Toni EN DIRECT pour le lancement de sa nouvelle collection FLOWERS FOR YOU - diffusion du 31 mars 22 · 31/03/2022
Create a charming card featuring the Spring Boots die with selective ink application and watercolour accents. The technique uses a mop-up method to add colour to specific areas of the boots, creating dimension and a hand-painted appearance.
Prepare a piece of watercolour card as your base.
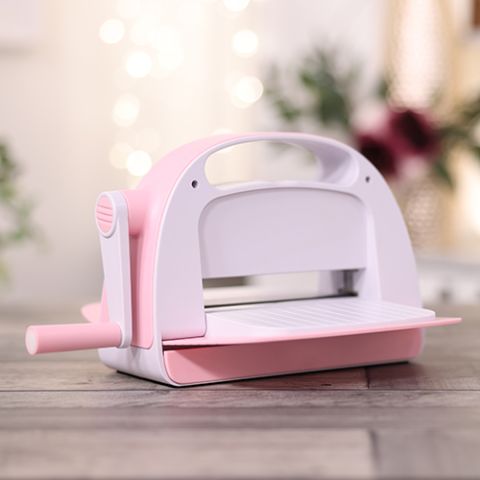
Die-cut the Spring Boots design from the watercolour card using your machine.
Tap out all the pieces from the die-cut carefully.
Dip the boots die-cut into an ink pad with minimal water to create selective colour coverage.
Allow the ink to dry slightly, leaving white areas visible on the boots for dimension.
Add a touch of blue watercolour to the top of the boots using a brush.
Apply sparkle pen colour to a corner of the card for added interest.
Layer the boots die-cut onto black card matting.
Add a white card layer for additional dimension.
Adhere the Kind Friend sentiment die-cut to the card in a coordinating colour.
Mount the completed design onto your finished card base.
Partagez votre création avec la communauté Stamps By Me - et gardez ce tutoriel pour la prochaine fois.
Rédigé à partir de l’émission elle-même. Tous les tutoriels de nos émissions · tutoriels gratuits · en direct sur My Telly · l’ancienne présentation