Offrez à vos amis 10 € de réduction sur leur première commande !
Parrainez un AMI








 Deal Huntersmar. 3 nov. 9 h 00
 Hidden Gemsmer. 4 nov. 5 h 00
 The Thursday Dropjeu. 5 nov. 13 h 00
Les prix sont mis à jour immédiatement. Les traductions sont réalisées par Google.
Une création de notre émission en direct Thirsty Brush - Retrouvez Emma pour des loisirs créatifs salissants, diffusée le 11 févr. · 11/02/2022
Create dimensional paper flowers using die-cut elements and layer them onto a decorated candle with ribbon and stamped embellishments. This technique transforms simple die cuts into sculptural flowers by twisting and shaping the pieces.
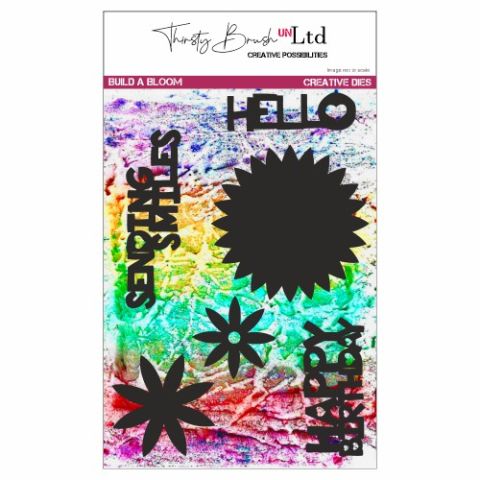
Die-cut the build a bloom flower elements three times each to create multiple layers.
Twist and shape each die-cut layer to create a dimensional, three-dimensional flower form.
Remove the stamen or wire elements from the centre of each flower.
Wrap ribbon or twine around the candle to create a decorative band.
Use a hot glue gun to attach the dimensional flowers to the ribbon on the candle.
Die-cut the fancy flowers design and fold it in half to create a decorative accent.
Stamp words or sentiments onto white card and layer them onto black card for contrast.
Attach the stamped sentiment to the candle decoration using glue.
Partagez votre création avec la communauté Stamps By Me - et gardez ce tutoriel pour la prochaine fois.
Rédigé à partir de l’émission elle-même. Tous les tutoriels de nos émissions · tutoriels gratuits · en direct sur My Telly · l’ancienne présentation