Offrez à vos amis 10 € de réduction sur leur première commande !
Parrainez un AMI








 Hidden Gemsmer. 4 nov. 5 h 00
 The Thursday Dropjeu. 5 nov. 13 h 00
 The Friday Final Cutven. 6 nov. 5 h 00
Les prix sont mis à jour immédiatement. Les traductions sont réalisées par Google.
Une création de notre émission en direct REVOYEZ Simon pour LA FOLIE DU LUNDI au studio HTCN, diffusé le 15 nov. 21 · 15/11/2021
A striking monochrome card featuring a printed repeating 'thank you' sentiment as the background, enhanced with stencilled starburst patterns in black and charcoal grey, and topped with a hand-coloured elephant character. The layered stencil technique creates depth and draws attention to the focal point.
Print a full page of 'thank you' sentiment onto cardstock using your computer printer.
Trim the printed page to 6.5 by 5 inches using a paper trimmer to fit your card blank.
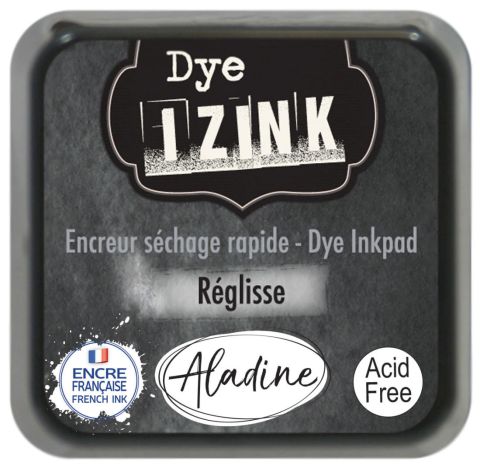
Place a starburst stencil in the bottom corner of the printed panel and lightly tap black ink through it using a circular motion.
Apply the stencil again in the same corner with darker, heavier pressure to create a two-tone effect with charcoal grey and black.
Reposition the stencil to the top corner and repeat the light and dark tapping technique to create a secondary focal point.
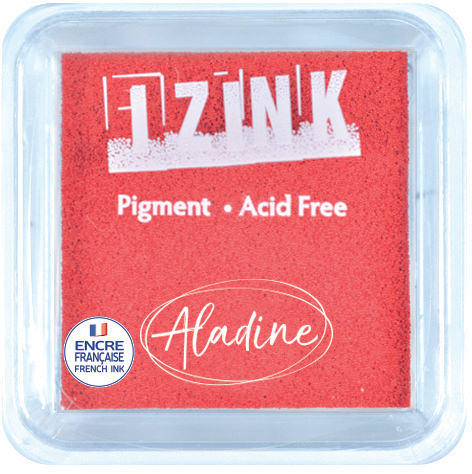
Edge the card with red ink by dragging the ink pad along all four edges to soften the harshness and introduce colour.
Adhere the printed and stencilled panel to your card blank using double-sided tape.
Stamp the elephant character onto separate cardstock using black ink and a stamping block.
Colour the stamped elephant with watercolour techniques, adding grey to the body, red to the ears and cheeks, and darker black to the trunk and details.
Heat-set the coloured elephant with a heat gun to prevent smudging during die-cutting.
Die-cut the coloured elephant using the complementary die to create a crisp outline.
Mount the die-cut elephant onto the card using foam pads to raise it above the surface.
Add decorative heart stickers around the card to break up the background and tie the design together.
Partagez votre création avec la communauté Stamps By Me - et gardez ce tutoriel pour la prochaine fois.
Rédigé à partir de l’émission elle-même. Tous les tutoriels de nos émissions · tutoriels gratuits · en direct sur My Telly · l’ancienne présentation