Offrez à vos amis 10 € de réduction sur leur première commande !
Parrainez un AMI








 Hidden Gemsmer. 4 nov. 5 h 00
 The Thursday Dropjeu. 5 nov. 13 h 00
 The Friday Final Cutven. 6 nov. 5 h 00
Les prix sont mis à jour immédiatement. Les traductions sont réalisées par Google.
Une création de notre émission en direct REVOYEZ le Create Together Club – Vidéo d’inspiration 6 pour le set de tampons A NOTE TO SAY – ÉMISSION du 30 oct. 21 · 30/10/2021
Create a delicate, elegant card by stamping a typewriter image onto vellum with gold embossing ink and clear embossing powder. The heat-set result gives a subtle, sophisticated look that works beautifully on translucent vellum.
Place a piece of vellum on your work surface and position the typewriter stamp in the centre using a magnet to hold it steady.
Apply anti-static powder to the vellum to prevent static cling.
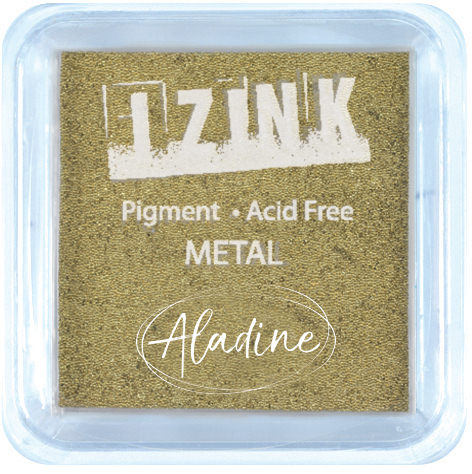
Ink up the typewriter stamp thoroughly with the gold embossing ink pad, tapping all over for even coverage.
Press the stamp firmly onto the vellum, applying good pressure to capture all the detail.
Lift the stamp carefully away from the vellum.
Sprinkle clear embossing powder over the wet gold ink to seal it.
Heat set the embossing powder with a heat gun, moving it steadily across the vellum to avoid warping.
Mount the embossed vellum onto a card base to complete the project.
Partagez votre création avec la communauté Stamps By Me - et gardez ce tutoriel pour la prochaine fois.
Rédigé à partir de l’émission elle-même. Tous les tutoriels de nos émissions · tutoriels gratuits · en direct sur My Telly · l’ancienne présentation