Offrez à vos amis 10 € de réduction sur leur première commande !
Parrainez un AMI








 The Friday Final Cutven. 20 nov. 5 h 00
 La vitrine de la communautélun. 23 nov. 5 h 00
 Deal Huntersmar. 24 nov. 8 h 00
Les prix sont mis à jour immédiatement. Chaque langue est notre propre traduction, pas Google.
Un projet de notre émission en direct HIDDEN GEMS - Diffusion du 18 novembre 2026 · 18/11/2026 · à voir dès 15:25
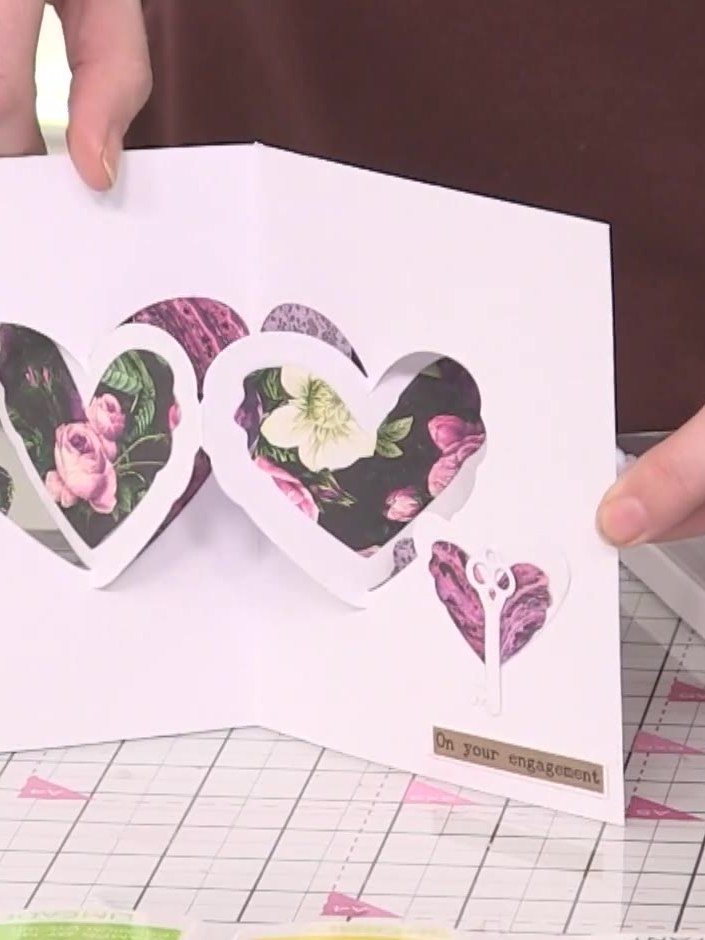
Create a stunning pop-up card featuring dimensional hearts that spring forward when opened. The design showcases beautiful floral patterned papers in pink and dark floral prints on a white card base, with a pivoting heart mechanism that creates a delightful surprise element. Perfect for engagements, anniversaries or any romantic celebration, this card combines die-cutting and paper engineering techniques for an impressive handmade result.
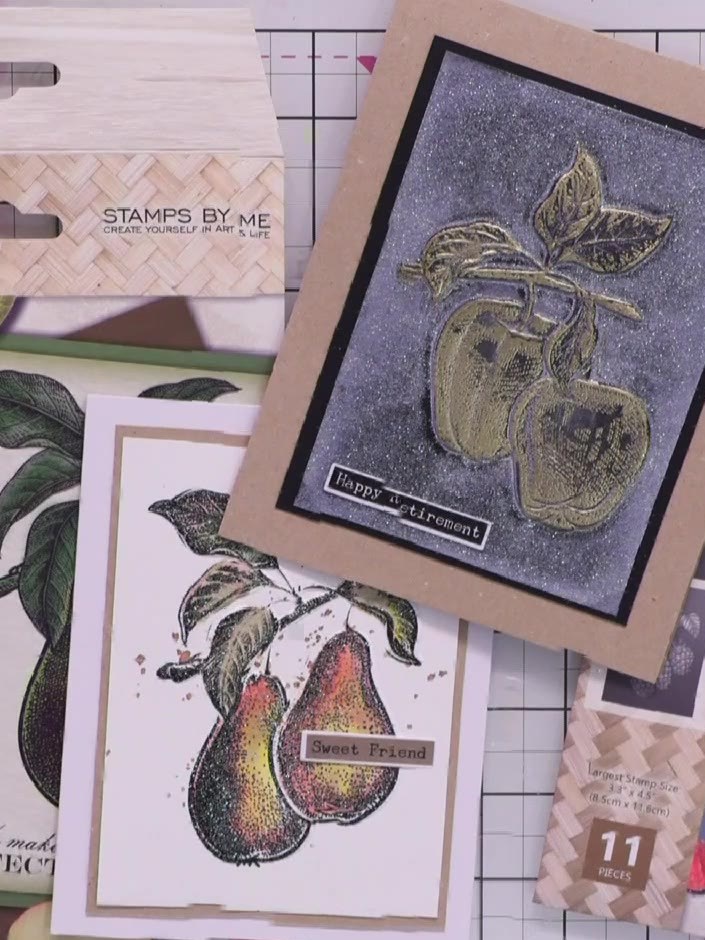
Remove the heart pivot die set from its carrier sheet by carefully pressing out each die piece from the packaging. Place your folded card on a cutting mat with the fold facing towards you. Position the card so it lies flat on the mat ready for the next steps. Position the die so the centre line sits exactly on the card's fold crease. Ensure the die is aligned precisely with the fold before proceeding. Run the card and die through your cutting machine to cut out the heart pivot mechanism. Carefully remove the die from the card. Open the card to reveal the pop-up heart mechanism inside. Cut decorative heart shapes from patterned cardstock using the dies included in the Heart Pivot Card set. Use your die-cutting machine to cut the heart designs from floral patterned papers. Cut a strip of floral patterned cardstock to fit across the inside front panel of the card to conceal the pivot mechanism. This will create a neat finish on the inside of your card. Adhere the strip beneath the pop-up heart mechanism so that the heart stands proud when the card is opened. Ensure the strip is securely glued in place to support the pop-up action. Adhere one of the decorative hearts flat to the inside left panel of the card. Position it centrally on the panel.
▶ voir cette étape (20:45)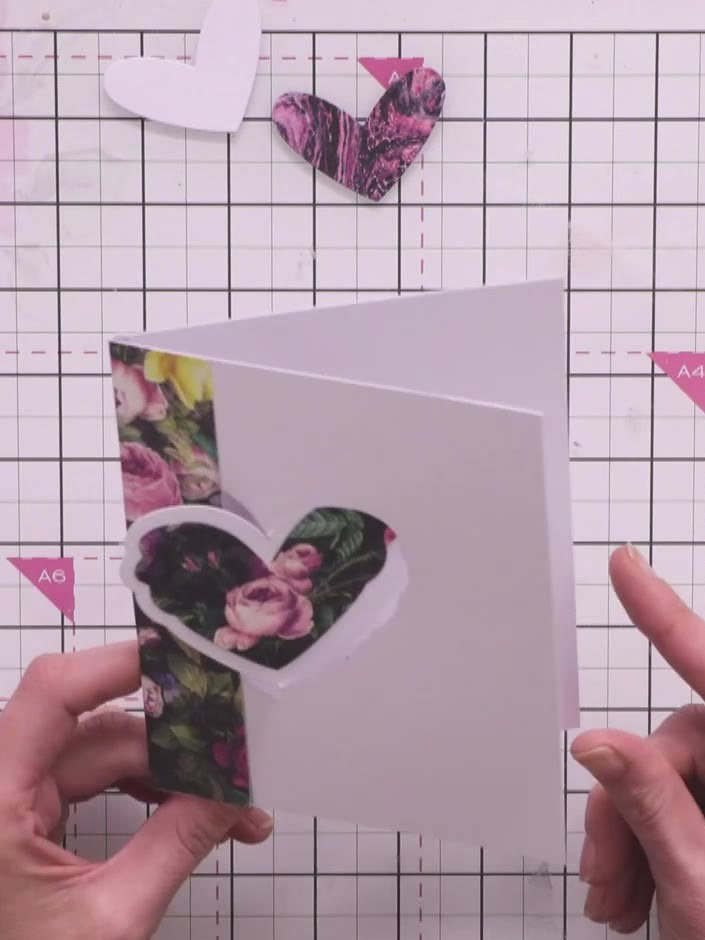
Attach a second decorative heart to the inside right panel using foam pads to add dimension. Position it slightly raised above the surface.
▶ voir cette étape (37:15)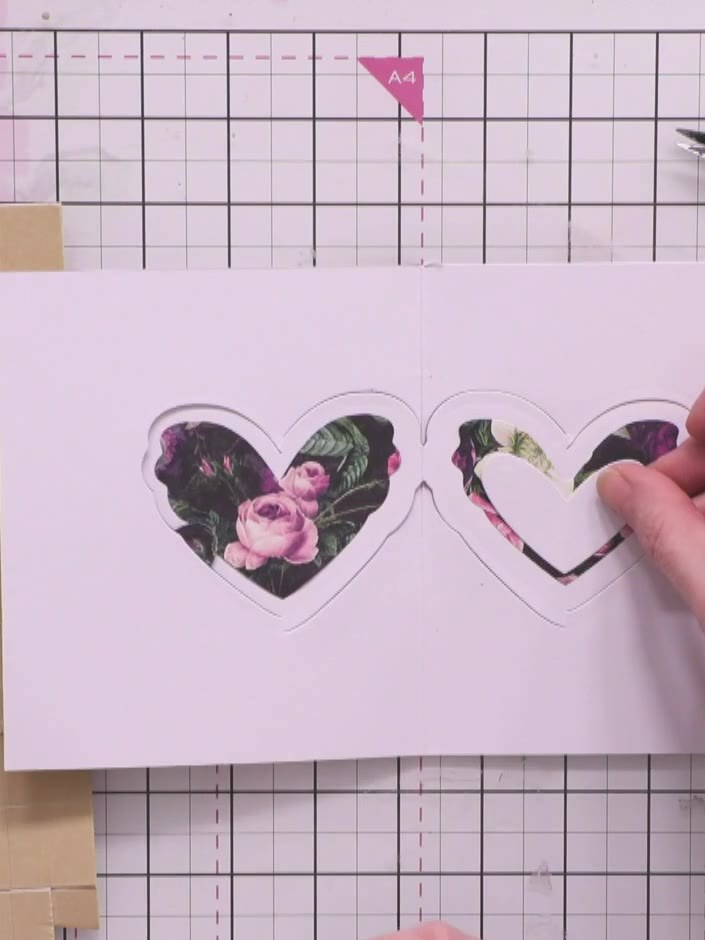
Die cut smaller hearts from the floral paper and attach them to the front of the card as focal points. Position them over the pivot hearts to create a layered effect.
▶ voir cette étape (41:30)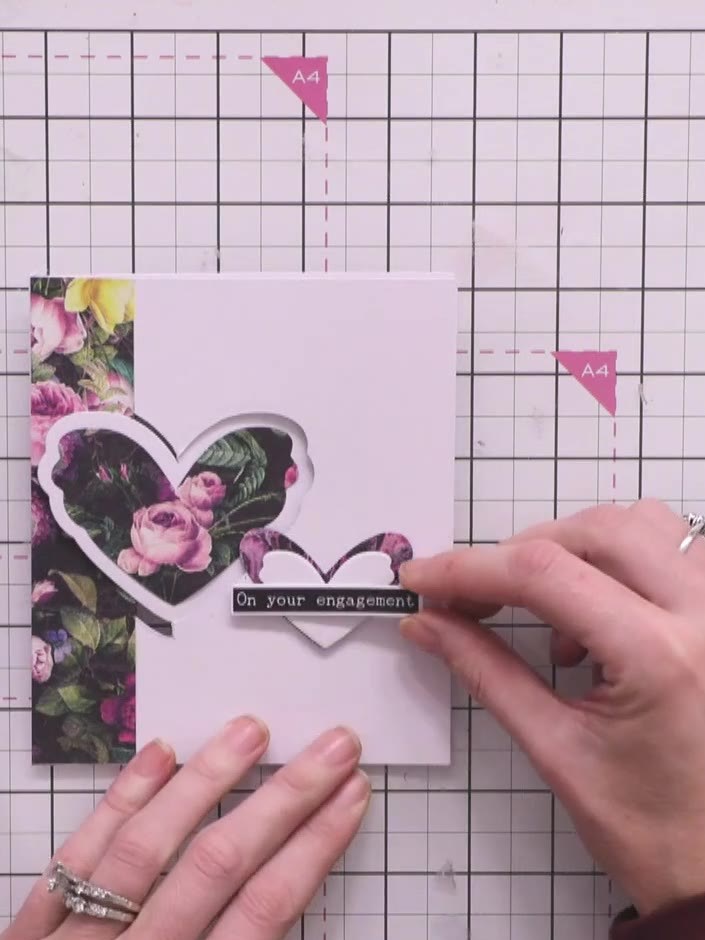
Apply a sentiment label reading 'On your engagement' to the inside of the card. Position the sentiment below the heart pivot mechanism.
▶ voir cette étape (44:45)Rédigé à partir de l'émission elle-même. Découvrez tous les guides de nos émissions · tutoriels gratuits · regarder en direct sur My Telly
