Offrez à vos amis 10 € de réduction sur leur première commande !
Parrainez un AMI








Un projet de notre émission en direct HSN PRODUCT INSPIRATION - Rejoignez-moi pour une émission pleine de bonne humeur, diffusée le 18 août 2026 · 18/08/2026 · à voir dès 56:45
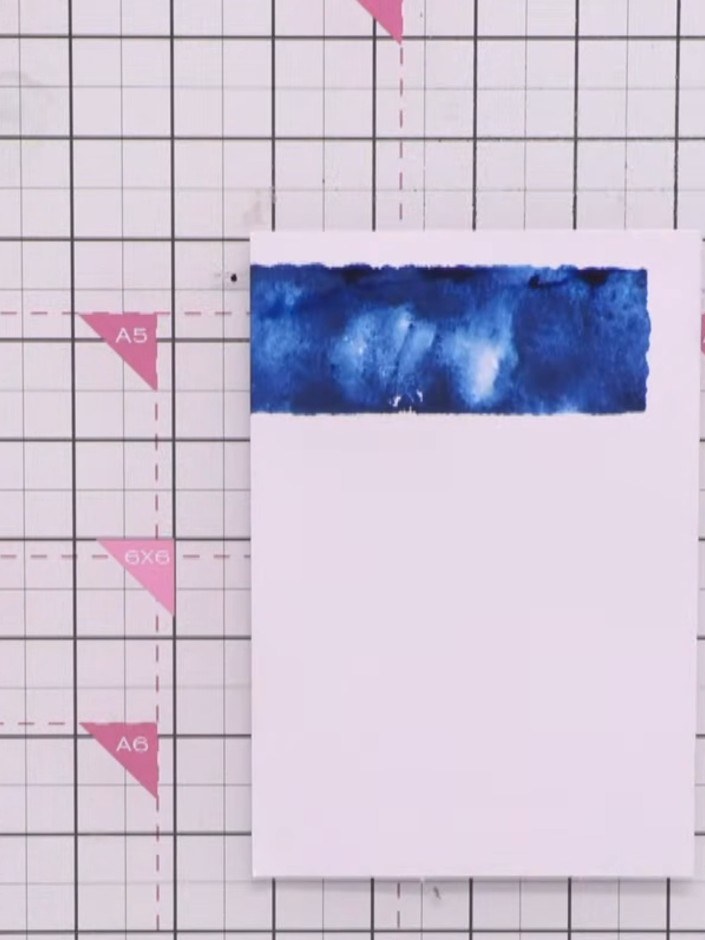
Réalisez une carte de Noël contemporaine avec un fond texturé à l'encre dans des tons de bleus et de gris, ornée de fleurs et de feuillages découpés à la matrice et superposés. Ce projet utilise des blocs acryliques, des encreurs et un vaporisateur d'eau pour créer de la profondeur et du relief visuel, le tout complété par le texte « merry and bright ». Une technique qui offre une alternative moderne aux papiers imprimés traditionnels, tout en créant de magnifiques effets d'ambiance.
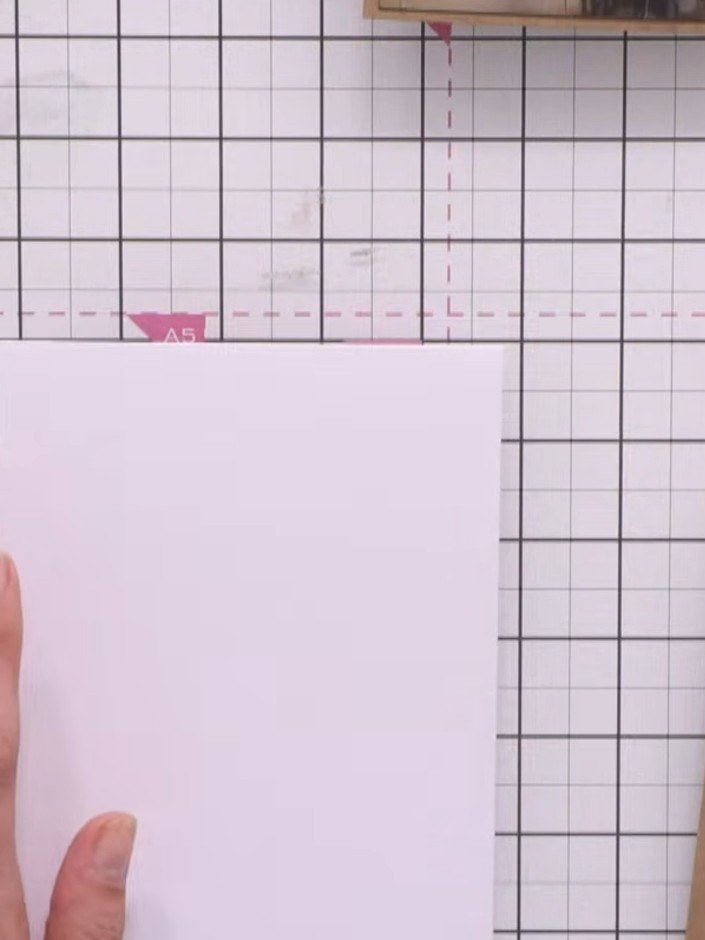
Start with a white A5 card blank and a piece of white cardstock. Position the white cardstock to layer on top of the card blank.
▶ voir cette étape (56:45)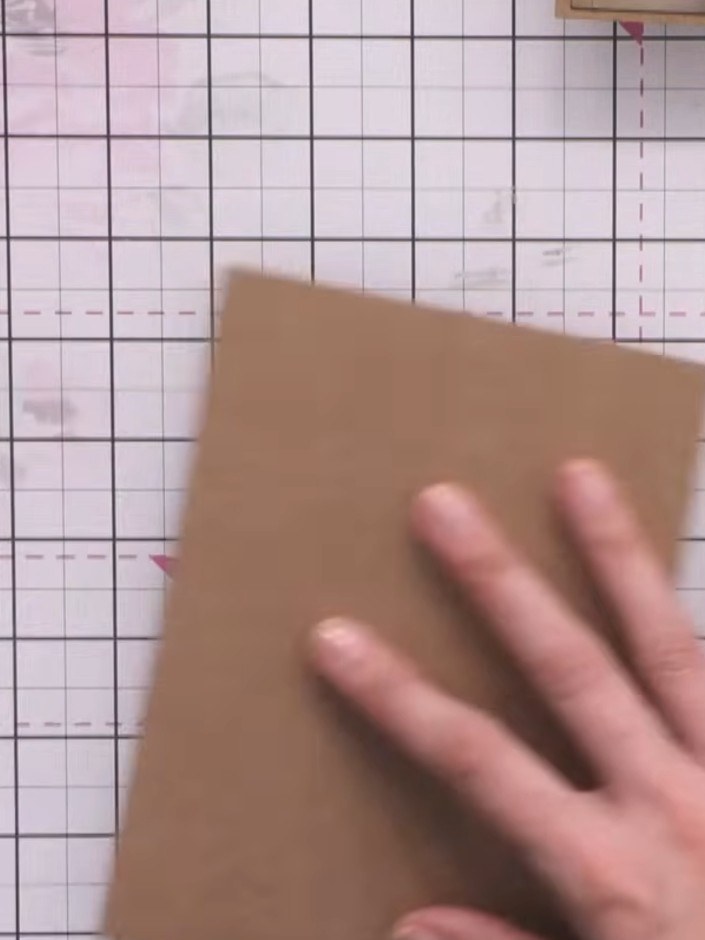
Press the wet inked block onto your white cardstock at an angle. Lift the block away to reveal a textured ink impression on the card.
▶ voir cette étape (57:30)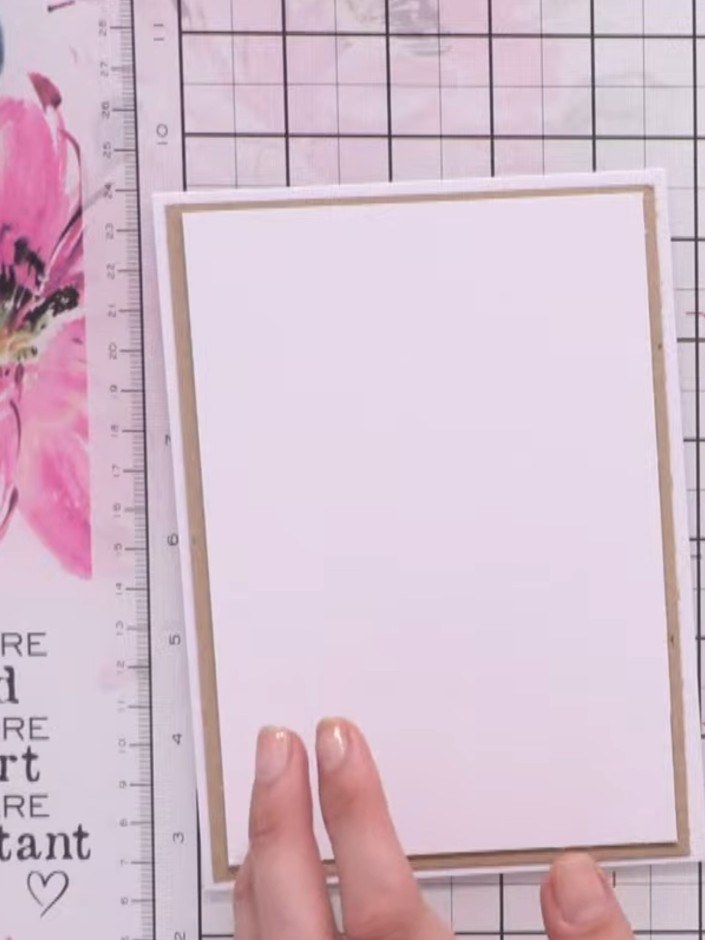
Allow the inked background to dry completely. You can use a heat tool to speed up the drying process, or simply set the card aside whilst working on other elements.
▶ voir cette étape (58:30)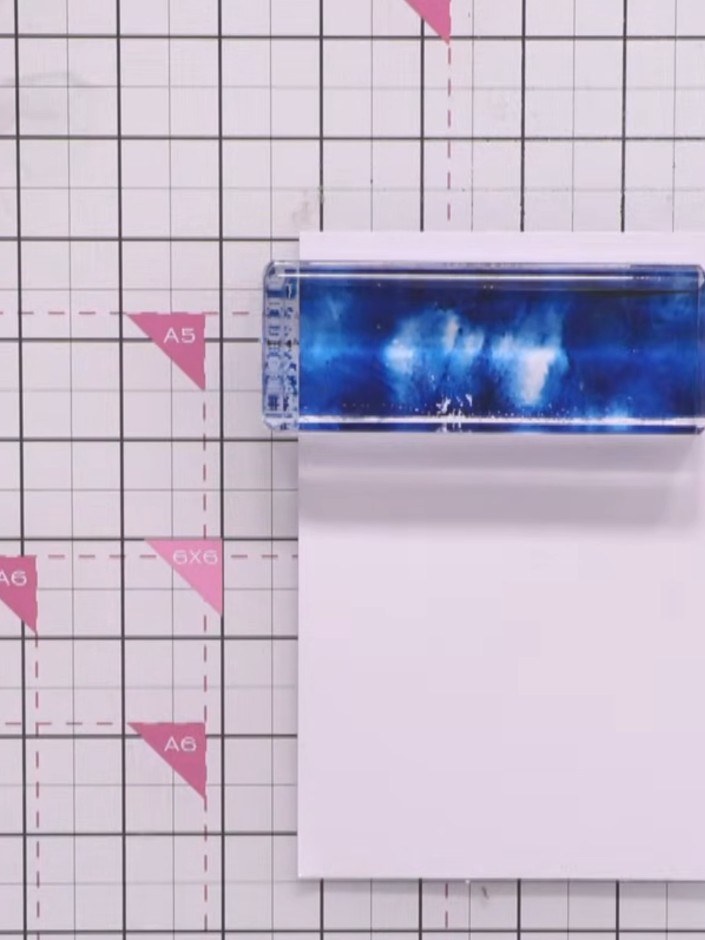
If the background colour appears too bright or dominant, use a white ink pad to gently tap over the surface, pushing back and softening the colour.
▶ voir cette étape (59:00)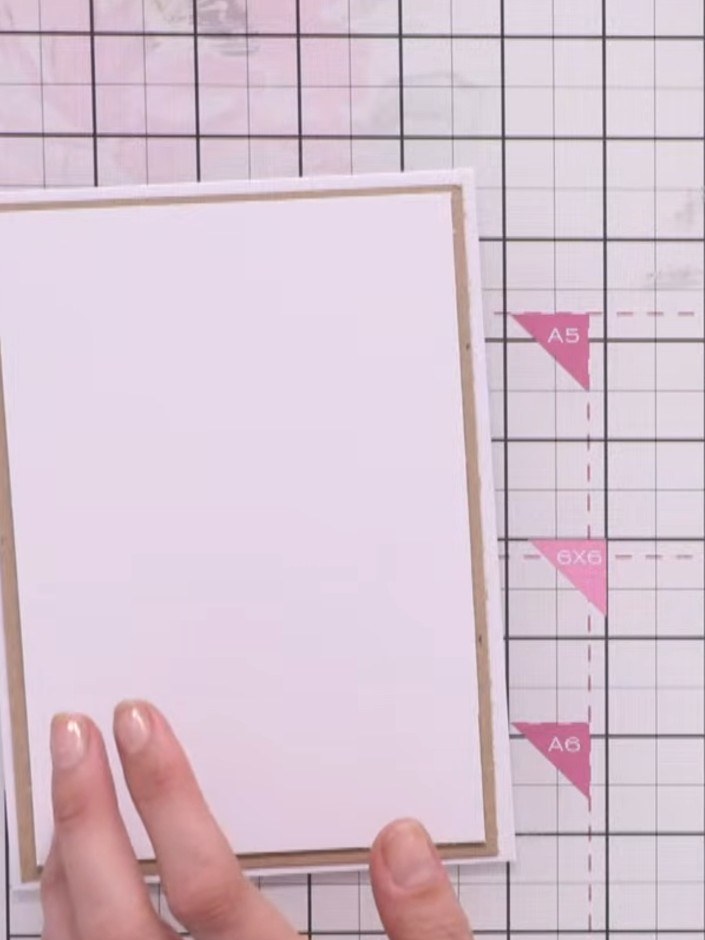
Cut a strip of kraft cardstock and adhere it vertically down the centre of your white inked background panel.
▶ voir cette étape (59:30)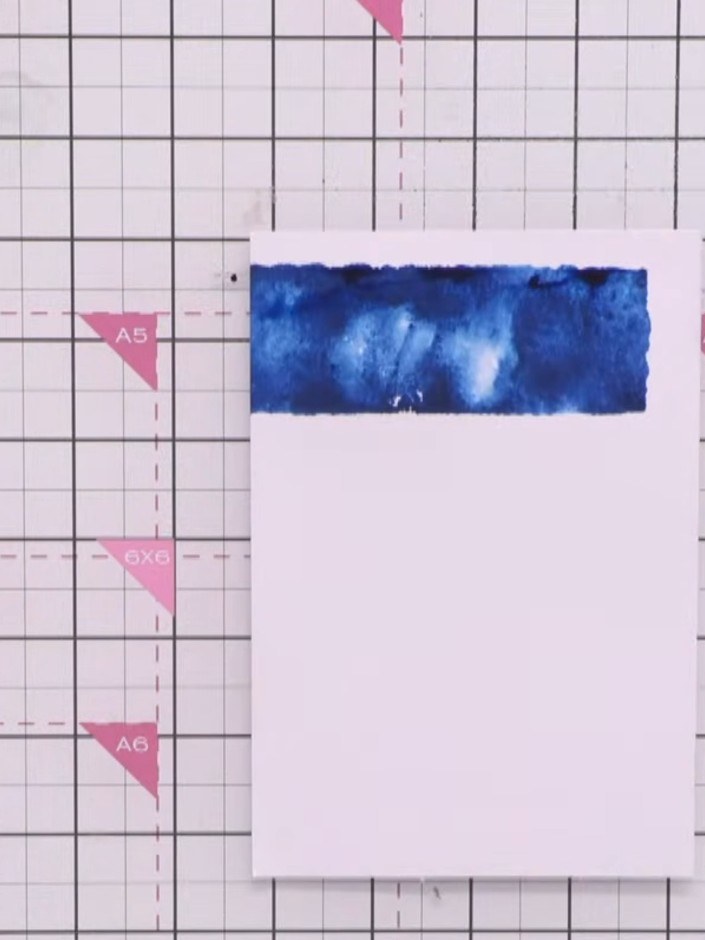
Adhere the blue textured foil strip to the top of your white card panel, keeping it straight and aligned.
▶ voir cette étape (1:00:30)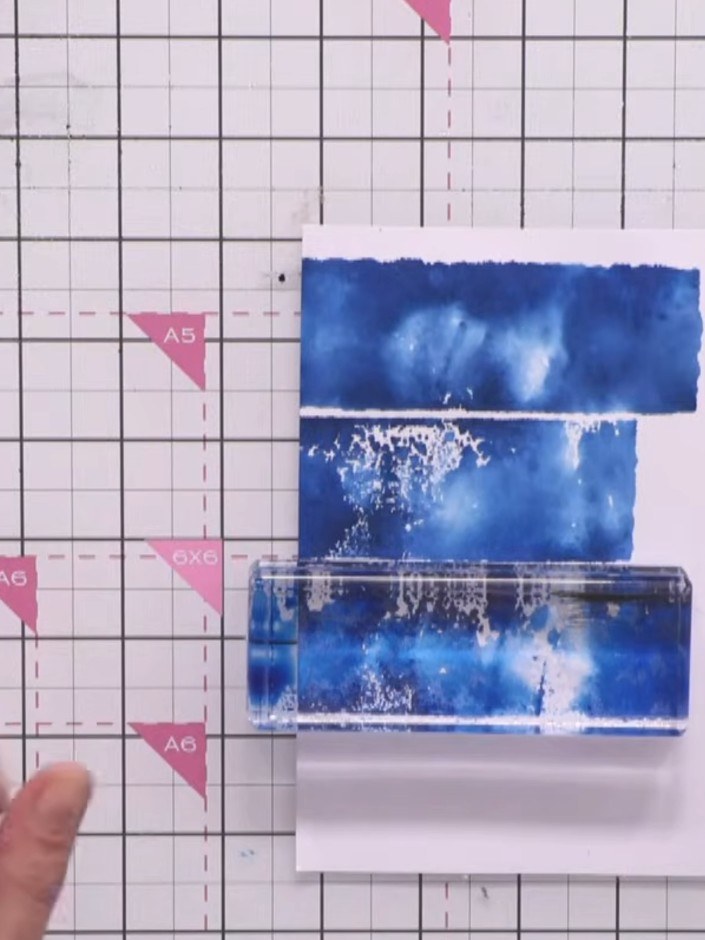
Cut a thin strip of black cardstock and adhere it to one edge of the kraft panel to add definition and make it stand proud.
▶ voir cette étape (1:01:00)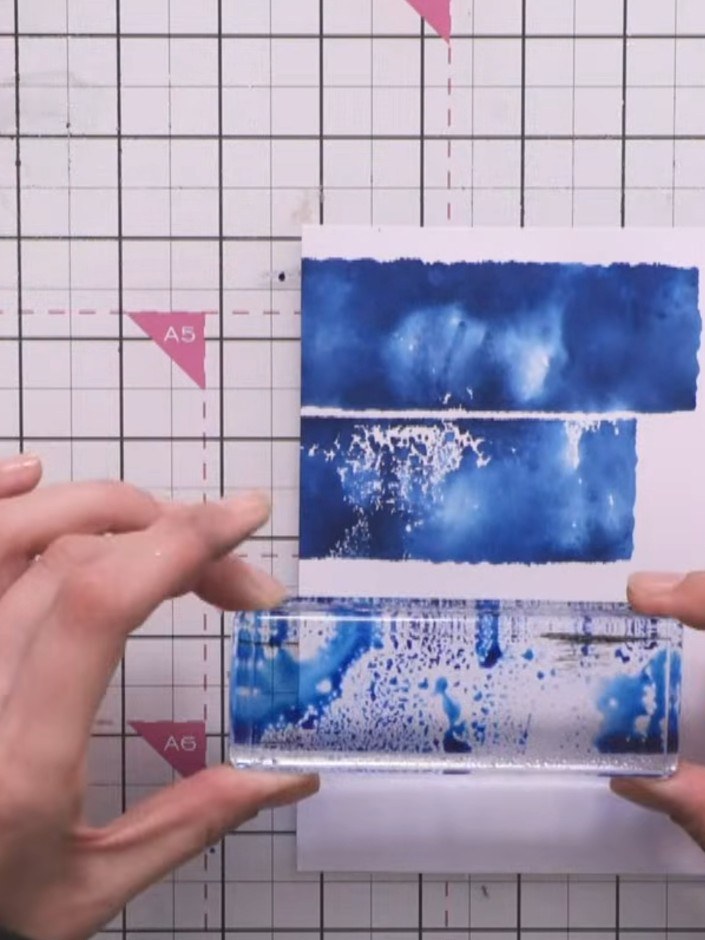
Edge the white sentiment panel with a vintage ink pad to soften its appearance and give it a subtle aged effect.
▶ voir cette étape (1:02:00)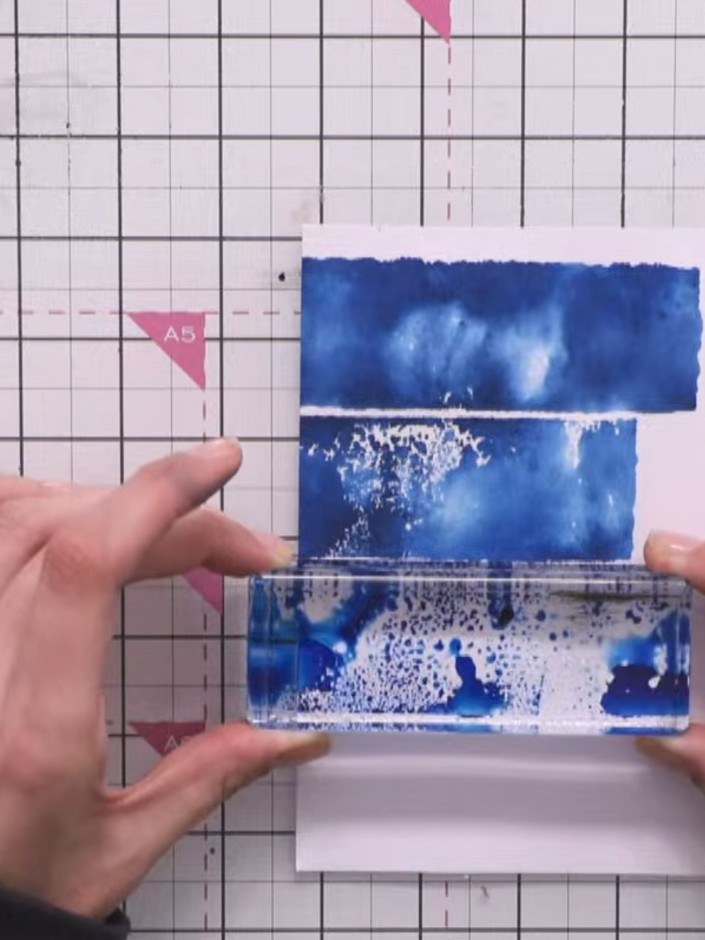
Adhere the sentiment panel to the bottom of your card front, positioning it below the layered tree panels to complete the composition.
▶ voir cette étape (1:02:30)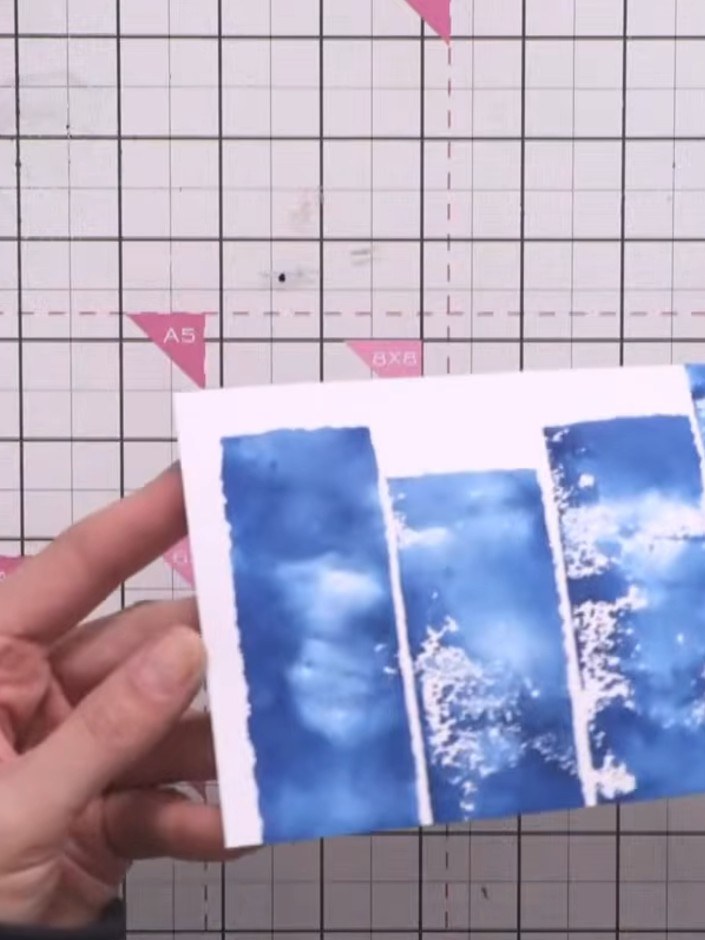
Allow all glue to dry completely before your card is finished. Your inky textured background Christmas card is now complete.
▶ voir cette étape (1:03:30)Rédigé à partir de l'émission elle-même. Découvrez tous les guides de nos émissions · tutoriels gratuits · regarder en direct sur My Telly