Offrez à vos amis 10 € de réduction sur leur première commande !
Parrainez un AMI








Un projet de notre émission en direct ONE DAY SPECIAL - Rejoignez Toni pour un tout nouveau lancement - Diffusion du 22 novembre 24 · 22/11/2024 · à voir dès 38:45
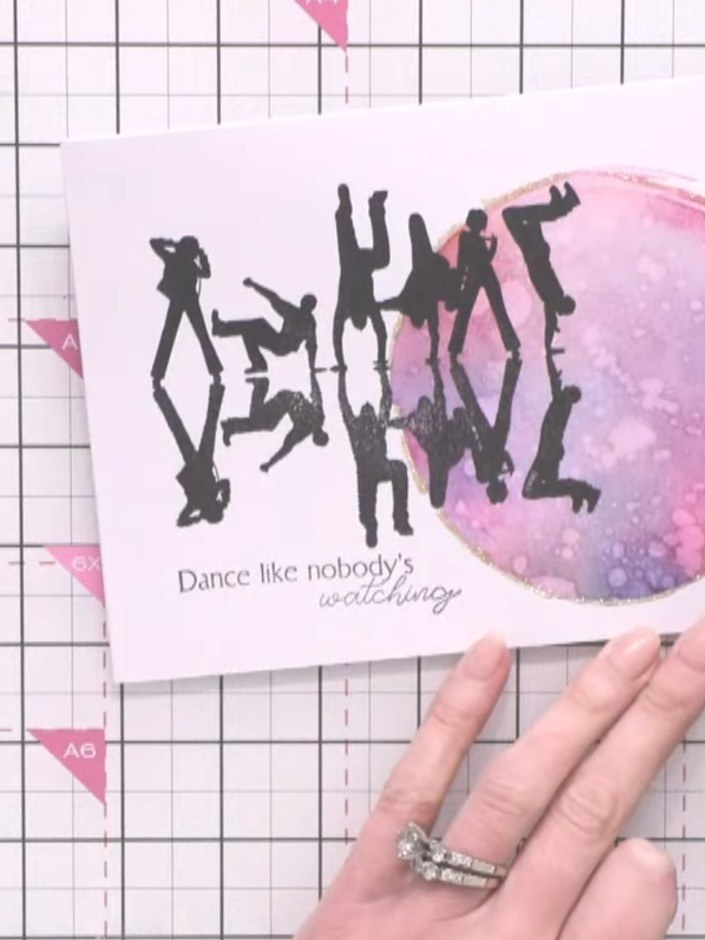
Créez une carte d'anniversaire éclatante au format paysage, avec un fond aquarellé au pochoir cercle dans de doux tons roses et violets, et un superbe tampon de silhouettes de danseurs. Ce projet associe la technique du fondu à l'eau, pour de magnifiques transitions de couleurs, à des motifs tamponnés bien affirmés, pour un résultat artistique et plein de dynamisme. Idéale pour fêter quelqu'un qui adore danser et sortir du lot !
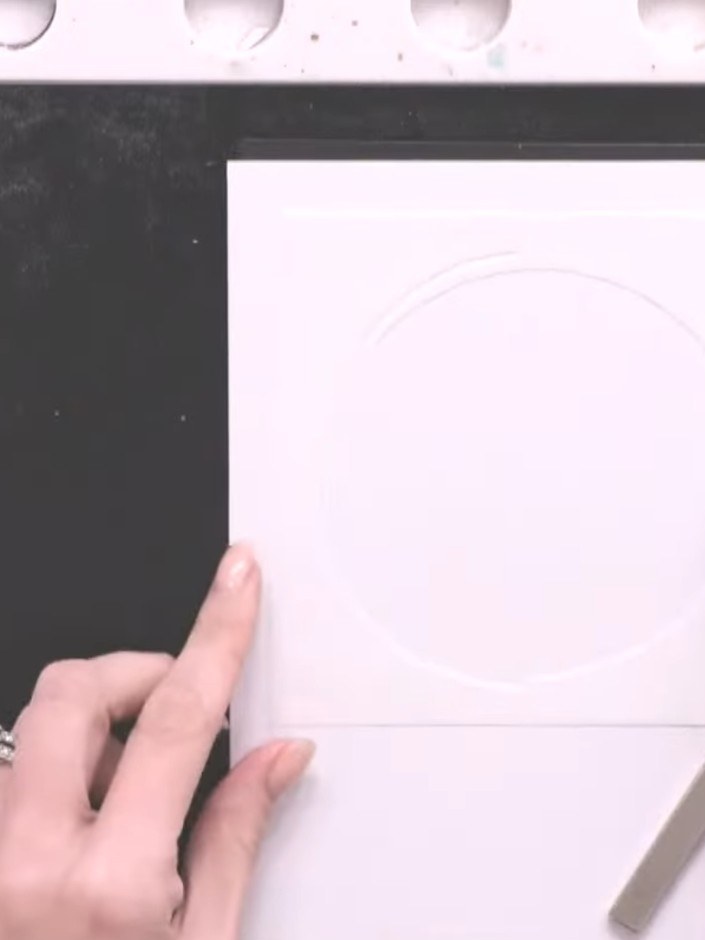
Take your card blank and position it in landscape orientation on your craft mat.
▶ voir cette étape (39:15)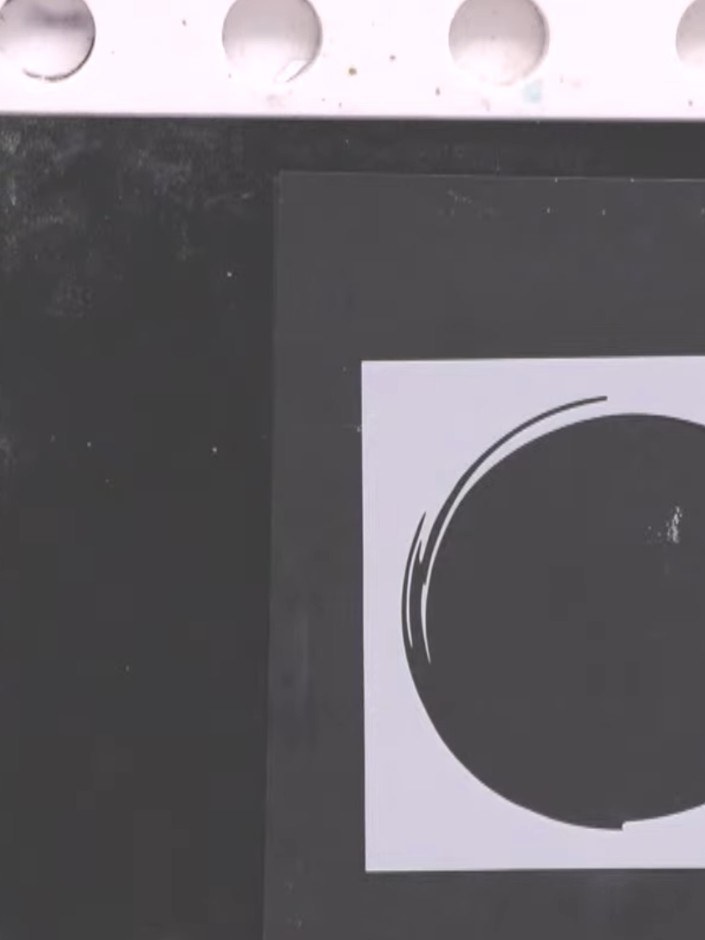
Position the circle stencil high up in the centre of the white card panel.
▶ voir cette étape (39:30)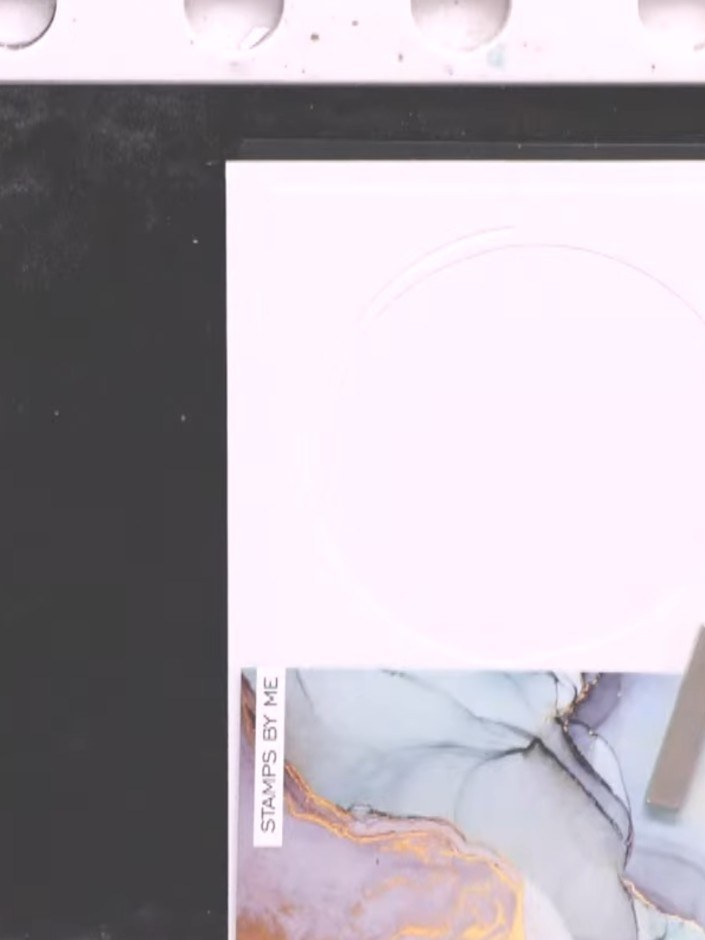
Place scrap paper at the bottom of your white card panel to protect it from ink spillage during stencilling.
▶ voir cette étape (39:45)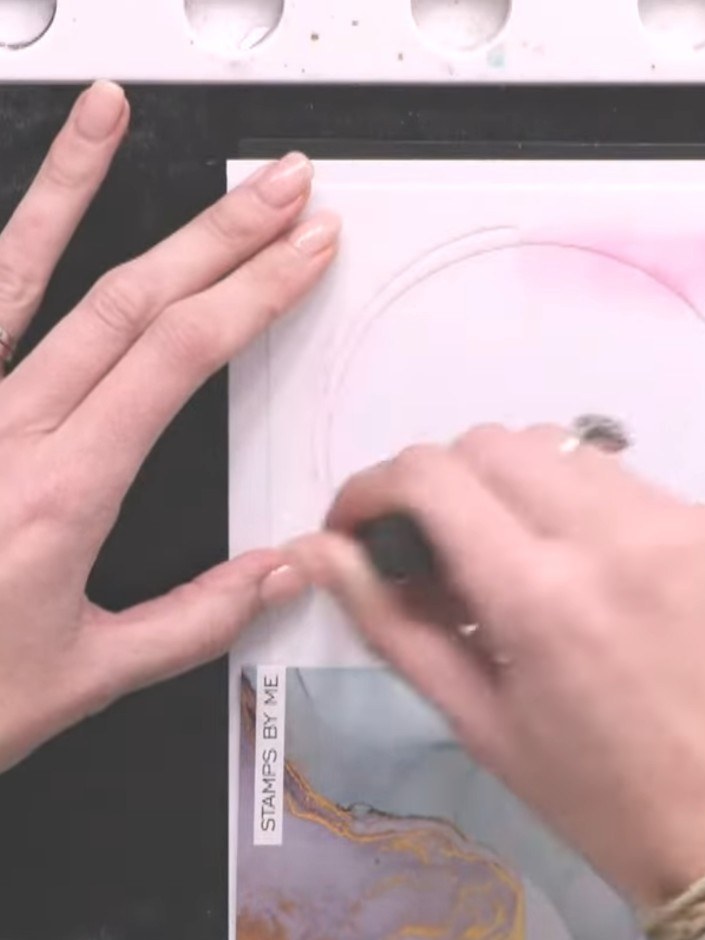
Apply pink ink to a blending brush and dab the colour inside the stylized circle stencil, following the design lines to build up the pink tones.
▶ voir cette étape (40:00)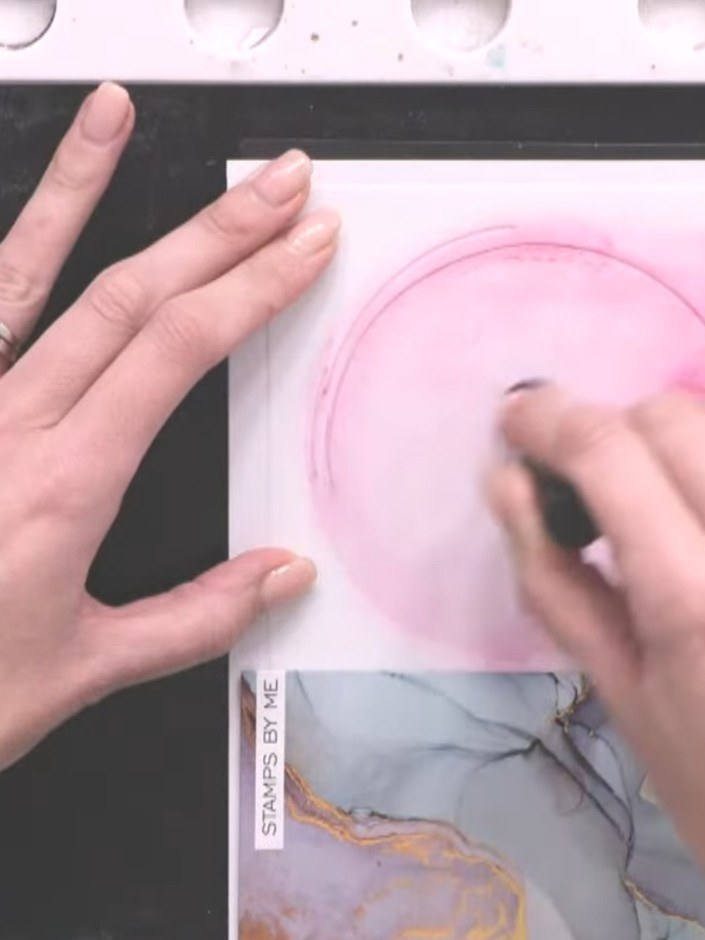
Add touches of orange ink through the circle stencil in some areas, not covering the entire design. Use a blending tool to apply the colour lightly.
▶ voir cette étape (40:30)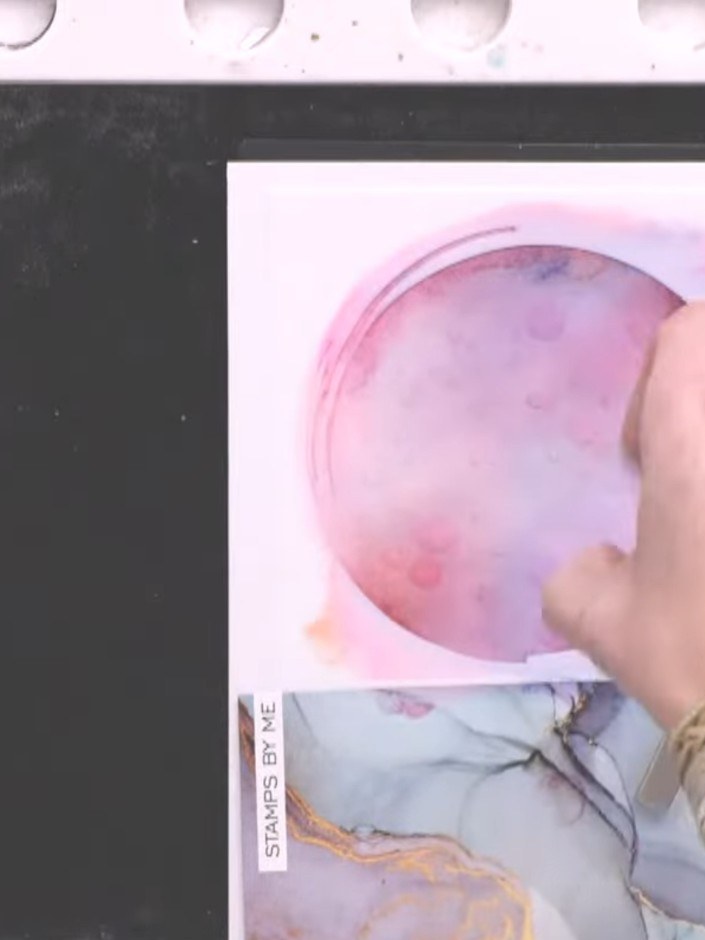
Create a puddle of water on your hand and flick it onto the inked stencil circle to blend the pink and purple colours together.
▶ voir cette étape (43:15)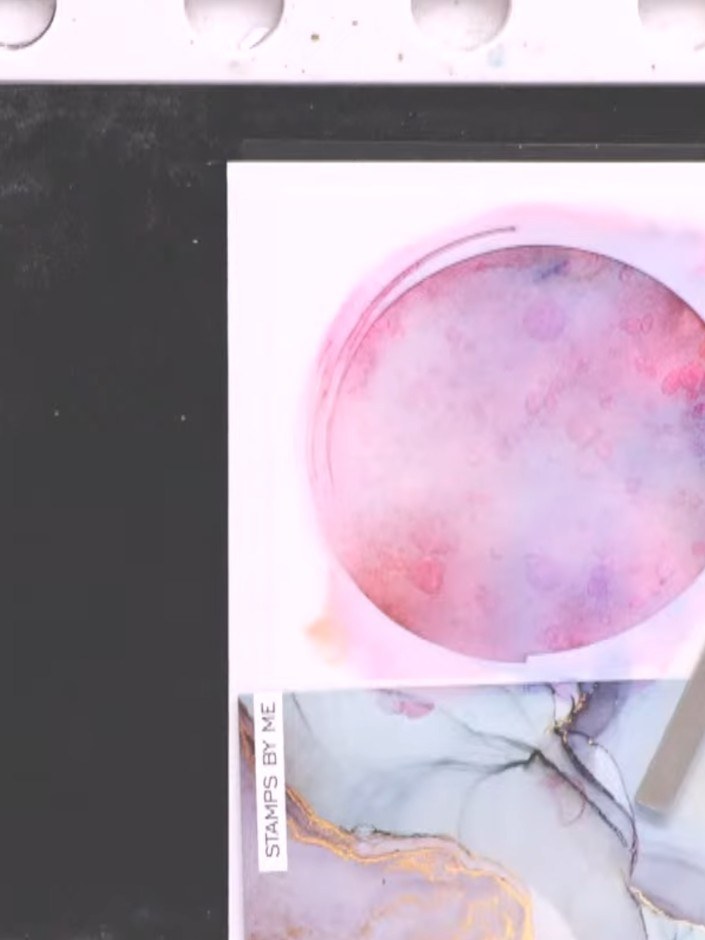
Use a tissue to dab up excess water from the stamped image. This will lift some of the ink to create texture and dimension in your watercolour effect.
▶ voir cette étape (43:30)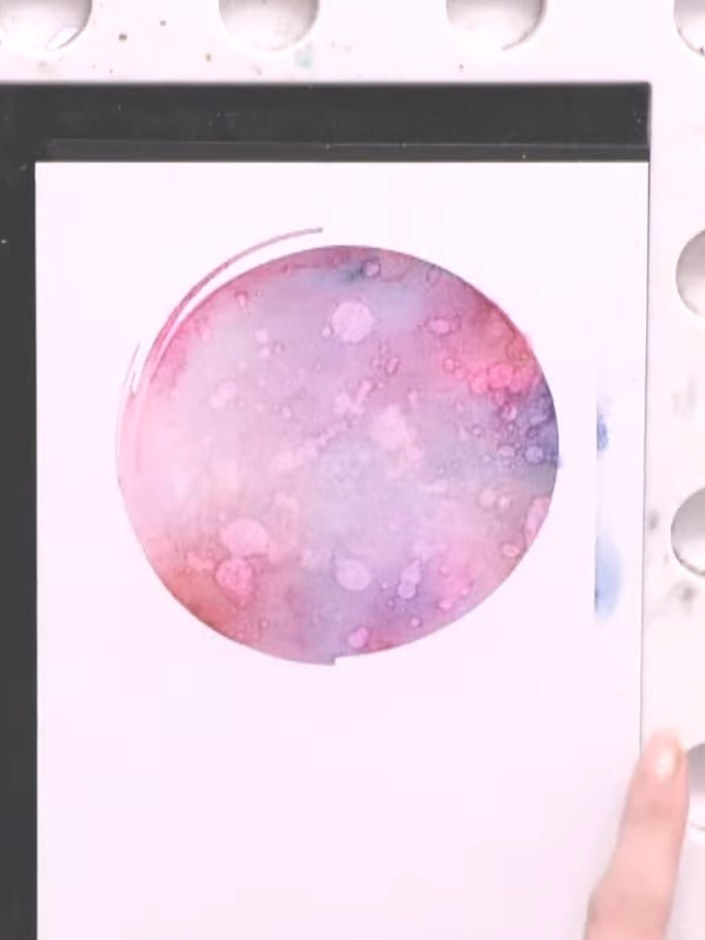
Allow the card to dry completely. You can use a heat tool to speed up the drying process if desired.
▶ voir cette étape (44:00)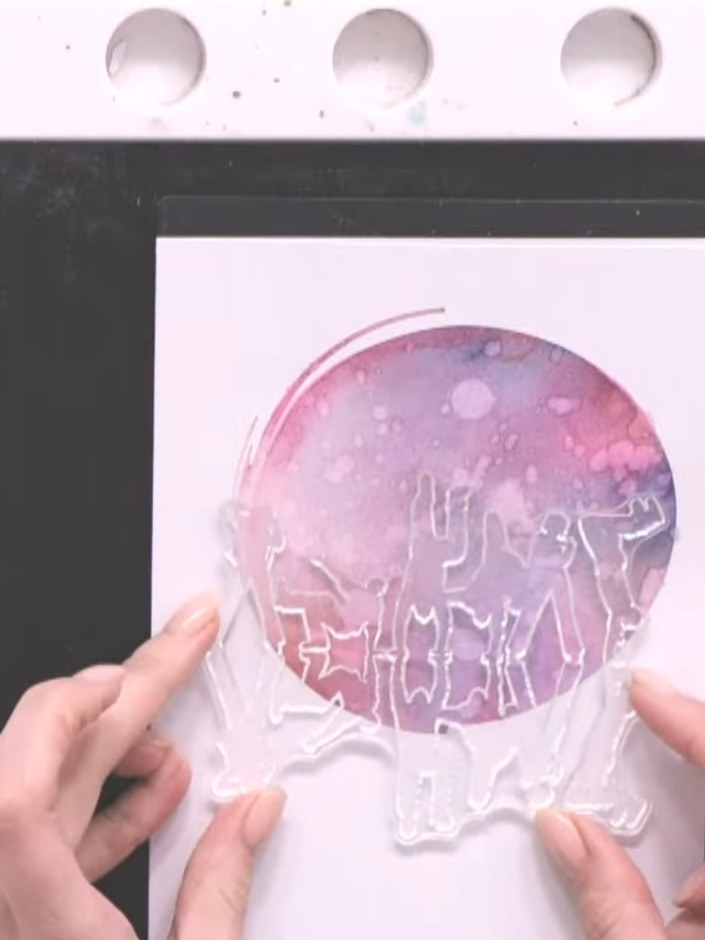
Ink up the full dance crew stamp with black ink using your ink pad.
▶ voir cette étape (46:30)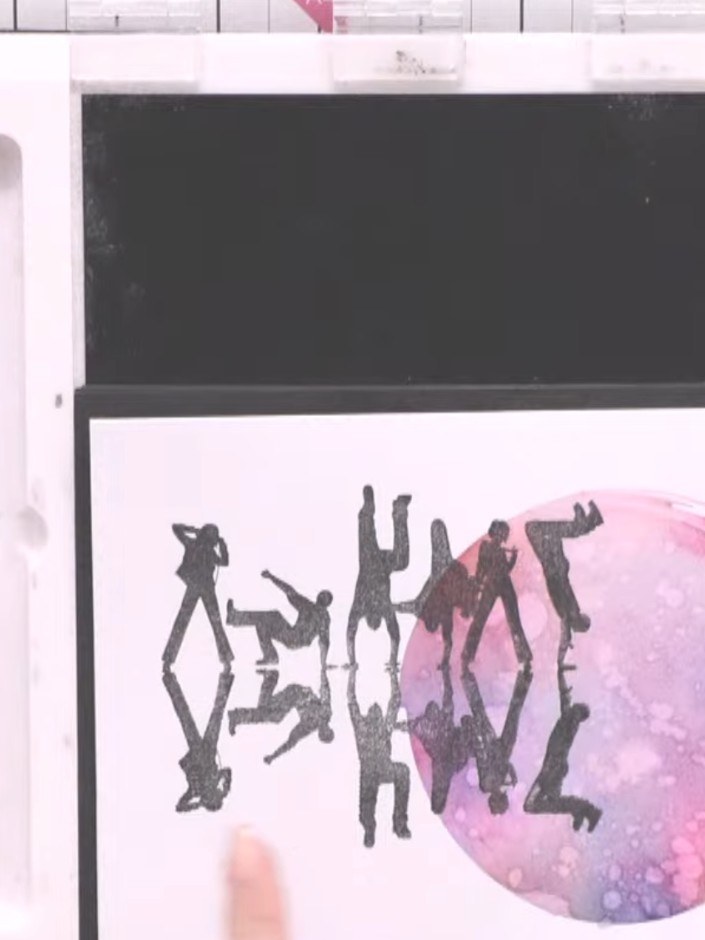
Stamp the dance crew silhouettes from the Friends Forever stamp set half on and half off the left edge of the card for a dynamic landscape composition. Position the figures so they overlap slightly with the watercolour circle.
▶ voir cette étape (48:00)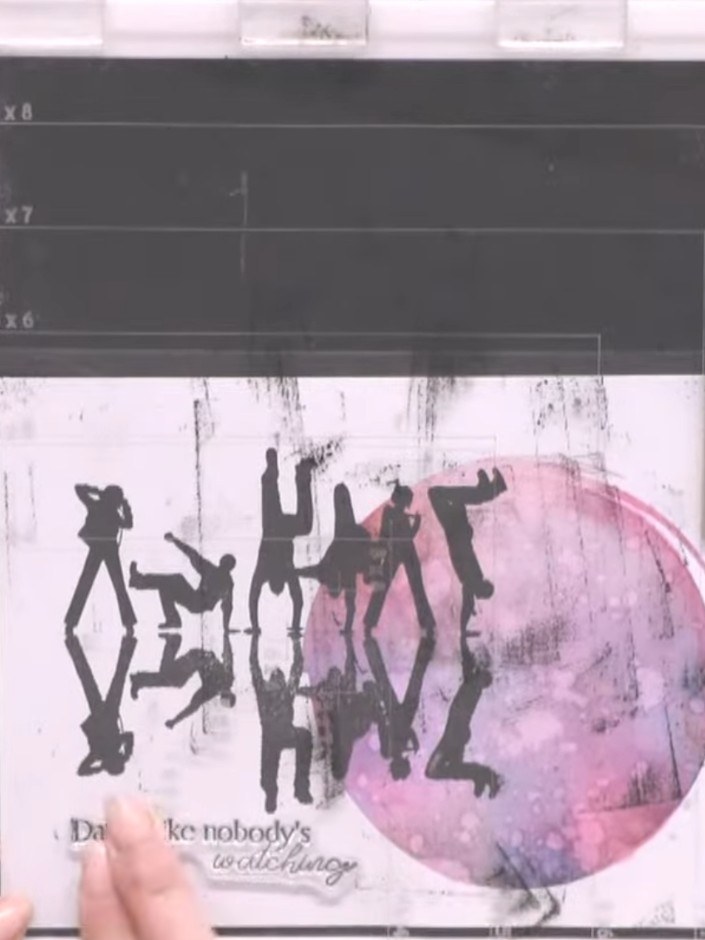
Add a sentiment from the stamp set, positioning it below the dance crew silhouettes to complement the design. The sentiment shown reads 'Don't let nobody's to all change'.
▶ voir cette étape (50:00)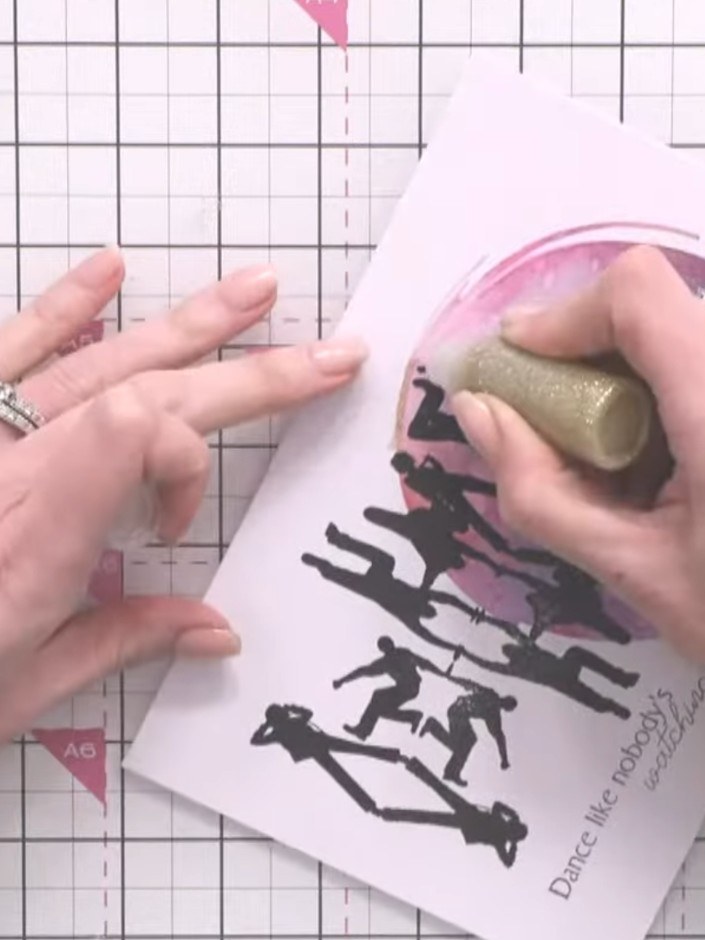
Optional: Apply gold glitter glue in a halo around the stamped dancers, avoiding the black ink. This adds a subtle shimmer to highlight the design.
▶ voir cette étape (50:45)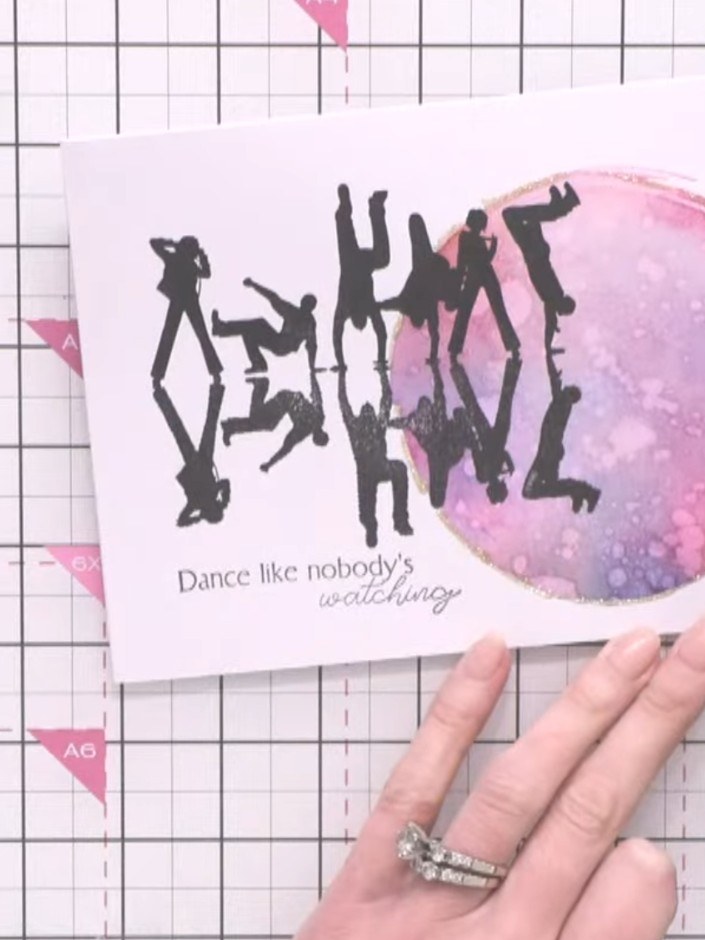
If desired, add white gel pen or sparkle pen details to enhance the dancers and add highlights to the watercolour circle, being careful not to obscure the design.
▶ voir cette étape (51:30)Rédigé à partir de l'émission elle-même. Découvrez tous les guides de nos émissions · tutoriels gratuits · regarder en direct sur My Telly
