Offrez à vos amis 10 € de réduction sur leur première commande !
Parrainez un AMI








Un projet de notre émission en direct Aperçu des produits QVC.DE – Diffusion du 24 août · 24/08/2024 · à voir dès 13:30
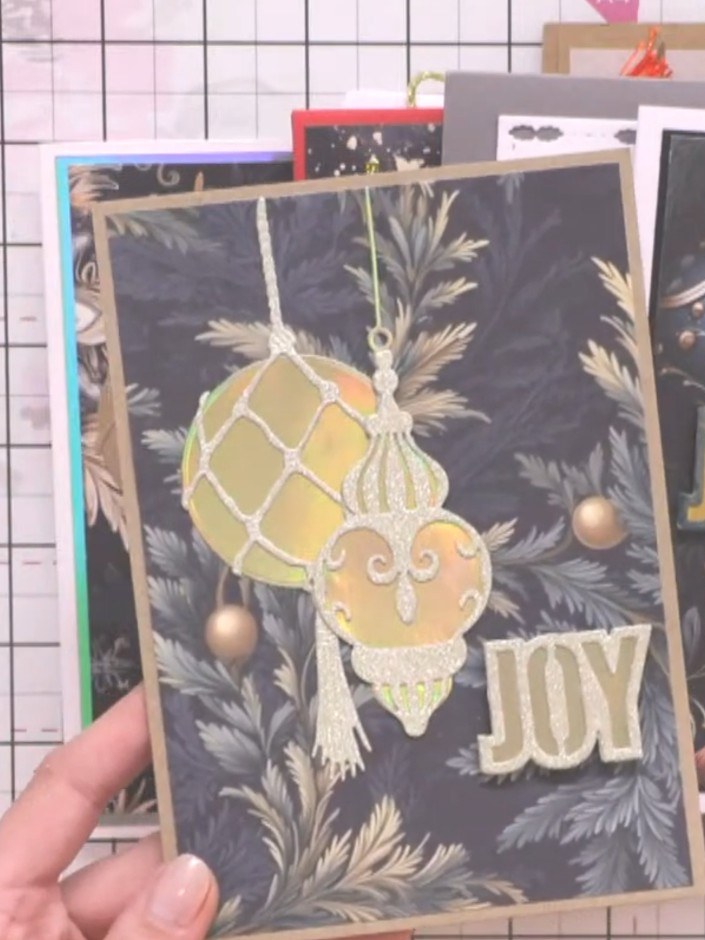
Réalisez une superbe carte festive ornée de boules de Noël découpées à la matrice et superposées, en carton miroir pailleté et papiers coordonnés. Ce modèle luxueux met en valeur des boules en relief et d'élégants textes comme « Noel », « Joy » et « Sparkle ». La technique multicouche apporte une belle profondeur et des reflets chatoyants pour une carte de Noël vraiment unique.
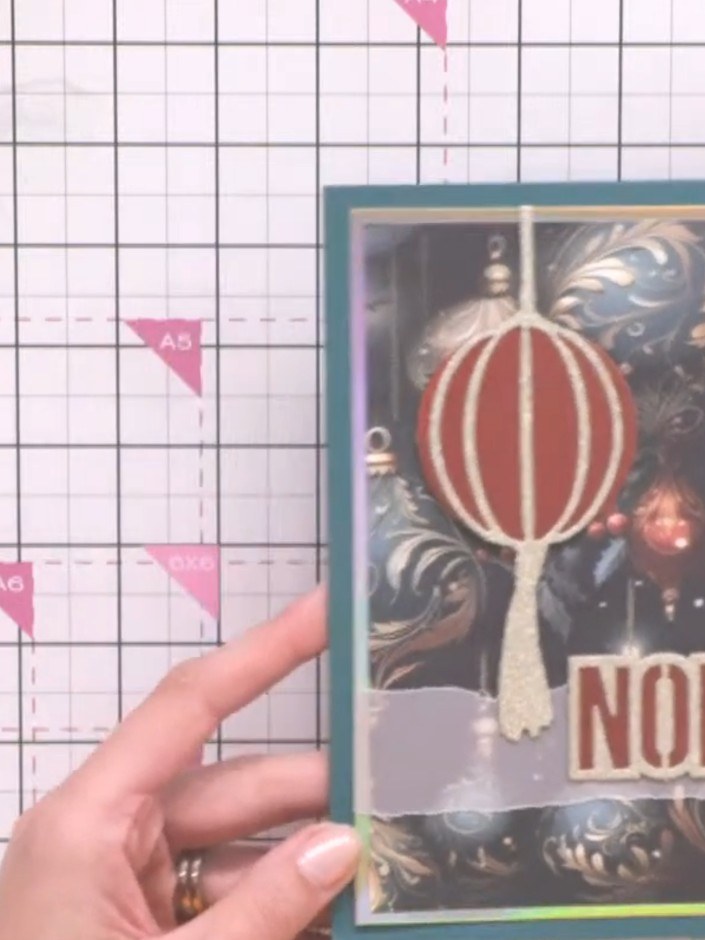
Select a 5x7 inch or A2 card blank in your chosen colour as your base. This will form the foundation for your layered Christmas card.
▶ voir cette étape (13:30)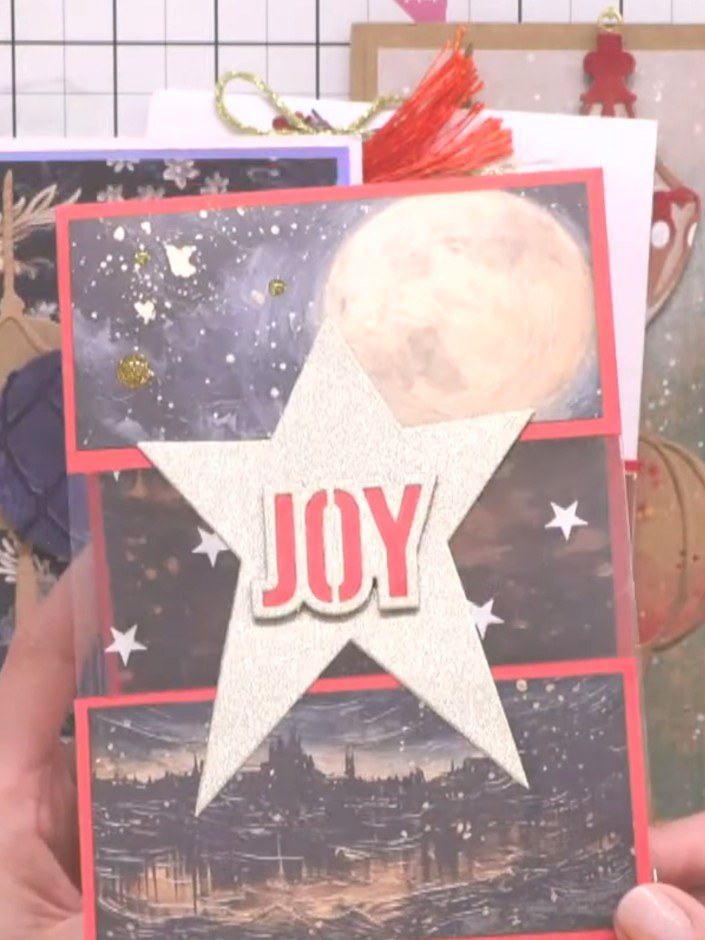
Découpez les motifs de boules du bloc de papier Festive Baubles à l'aide des matrices de découpe coordonnées. Select your favourite designs to feature on your card.
▶ voir cette étape (13:45)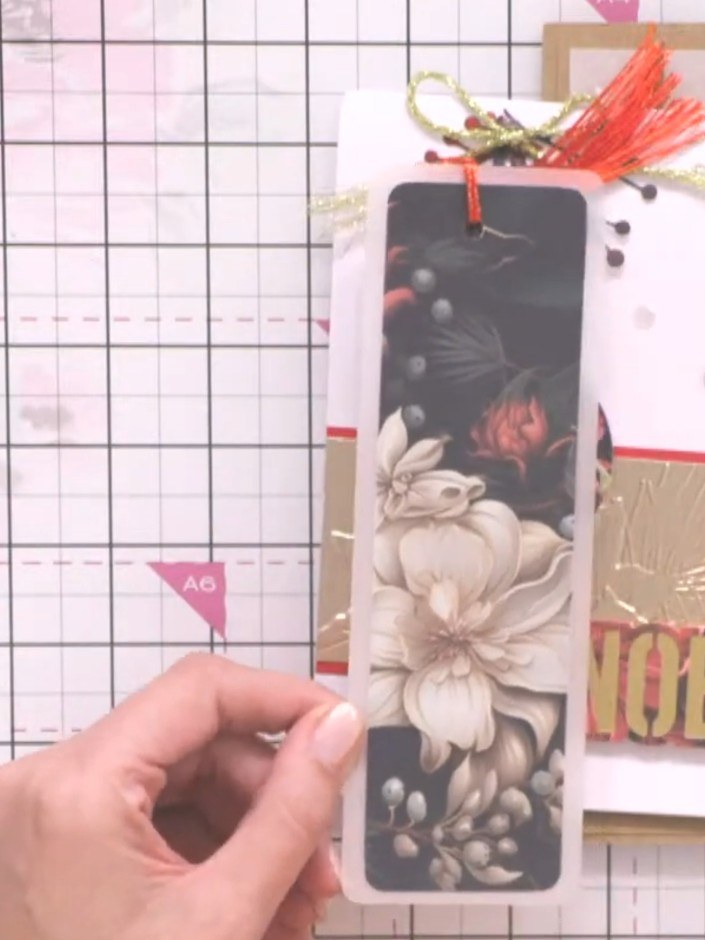
Layer your bauble cut-outs onto mirror board or sparkly card stock to add dimension and sparkle to your design.
▶ voir cette étape (13:50)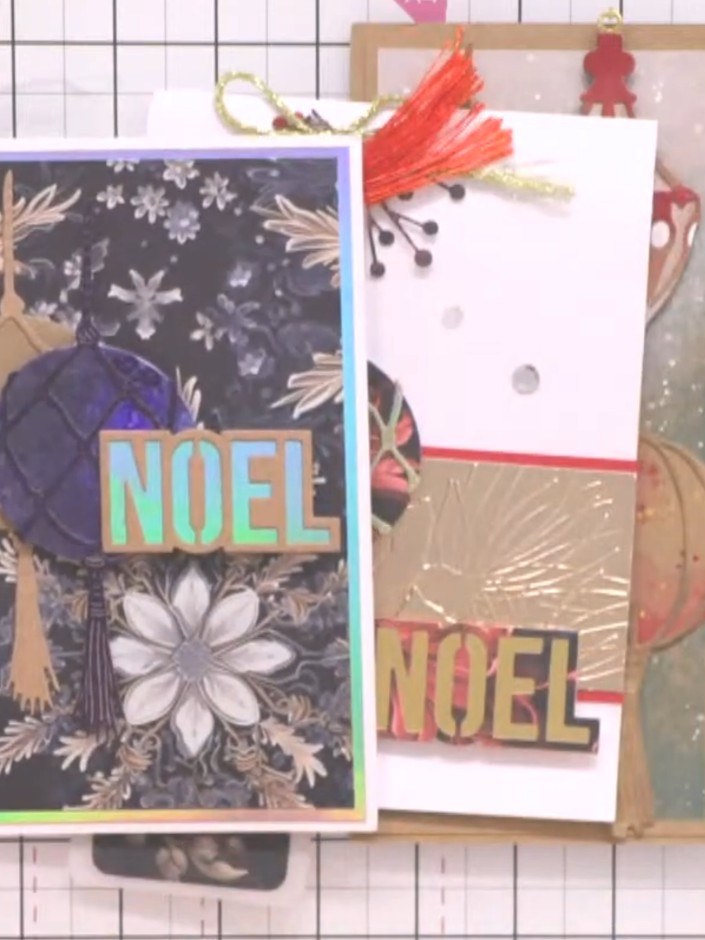
Adhere the layered word die-cuts onto the lower panel of your card. Position the sentiment word centrally to create depth and dimension.
▶ voir cette étape (14:15)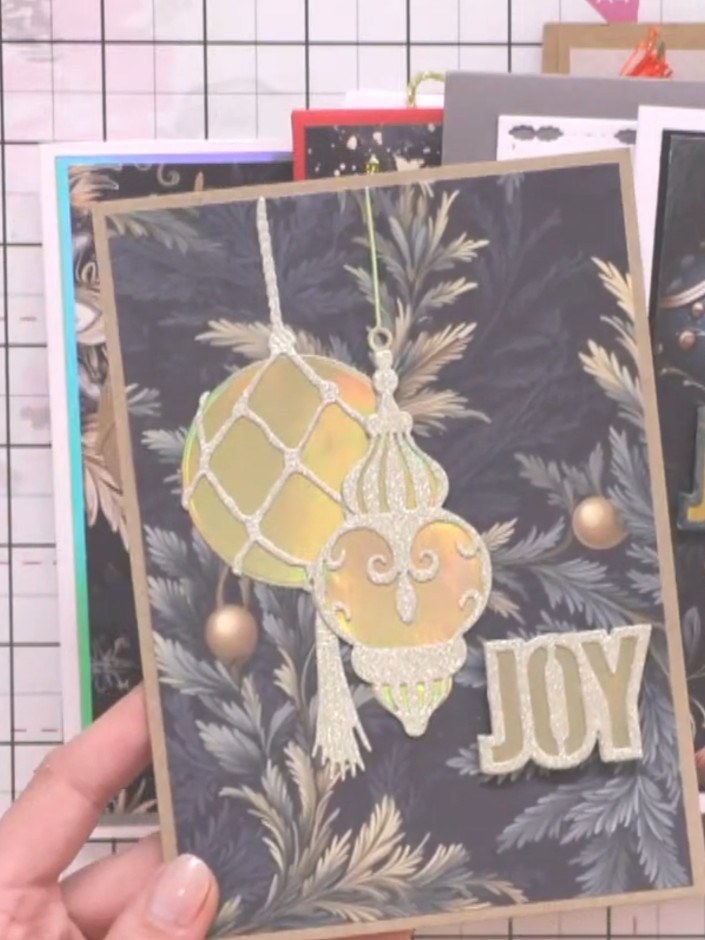
Mount the decorated bauble element onto your card base using foam pads for dimension. Position the gold bauble with white embossed details centrally on the dark patterned background. Add the 'JOY' sentiment below the bauble.
▶ voir cette étape (14:30)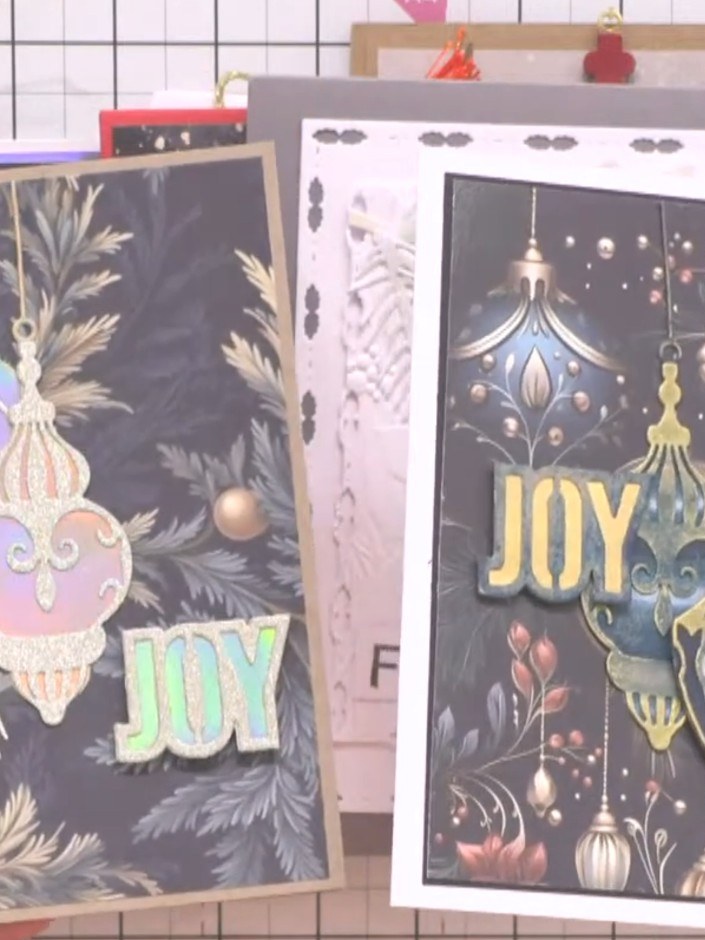
Place the decorative paper panels on top of a card blank to complete your festive baubles layered Christmas card. Add any additional sparkles or embellishments as desired to finish.
▶ voir cette étape (14:40)Rédigé à partir de l'émission elle-même. Découvrez tous les guides de nos émissions · tutoriels gratuits · regarder en direct sur My Telly