Offrez à vos amis 10 € de réduction sur leur première commande !
Parrainez un AMI








Un projet de notre émission en direct MON PODCAST - Retrouvez mes dernières nouvelles, diffusé le 3 juin 2024 · 03/06/2024 · à voir dès 43:00
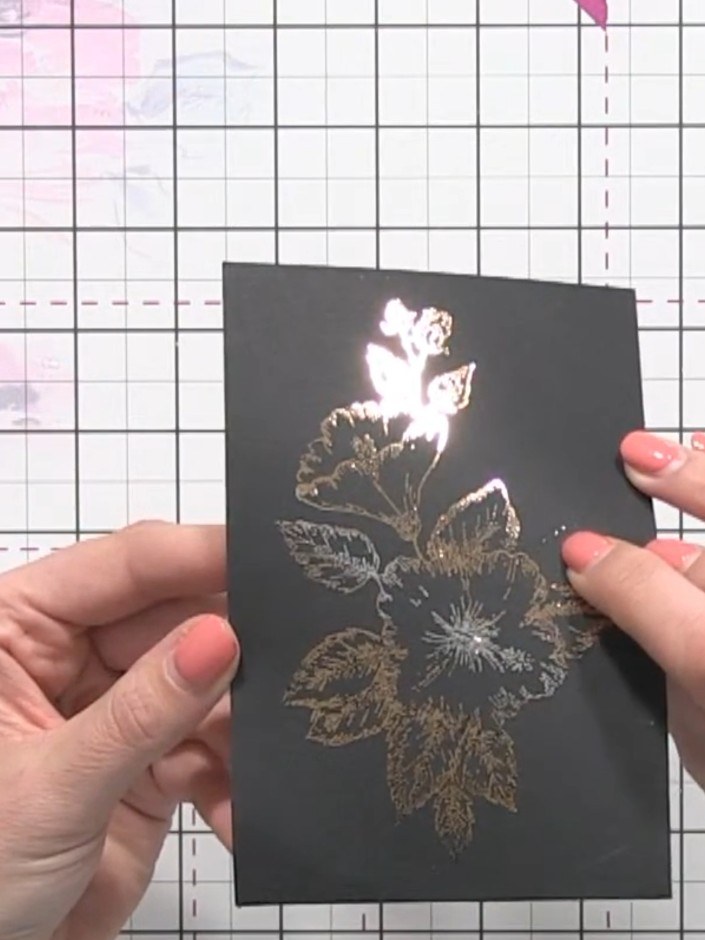
Réalisez un magnifique papillon en foil sur papier cartonné blanc, avec une élégante finition or métallisé. Grâce à l'encre adhésive, à la poudre adhésive et aux feuilles de foil, vous obtiendrez un effet foil digne du commerce, sans machine de dorure. Cette superbe technique donne un éclat métallisé professionnel à vos images tamponnées, idéal pour vos cartes et vos projets papier.
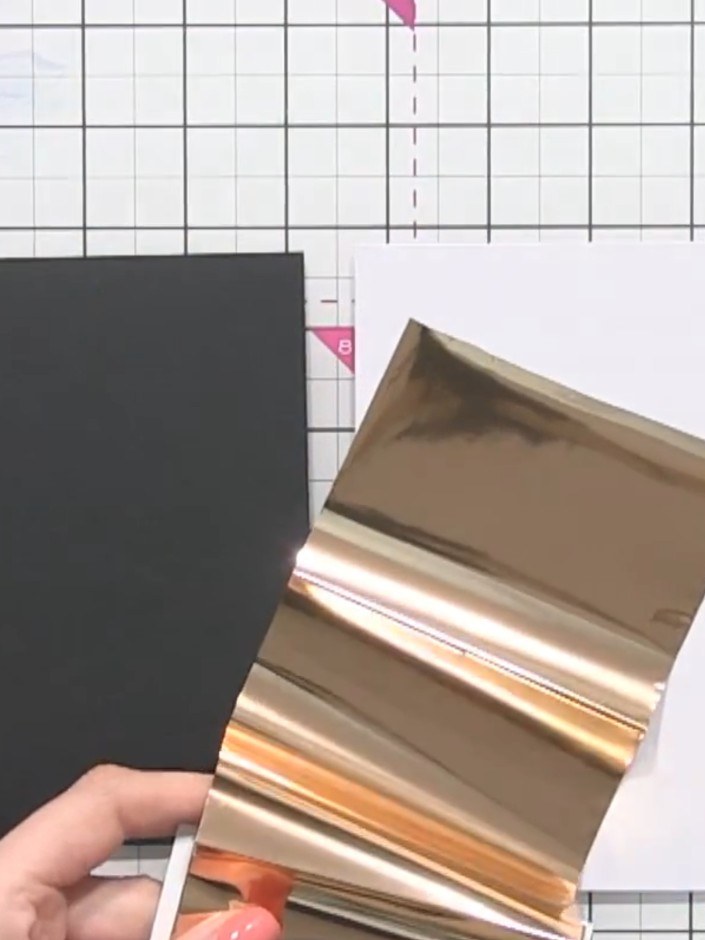
Gather your materials for this project: foil sheets in your chosen colours (such as rose gold), bonding powder, a sticky ink pad, a heat gun, and your selected stamp set.
▶ voir cette étape (43:00)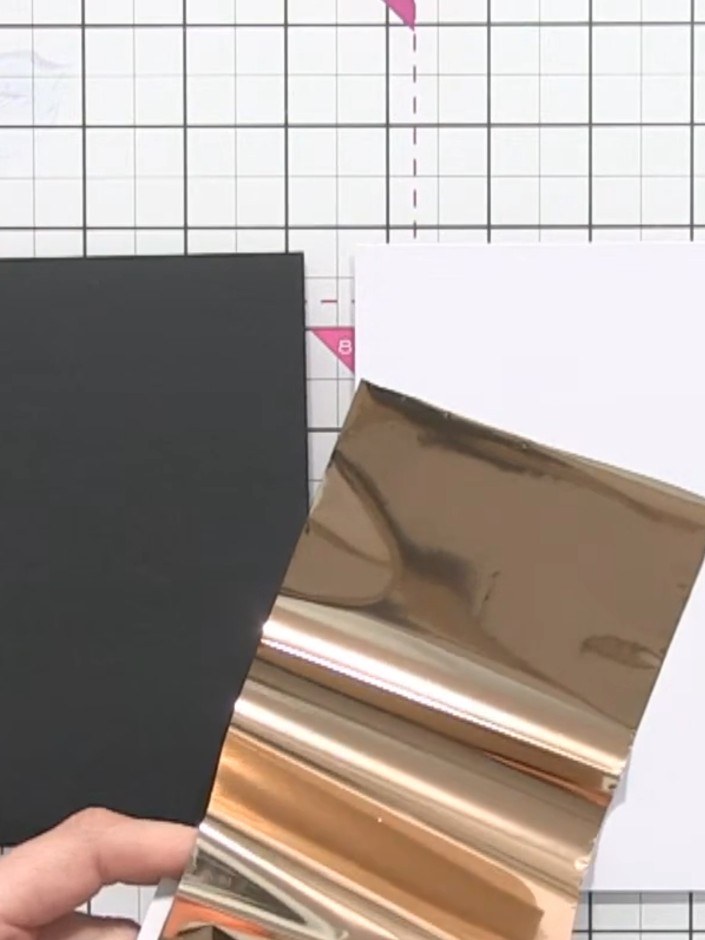
Cut two pieces of rose gold foil from the sheet to the length of your black card blank using sharp scissors.
▶ voir cette étape (44:00)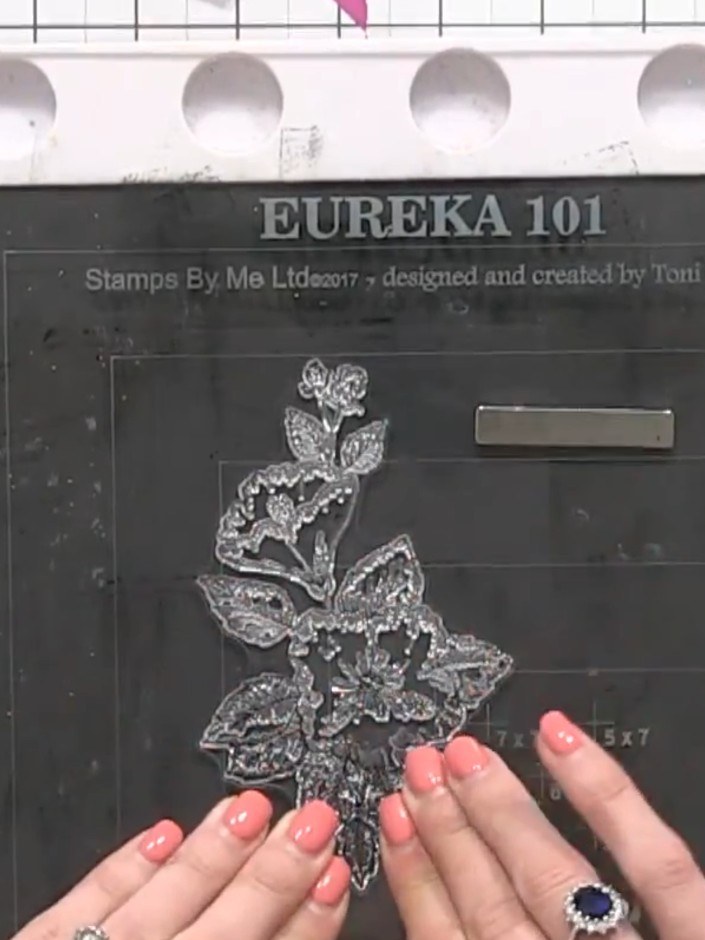
Sprinkle the bonding powder generously over the stamped floral design on the black card. Ensure the powder covers all areas of the stamped image completely.
▶ voir cette étape (50:00)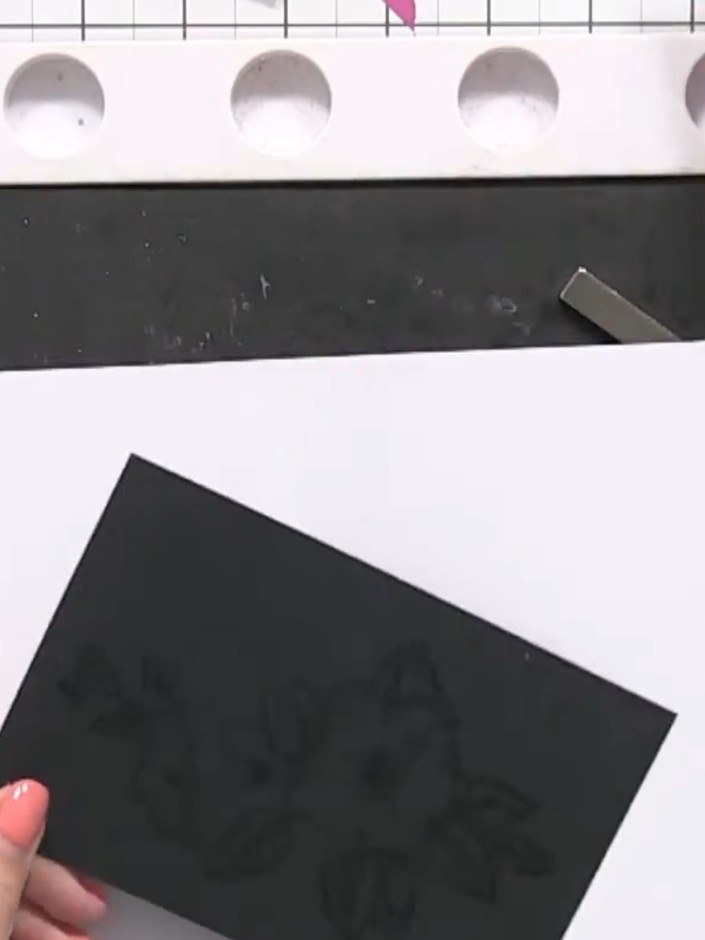
Place the stamped black card stock onto white card stock to catch any excess powder. Use a heat gun to melt the embossing powder, holding it about 15cm above the surface for approximately 60 seconds until the powder becomes clear and shiny.
▶ voir cette étape (50:45)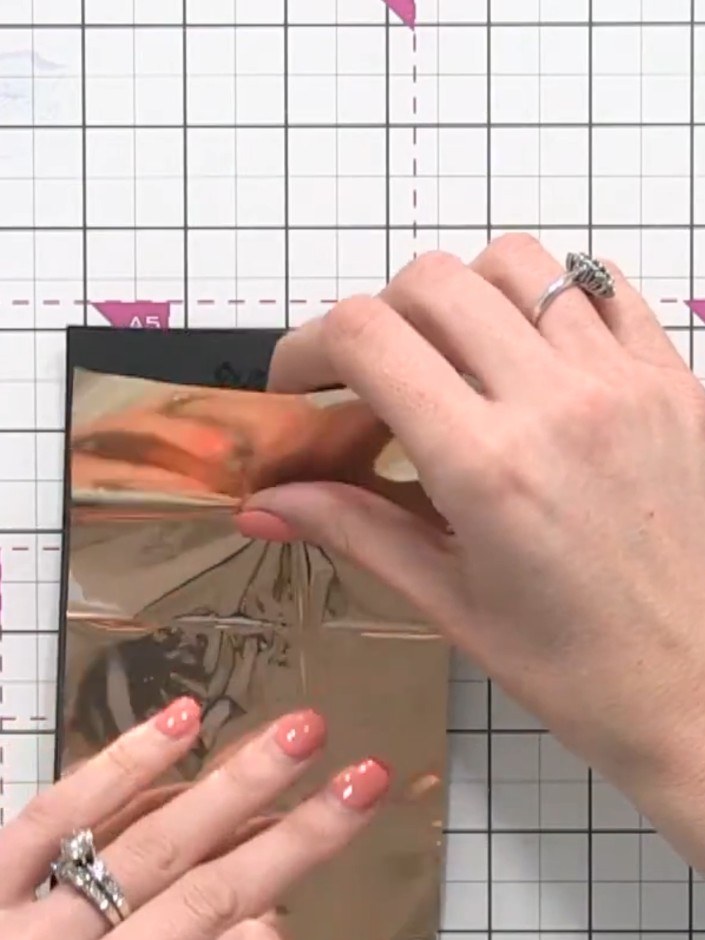
Place your foil sheet on top of the heated bonding powder, ensuring it covers the stamped design completely. The foil should be placed shiny side up over the black card stock.
▶ voir cette étape (53:30)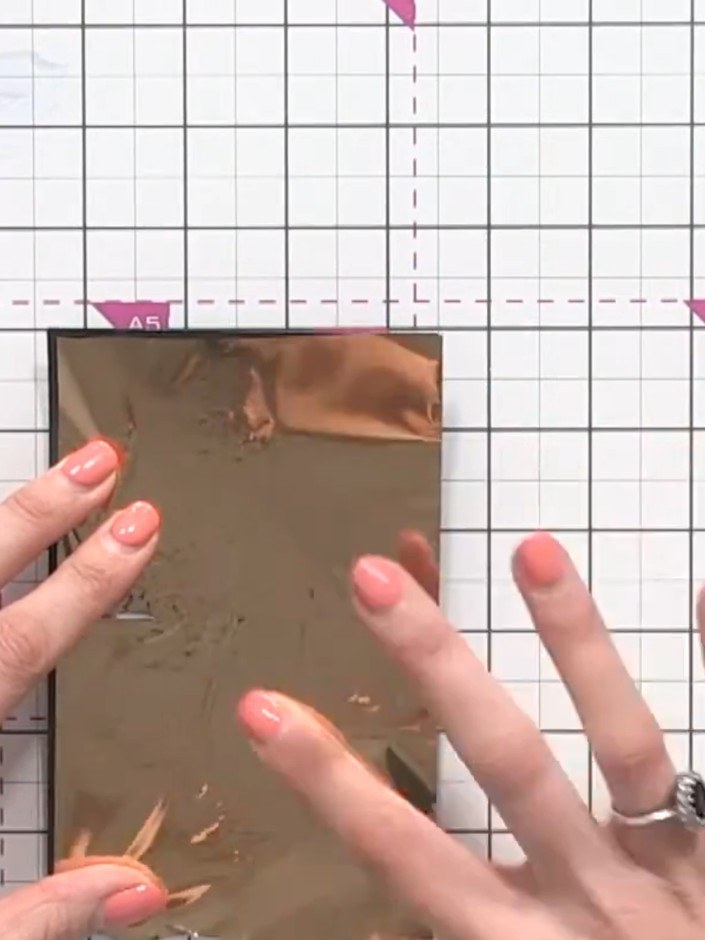
Burnish the foil firmly over the design using your finger. Work carefully into all the detailed areas to ensure complete coverage of the stamped image.
▶ voir cette étape (53:45)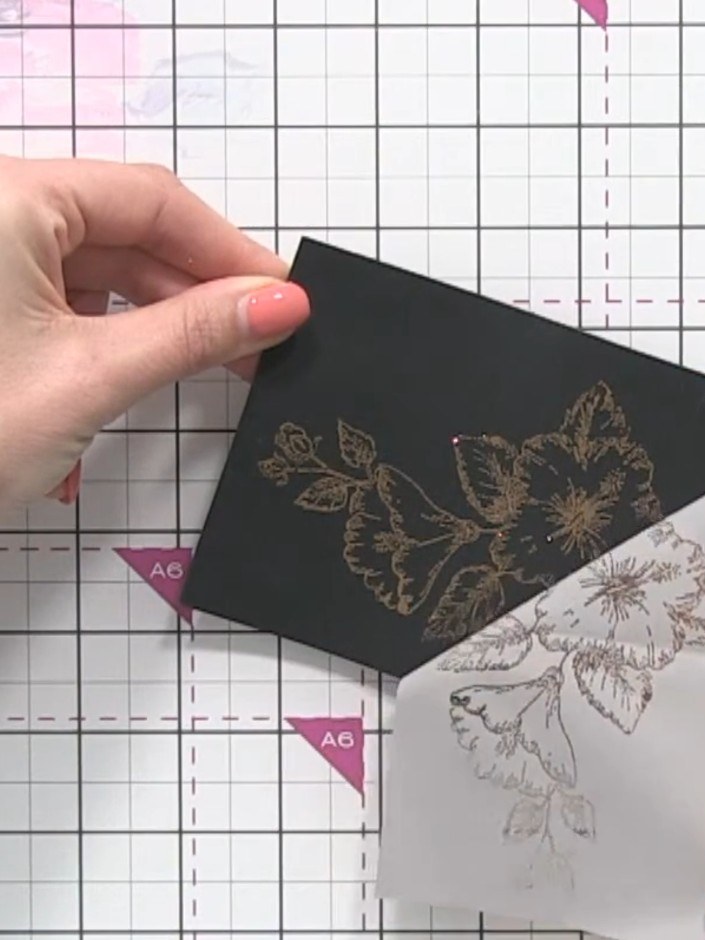
Carefully peel back the foil sheet from the black card stock to reveal the foiled floral design underneath.
▶ voir cette étape (54:30)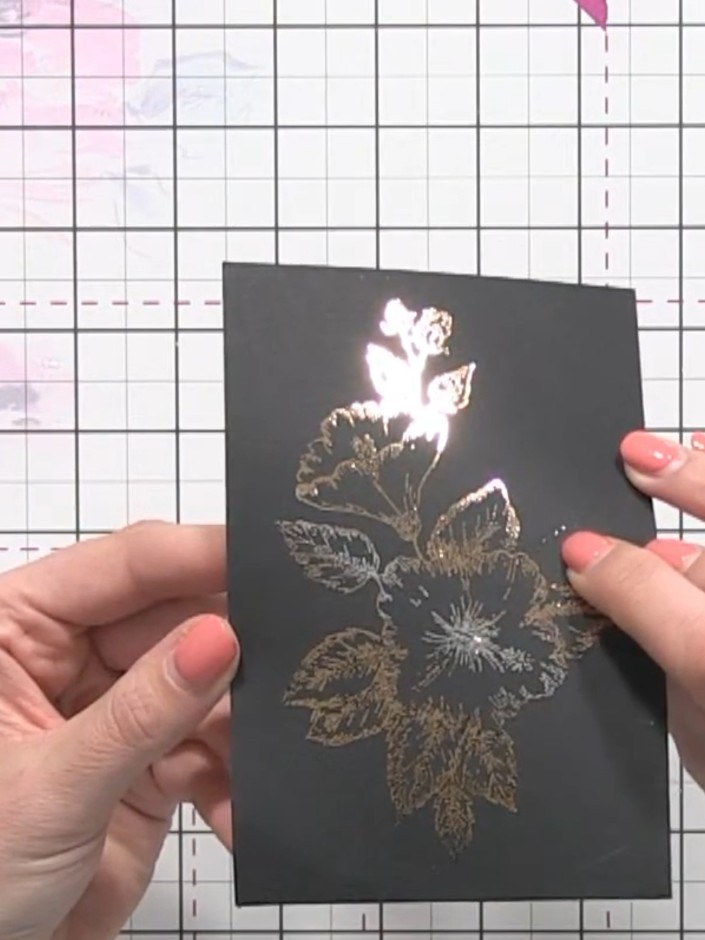
Check the foiled design for any missed spots. If you find areas where the foil hasn't adhered, reheat the bonding powder in those areas with the heat tool and reapply the foil.
▶ voir cette étape (55:00)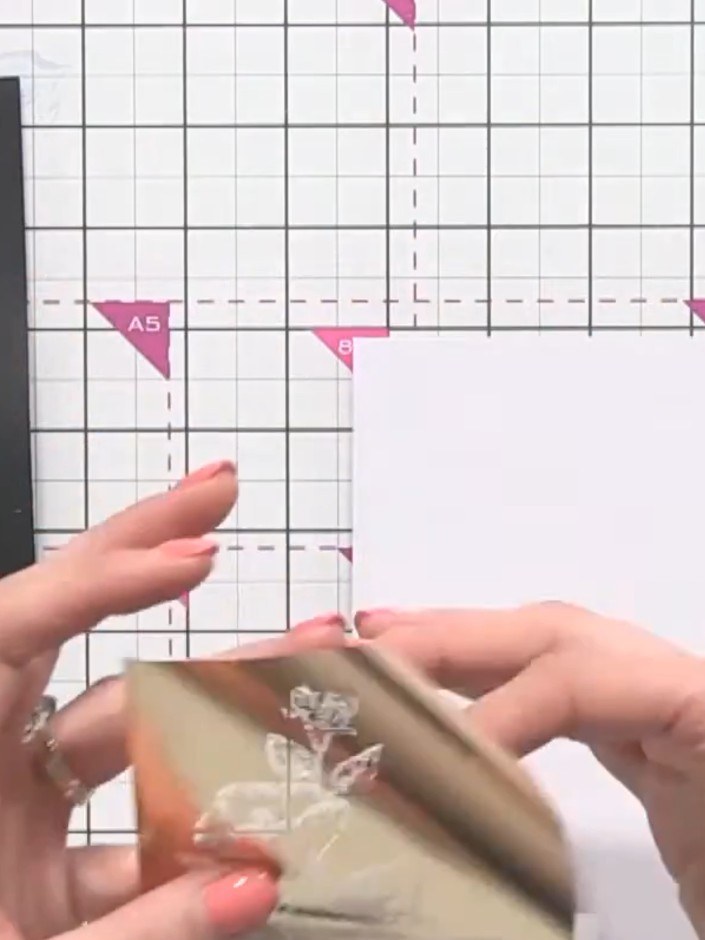
Use an eraser to gently remove any foil that has transferred outside your stamped design. Work carefully to clean up the edges whilst preserving the gold foiled floral image on the black card.
▶ voir cette étape (55:15)Rédigé à partir de l'émission elle-même. Découvrez tous les guides de nos émissions · tutoriels gratuits · regarder en direct sur My Telly