Offrez à vos amis 10 € de réduction sur leur première commande !
Parrainez un AMI








Un projet de notre émission en direct MON PODCAST - Retrouvez mes dernières nouvelles, diffusé le 6 mai 2024 · 06/05/2024 · à voir dès 39:30
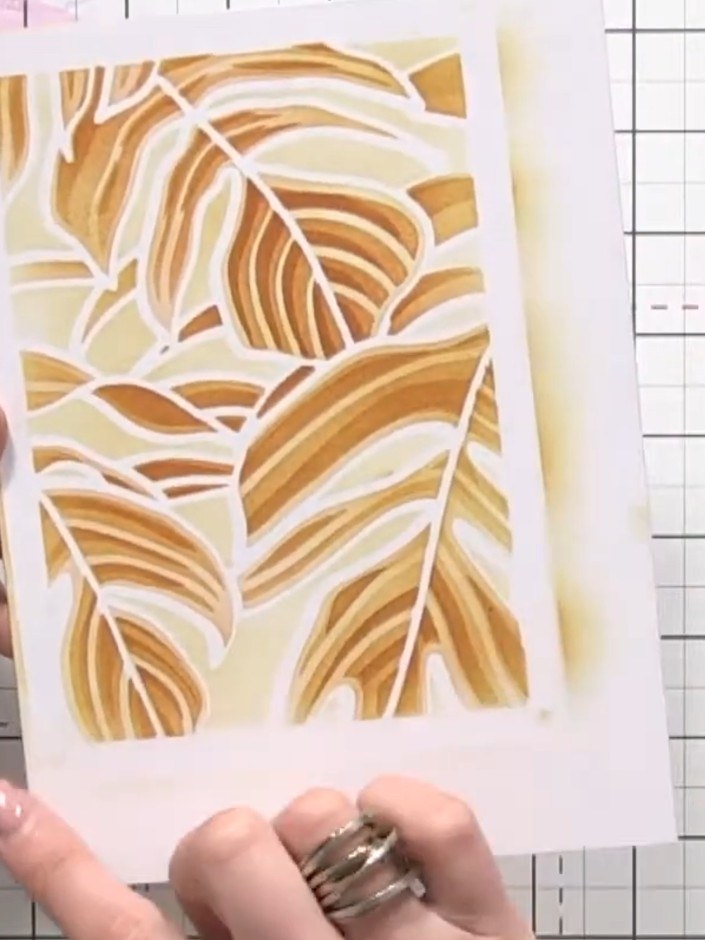
Réalisez une élégante carte végétale ornée de feuilles de monstera superposées dans de chaleureux tons dorés vintage. Grâce à un système de pochoirs en quatre couches, créez profondeur et relief en appuyant un peu plus fort à chaque couche, puis ajoutez une pâte scintillante pour un léger miroitement et de la texture. Le résultat : une carte au fond raffiné, avec de superbes effets d'ombre et des embellissements qui attirent le regard.
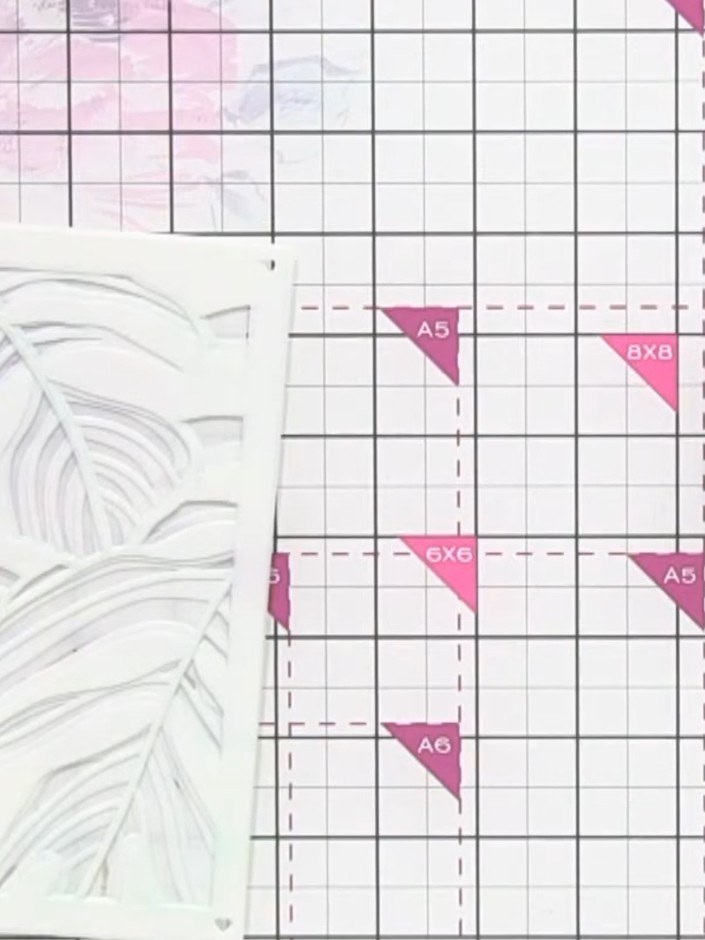
Gather your materials: white card, Distress Ink in Vintage Photo or Wild Honey, blending brushes, and the numbered leaf stencil set (stencils 1-4). Arrange the stencils in numerical order ready for use.
▶ voir cette étape (40:15)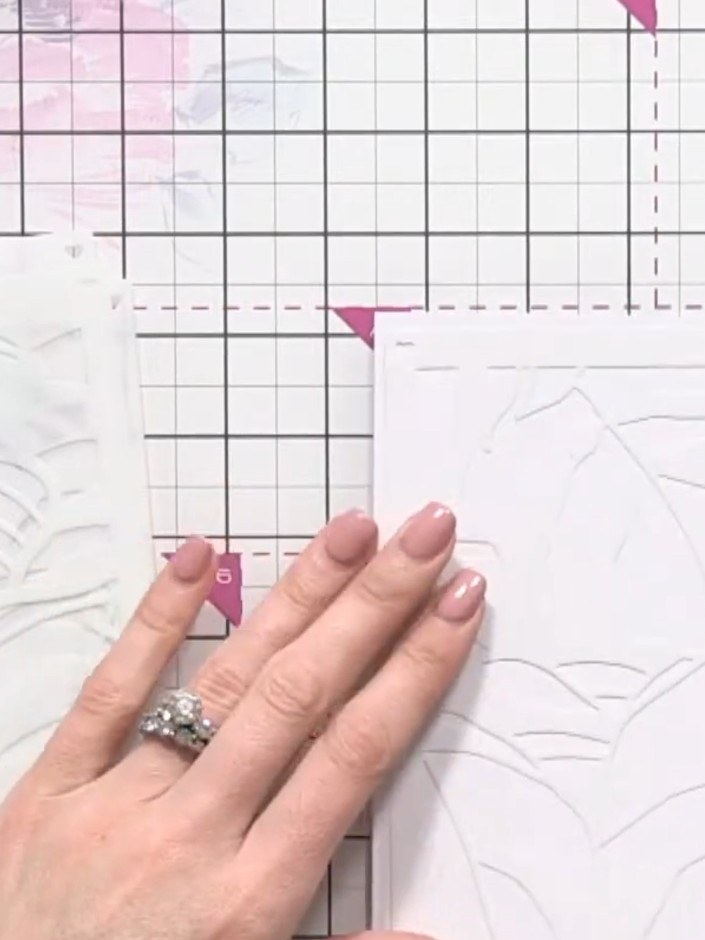
Place stencil number one on your card. Apply the ink pad very lightly using minimal pressure to create a soft, generational base layer.
▶ voir cette étape (42:00)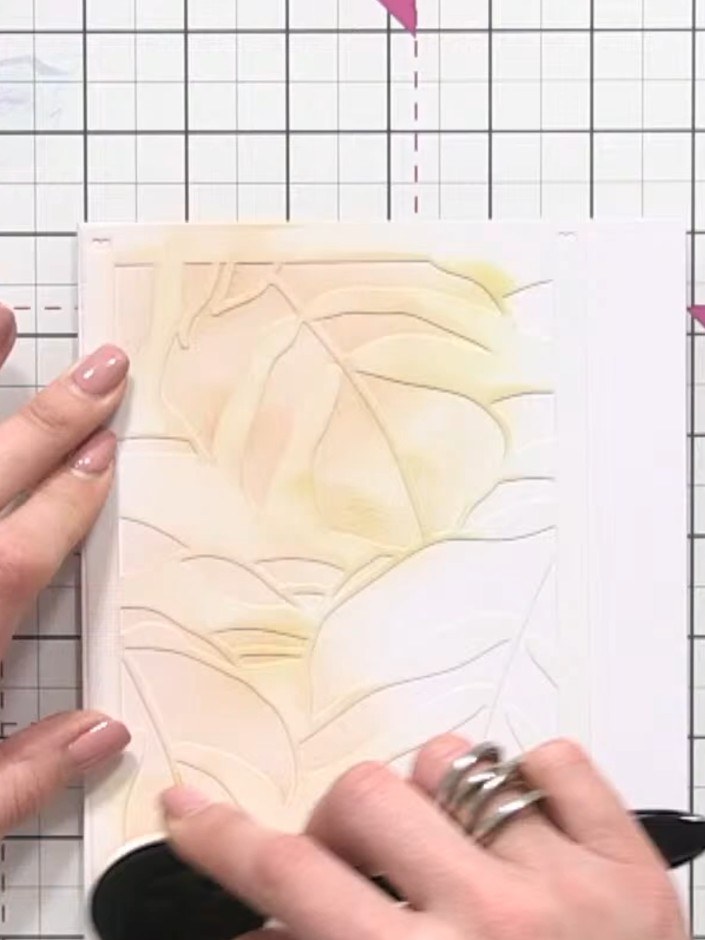
Position the second stencil over your card and apply the same yellow ink with the blending sponge, pressing slightly harder than the first layer to build up colour gradually across the leaves.
▶ voir cette étape (43:00)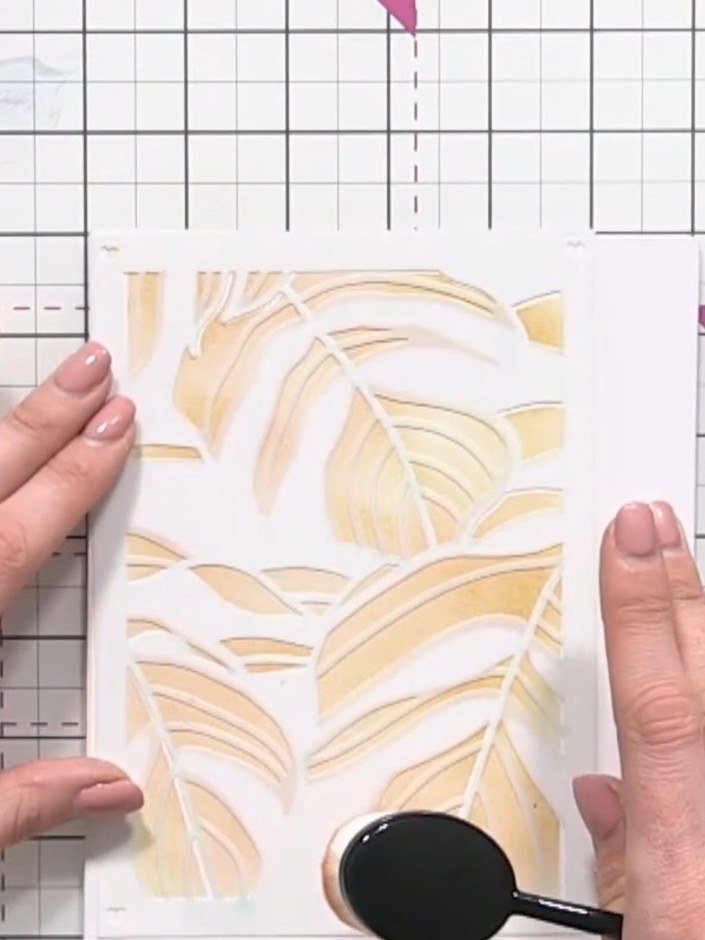
Position stencil number three over your card and apply ink using the blending tool with increased pressure. This will deepen the colour and add more definition to the leaf shapes.
▶ voir cette étape (44:00)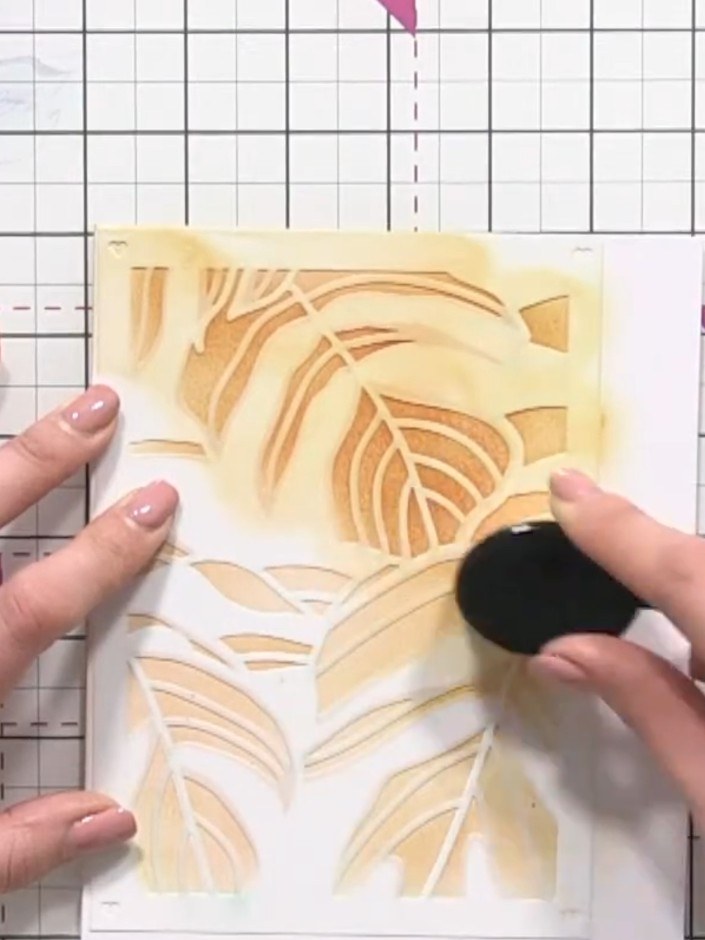
Place stencil number four over your card and hold it firmly in position with one hand. Using the blending brush, apply ink through the stencil to add the recessed background area and complete the layered leaf effect.
▶ voir cette étape (45:00)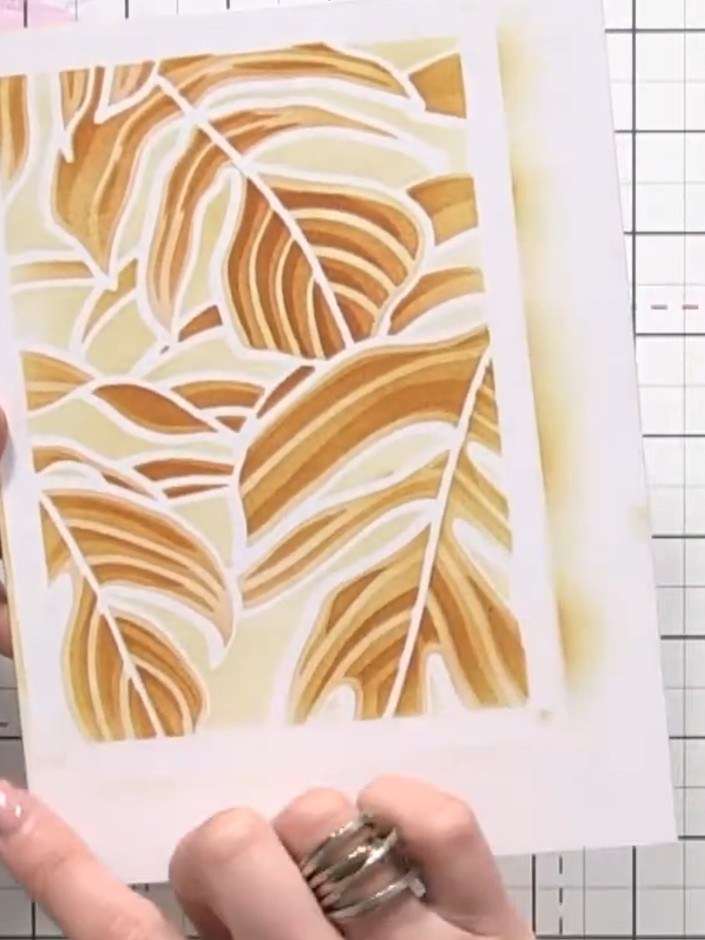
If desired, return to stencil number three and apply a coordinating texture paste through it to add subtle sparkle and dimension to selected areas of the leaf design.
▶ voir cette étape (49:00)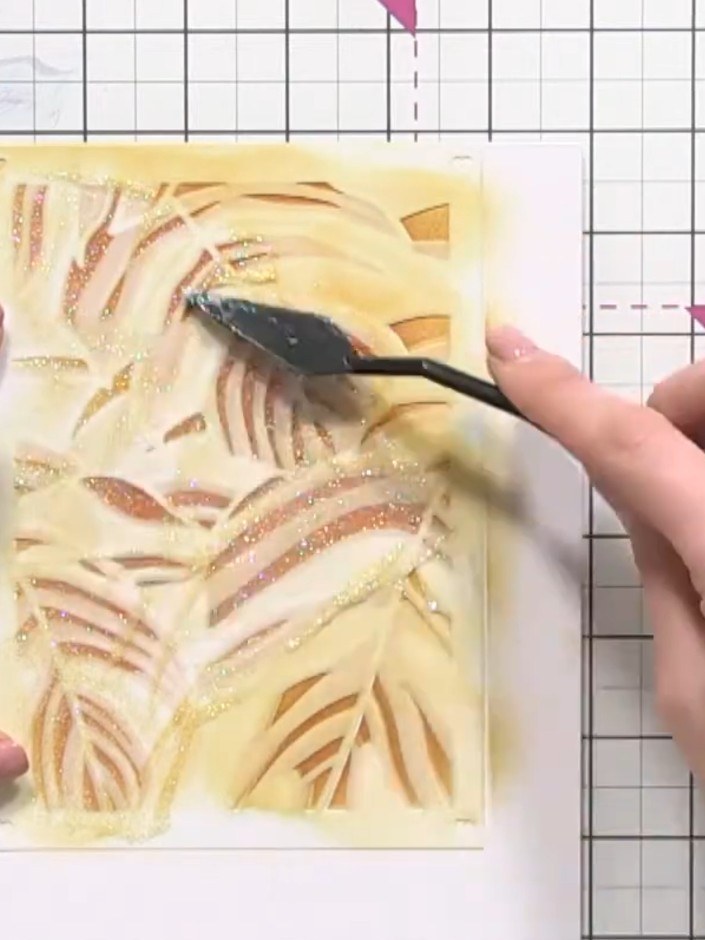
Allow the card to dry completely. You can speed up the drying process with a heat tool if needed, but avoid leaving the card to sit wet overnight. Once dry, trim the panel and mount it onto a card blank, adding a sentiment or embellishment as desired.
▶ voir cette étape (50:00)Rédigé à partir de l'émission elle-même. Découvrez tous les guides de nos émissions · tutoriels gratuits · regarder en direct sur My Telly
