Offrez à vos amis 10 € de réduction sur leur première commande !
Parrainez un AMI








Un projet de notre émission en direct Create Together Club - Chapter 4 - Diffusée le 6 mai 24 · 06/05/2024 · à voir dès 7:15
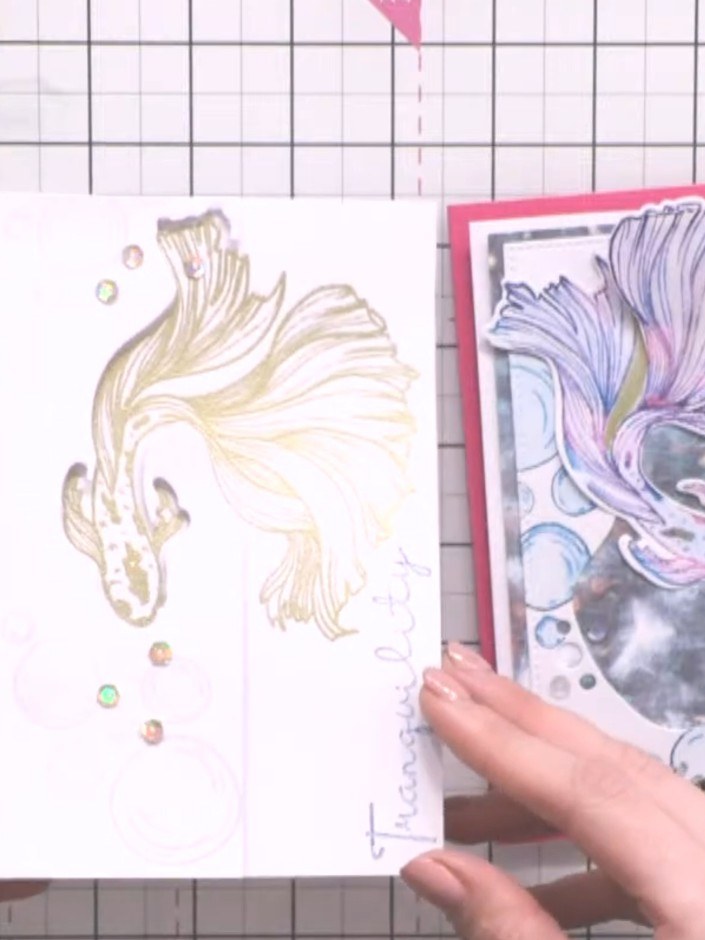
Réalisez une carte élégante ornée d'un superbe poisson embossé aux nageoires ondulantes, dans des tons violets et gris, sur une base de carte rose. Ce projet raffiné utilise une technique d'incrustation en découpe partielle, où le poisson dépasse de son panneau décoratif, associée à l'embossage à chaud, à des tampons bulles et à des strass scintillants pour une finition en relief. Un design qui met en valeur des techniques avancées de tamponnage et de découpe pour un résultat professionnel qui attire tous les regards !
Heat emboss the fish stamp in gold onto the front of a 5x7 inch card blank. Position the stamped image centrally on the card front.
▶ voir cette étape (8:00)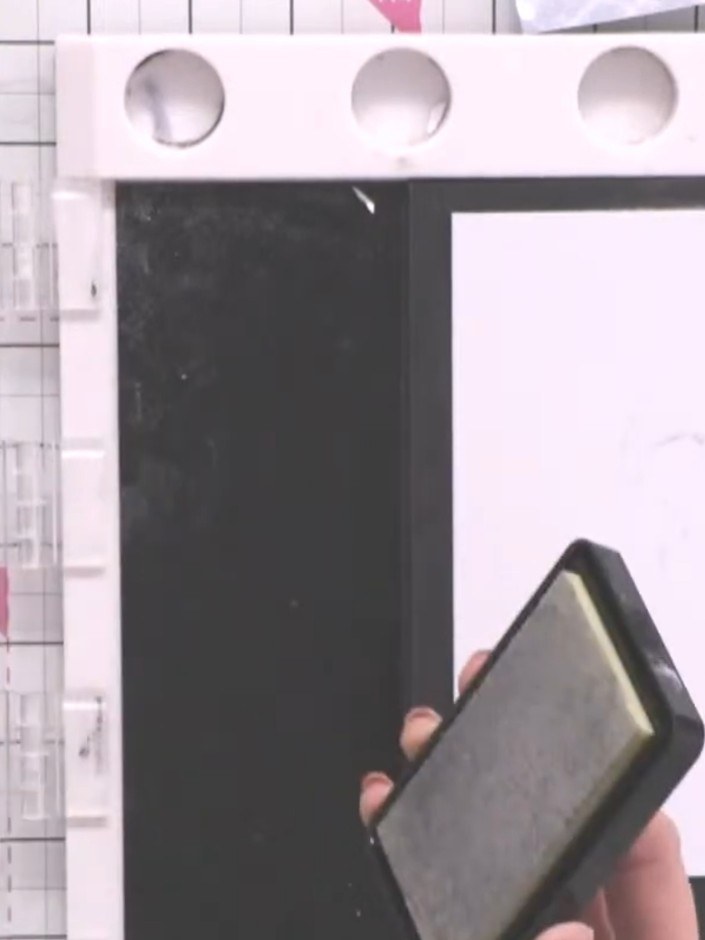
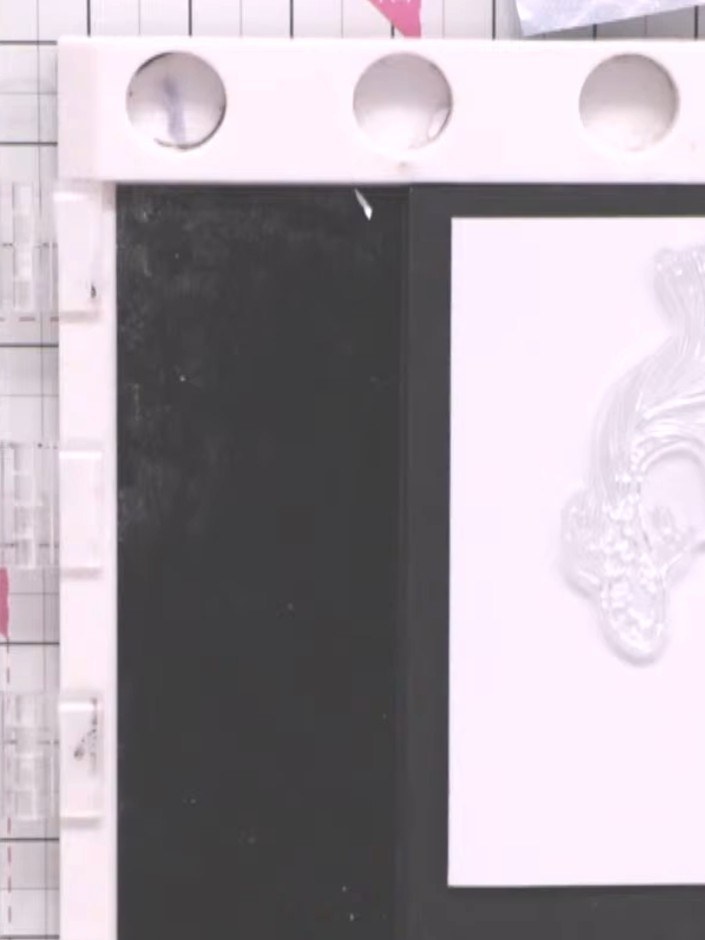
Ink the fish stamp with sticky ink pad, ensuring all detail is captured. Stamp the image twice onto white cardstock for full coverage.
▶ voir cette étape (9:30)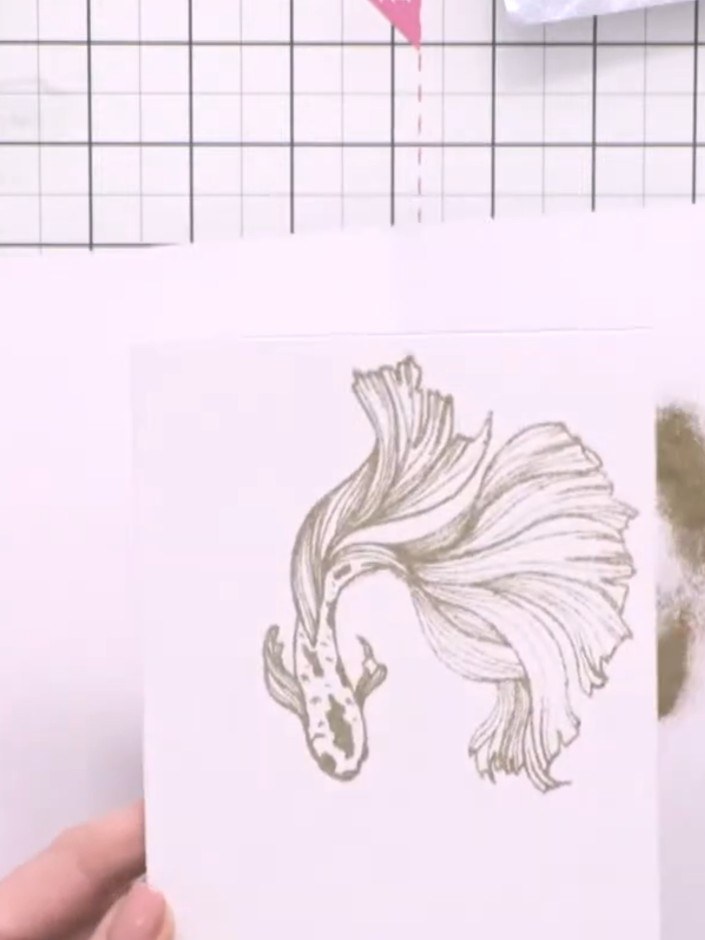
Apply gold embossing powder to the inked fish stamp. Heat set with a heat tool until the powder melts and becomes shiny.
▶ voir cette étape (10:45)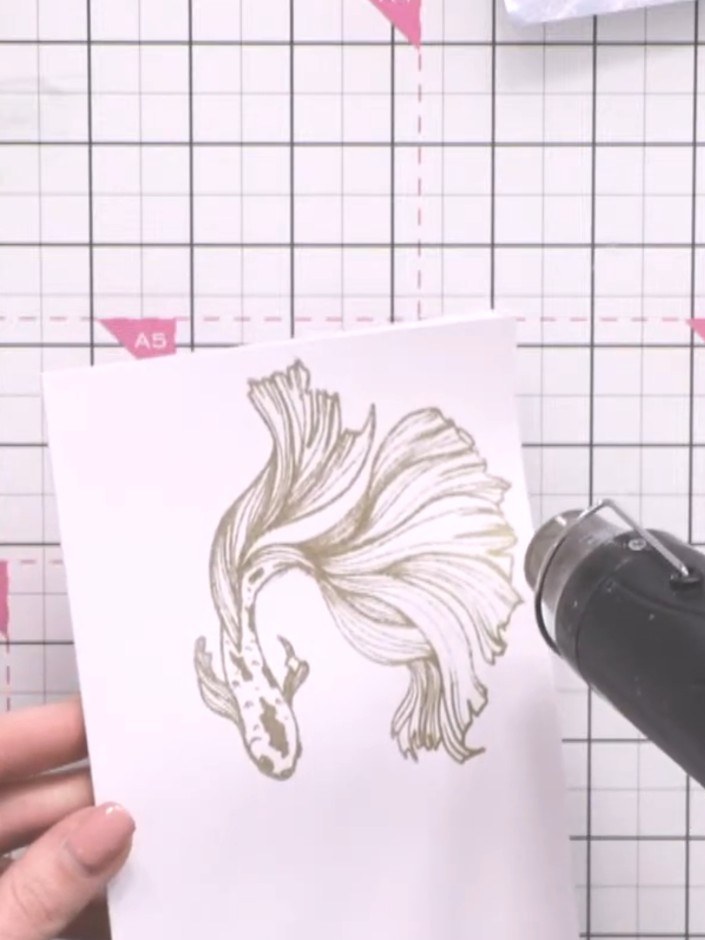
Position your decorative panel on the card base. Align the fish die on top so it sits half on the panel and half off, with the fish's head and body on the panel and the tail extending beyond it.
▶ voir cette étape (13:00)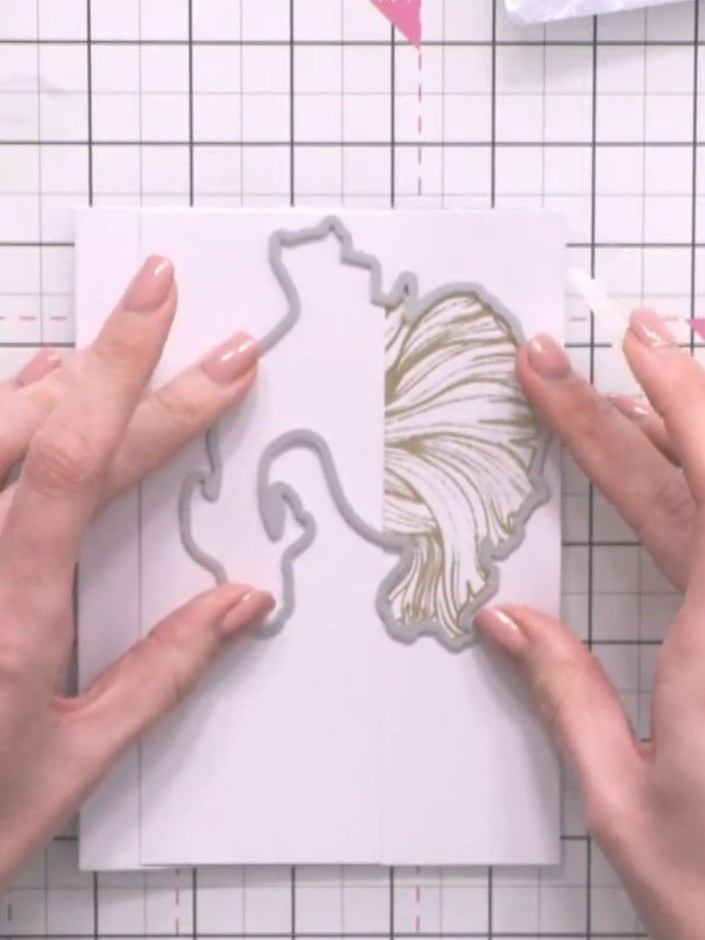
Secure the die and panel with low-tack tape, then run through your die-cutting machine carefully to avoid tearing.
▶ voir cette étape (15:30)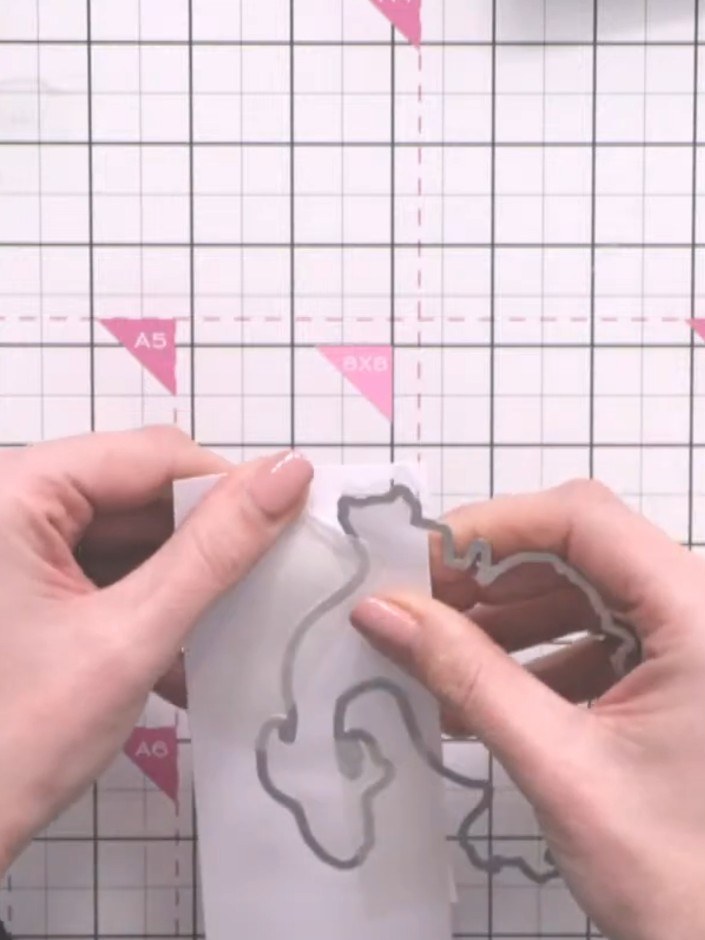
Remove the tape and carefully separate the die-cut pieces. Keep the panel with the partial fish design intact, discarding the outer cut-away pieces.
▶ voir cette étape (18:00)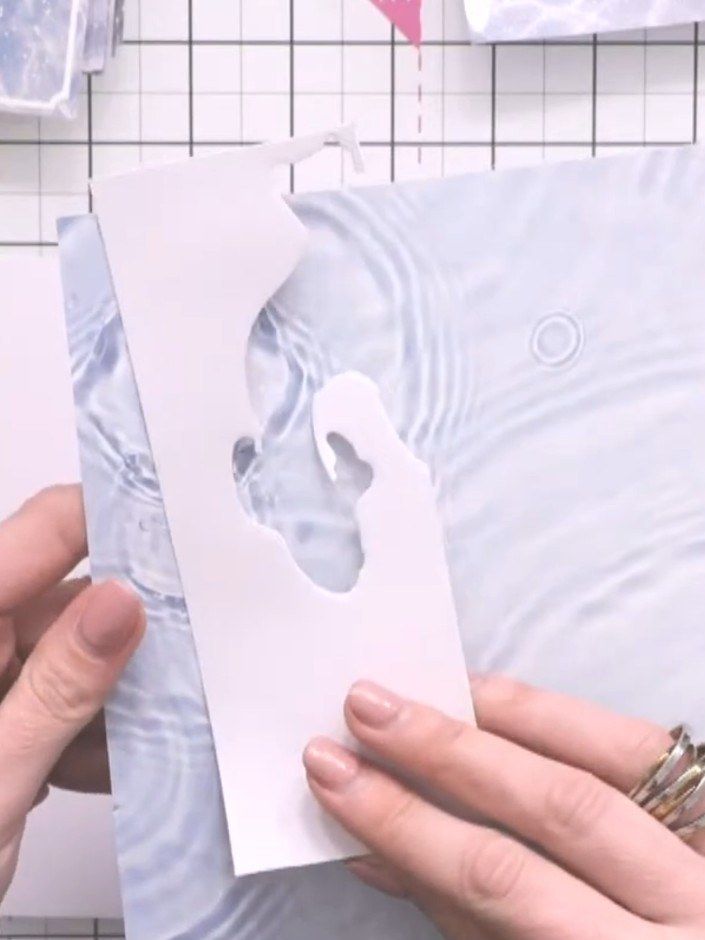
Cut a thin strip of the water-effect patterned paper and adhere it down the left side of the white panel as a colour accent.
▶ voir cette étape (19:30)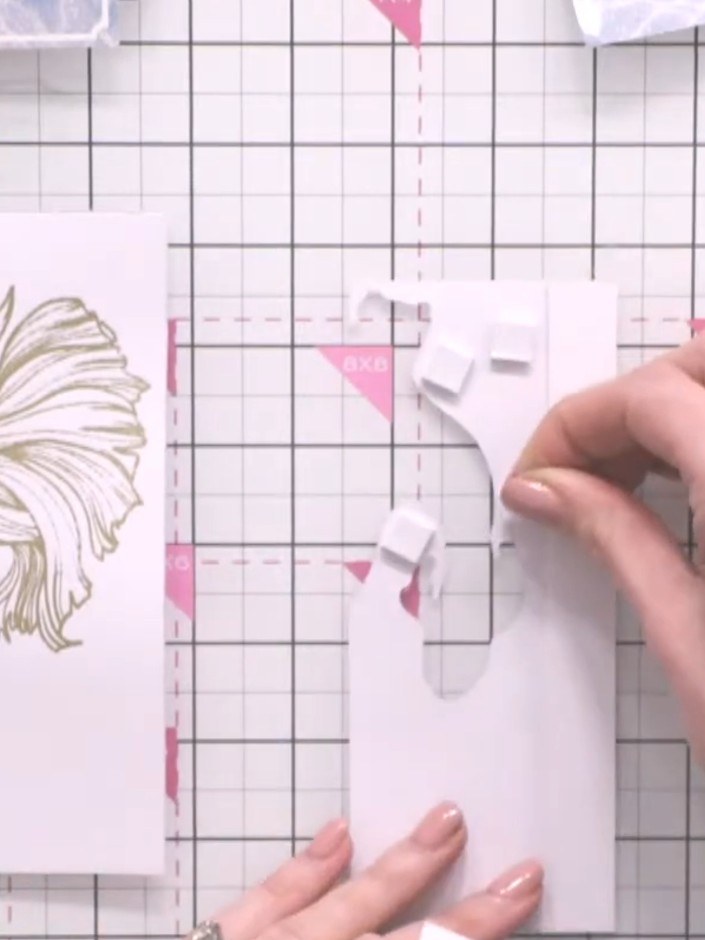
Apply small foam pads to the back of the partial fish die-cut, using smaller pieces in tight corners to create dimension. Position the foam pads carefully to ensure even adhesion.
▶ voir cette étape (26:15)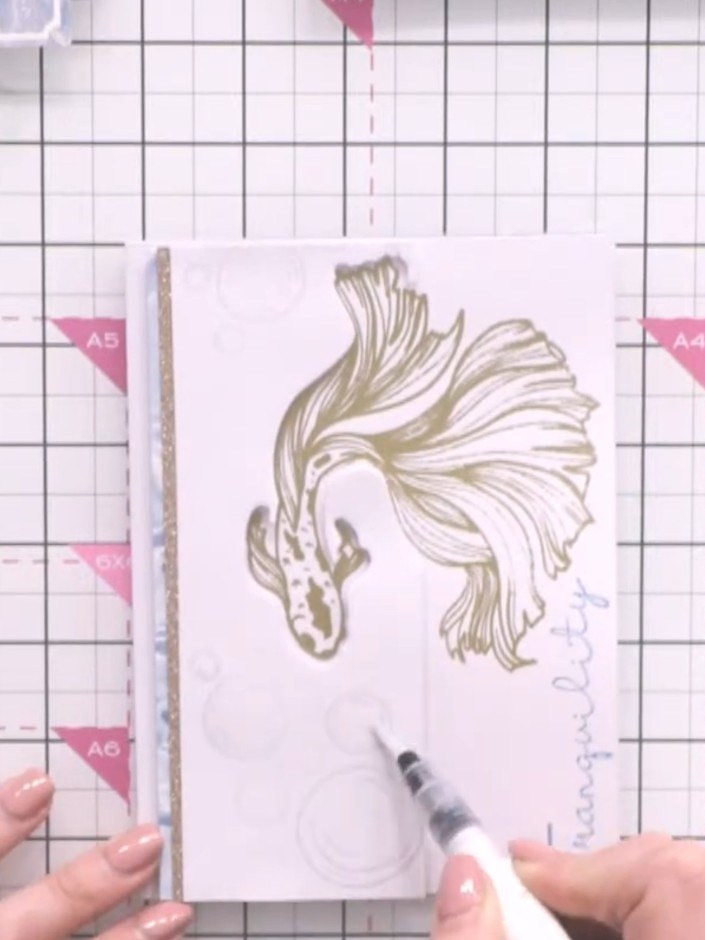
Add gold gem embellishments scattered amongst the stamped bubbles on the card for sparkle and definition.
▶ voir cette étape (31:00)Rédigé à partir de l'émission elle-même. Découvrez tous les guides de nos émissions · tutoriels gratuits · regarder en direct sur My Telly