Offrez à vos amis 10 € de réduction sur leur première commande !
Parrainez un AMI








Un projet de notre émission en direct MON PODCAST - Retrouvez mes dernières actus, diffusé le 8 avril 2024 · 08/04/2024 · à voir dès 31:45
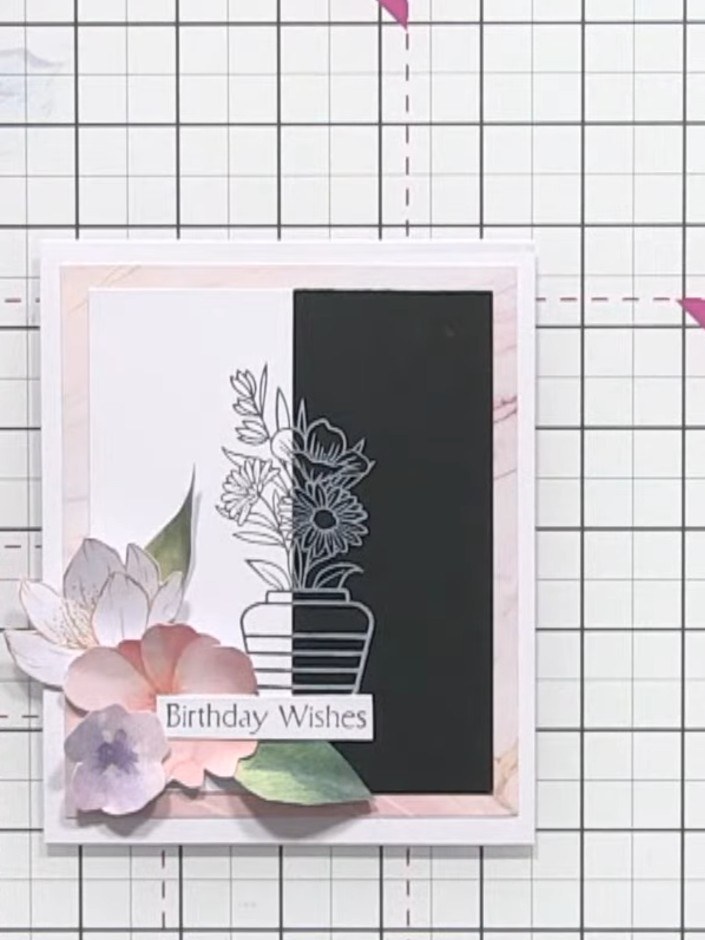
Réalisez une carte d'anniversaire monochrome saisissante, au motif bicolore audacieux. En tamponnant le même pot de fleurs à l'encre noire sur du papier cartonné blanc et à l'encre blanche sur du papier cartonné noir, puis en les découpant et en les assemblant, vous obtiendrez un effet contrasté très raffiné. Terminez avec de délicats embellissements floraux façon aquarelle et un texte « Birthday Wishes » pour une jolie carte élégante faite main.
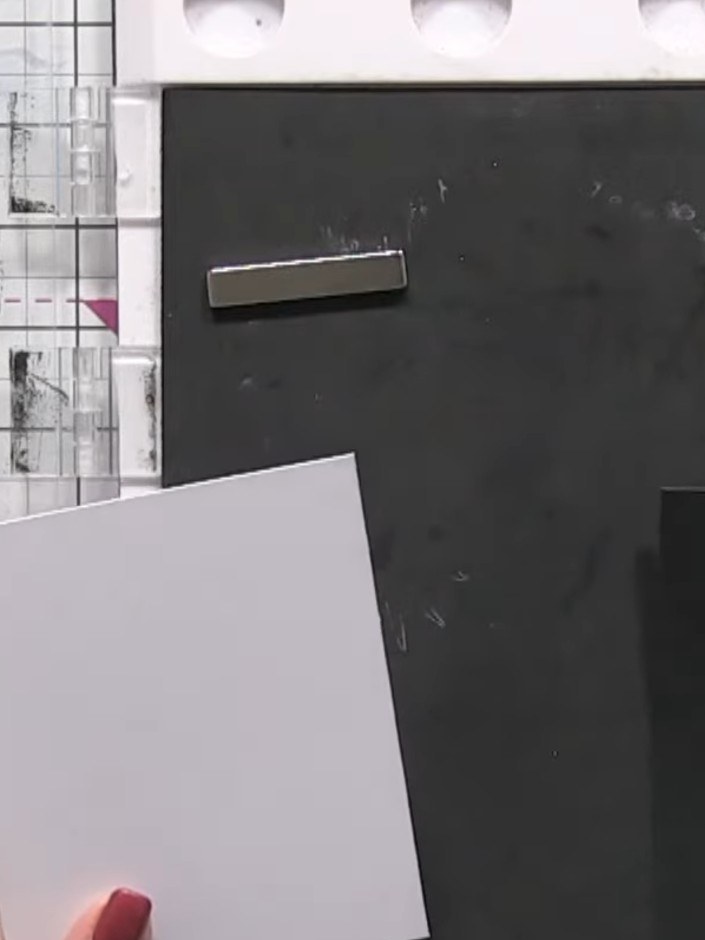
Cut two pieces of card to the same size, measuring 5 inches by 4 inches - one from white cardstock and one from black cardstock.
▶ voir cette étape (33:30)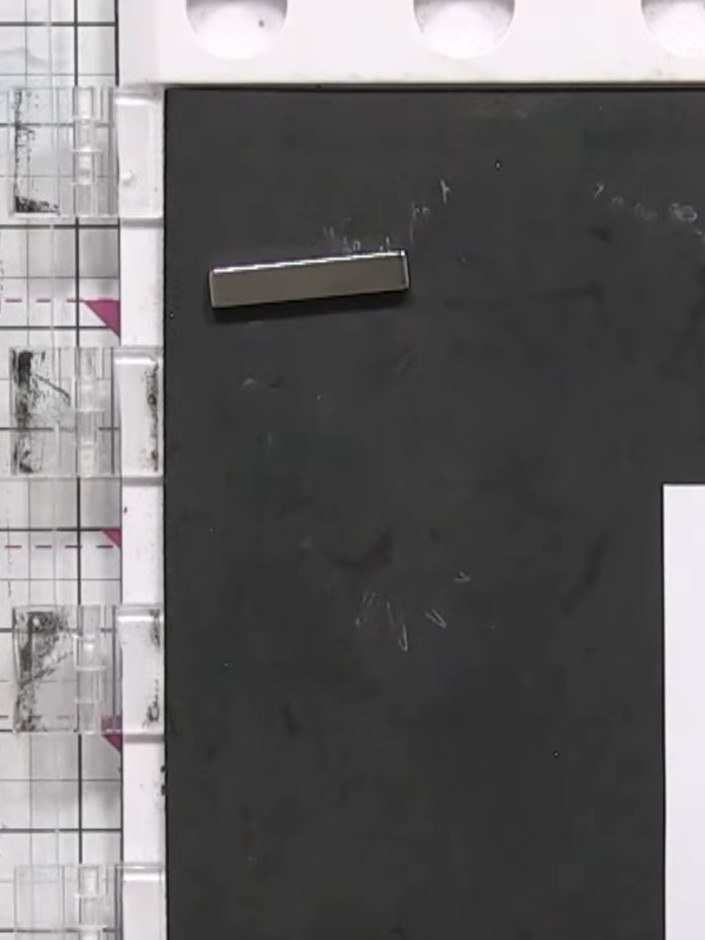
Position the white card in the corner of your black stamp block. Press the black ink pad firmly onto the white card to create a dark impression.
▶ voir cette étape (34:15)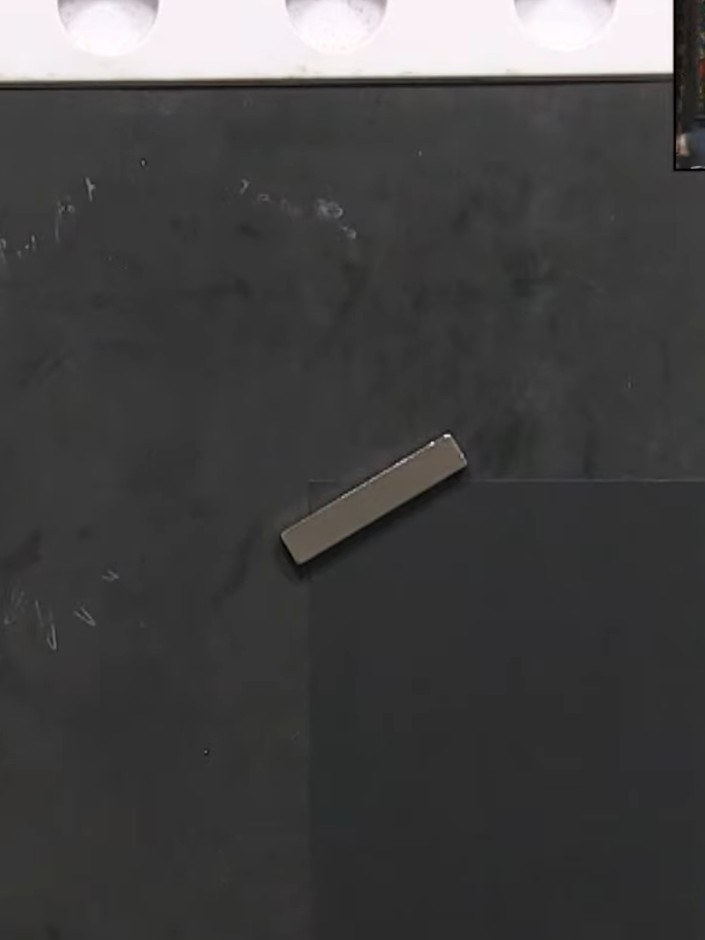
Clean the stamp with a stamp cleaner. Position the black card in the same corner of your work surface, holding it in place ready for stamping.
▶ voir cette étape (36:30)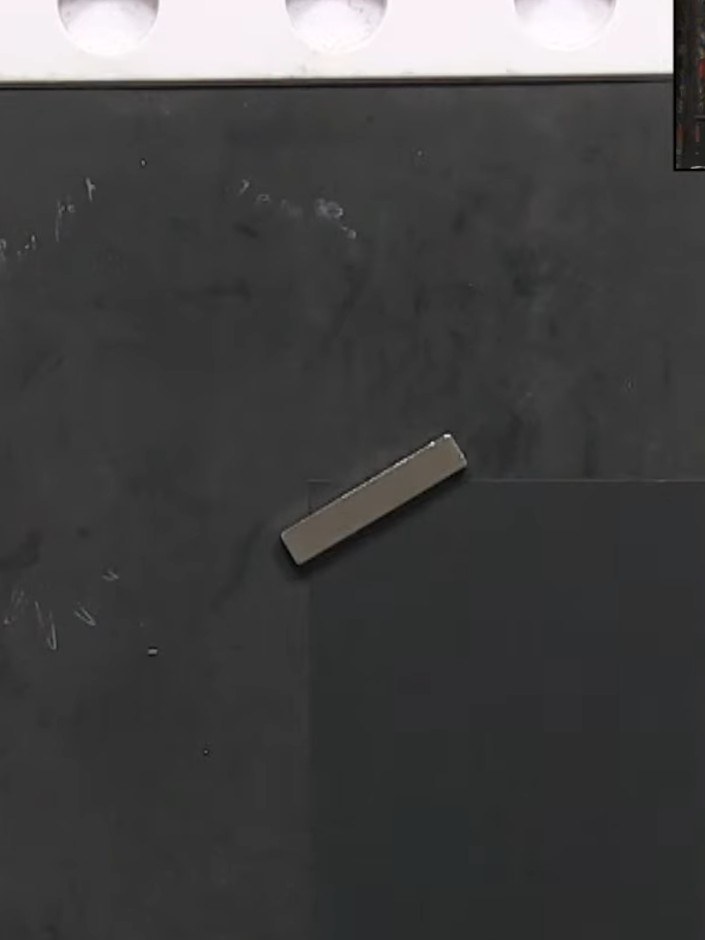
Ink your stamp with white pigment ink. Carefully stamp the image onto the black card, ensuring even pressure for a clear impression.
▶ voir cette étape (37:00)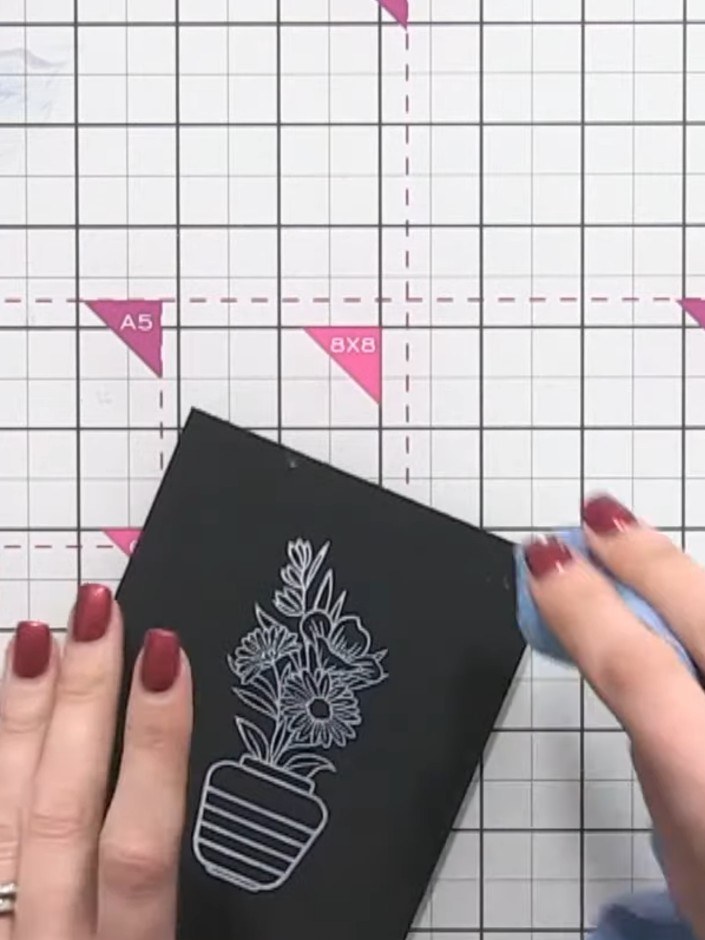
Use a heat tool to set the white pigment ink on the black card. Hold the heat tool over the stamped image until the ink is completely dry to prevent smudging.
▶ voir cette étape (39:00)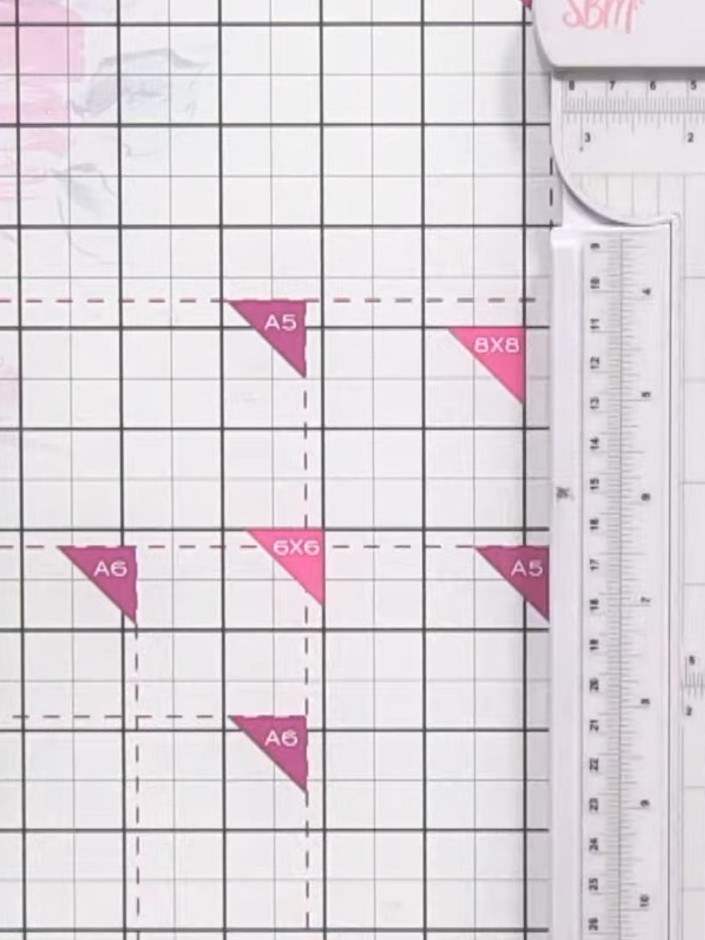
Cut both the black and white stamped pieces in half horizontally using a paper trimmer or guillotine.
▶ voir cette étape (40:15)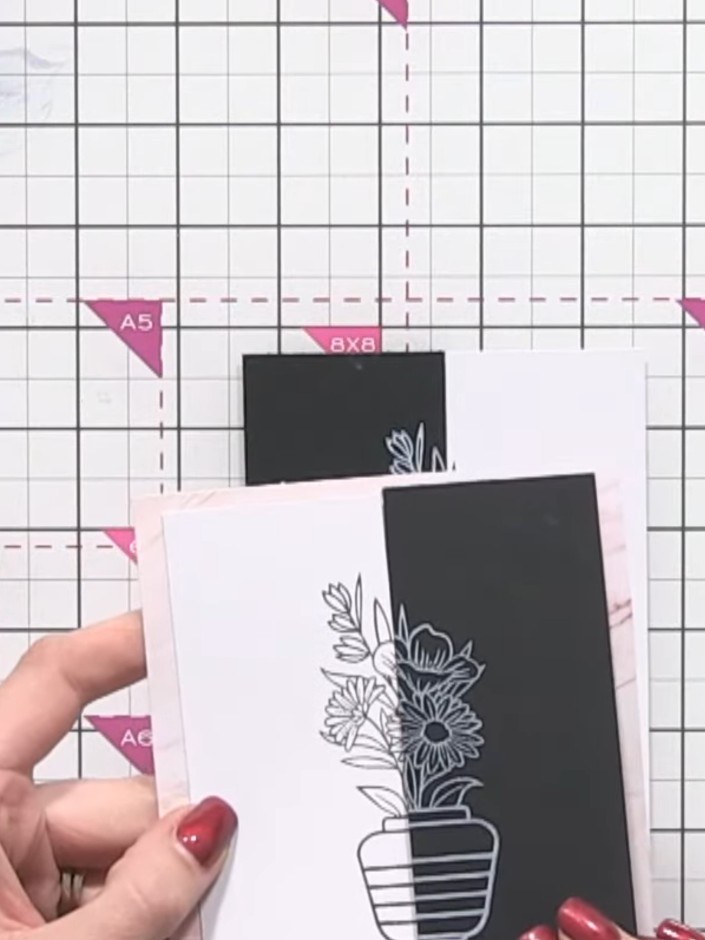
Swap the halves between the two cards so you have one card with a black stamped top and white stamped bottom, and another with a white stamped top and black stamped bottom.
▶ voir cette étape (41:30)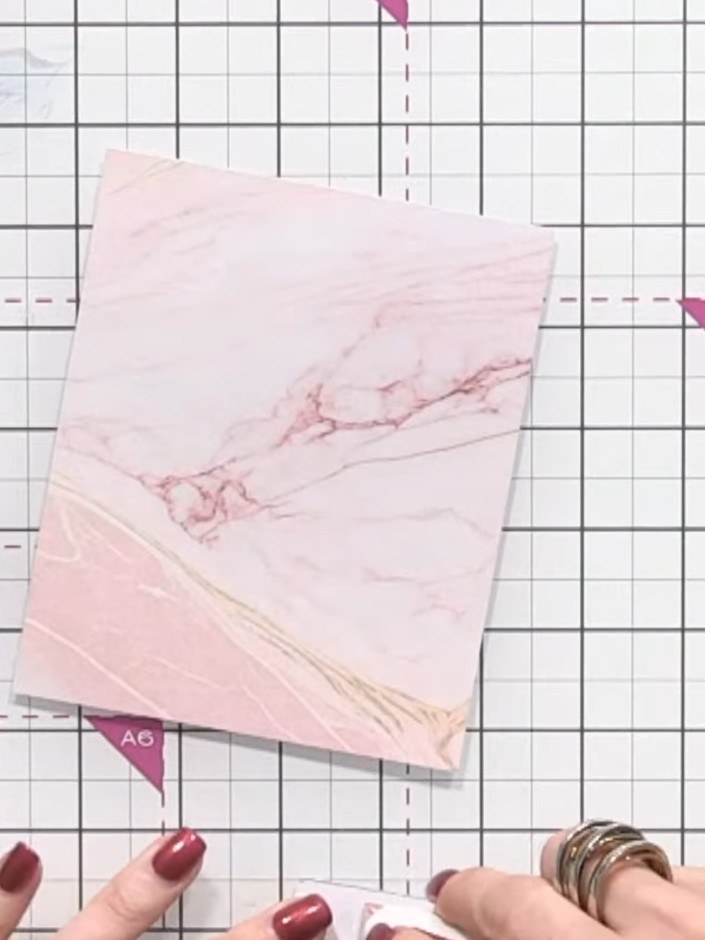
Mount the pink marble pattern paper from the kit onto your card base. Position one piece on each side of the card to create a two-tone effect.
▶ voir cette étape (41:45)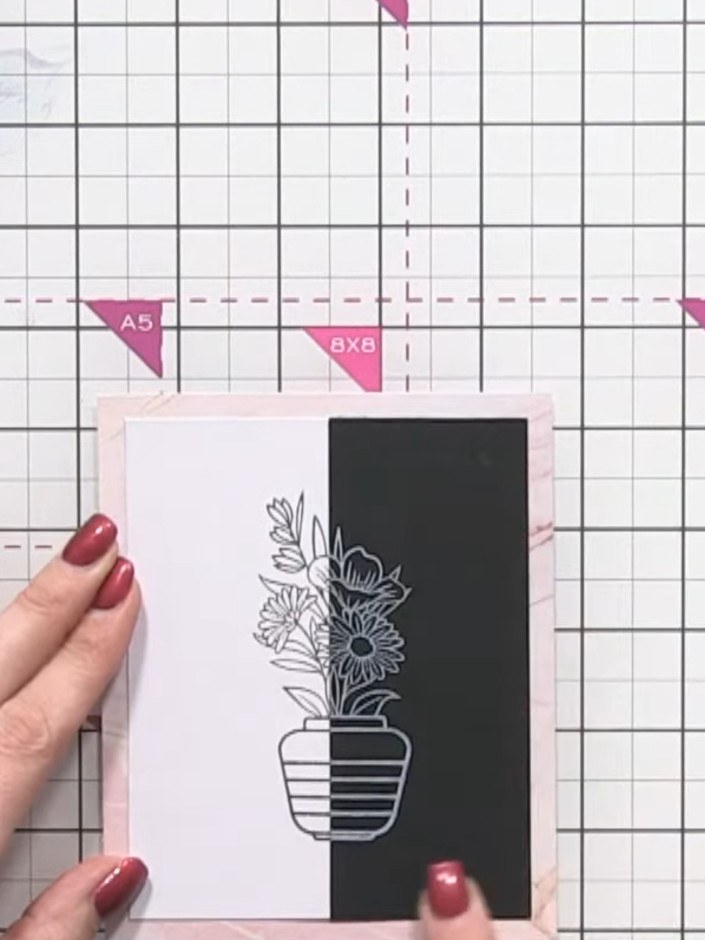
Fussy-cut flower embellishments from the embellishment pack included in your kit. Cut carefully around the floral designs to create individual flower motifs.
▶ voir cette étape (43:00)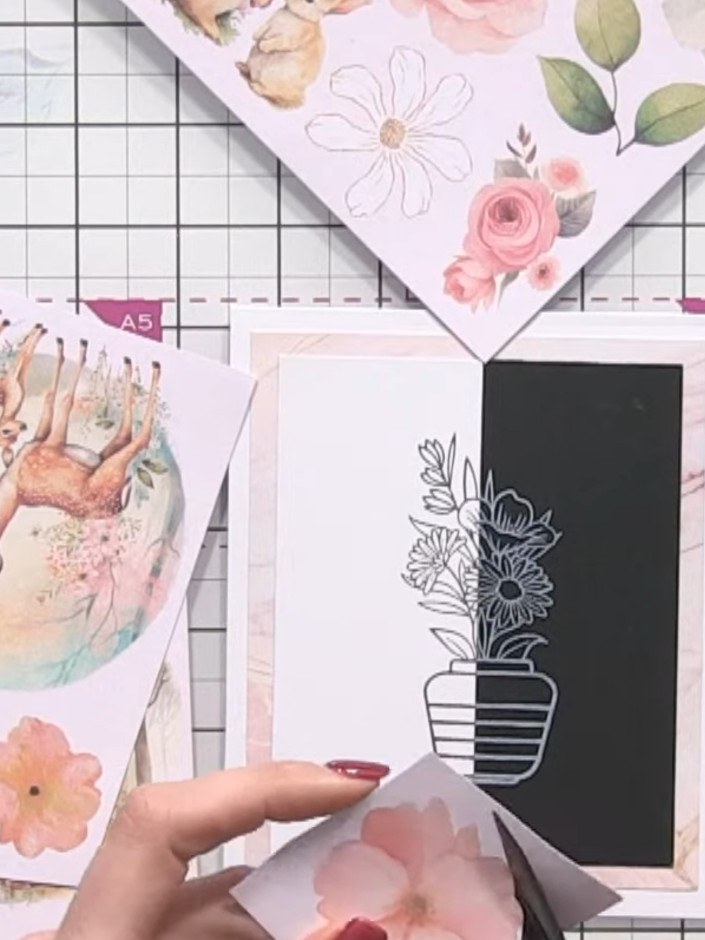
Arrange and layer the cut-out flowers in a corner of the card. Use foam pads underneath the flowers to add dimension and depth to your design.
▶ voir cette étape (44:30)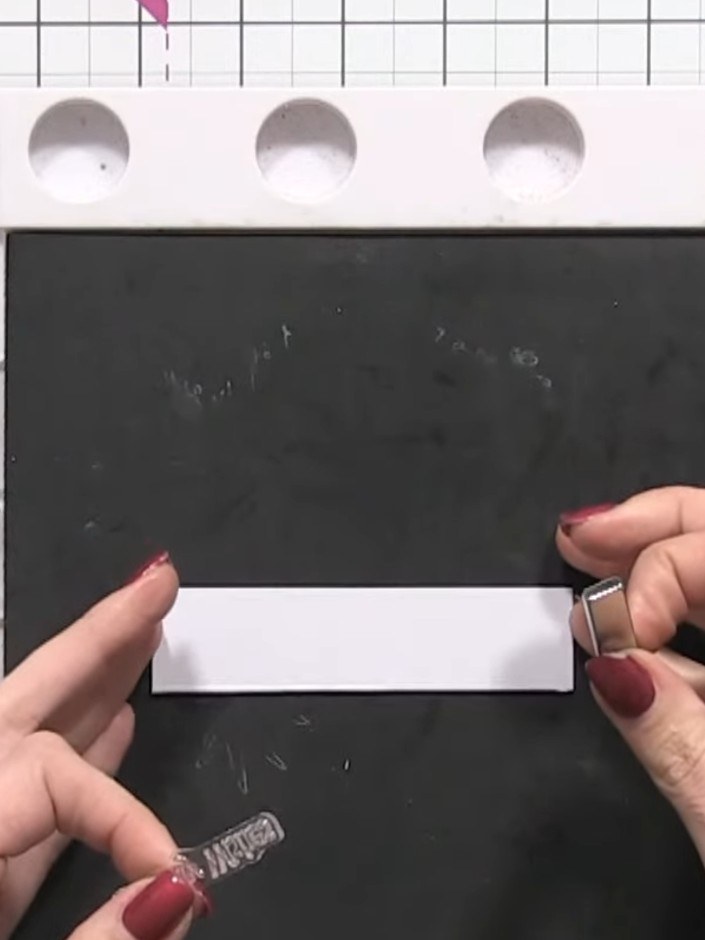
Stamp a sentiment such as 'Birthday Wishes' onto a piece of white scrap card using black ink.
▶ voir cette étape (50:15)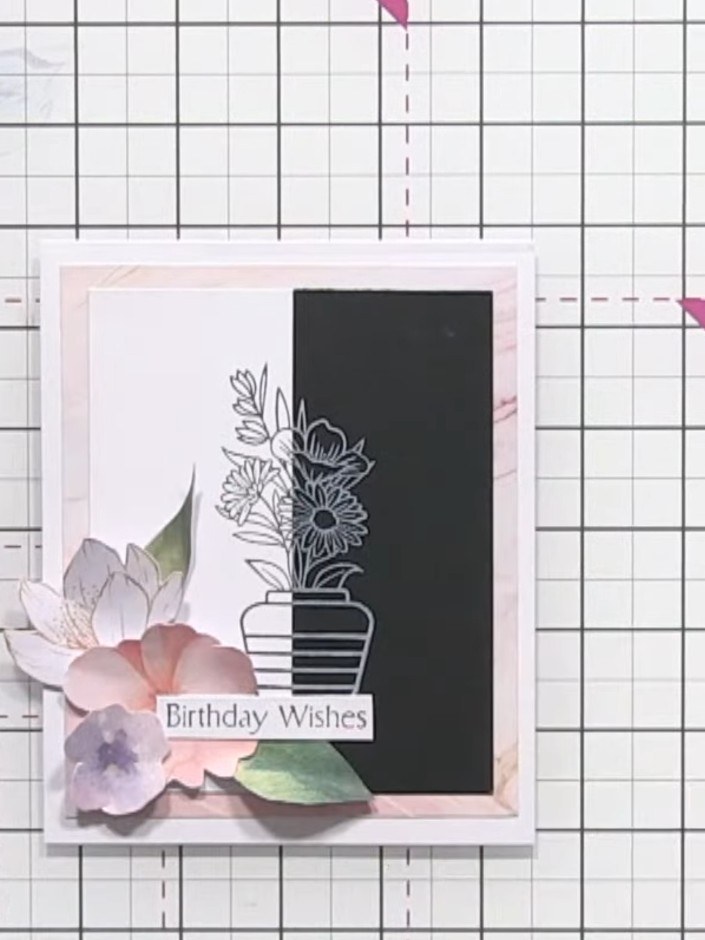
Trim the 'Birthday Wishes' sentiment to size. Use adhesive tape to attach it to the card front, positioning it over the floral arrangement so it sits within the black and white design.
▶ voir cette étape (52:15)Rédigé à partir de l'émission elle-même. Découvrez tous les guides de nos émissions · tutoriels gratuits · regarder en direct sur My Telly