LIENS RAPIDES

info@howtocraftnetwork.com
Encore plus malin : achetez et regardez avec l'application SBMTÉLÉCHARGEZ L'APPLIRegardez-nous en direct sur votre smart TVVOIR COMMENTDécouvrez notre chaîne IPTV dédiée : rendez-vous sur my-telly.comREGARDERCumulez des points de fidélité à chaque commandeEN SAVOIR PLUS
Bienvenue sur How to Craft Network
 
SBM SHOP
SUIVEZ-NOUS
OFFREZ 10 € DE RÉDUCTION À VOS AMIS PARRAINEZ UN AMI › DÉCOUVRIR MY-TELLY.COM › ENCORE PLUS MALIN TÉLÉCHARGEZ L'APPLI › CHAÎNE PRIMÉE SUR VOTRE TV › REJOIGNEZ LE CLUB POUR ÉCONOMISER ›
 

Carte bleu canard embossée à l'encre blanche avec texte « Love »

Un projet de notre émission en direct CREATE AND CRAFT TV - Rejoignez Toni pour sa toute nouvelle émission de lancement SBM 3 - diffusée le 98 janvier 2024 · 09/01/2024 · à voir dès 49:30
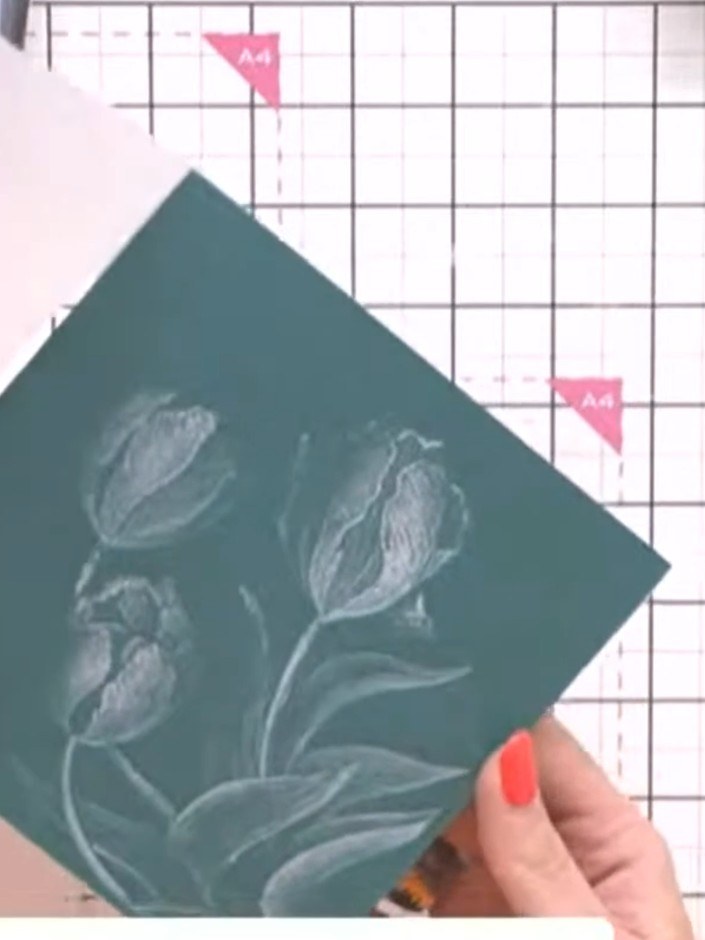
Carte bleu canard embossée à l'encre blanche avec texte « Love » - the finished project
Le projet terminé

Réalisez une carte élégante et texturée, avec des fleurs embossées à l'encre blanche sur du papier cartonné bleu canard. Ce design raffiné utilise des classeurs de gaufrage encrés de pigment blanc pour créer des motifs en relief, complétés par le texte « Love » détouré et, si vous le souhaitez, des touches de cire aux reflets métallisés. Le résultat ? Une carte magnifique, pleine de profondeur et de scintillement, parfaite pour les grandes occasions !

Vous aurez besoin de

STAMPS BY ME - WISTFUL CHARM - POCHOIR 5 X 7 - FLORAL 180723cSTAMPS BY ME - WISTFUL CHARM - POCHOIR 5 X 7 - FLORAL 180723cVOIR STAMPS BY ME - WISTFUL CHARM - BLOC DE PAPIER 7 X 7 140623BSTAMPS BY ME - WISTFUL CHARM - BLOC DE PAPIER 7 X 7 140623BVOIR
TÉLÉCHARGER CE GUIDE (PDF)

Pas à pas

  1. Step 1: Ink both sides of the tulip embossing folder with white pigment ink, using multiple swipes to ensure all the d

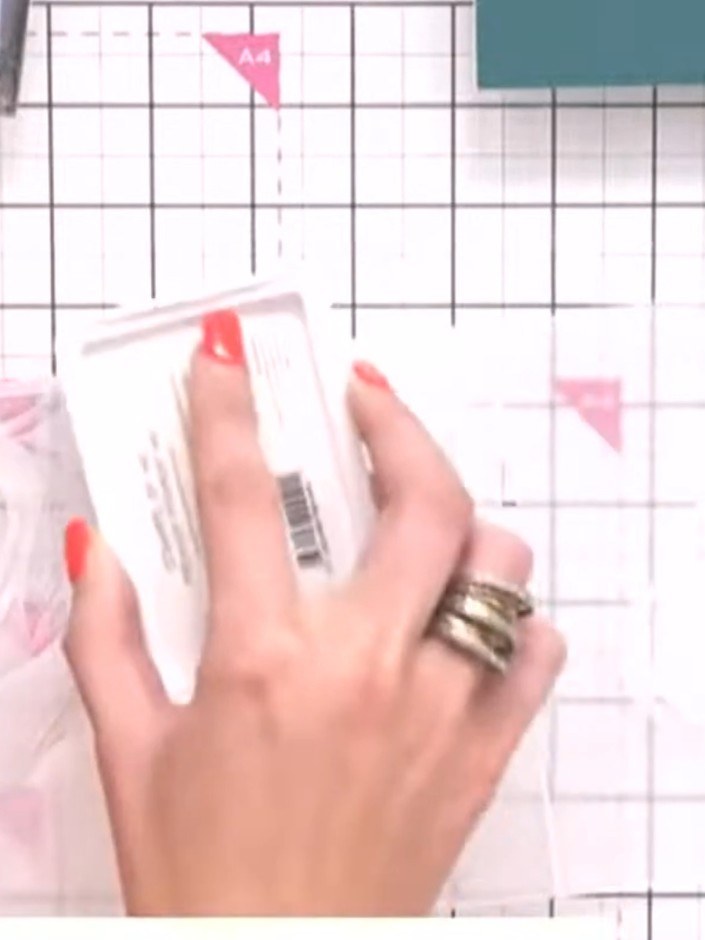
    Ink both sides of the tulip embossing folder with white pigment ink, using multiple swipes to ensure all the detail is covered.

    ▶ voir cette étape (49:30)
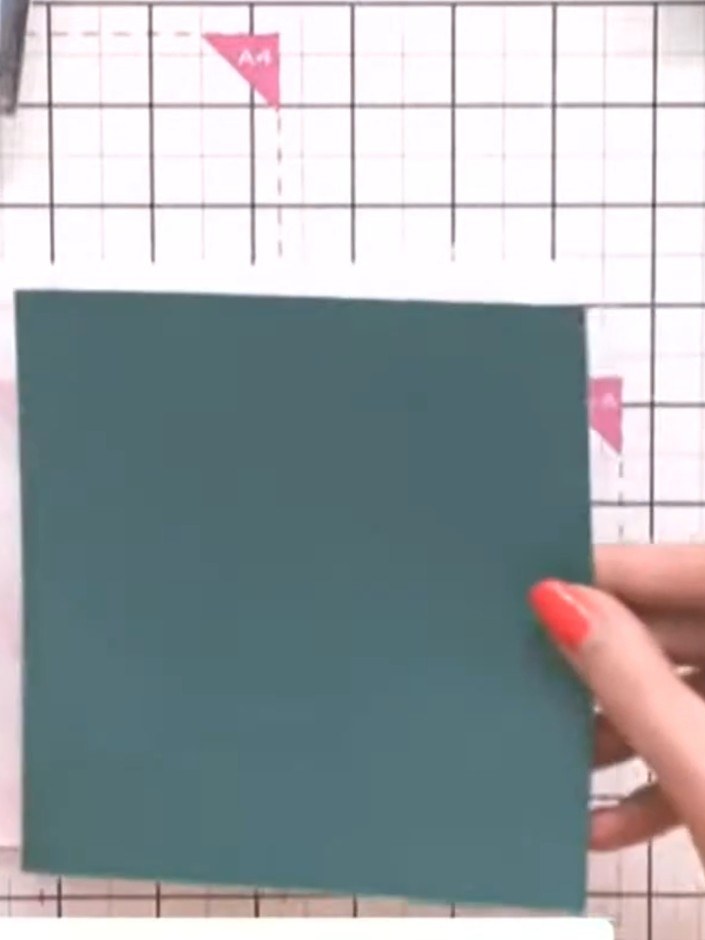
  2. Place the teal coloured card stock into the embossing folder before putting it through the die cutting machine. ▶ watch 49:45
  3. Step 3: Place the teal card into your embossing folder and run it through your die-cutting machine to emboss the flora

    Place the teal card into your embossing folder and run it through your die-cutting machine to emboss the floral design onto the card.

    ▶ voir cette étape (50:00)
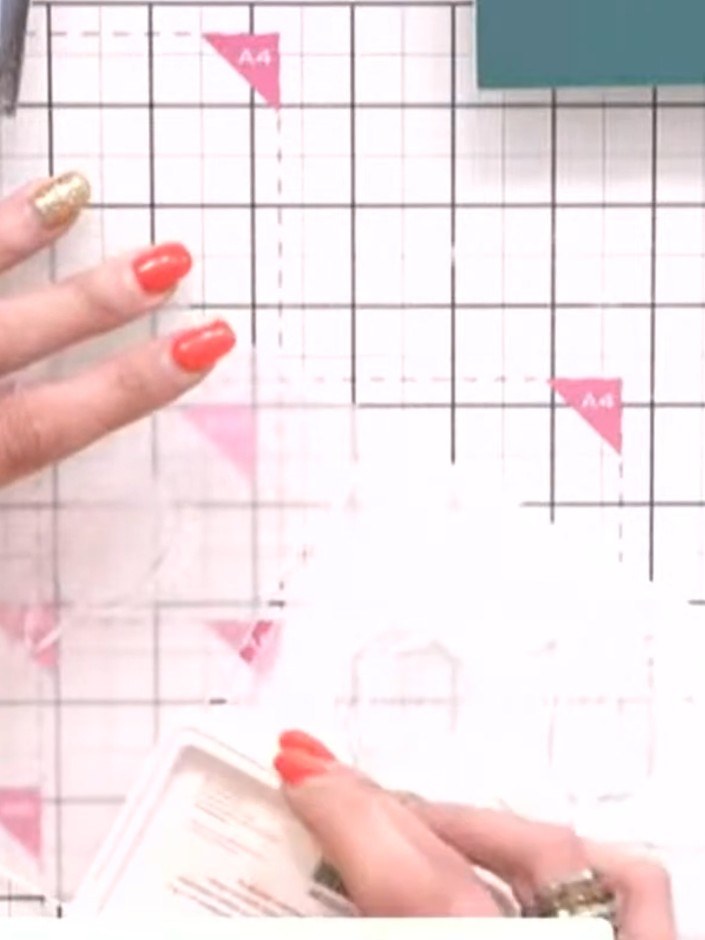
  4. Step 4: Lift the embossed card carefully to reveal the white embossed detail on both sides of the design.

    Lift the embossed card carefully to reveal the white embossed detail on both sides of the design.

    ▶ voir cette étape (50:15)
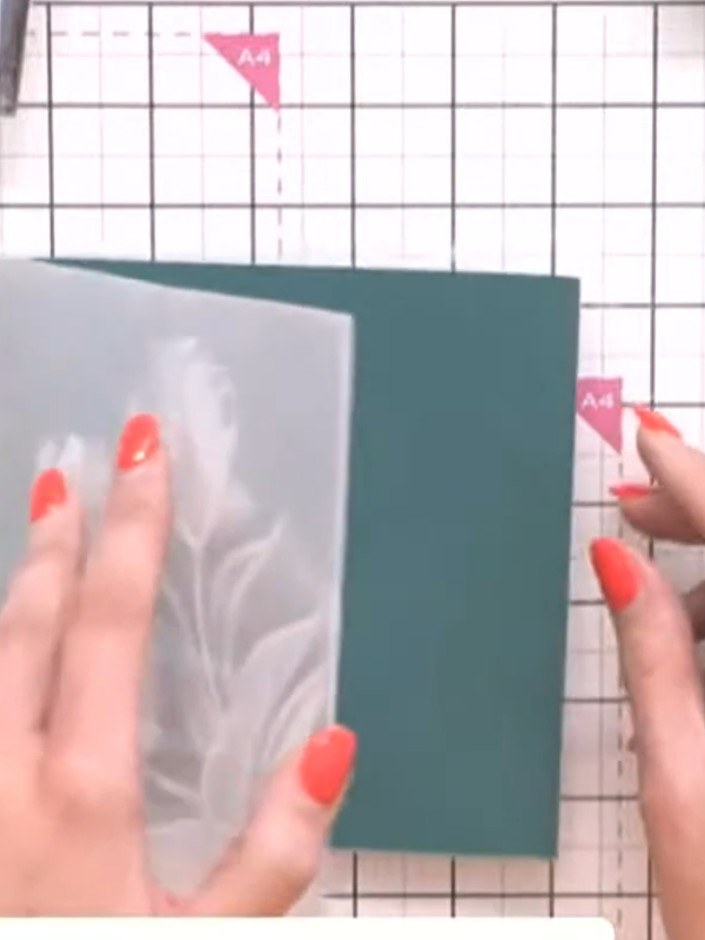
  5. Step 5: Place the card back into the embossing folder and run it through the die-cutting machine again to build up mor

    Place the card back into the embossing folder and run it through the die-cutting machine again to build up more white ink coverage on the embossed design.

    ▶ voir cette étape (50:30)
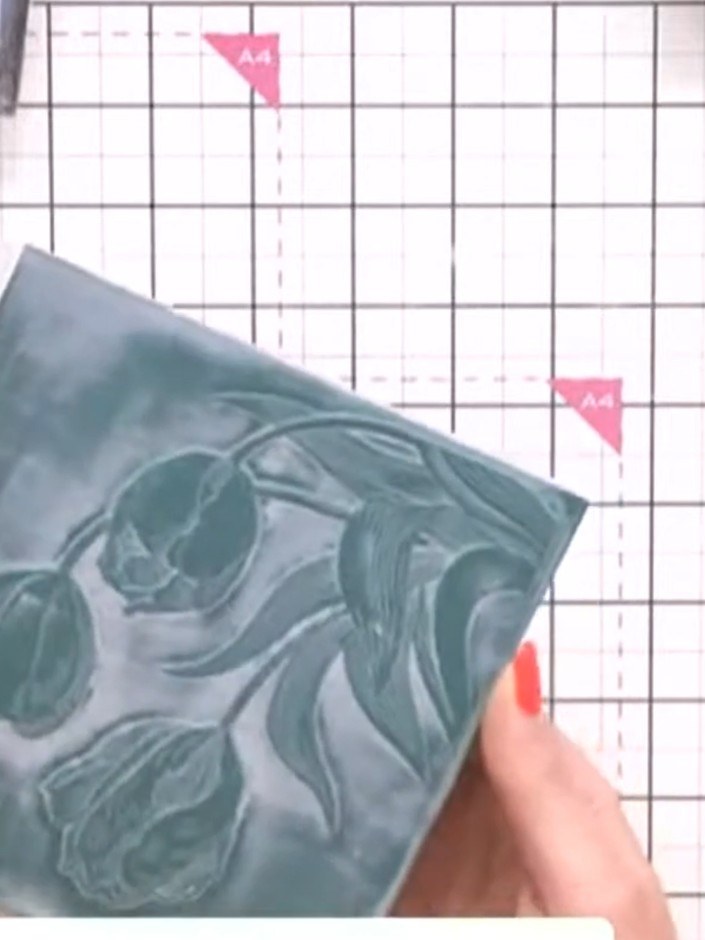
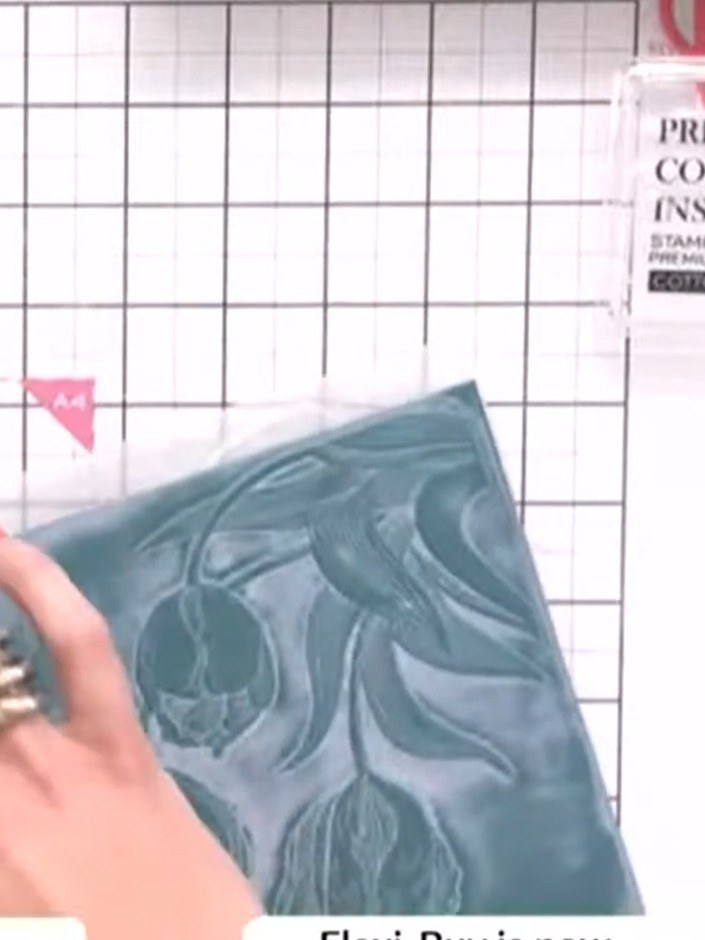
  6. Gently blend the white pigment ink with your finger using circular motions from top to bottom and left to right to soften the embossed lines and create a smooth, even finish. ▶ watch 50:45
  7. Step 7: Apply gilding wax over the embossed floral detail by gently running your finger across the raised design to hi

    Apply gilding wax over the embossed floral detail by gently running your finger across the raised design to highlight it and capture the light.

    ▶ voir cette étape (51:00)
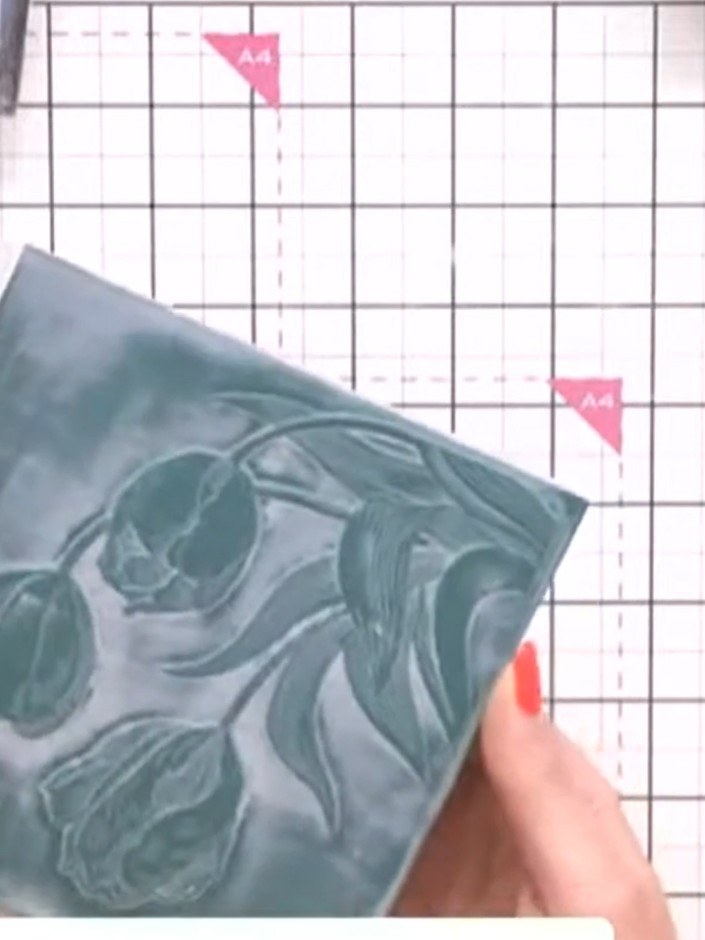
  8. Step 8: Fussy-cut the 'Love' word from the Wistful Charm paper collection using scissors, carefully cutting around the

    Fussy-cut the 'Love' word from the Wistful Charm paper collection using scissors, carefully cutting around the outline of the letters.

    ▶ voir cette étape (51:15)
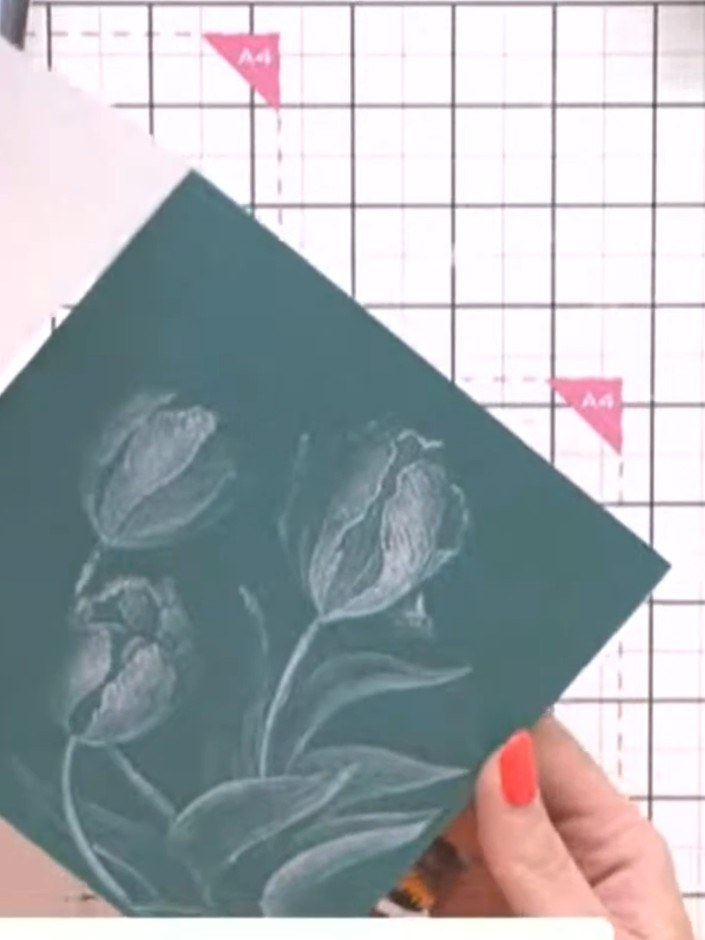
  9. Step 9: Mount the embossed teal panel onto your card base to complete the card front.

    Mount the embossed teal panel onto your card base to complete the card front.

    ▶ voir cette étape (51:30)
  10. Position and adhere the 'Love' sentiment down the side of the card using glue. ▶ watch 51:45
  11. Step 11: Optional: Lightly swipe a black ink pad across the embossed design to add depth and coordinate with the overal

    Optional: Lightly swipe a black ink pad across the embossed design to add depth and coordinate with the overall tone of the card.

    ▶ voir cette étape (52:00)

Astuces de l'émission

À voir aussi dans cette émission

Rédigé à partir de l'émission elle-même. Découvrez tous les guides de nos émissions · tutoriels gratuits · regarder en direct sur My Telly







