Offrez à vos amis 10 € de réduction sur leur première commande !
Parrainez un AMI








Un projet de notre émission en direct CREATE AND CRAFT TV - Rejoignez Toni pour son tout nouveau lancement SBM - Diffusé le 28 nov. 23 · 28/11/2023 · à voir dès 11:45
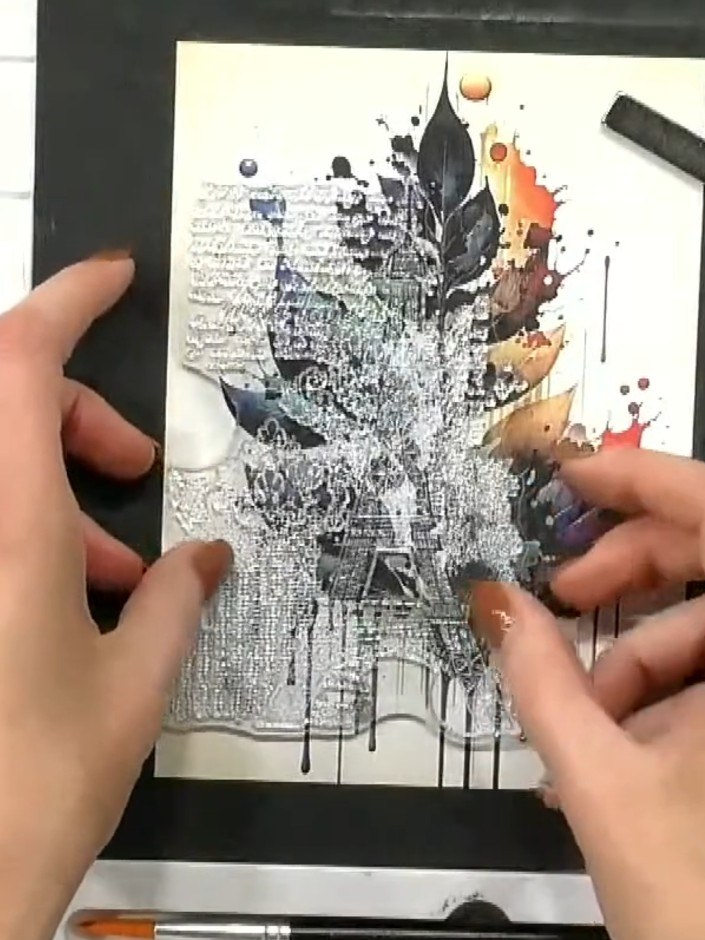
Réalisez une superbe carte sur le thème de Paris, avec la célèbre tour Eiffel tamponnée à l'encre bleue scintillante. Ce motif romantique associe des éléments découpés superposés, des fonds effet aquarelle et d'élégants détails calligraphiés pour un fini en volume. Idéale pour célébrer les rêves et les grandes occasions avec une touche de charme parisien.
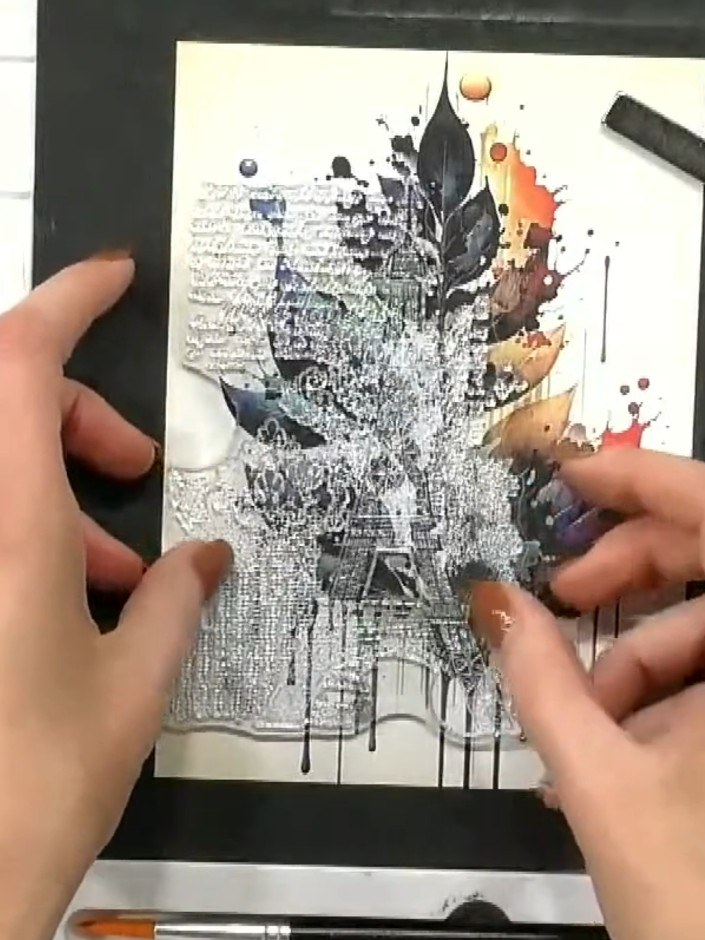
Select a patterned paper with artistic detail featuring leaves and watercolour effects. Mount it onto a black card base to create your foundation.
▶ voir cette étape (13:45)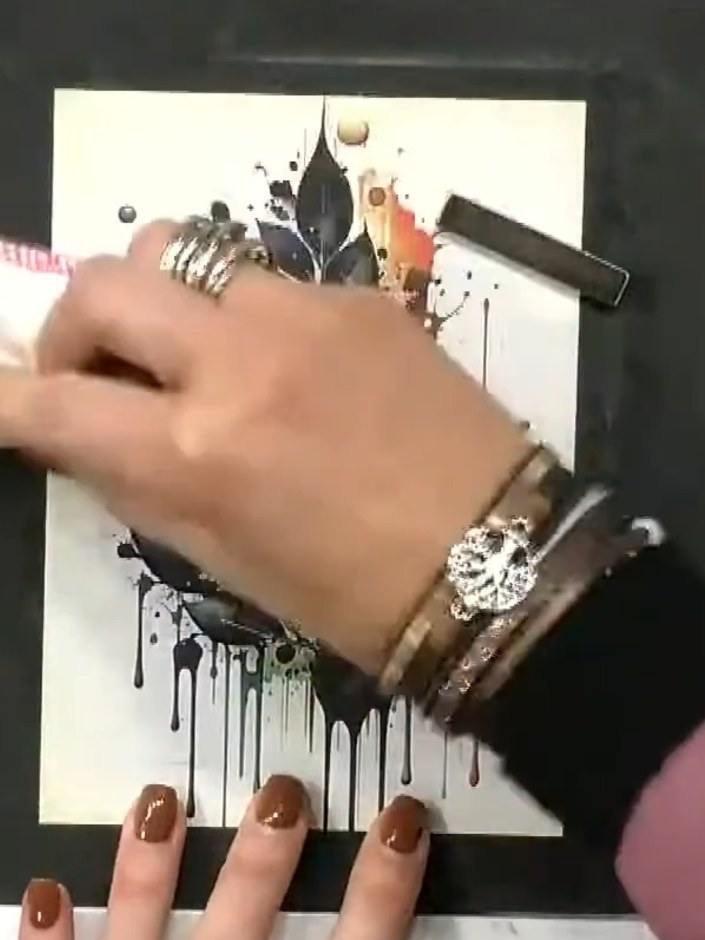
Ink up the Paris tower stamp twice with a sticky ink pad to ensure full coverage of all details on the stamp.
▶ voir cette étape (14:00)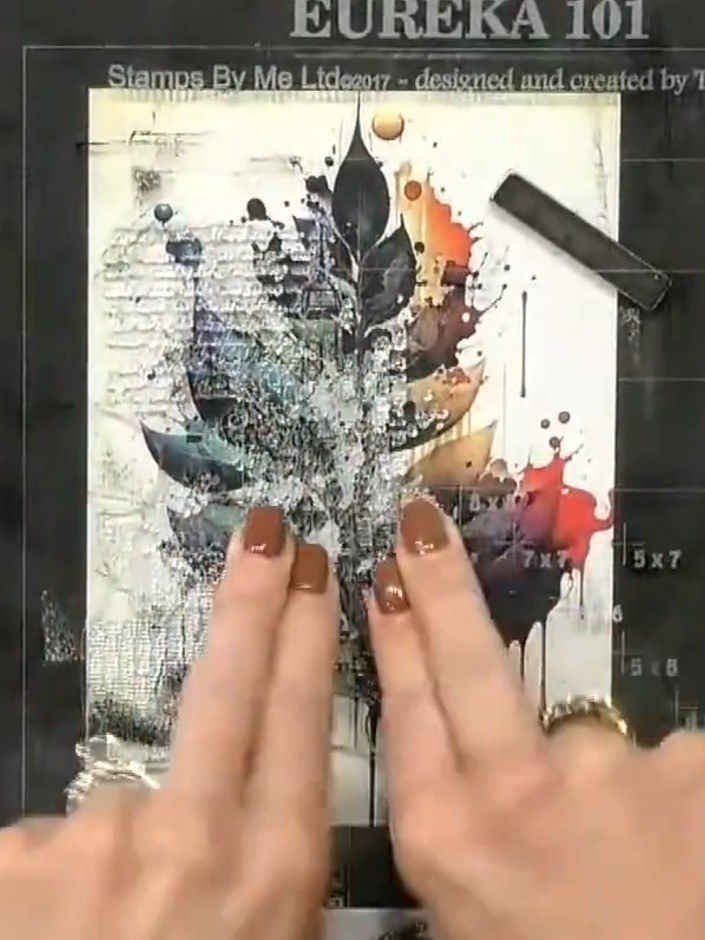
Stamp the Eiffel Tower image onto the patterned paper, positioning it off to one side of the panel.
▶ voir cette étape (14:30)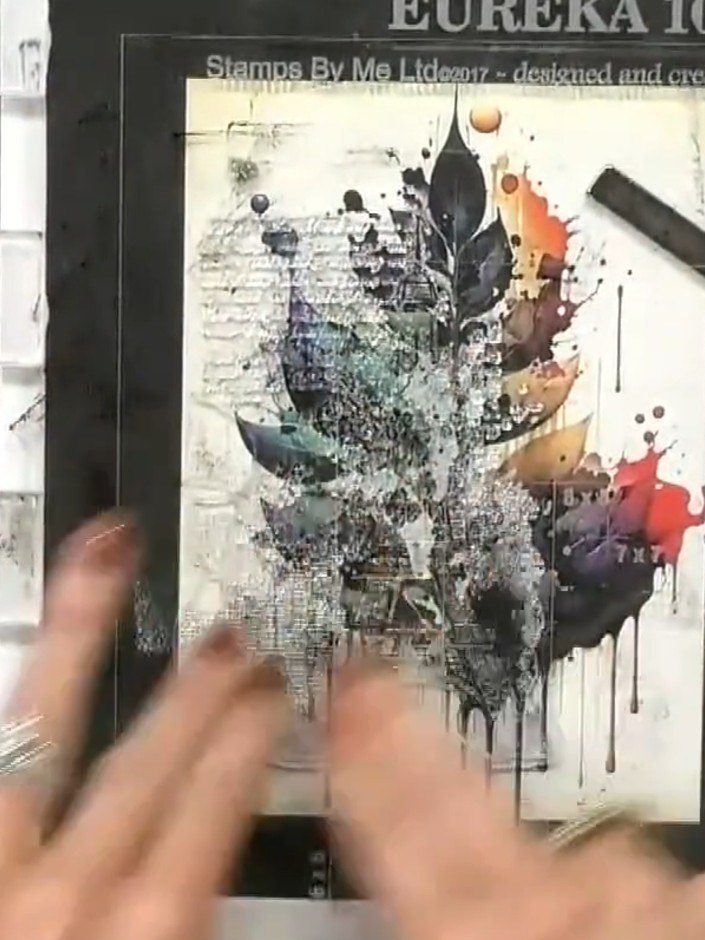
Heat emboss the stamped feather image using clear embossing powder. This will add shine and definition to the stamped design.
▶ voir cette étape (14:45)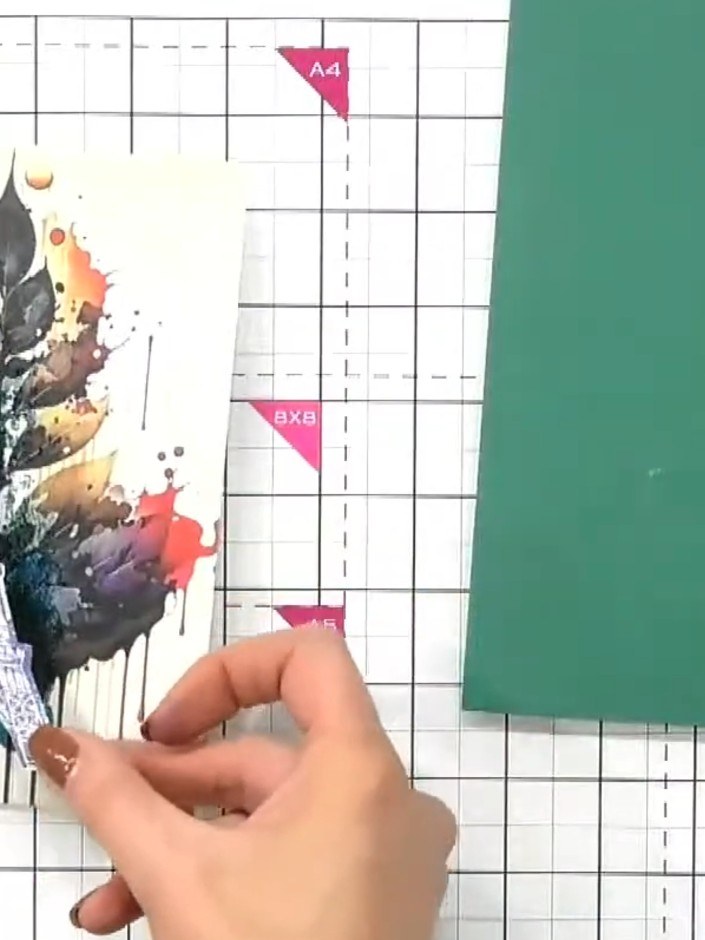
Die-cut a second Eiffel Tower from cream card stock using the coordinating die from the stamp and die set.
▶ voir cette étape (17:15)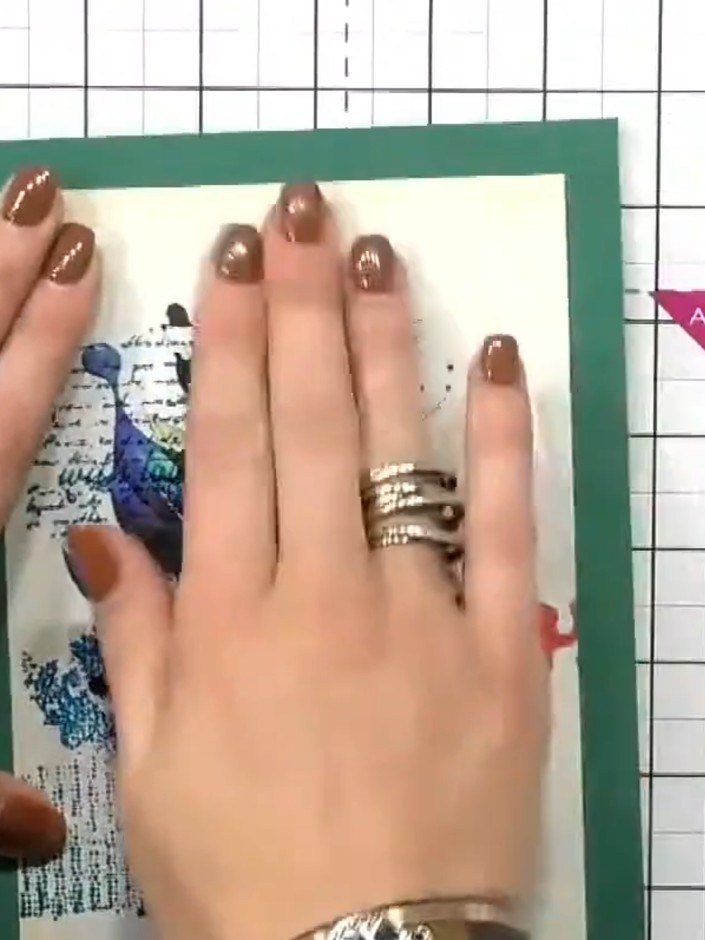
Glue the die-cut tower flat over the stamped tower on the card front to create dimension in the foreground. Press down firmly to ensure it adheres completely.
▶ voir cette étape (17:30)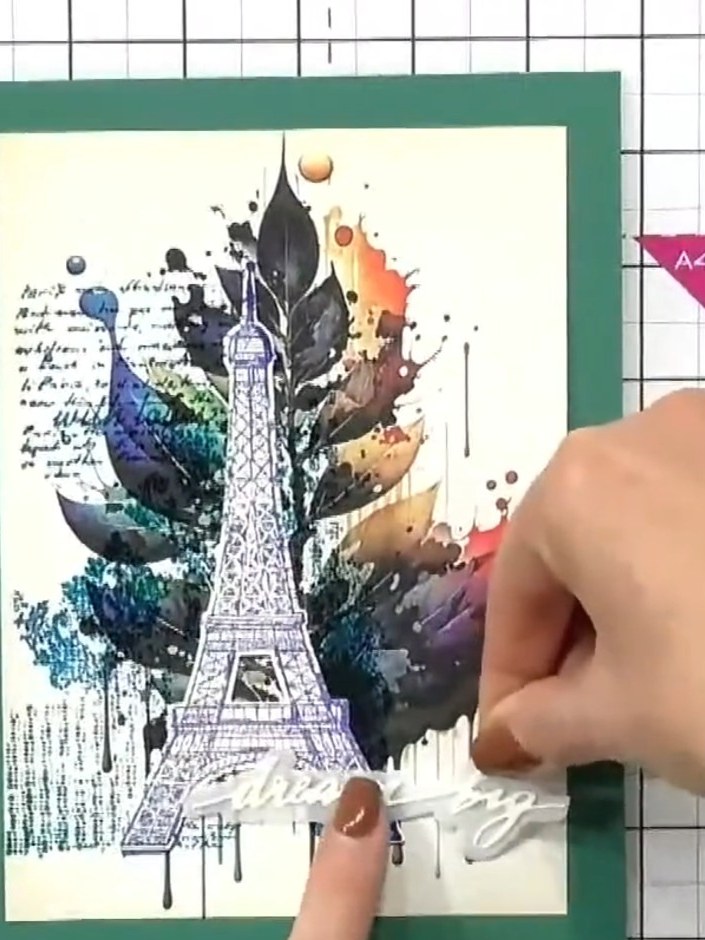
Attach a 'dream big' die-cut sentiment to the lower right area of the card using glue.
▶ voir cette étape (18:15)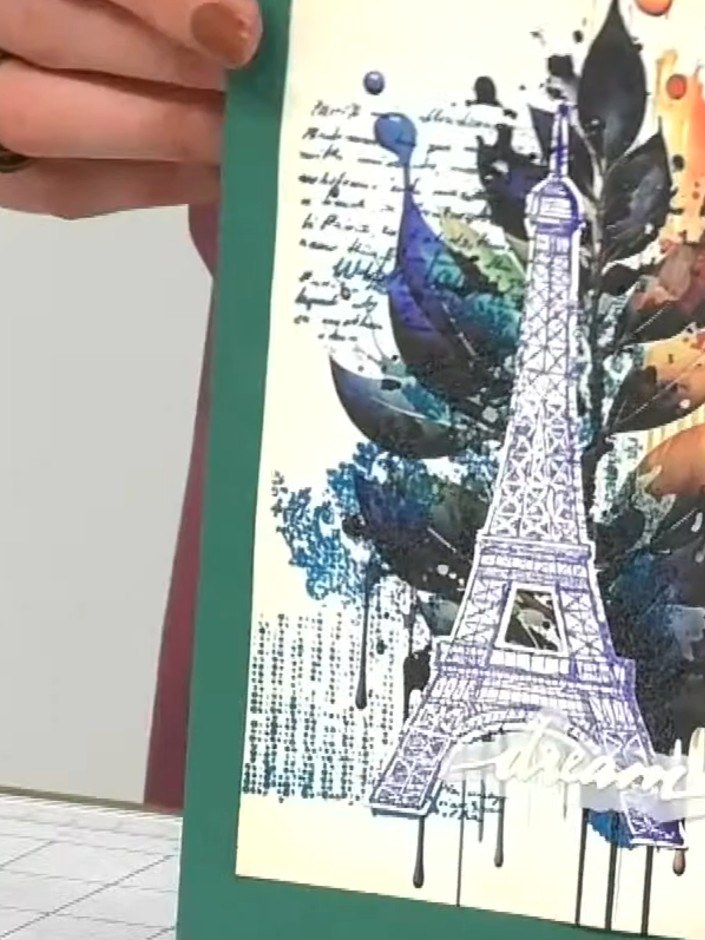
Mount the finished Eiffel Tower design onto a teal card blank. The colourful watercolour feather design with the tower creates an eye-catching card front.
▶ voir cette étape (18:45)Rédigé à partir de l'émission elle-même. Découvrez tous les guides de nos émissions · tutoriels gratuits · regarder en direct sur My Telly