Offrez à vos amis 10 € de réduction sur leur première commande !
Parrainez un AMI








Un projet de notre émission en direct PODCAST DU LUNDI - Rejoignez-moi pour mes dernières actus et nouveautés - Diffusé le 13 nov. 2023 · 13/11/2023 · à voir dès 17:00
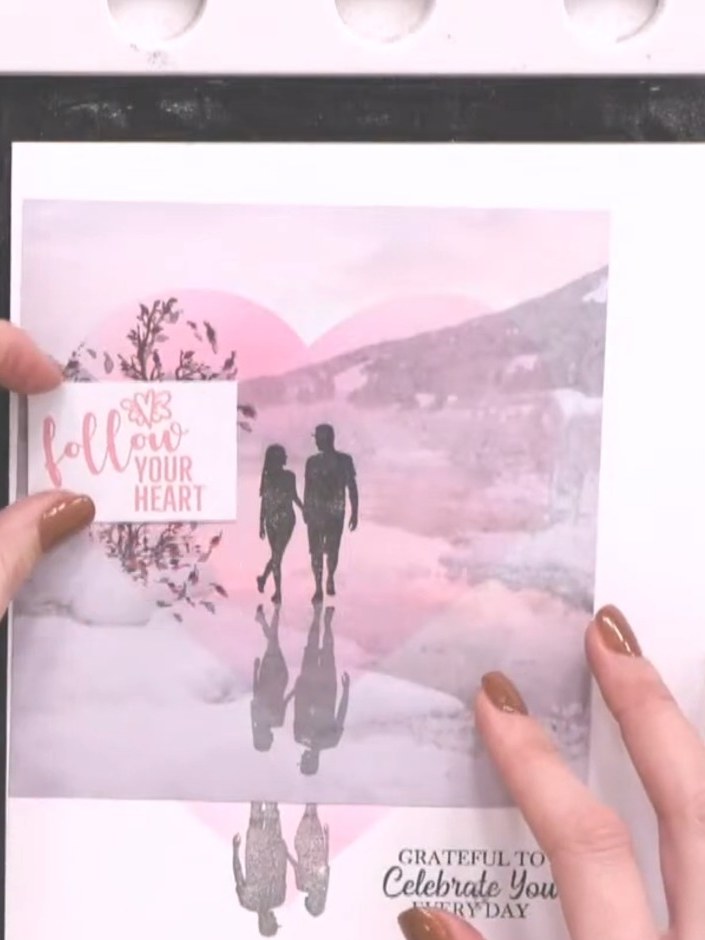
Réalisez une carte romantique où un couple se promène dans un magnifique paysage au coucher du soleil. Cette création élégante associe des fonds photographiques pré-imprimés à des techniques de tampons superposés avec le set de tampons reflet Celebrate You, et se termine par des textes tamponnés dans des tons roses assortis. Le masquage au pochoir et plusieurs couleurs d’encre donnent profondeur et relief à votre scène romantique.
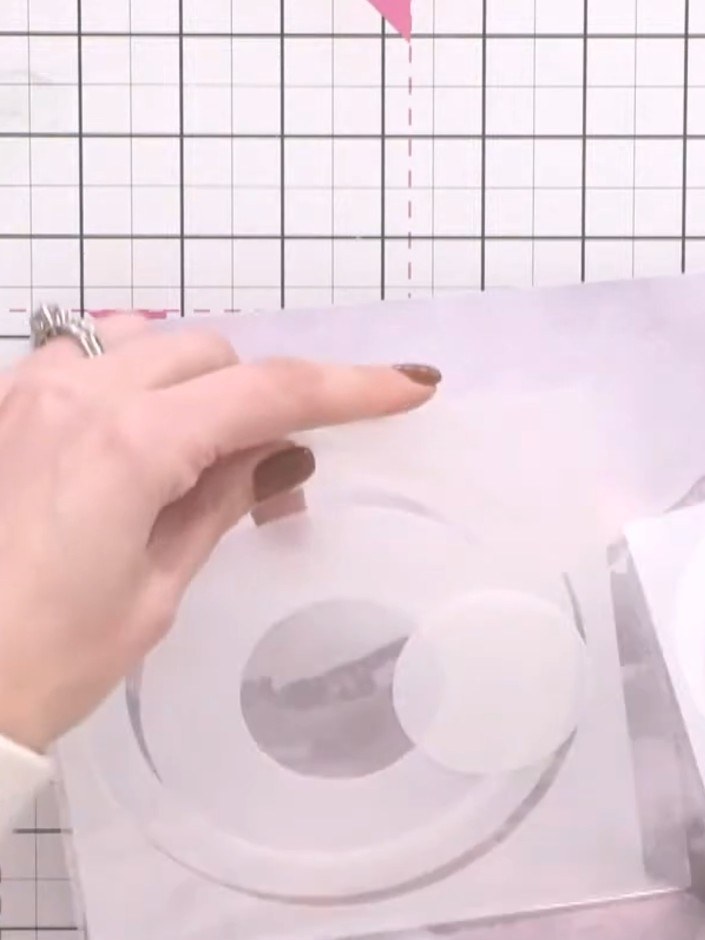
Position the layering stencil mask with the heart shape over your card base to create a frame for your focal image.
▶ voir cette étape (19:30)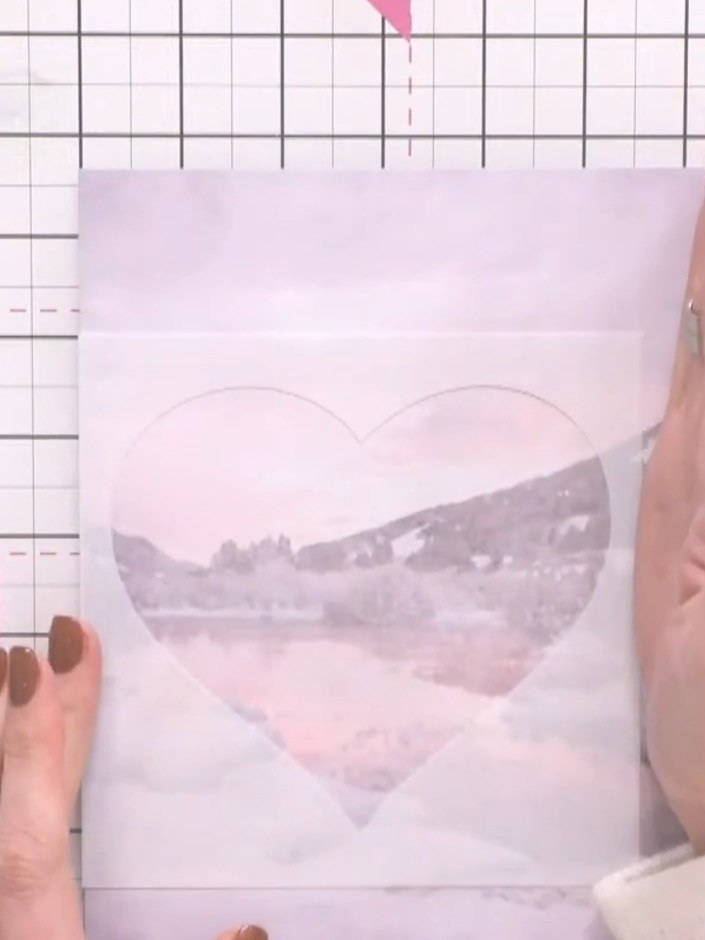
Using a brush, apply pink ink gently over the heart area to add colour and dimension to the stencilled design.
▶ voir cette étape (20:15)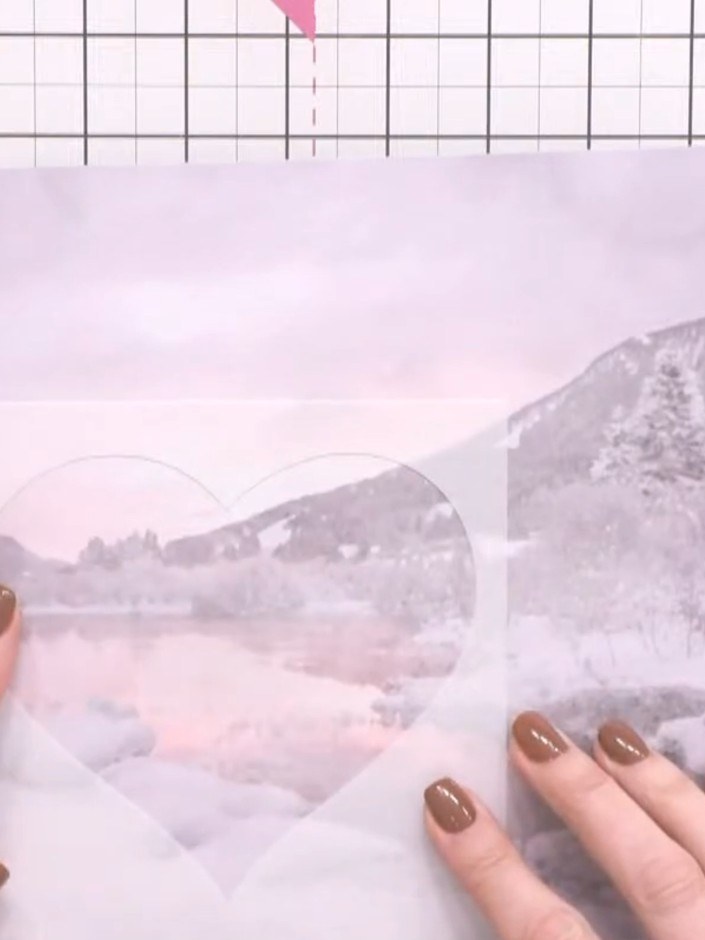
Stamp the couple image from the Celebrate You stamp set in black ink at the top portion of the card, positioning them as if walking into the sunset scene.
▶ voir cette étape (21:00)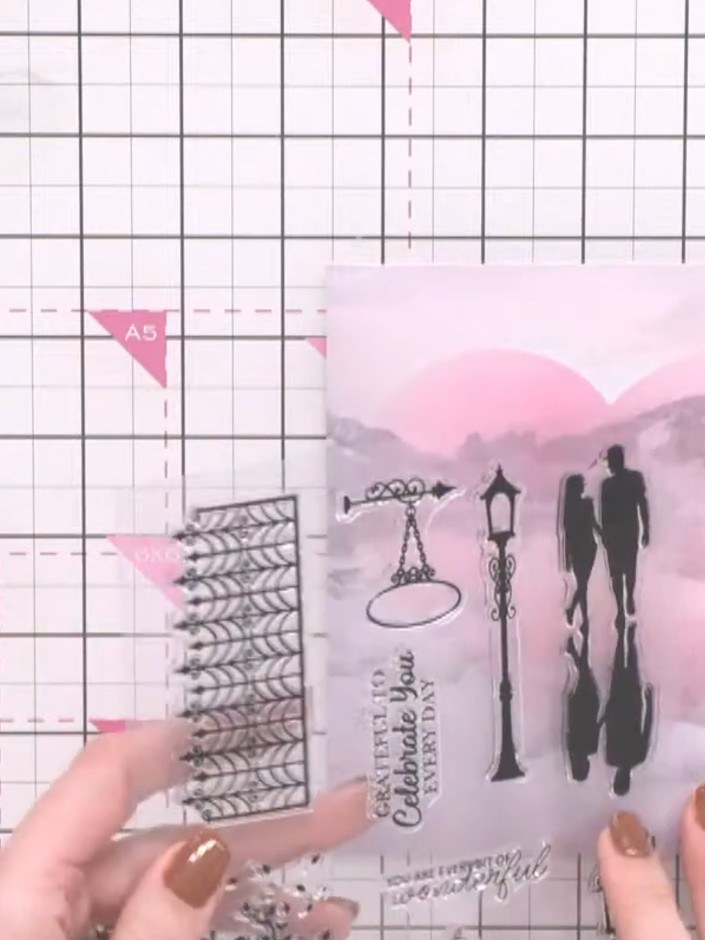
Stamp the tree element from the stamp set in pink ink onto the watercolour background, positioning it to appear as part of the scenic landscape on the left side of the card.
▶ voir cette étape (25:00)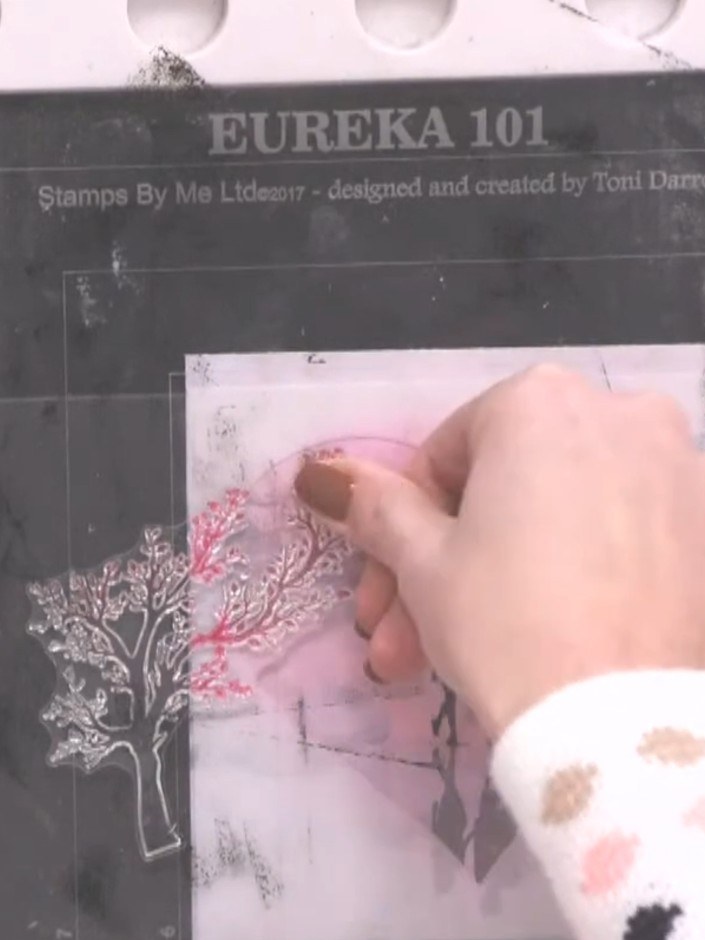
Stamp the tree design again in black ink, positioning it slightly offset from the pink stamped tree to create a layered, dimensional effect and add depth to the design.
▶ voir cette étape (31:00)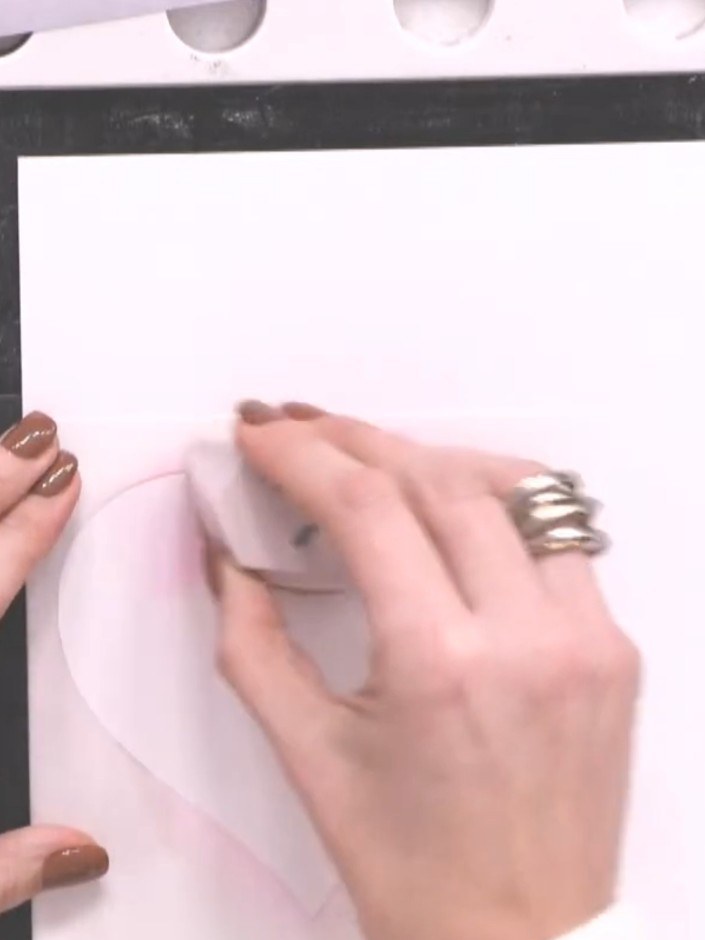
Select a sentiment from the Celebrate You stamp set, such as 'Follow Your Heart'. Position and stamp it onto your card using magenta ink, placing it to cover any areas you wish to hide or to enhance the design.
▶ regarder cette étape (38:00)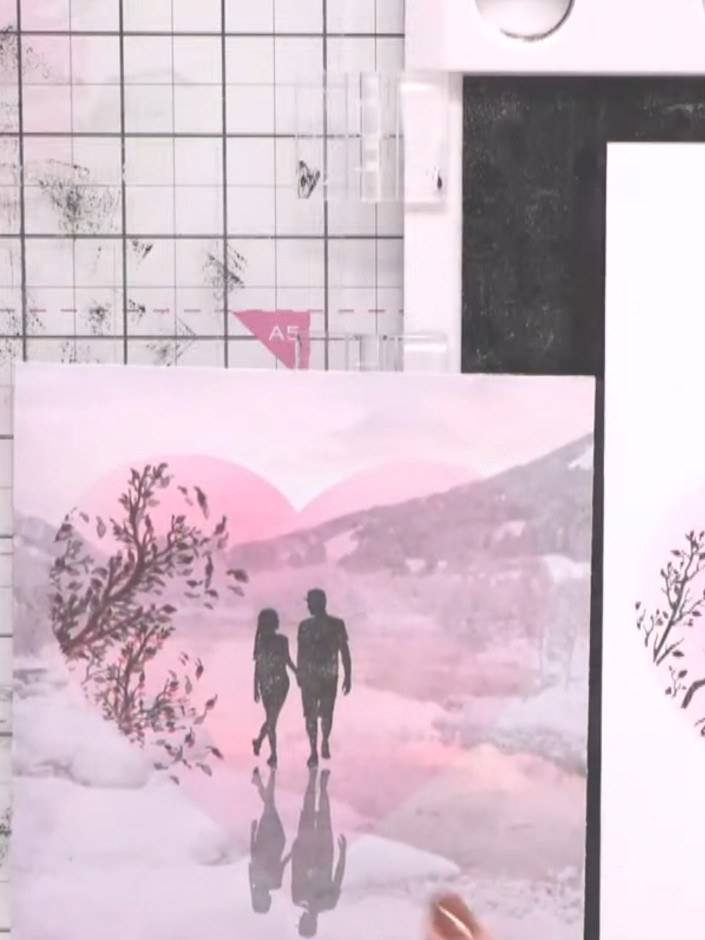
Compare the stamped image with the finished card to check alignment and positioning. Trim the stamped panel if needed and mat it onto the card base to complete your romantic couple reflection card.
▶ voir cette étape (41:00)Rédigé à partir de l'émission elle-même. Découvrez tous les guides de nos émissions · tutoriels gratuits · regarder en direct sur My Telly
