Offrez à vos amis 10 € de réduction sur leur première commande !
Parrainez un AMI








Un projet de notre émission en direct Stamps By Me - Celebration Box - Bloom and Grow Class 1 · 01/11/2023 · à voir dès 12:00
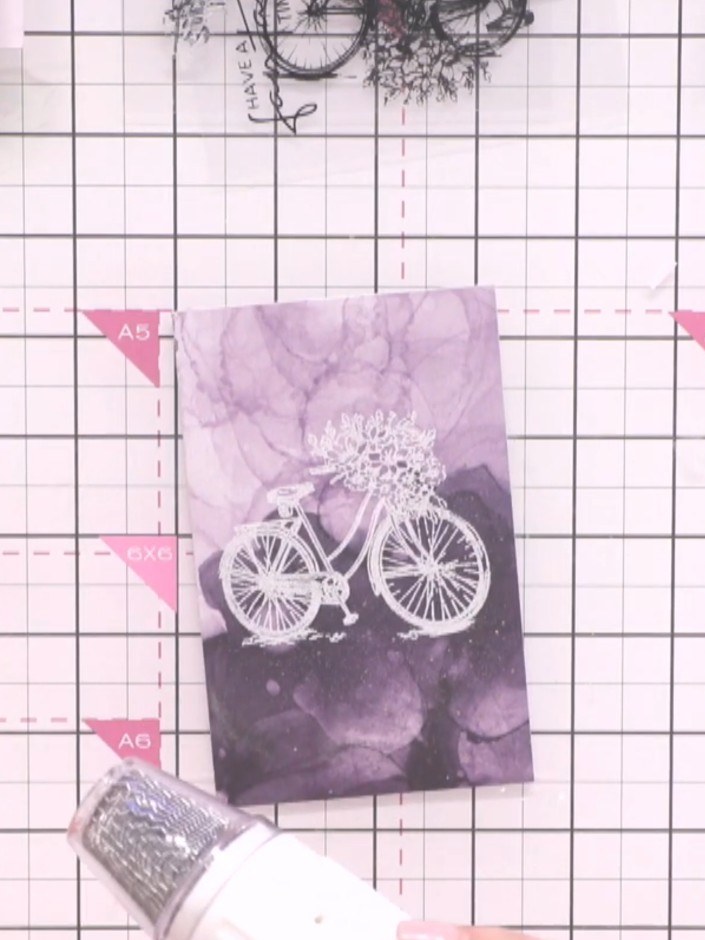
Créez une mini carte qui a du caractère avec un tampon vélo embossé en doré sur un papier imprimé noir orné d'une porte décorative. La carte est montée sur du papier cartonné blanc et un fond noir, puis complétée d'une bande de texte en haut pour un rendu raffiné et élégant. Ce projet fait appel à l'embossage à chaud pour créer de superbes détails métallisés sur des fonds imprimés.
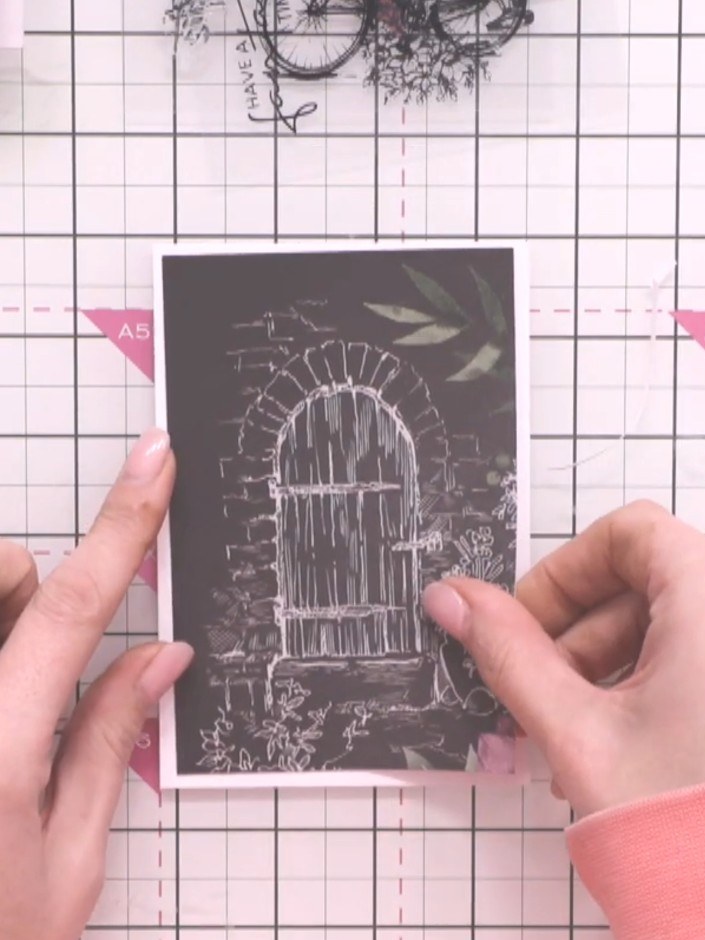
Select a patterned paper from the Bloom & Grow paper pad featuring a decorative door design on dark background.
▶ voir cette étape (12:00)
Coupez le papier imprimé aux bonnes dimensions et superposez-le sur un support blanc. Position the layers on your craft mat to check the sizing before adhering.
▶ voir cette étape (12:15)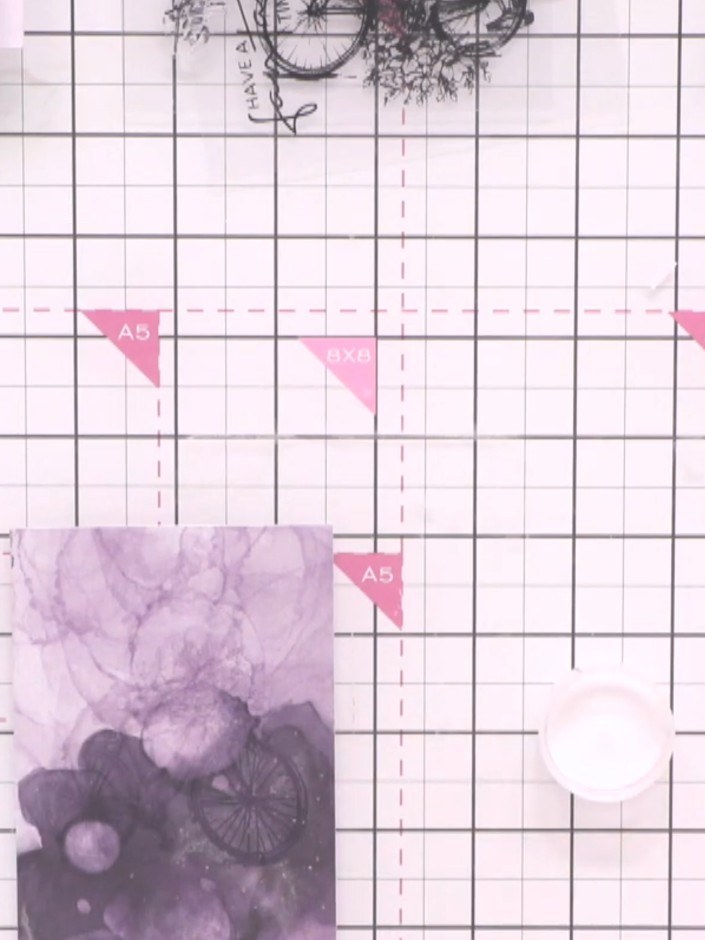
Use an antistatic bag to prepare a piece of alcohol ink-style card stock by rubbing it over the surface. This prevents static and helps the embossing powder stick only where you want it.
▶ voir cette étape (13:00)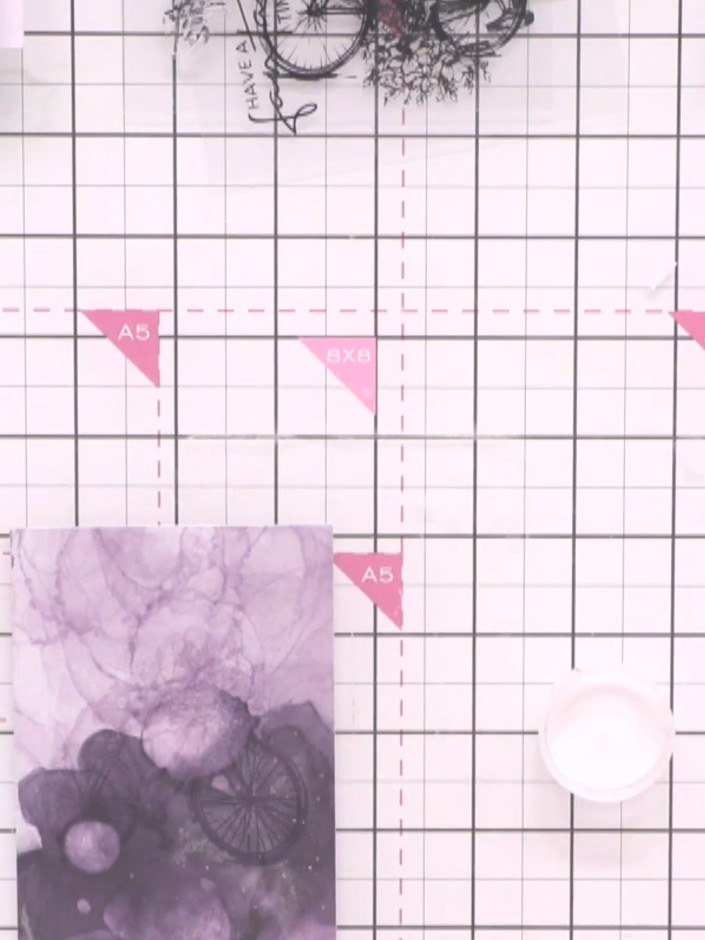
Stamp the bike image onto the inked card stock using a white sticky ink pad. Press firmly to ensure good coverage.
▶ voir cette étape (13:15)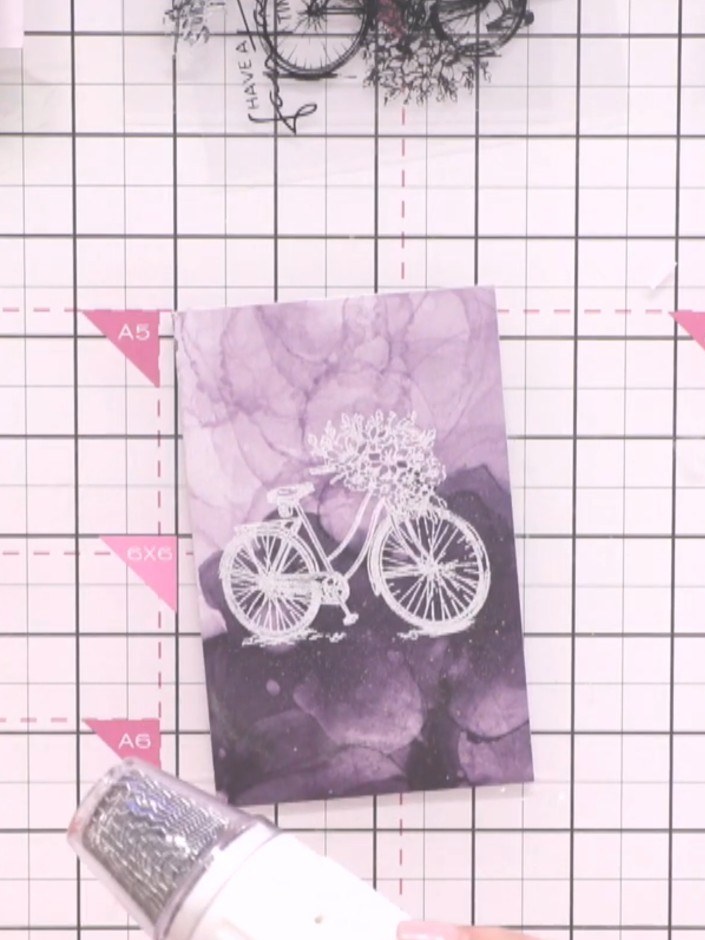
Heat the embossing powder with a heat gun until it melts and sets, creating a raised gold finish on the bicycle design.
▶ voir cette étape (14:45)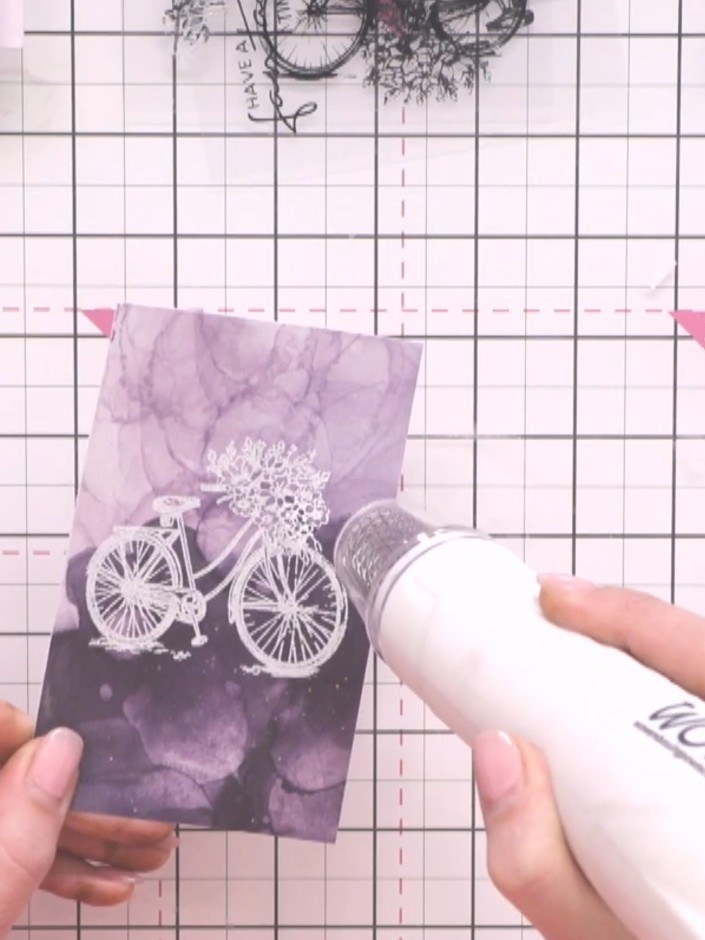
Die-cut the embossed bicycle image using the coordinating die and your die-cutting machine.
▶ voir cette étape (15:00)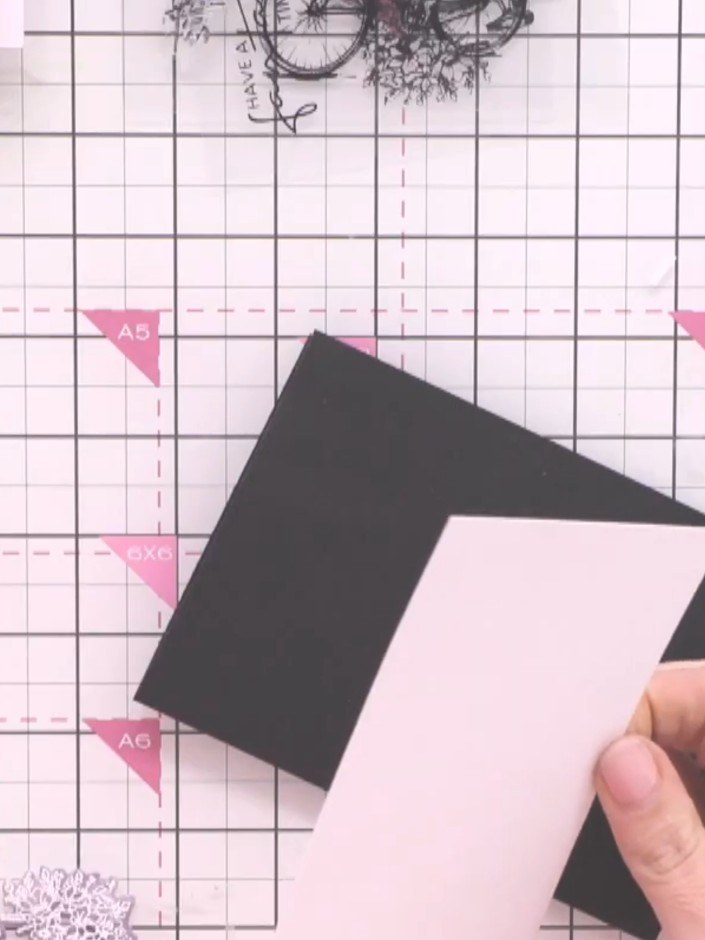
Take a black card blank and fold it to create your card base. Position it on your craft mat ready to work with.
▶ voir cette étape (16:00)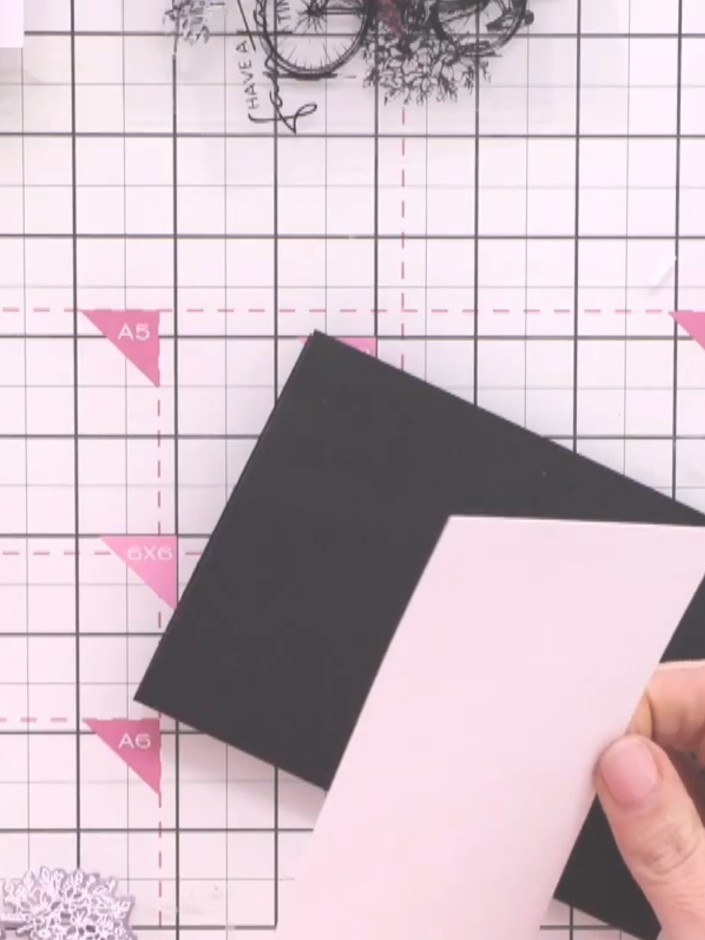
Layer a white card stock panel onto the black card blank, positioning it centrally to create an even border around all edges.
▶ voir cette étape (16:45)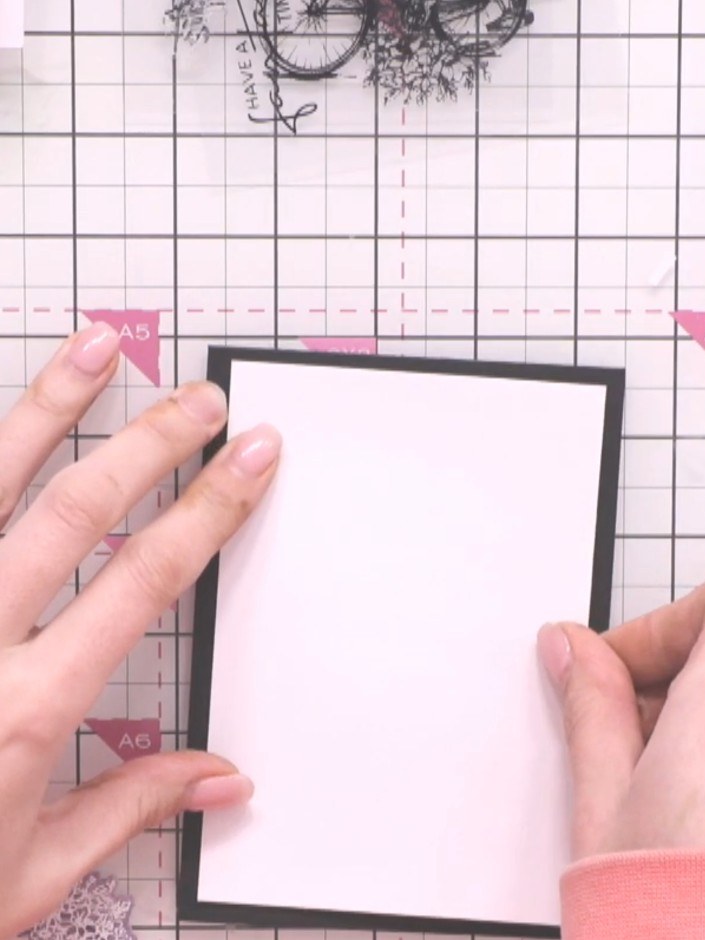
Glue the patterned paper piece with the door design onto the white card layer, positioning it centrally within the black frame.
▶ voir cette étape (17:00)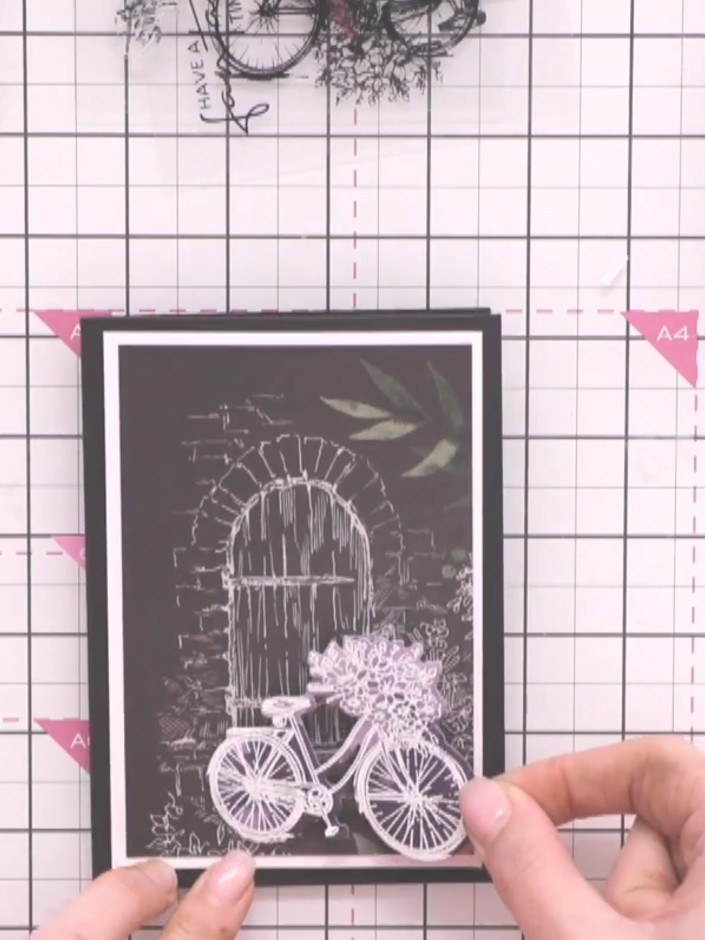
Position the gold embossed die-cut bicycle onto the card front, angling the front wheel down slightly for perspective. Glue it in place to secure.
▶ voir cette étape (17:30)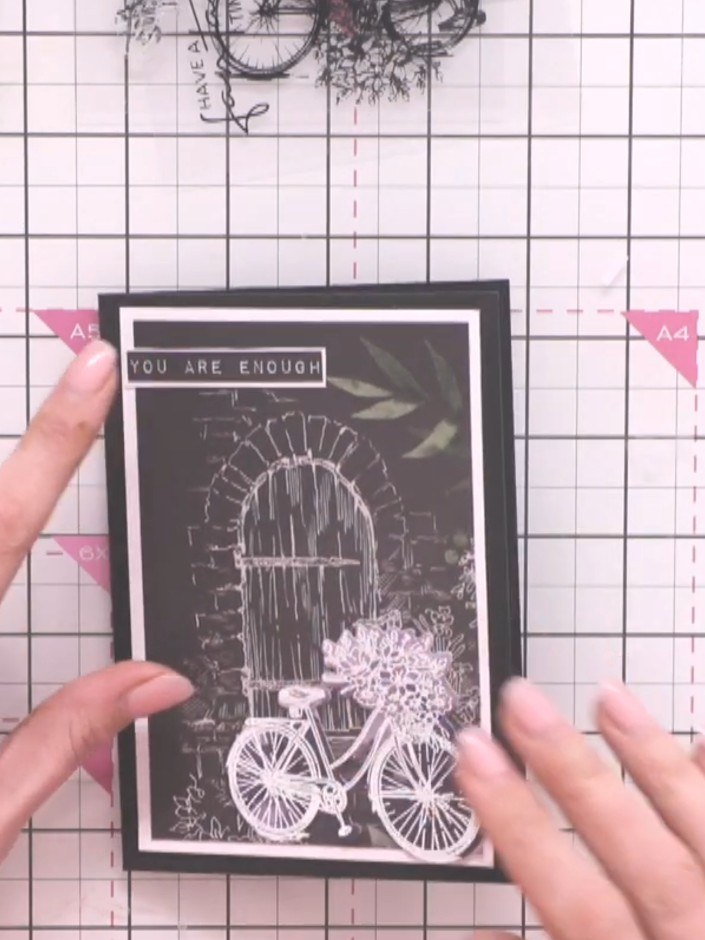
Trim a sentiment strip reading 'YOU ARE ENOUGH' from the paper pad. Adhere it to the top of the card front to complete the design.
▶ voir cette étape (18:00)Rédigé à partir de l'émission elle-même. Découvrez tous les guides de nos émissions · tutoriels gratuits · regarder en direct sur My Telly