Offrez à vos amis 10 € de réduction sur leur première commande !
Parrainez un AMI








Un projet de notre émission en direct THE ART OF CARDISTRY - Rejoignez-moi pour ma séance de création de cartes avec toute ma merveilleuse communauté américaine - diffusé le 24 oct. 23 · 24/10/2023 · à voir dès 15:00
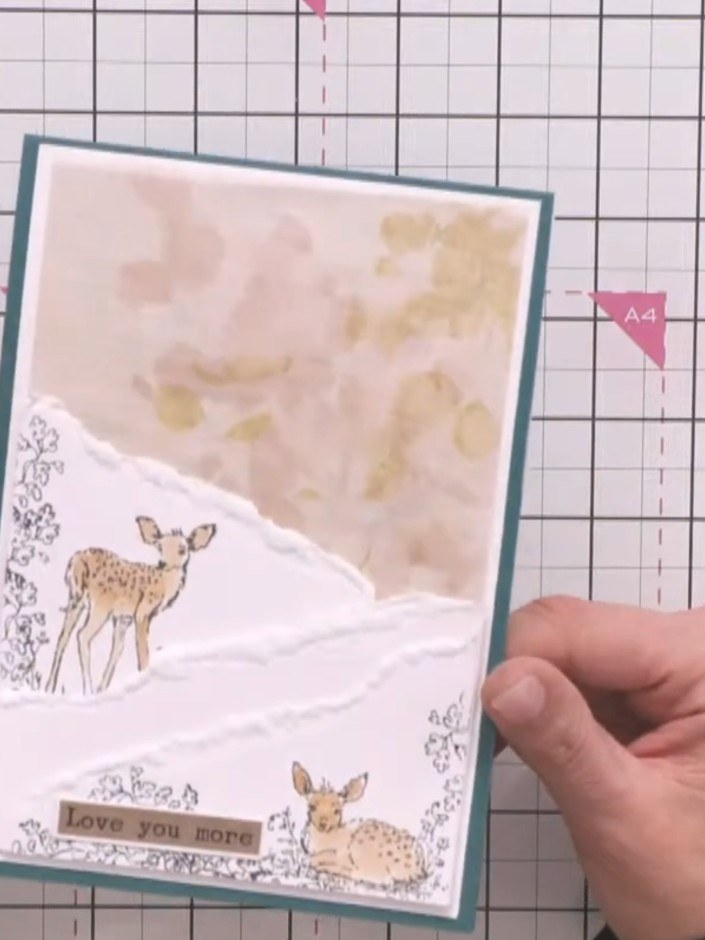
Réalisez une ravissante carte de Noël avec une scène de forêt hivernale : des cerfs et du feuillage tamponnés sur fond de congères en papier déchiré. Tons neutres et doux, bordure bleu canard et superposition de papier blanc donnent de la profondeur, les animaux semblant surgir du paysage enneigé. Terminez avec des détails embossés en blanc et des paillettes incolores pour un scintillement tout en subtilité.
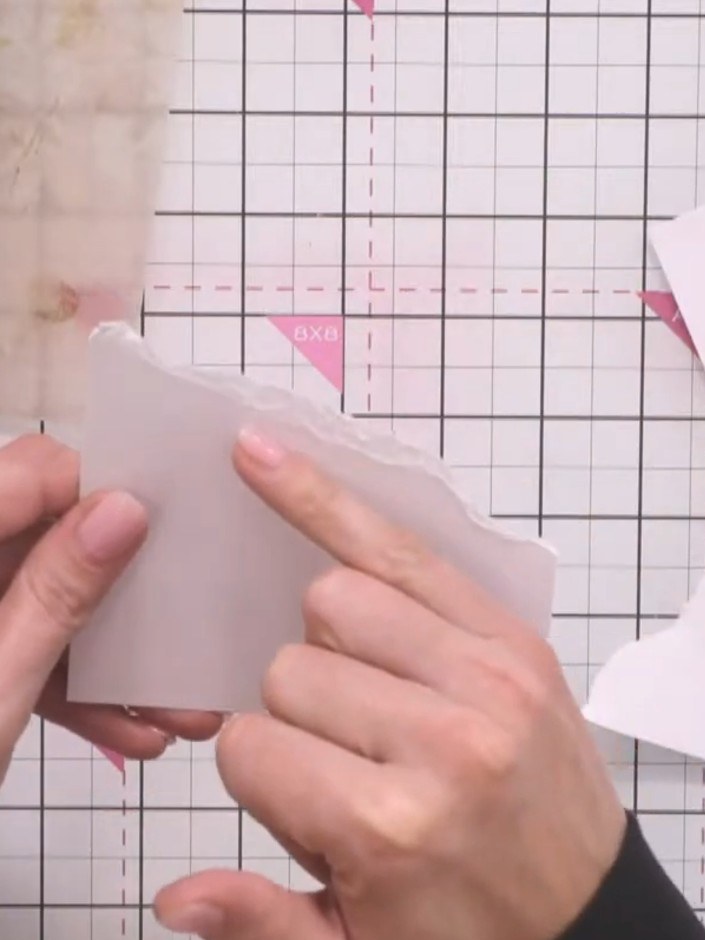
Tear pieces of white card randomly to create jagged snow drift shapes. Use both the torn edges for different effects, as both sides can be reused.
▶ voir cette étape (23:15)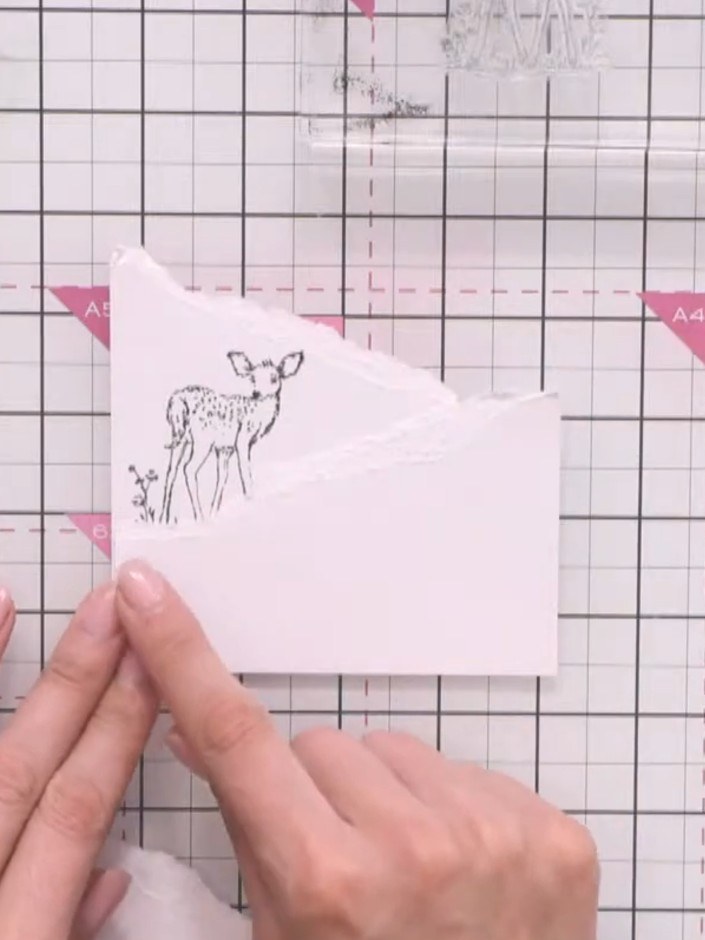
Stamp the deer image from the Secret Forest collection in black ink onto white card, positioning it as if standing behind the first snow drift layer.
▶ voir cette étape (24:45)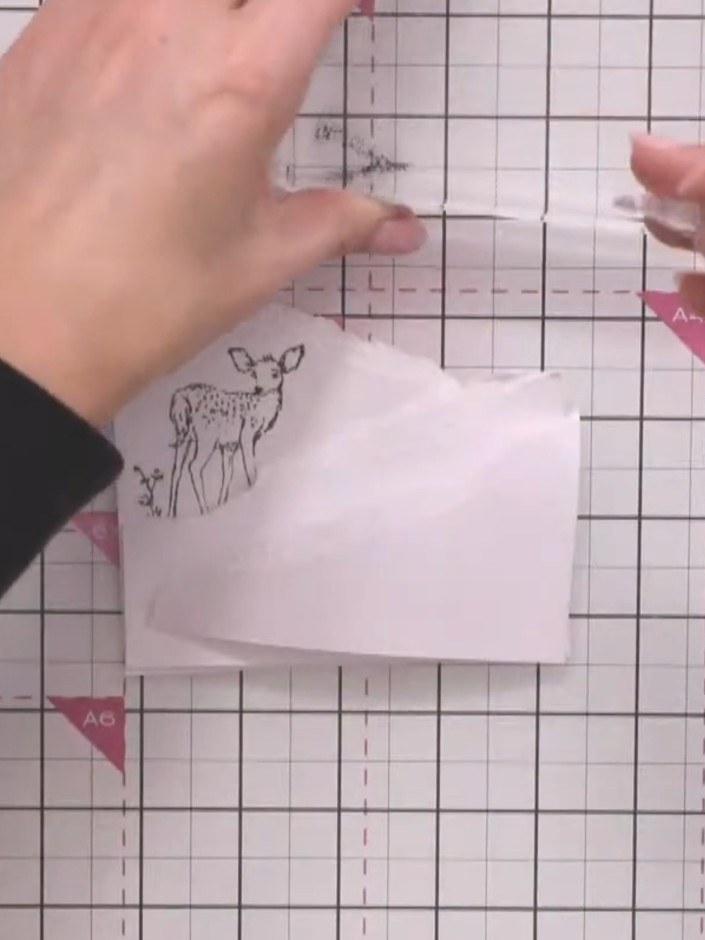
Stamp the laying-down deer image in black ink on the lower portion of the card front to create a second focal point in your winter scene.
▶ voir cette étape (26:45)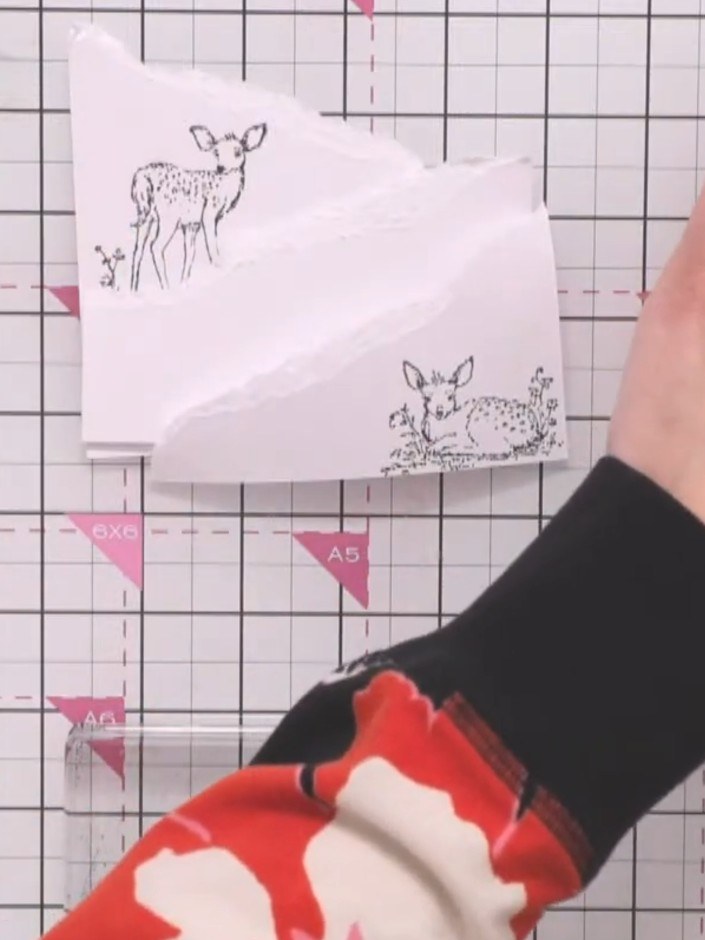
Stamp small shrub and grass details in black ink around the animals to fill in the landscape and anchor them in the scene.
▶ voir cette étape (27:30)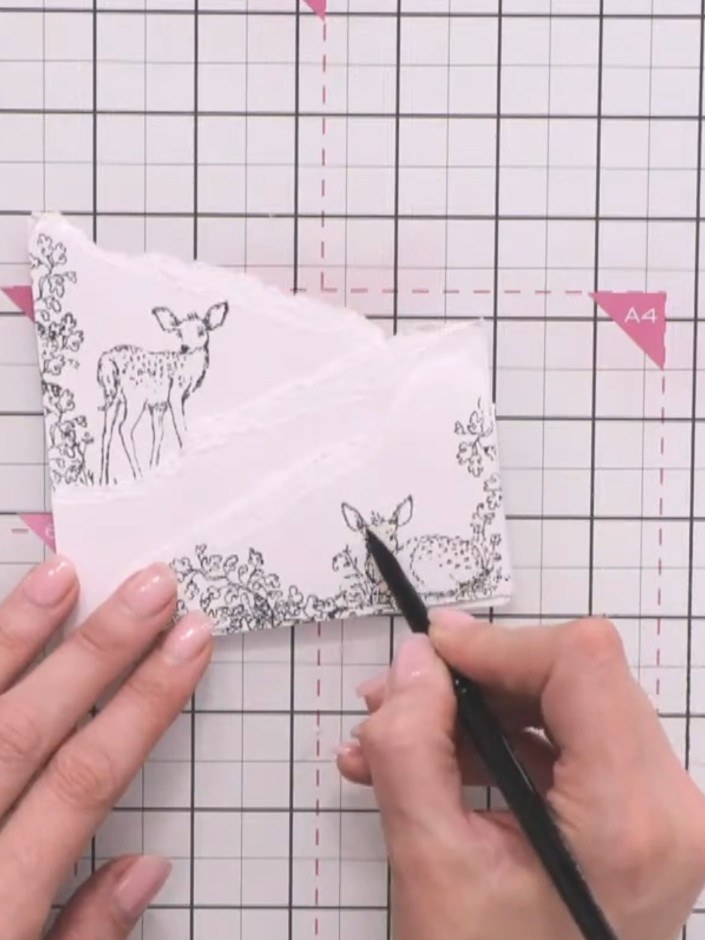
Colour the stamped stags with brown watercolour. Add shadow to the eyes, ears, and around the base of each deer, leaving a light halo on the face.
▶ voir cette étape (31:30)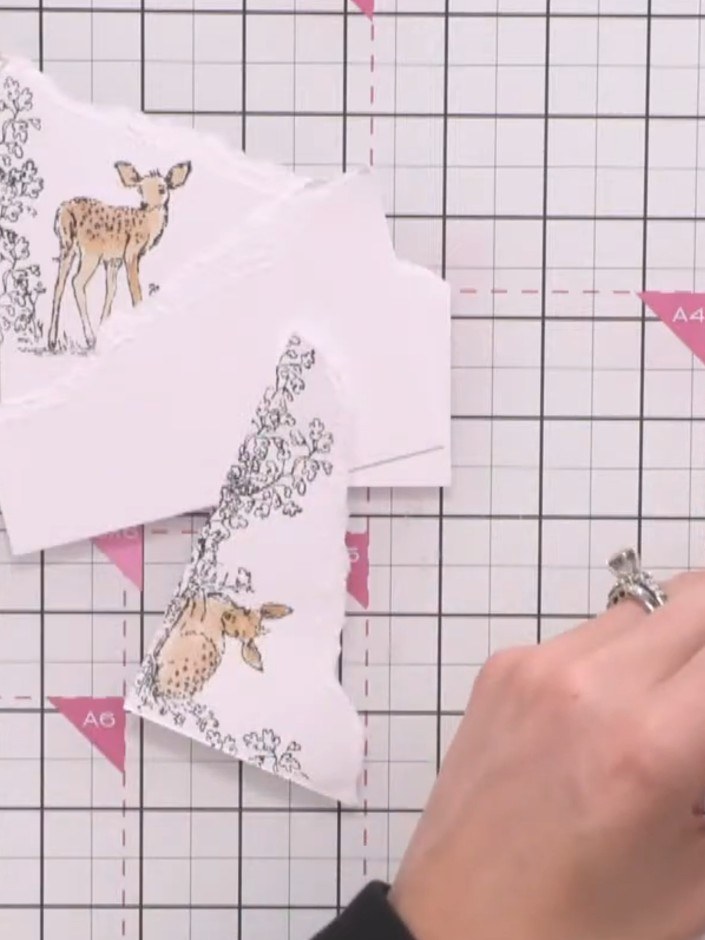
Apply glue along the edges of the torn snow drift pieces. Sprinkle colourless glitter over the wet glue to create a sparkling snow effect.
▶ voir cette étape (33:45)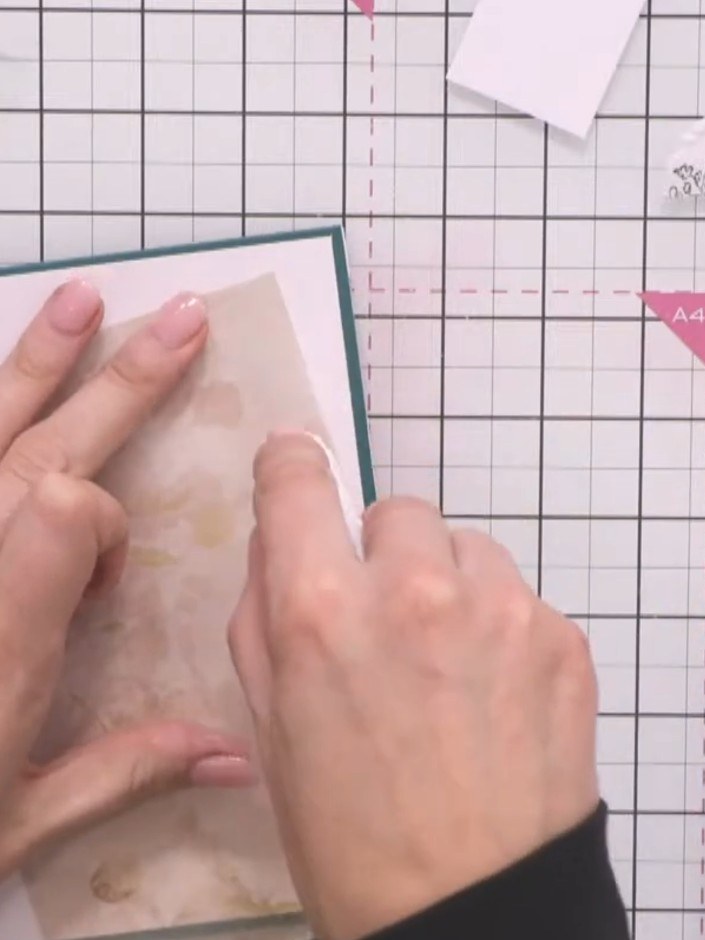
Adhere the vellum layer to the card front using a tape pen. Apply adhesive in random places around the edges and design to avoid visible adhesive showing through the translucent vellum.
▶ voir cette étape (38:15)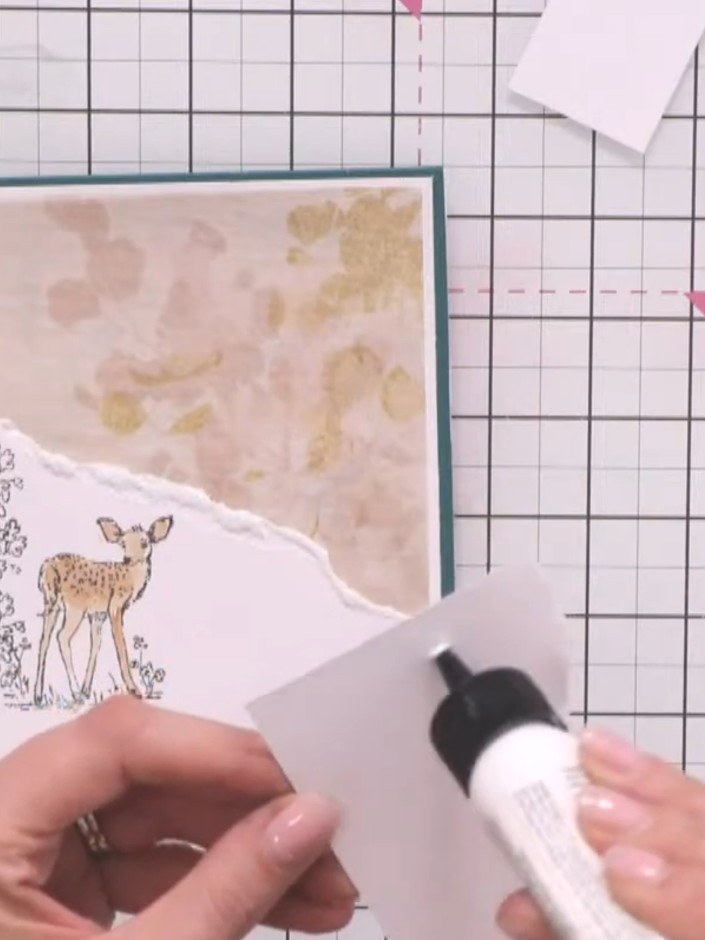
Apply adhesive to the back of the layered panel. Mount it onto a white card base, then layer onto a green card for the final backing.
▶ voir cette étape (39:15)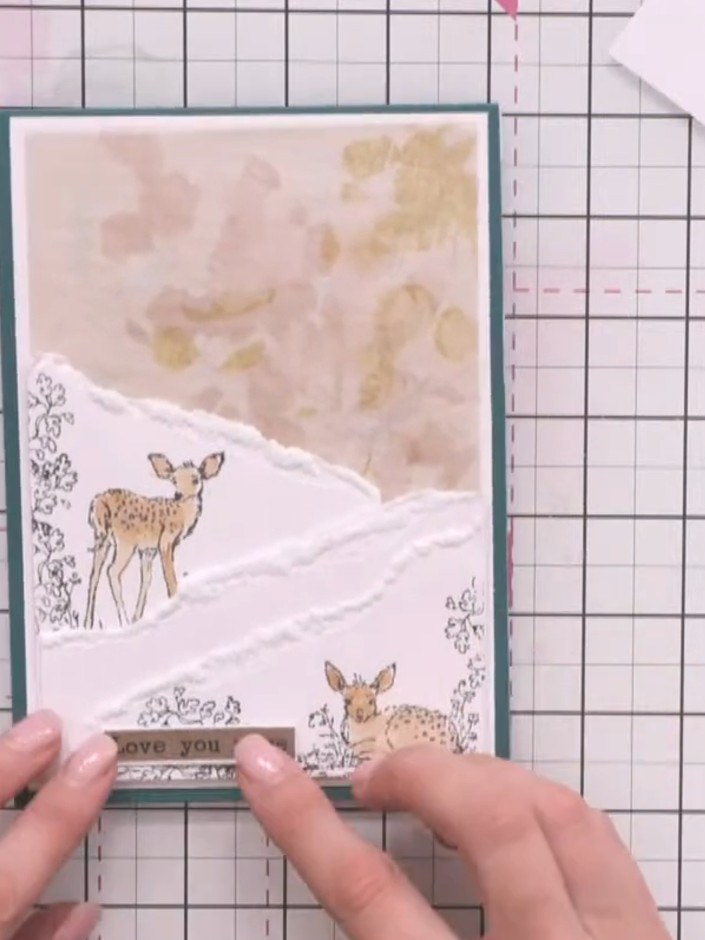
Add a sentiment banner reading 'love you more' near the base of the card, positioning it centrally below the snow drift to complete your design.
▶ voir cette étape (41:00)Rédigé à partir de l'émission elle-même. Découvrez tous les guides de nos émissions · tutoriels gratuits · regarder en direct sur My Telly