Offrez à vos amis 10 € de réduction sur leur première commande !
Parrainez un AMI








Un projet de notre émission en direct MONDAY MADNESS - NOUVEAU LANCEMENT AVAGO INK - Retrouvez Simon et ses tout nouveaux produits, avec plein d'inspiration - Diffusion du 22 mai 23 · 22/05/2023 · à voir dès 14:00
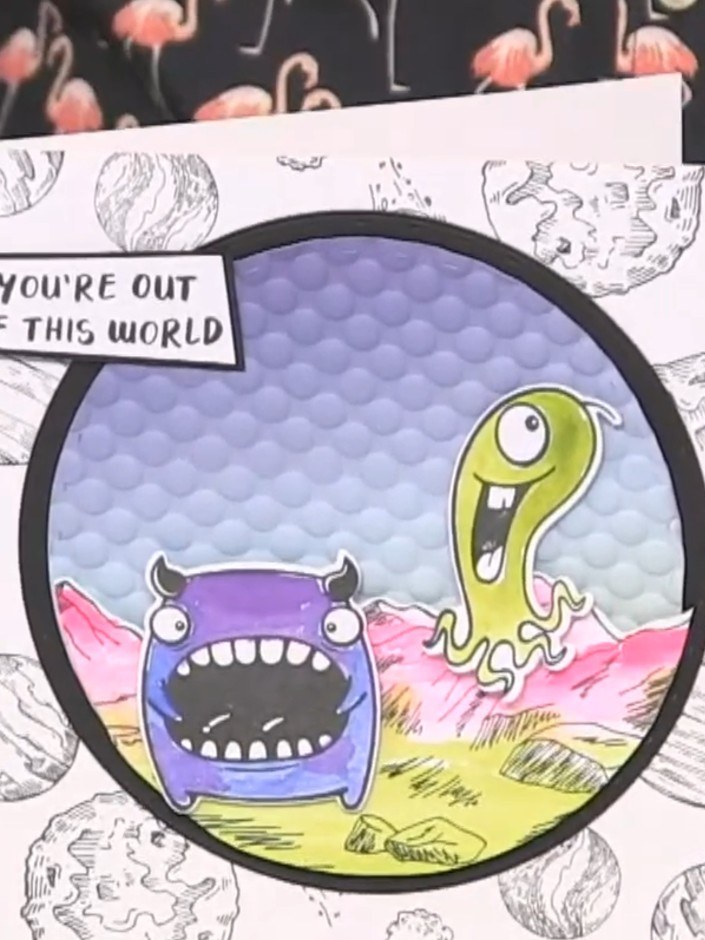
Créez une carte de 7x7 pouces qui fait de l'effet, avec d'adorables petits monstres sur un fond cosmique. Ce projet associe des planètes tamponnées et gaufrées à des paysages extraterrestres à l'aquarelle dans des violets, roses, jaunes et bleus éclatants. La superposition des couches donne de la profondeur, tandis que les fonds texturés et les personnages mis en relief créent une scène vraiment « venue d'ailleurs » qui attire tous les regards.
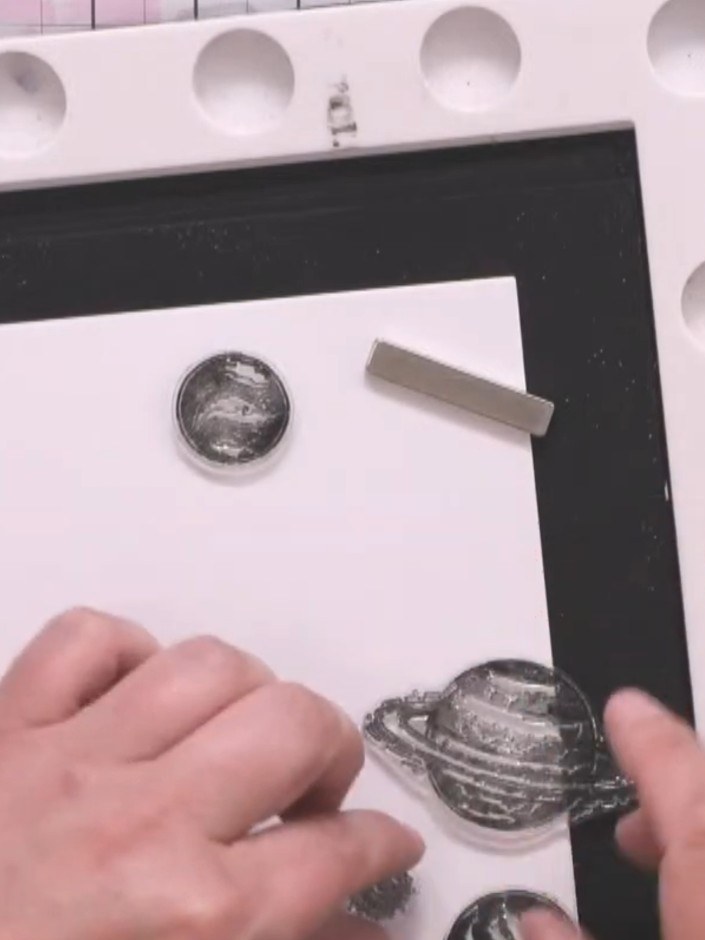
Take a 7x7 inch card blank and randomly stamp the planet images across it using black ink. Position some stamps partially on and off the card edge for visual interest.
▶ voir cette étape (14:15)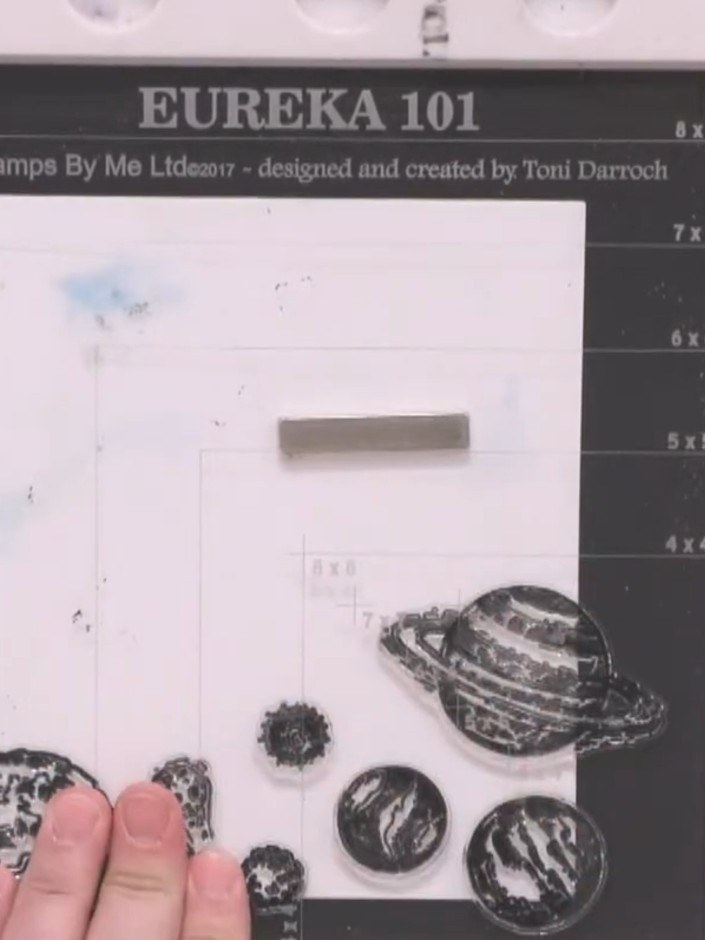
Die cut two circles from black card and patterned paper. Use the largest circle for the base and a smaller circle from the ombre foundation paper for the middle layer.
▶ voir cette étape (15:30)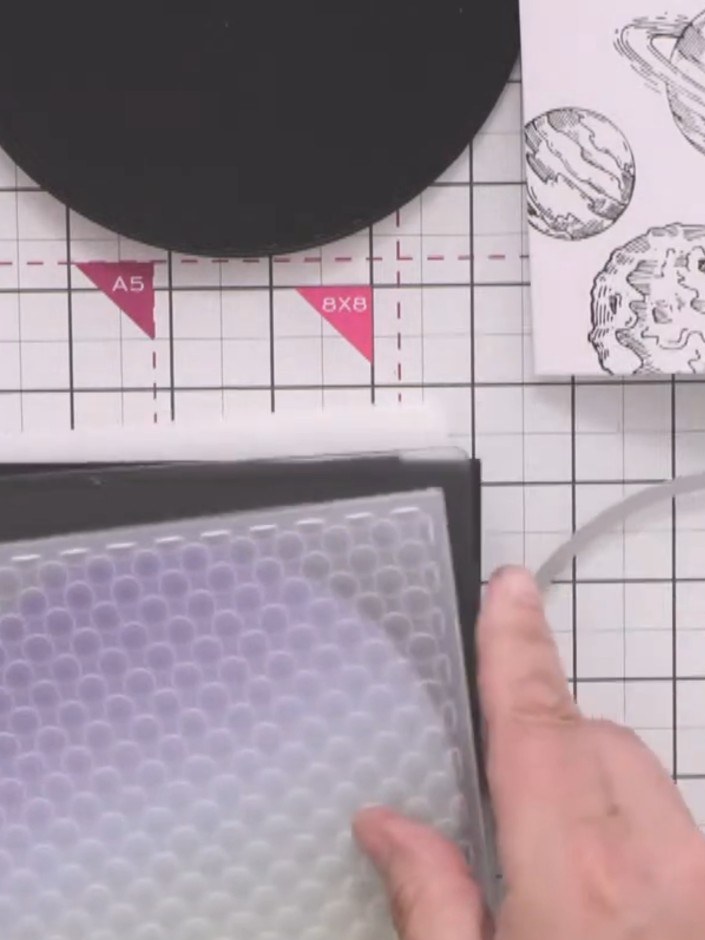
Passez le petit cercle imprimé dans un classeur de gaufrage à motif de pois rétro pour ajouter de la texture et animer le fond.
▶ voir cette étape (19:45)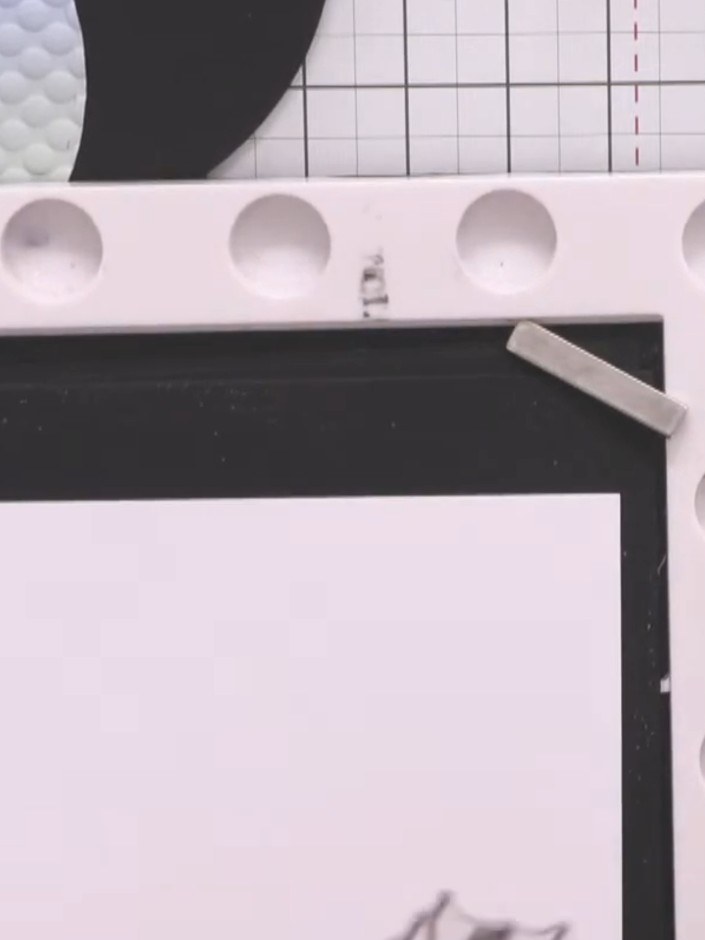
Stamp the space scene landscape image onto white card using black ink. Once dry, use scissors to freehand cut around the top edge of the stamped image to create definition and an organic skyline.
▶ voir cette étape (20:30)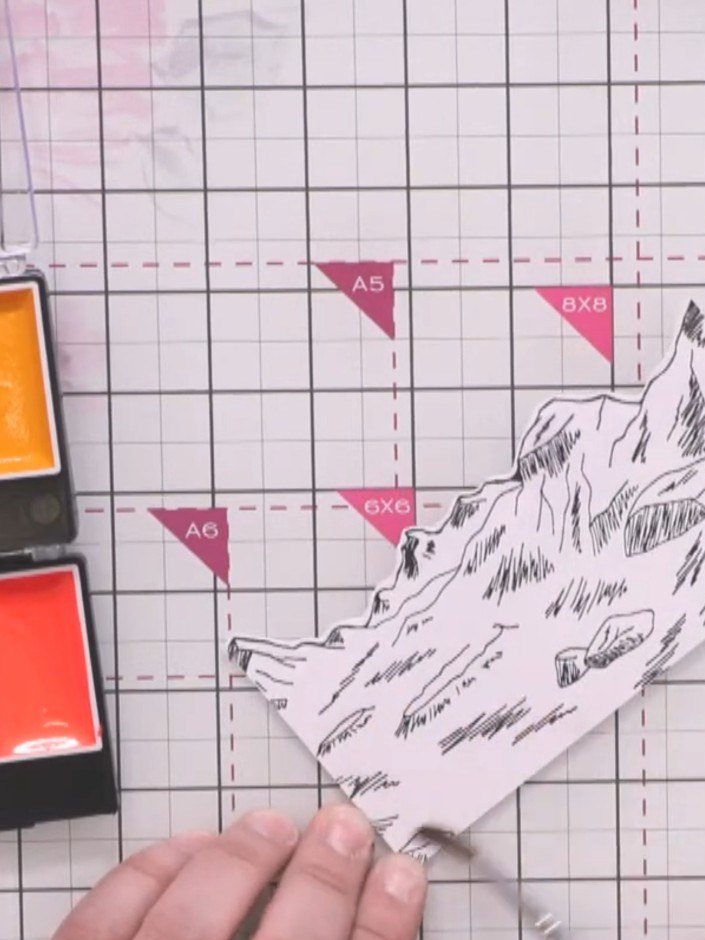
Wet the landscape piece with water. Apply vibrant watercolour brush colours, starting with pink at the top, blending down, then adding green at the base.
▶ voir cette étape (24:00)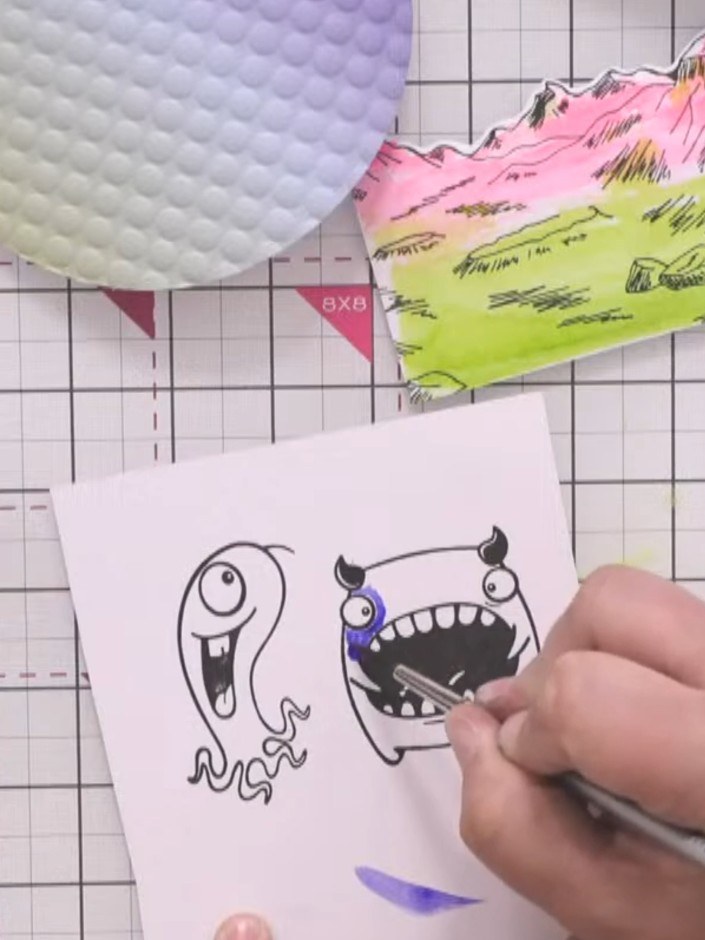
Stamp the large monster character onto white card. Colour the monster using blue and purple watercolours. Heat dry the coloured image.
▶ voir cette étape (26:15)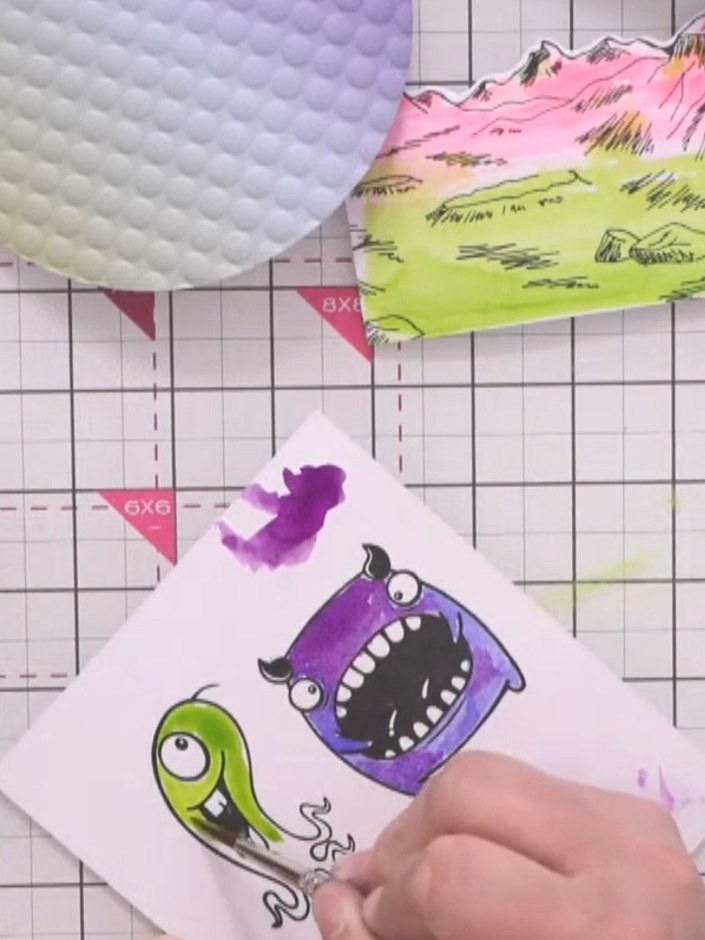
Stamp the smaller monster character onto white card. Colour the green monster with vibrant green watercolour and the purple monster with purple watercolour. Heat dry the coloured images.
▶ voir cette étape (28:00)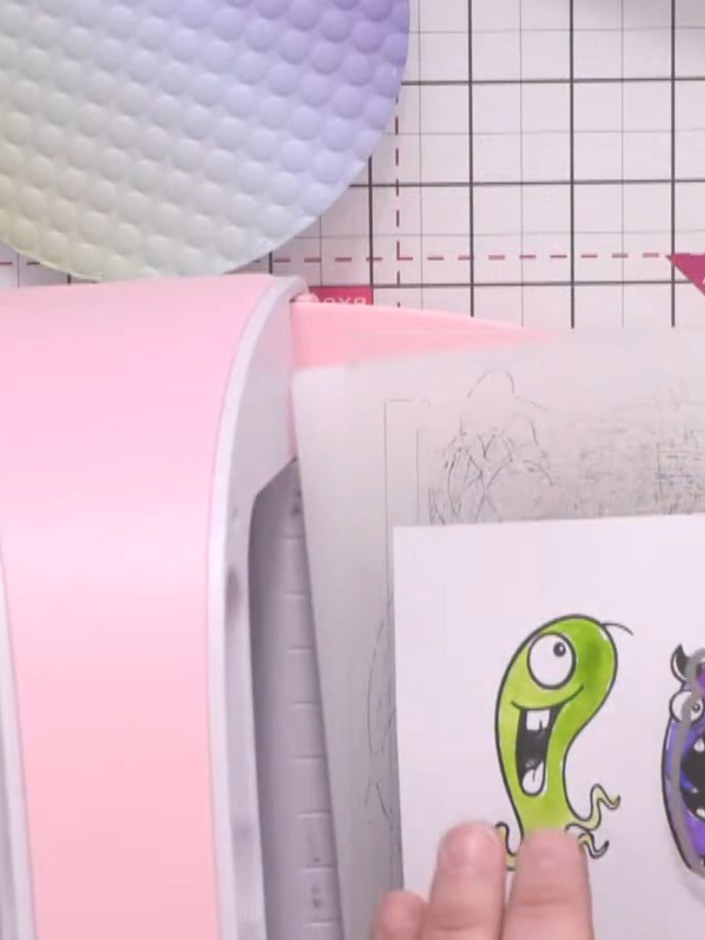
Die cut both coloured monster characters using their corresponding dies from the AVAGO-INK Designs Monster Die Set. The green monster and purple monster should each be cut out with their matching dies.
▶ voir cette étape (29:30)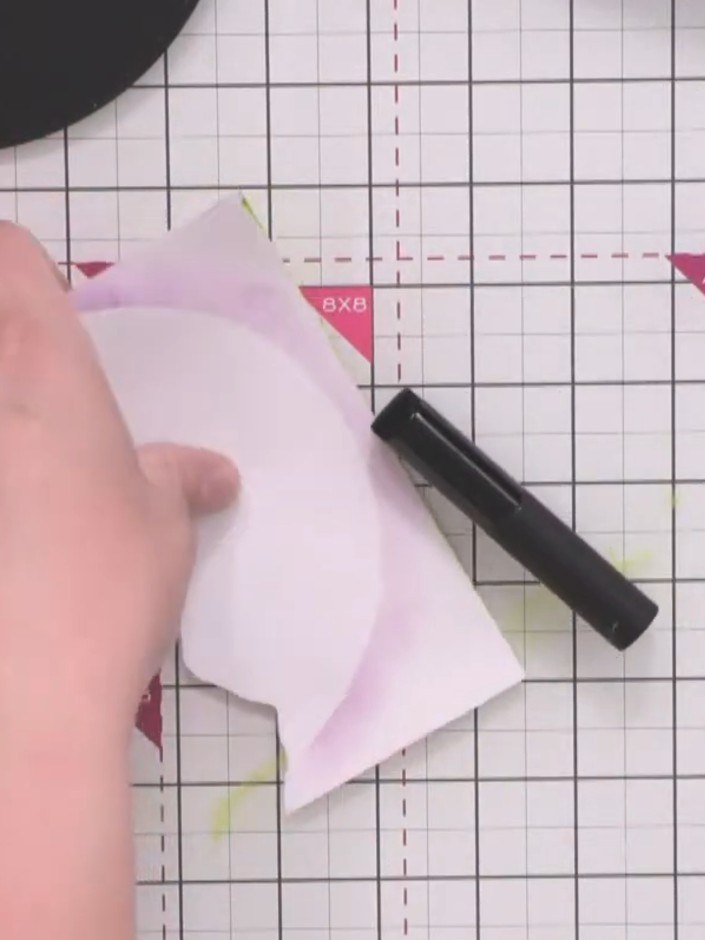
Cut along the marked cutting lines on the pink vellum piece using scissors to create the feather shape.
▶ voir cette étape (31:00)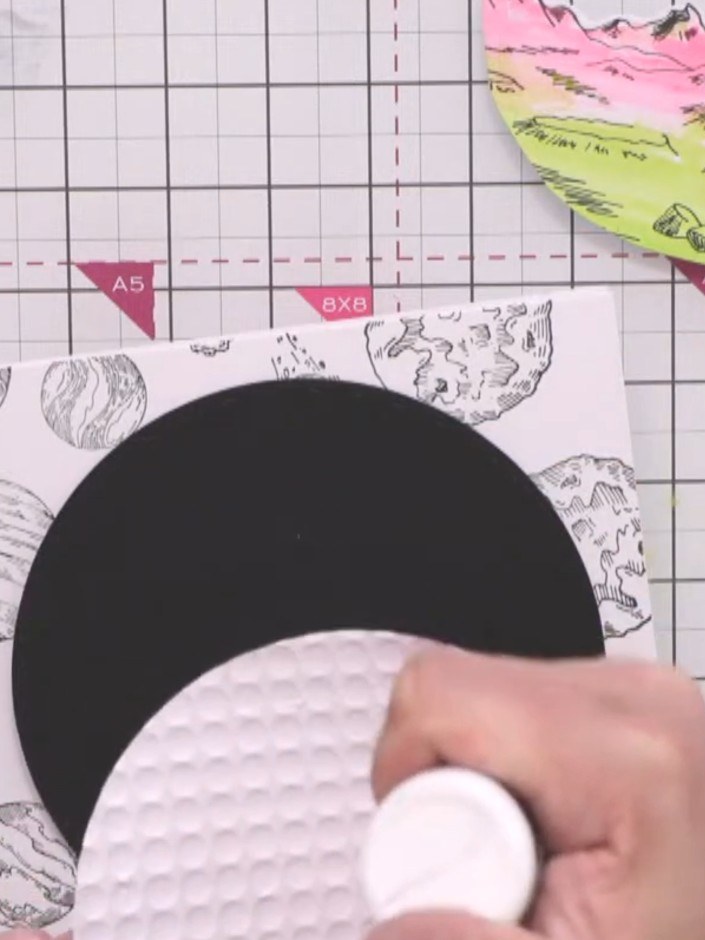
Glue the white embossed circle to the black circle using a glue stick, ensuring it is centred. Then attach the watercoloured landscape piece to the bottom of the layered circles.
▶ voir cette étape (31:30)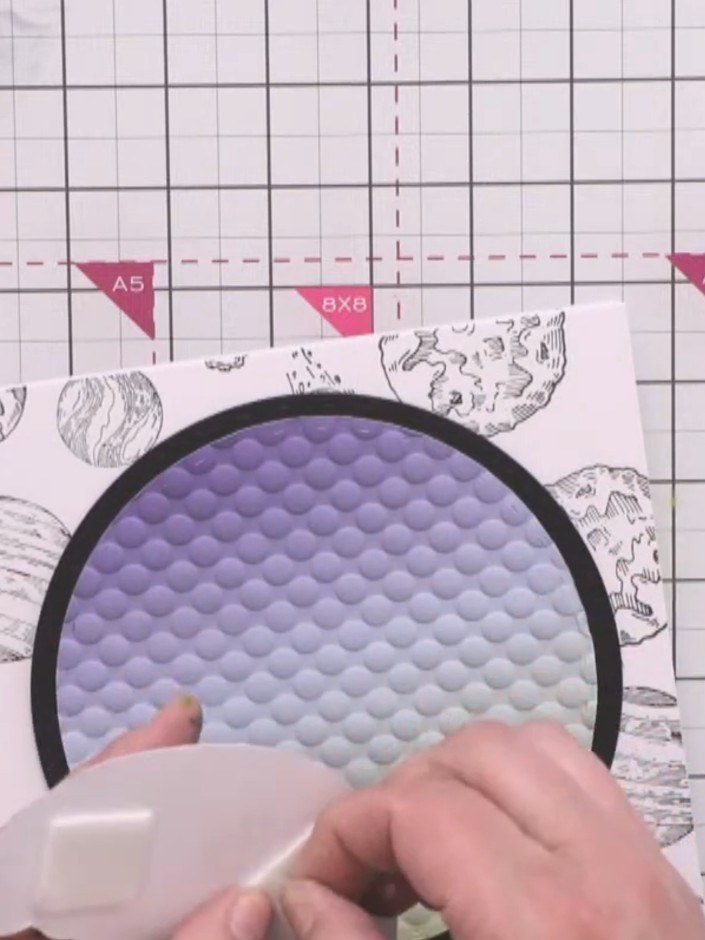
Position and glue the large purple monster character at the bottom of the embossed circle. Add the smaller pink and yellow monster character at the top, appearing to run over the landscape.
▶ voir cette étape (32:00)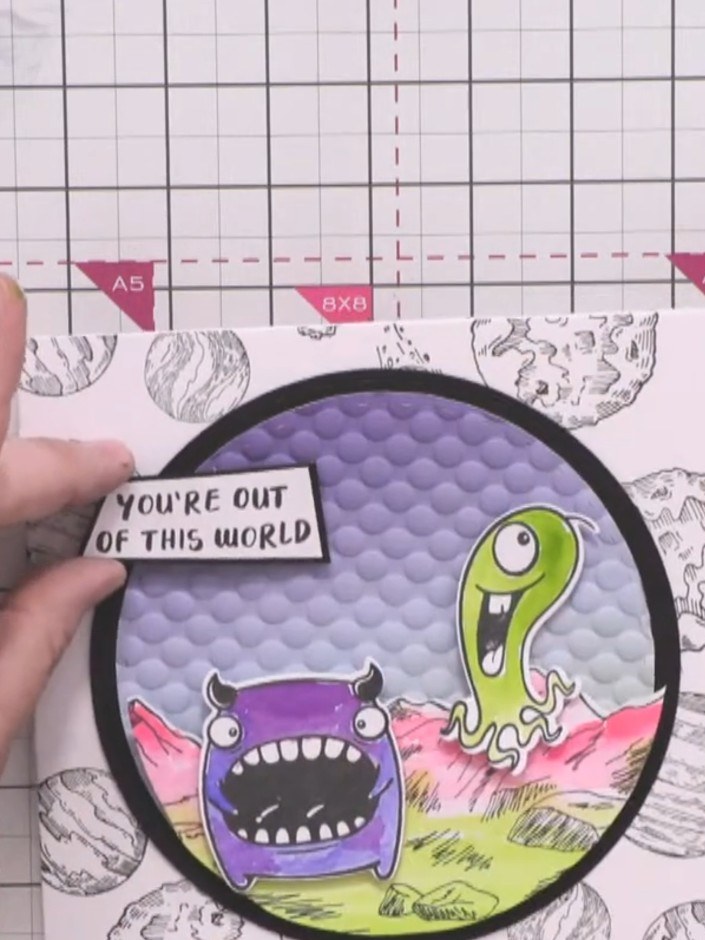
Adhere the sentiment piece reading "YOU'RE OUT OF THIS WORLD" to the upper portion of the circular card panel to complete your space scene monster card.
▶ voir cette étape (33:00)Rédigé à partir de l'émission elle-même. Découvrez tous les guides de nos émissions · tutoriels gratuits · regarder en direct sur My Telly
