Regala ai tuoi amici 10 € di sconto sul loro primo ordine!
Invita un AMICO








 Hidden Gemsmer 4 nov 5:00
 The Thursday Dropgio 5 nov 13:00
 The Friday Final Cutven 6 nov 5:00
I prezzi si aggiornano subito. Le traduzioni sono a cura di Google.
Un progetto dalla nostra diretta RIVEDI il Create Together Club - Video di ispirazione 6 per il set di timbri A NOTE TO SAY - PUNTATA del 30 ott 21 · 30/10/2021
Create a contemporary card by stamping the typewriter onto white card stock with gold embossing ink and a hint of teal, then heat set. This design shows how embossing works on solid card rather than vellum.
Place a white card base on your work surface and position the typewriter stamp towards the lower section.
Apply anti-static powder to the card.
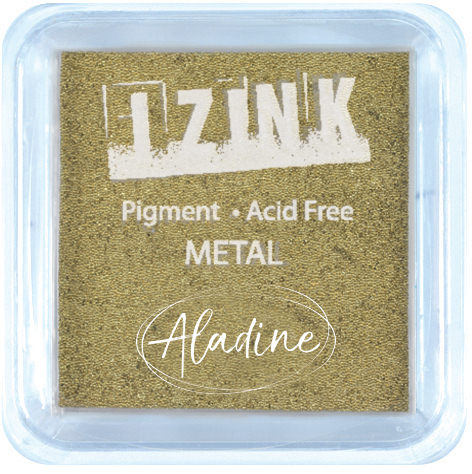
Ink the typewriter stamp with the gold embossing ink pad.
Stamp the typewriter onto the white card, pressing firmly.
Add a touch of teal ink to the stamp for subtle colour variation in the background.
Apply clear embossing powder over the stamped image.
Heat set the embossing powder with a heat gun.
Colour the typewriter image lightly with oil pencils in pink and purple tones, blending the colours together.
Add shadow details with a darker pencil colour to create depth.
Condividi il tuo progetto con la community di Stamps By Me - e conserva questa guida per la prossima volta.
Scritto direttamente dalla puntata. Vedi tutti i tutorial delle nostre puntate · tutorial gratuiti · guarda in diretta su My Telly · la versione precedente