Schenke deinen Freundinnen und Freunden 10 € Rabatt auf ihre erste Bestellung!
Freunde WERBEN








Ein Projekt aus unserer Live-Show MARKEN-SHOWCASE - UNIKO - Sei dabei bei diesem beliebten Event, bei dem die KLEINEN Marken ganz GROSS rauskommen - Ausgestrahlt am 20. JAN. 23 · 20.01.2023 · ab 11:45 ansehen
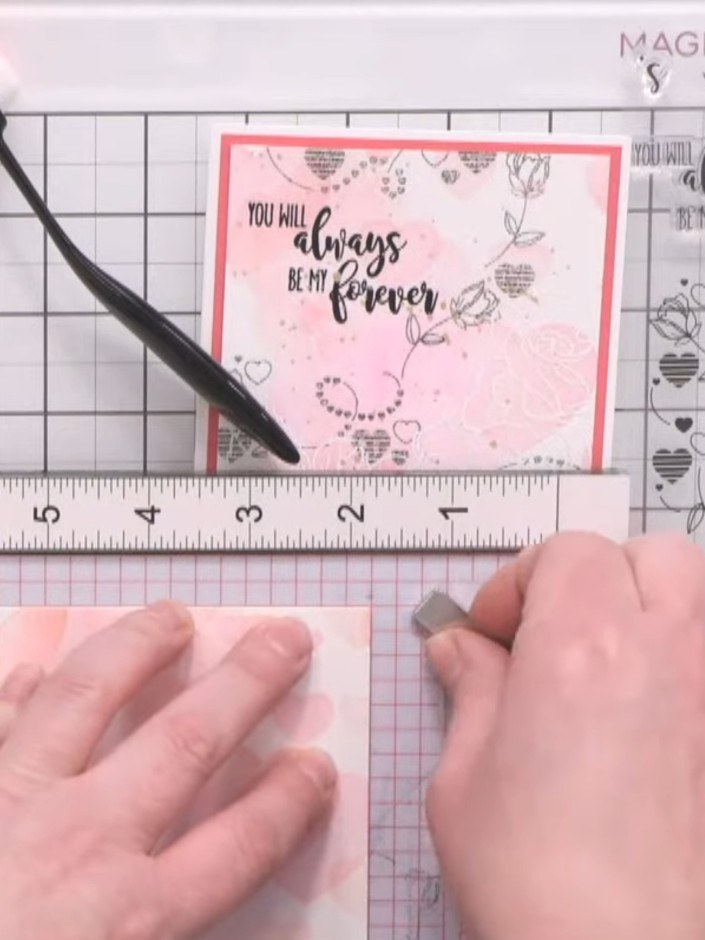
Create an elegant mixed media card featuring soft watercolour washes in delicate pink tones, adorned with cascading hearts and romantic roses. This sophisticated design combines clean stamping, subtle stencilled bokeh effects, and touches of sparkle to produce a versatile card perfect for Valentine's Day, anniversaries, weddings or any heartfelt occasion. The layered composition brings together gentle watercolour techniques with crisp stamped elements for a beautifully balanced finish.
DIESE ANLEITUNG HERUNTERLADEN (PDF)
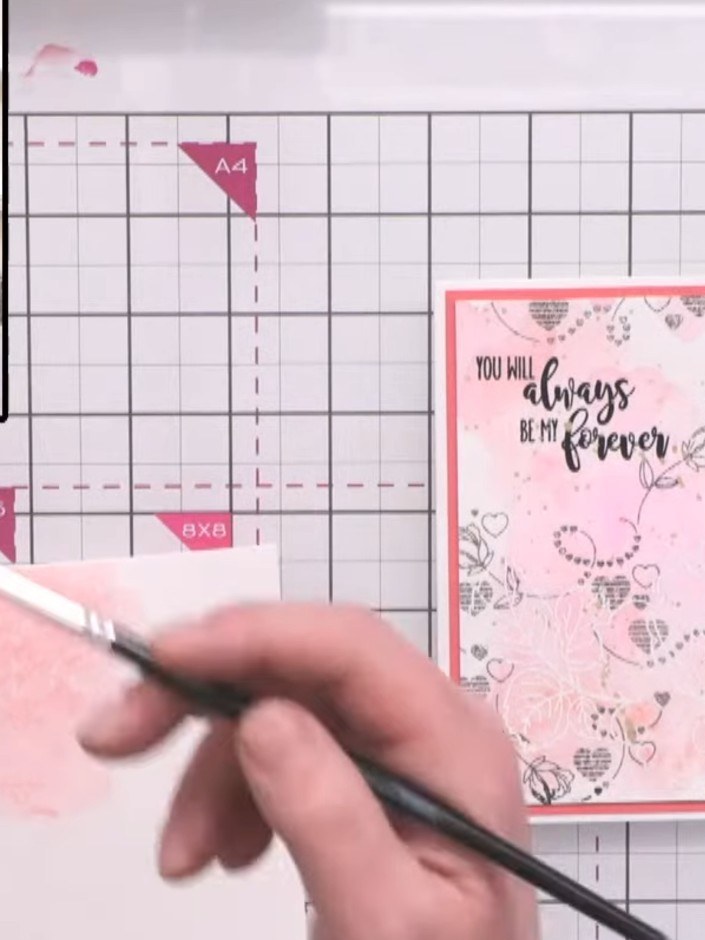
Apply a soft watercolour wash to your card base using watercolour pans or ink pads. Dab the colour onto your craft mat first, then pick it up with a blending brush and apply it lightly to create a delicate pink wash.
▶ diesen Schritt ansehen (12:00)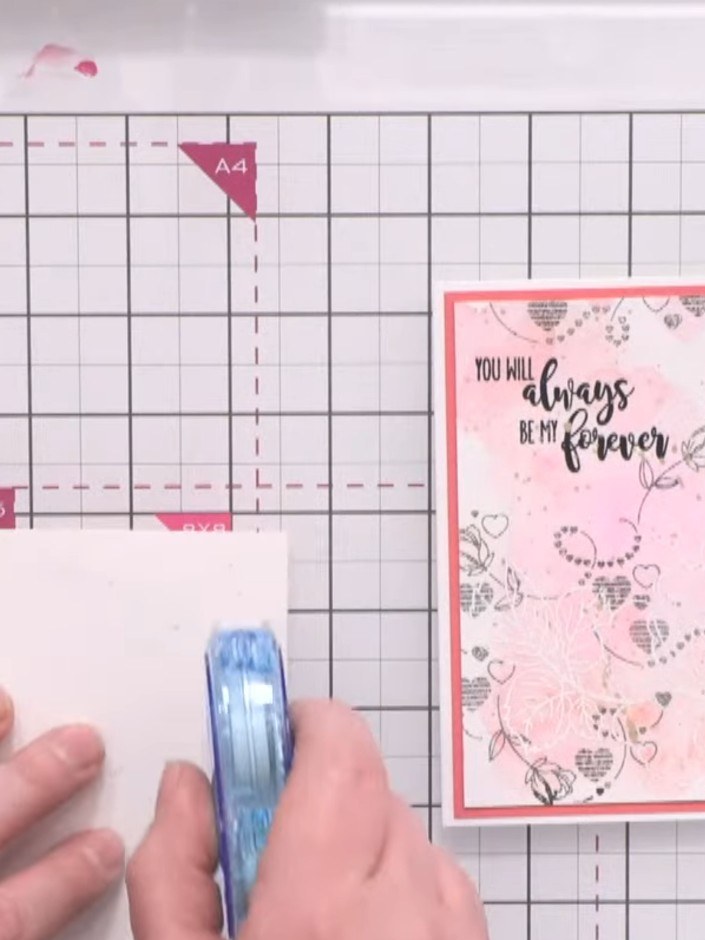
Position the cascading heart stencil on your dried watercolour base. Apply soft pink ink using a Funky Fossil blending brush with a gentle dabbing motion to create the stencilled pattern.
▶ diesen Schritt ansehen (13:30)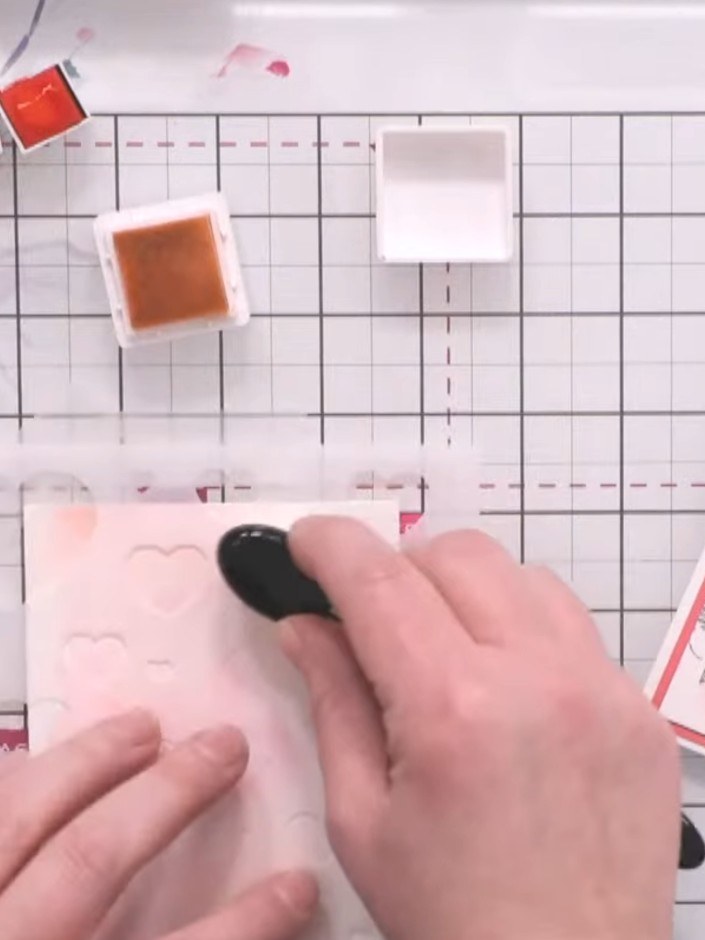
Reposition the stencil slightly and apply a darker shade of pink through the same stencil using a blending brush to create overlapping bokeh effects and add depth to the background.
▶ diesen Schritt ansehen (15:00)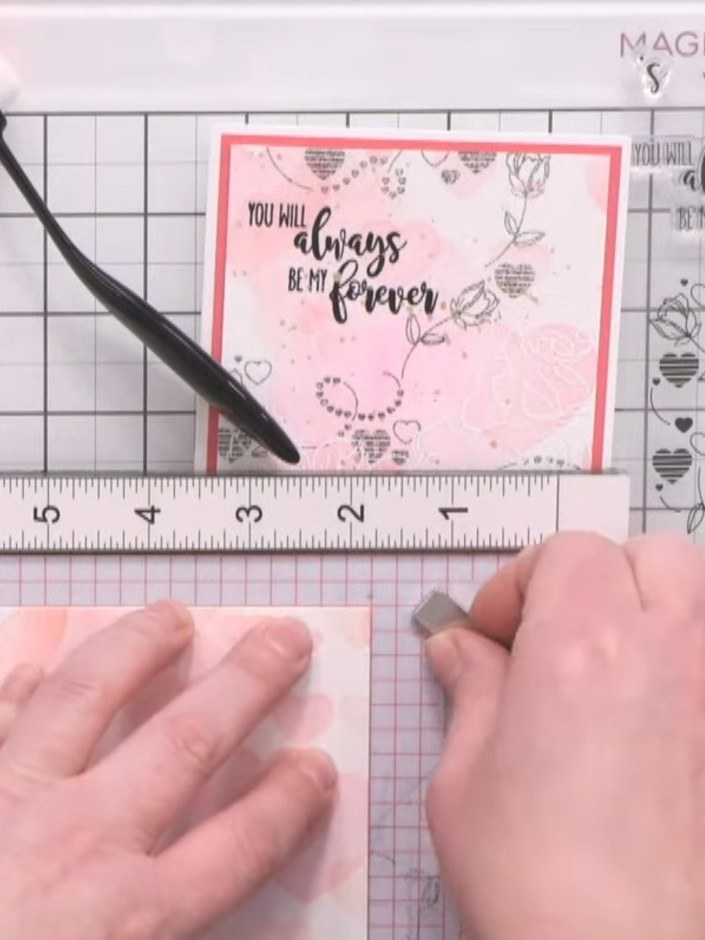
Stamp the cascading hearts and roses design from the Uniko Falling For You Valentine Bundle onto the pink watercoloured card panel, positioning it carefully off to one side.
▶ diesen Schritt ansehen (19:00)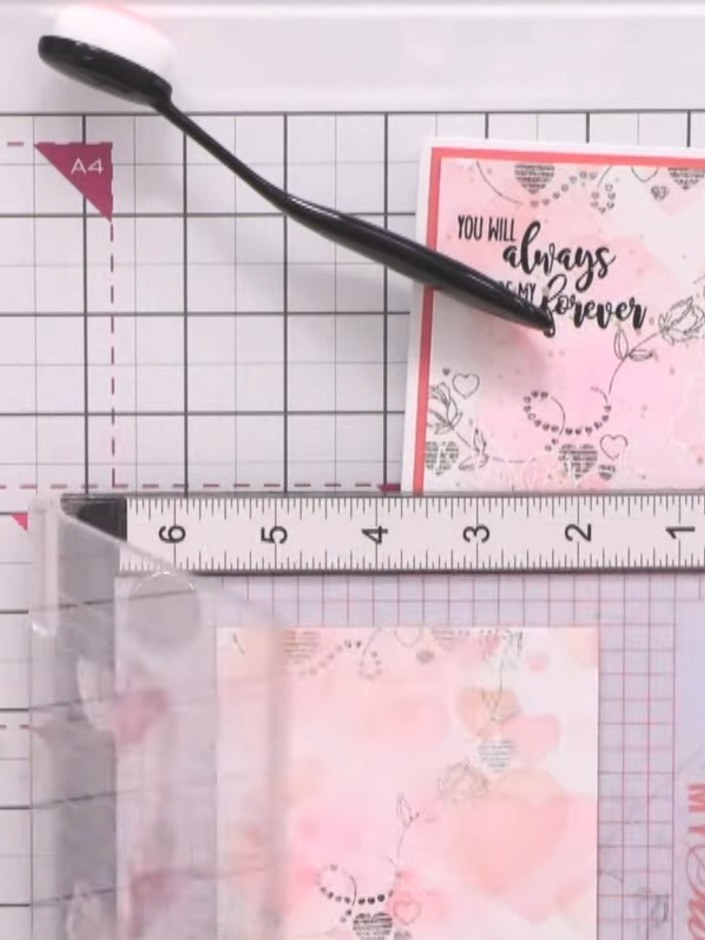
Re-ink the stamp lightly and press onto the card to create softer, second-generation impressions. Fill in areas of the design with these lighter stamped images to add depth and texture.
▶ diesen Schritt ansehen (20:30)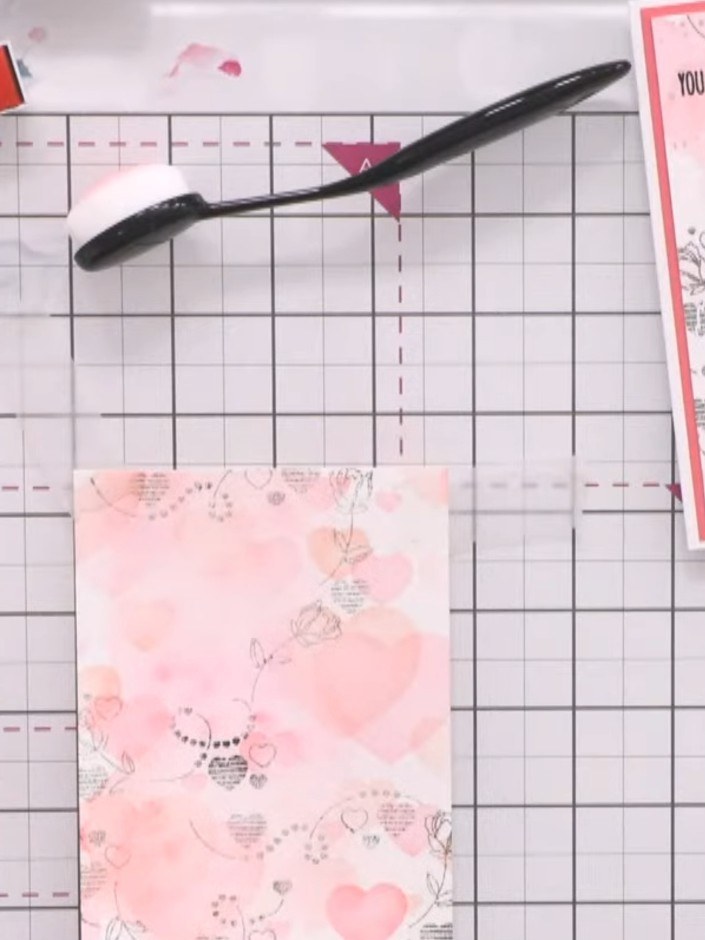
Stamp outline roses over the top of your watercoloured design and emboss them in white for added detail and dimension.
▶ diesen Schritt ansehen (23:00)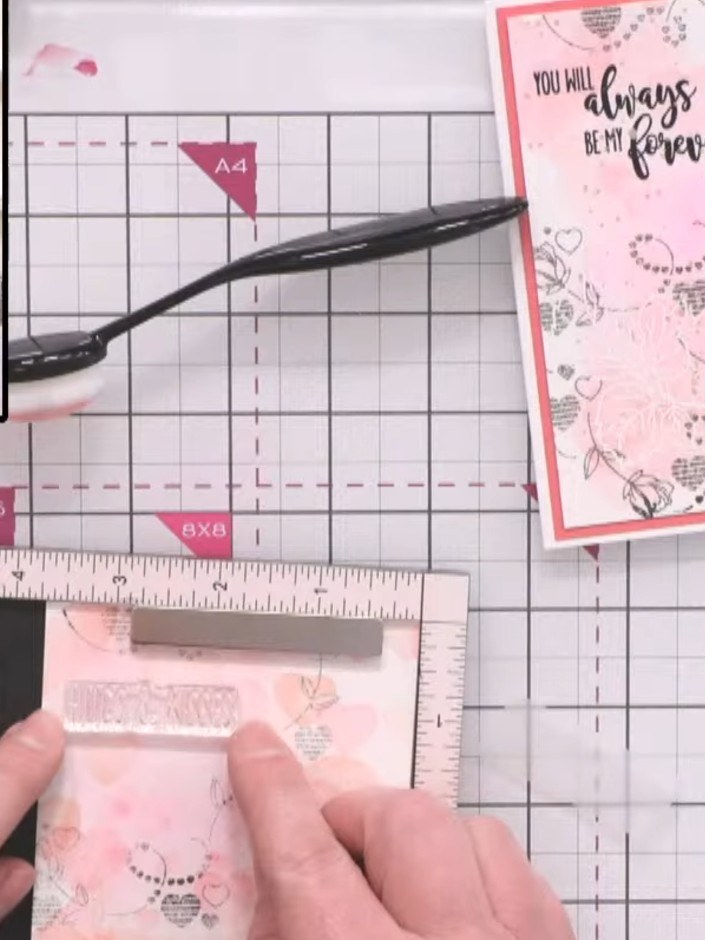
Add a sentiment stamp to complete the card, choosing from phrases such as 'Hugs and Kisses', 'Love', 'Wedding', 'Anniversary', or 'Valentine's'. Position the stamp in a clear area of the card where it will stand out against the watercoloured background.
▶ diesen Schritt ansehen (28:45)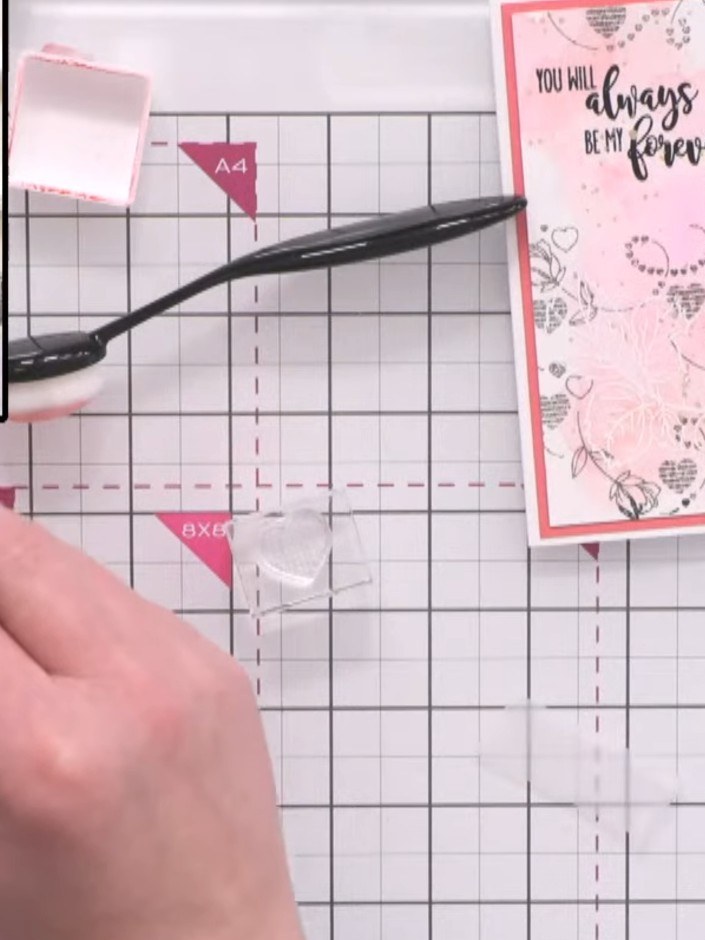
Mount your finished artwork onto a card base using foam adhesive for dimension. Position the decorated panel centrally on the card front to complete your soft watercolour mixed media card.
▶ diesen Schritt ansehen (31:00)Direkt aus der Show aufgeschrieben. Alle Anleitungen aus unseren Shows ansehen · kostenlose Anleitungen · live auf My Telly ansehen