Schenke deinen Freundinnen und Freunden 10 € Rabatt auf ihre erste Bestellung!
Freunde WERBEN








Ein Projekt aus unserer Live-Show MARKEN-SHOWCASE - UNIKO - Sei dabei bei diesem beliebten Event, bei dem die KLEINEN Marken ganz GROSS rauskommen - Ausgestrahlt am 20. JAN. 23 · 20.01.2023 · ab 13:30 ansehen
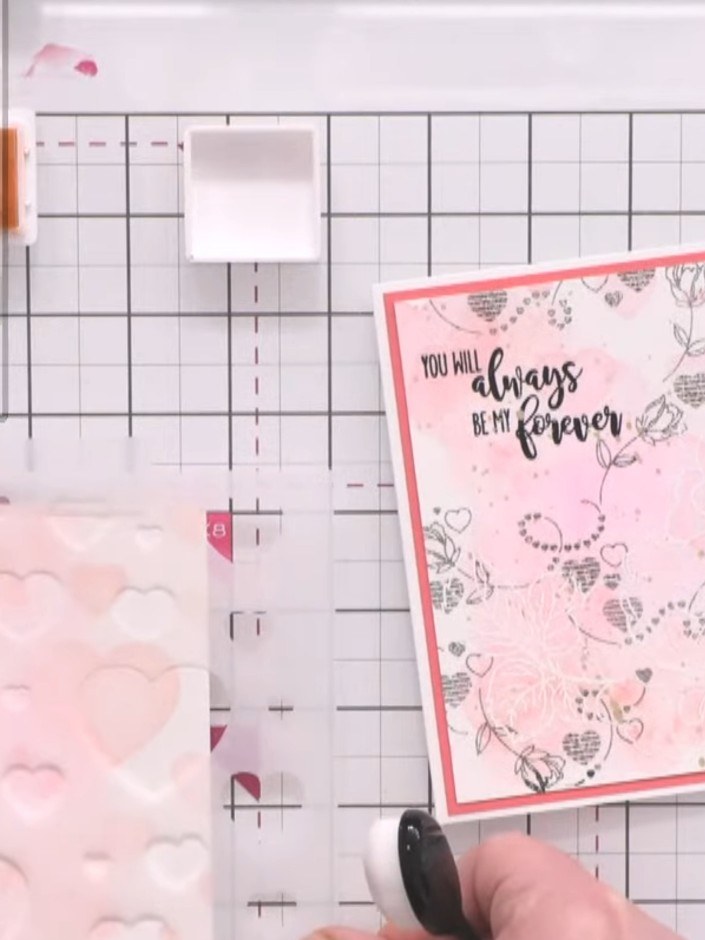
Create a beautiful card featuring layered stencilled hearts in soft pink and red tones that create a lovely bokeh depth effect. Using a cascading heart stencil positioned multiple times with varying ink colours, you'll build dimension and achieve a soft, romantic blurred aesthetic. This elegant design is perfect for Valentine's Day, anniversaries, or any occasion celebrating love.
DIESE ANLEITUNG HERUNTERLADEN (PDF)
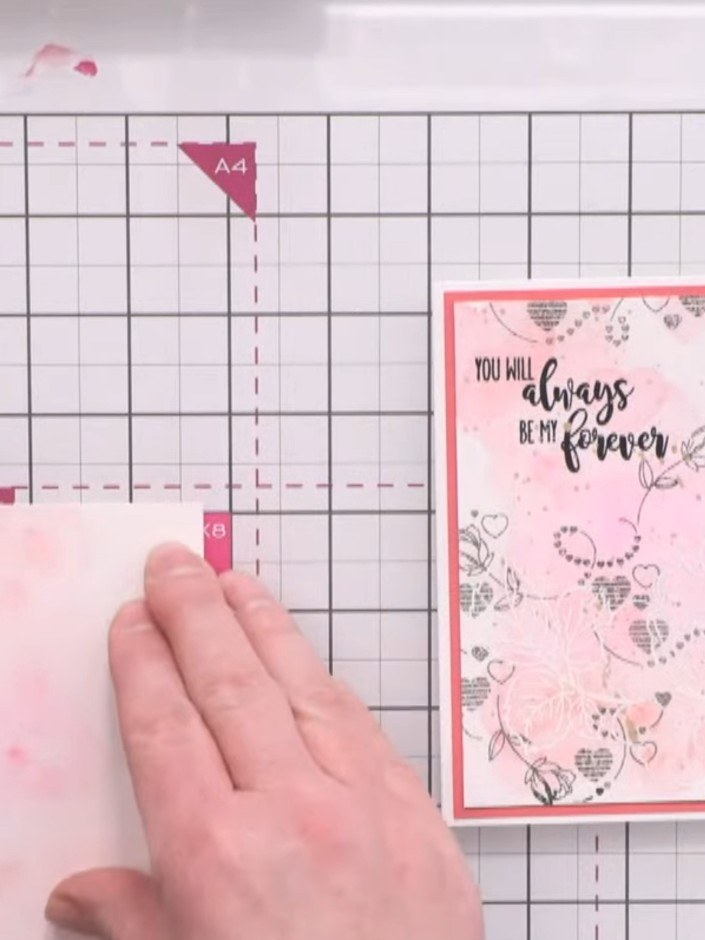
Position the cascading heart stencil on your white card base. Using a Funky Fossil blending brush, apply light pink ink over the stencil with a soft dabbing motion to create a subtle background pattern.
▶ diesen Schritt ansehen (13:45)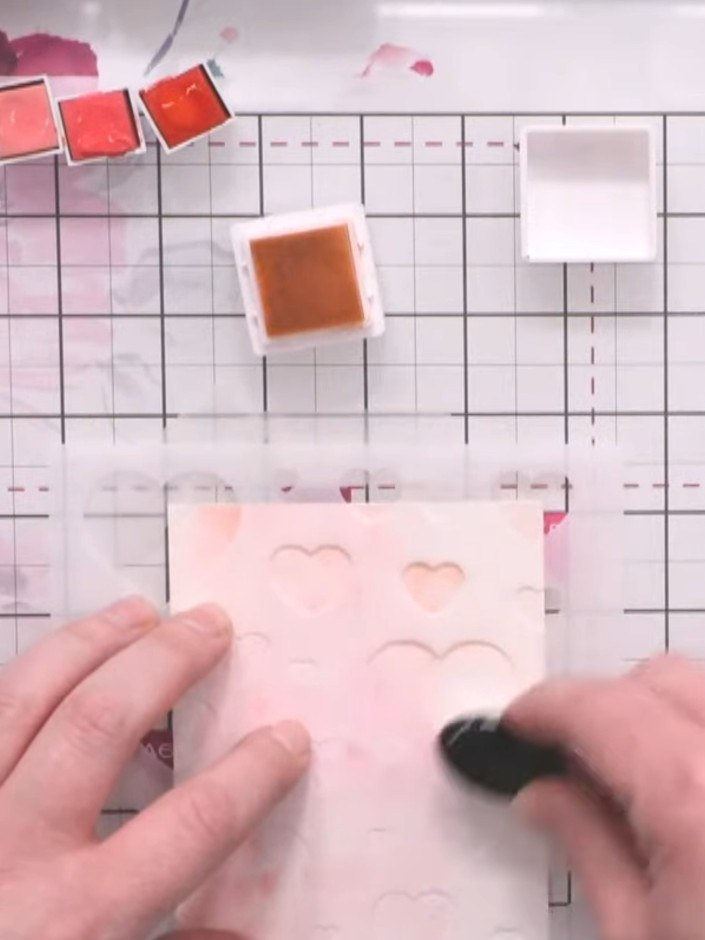
Reposition the stencil slightly and apply a darker shade of pink ink using a blending brush to create overlapping hearts and build the bokeh effect.
▶ diesen Schritt ansehen (15:15)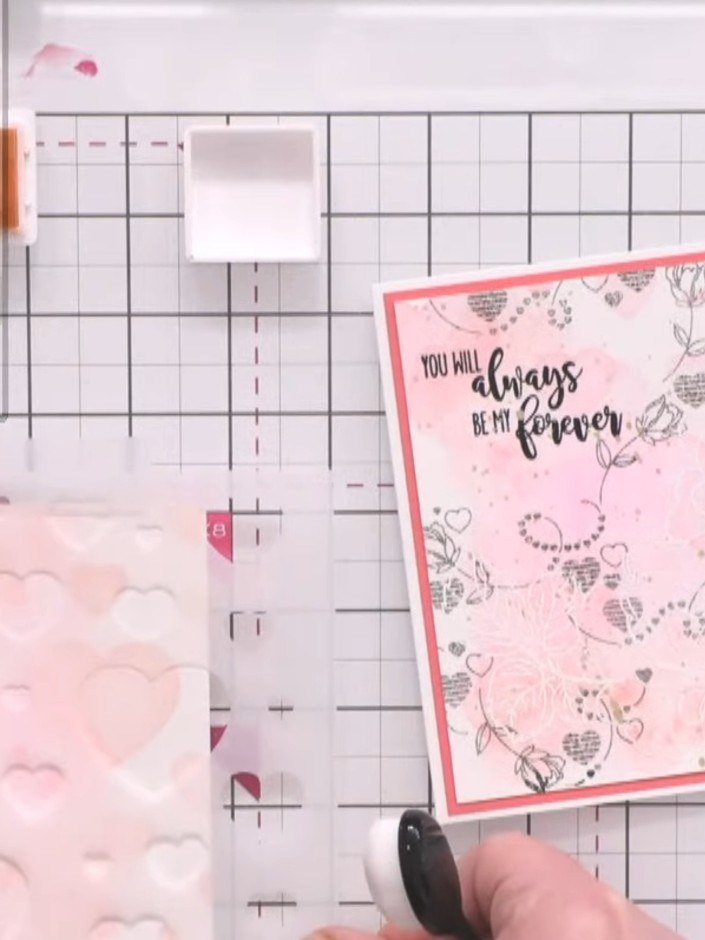
Using a blending brush, apply a darker poppy red shade through the scattered hearts stencil in selected areas to create further depth and dimension on your background.
▶ diesen Schritt ansehen (16:30)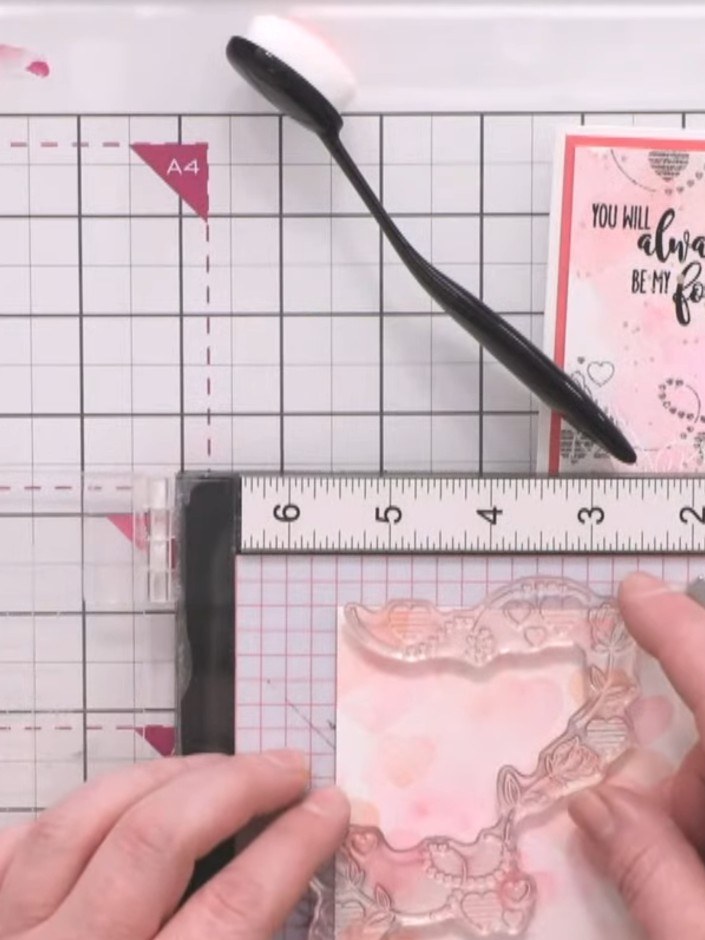
Stamp the love word stamp inside one of the heart shapes using black ink to create a focal point on your card.
▶ diesen Schritt ansehen (18:30)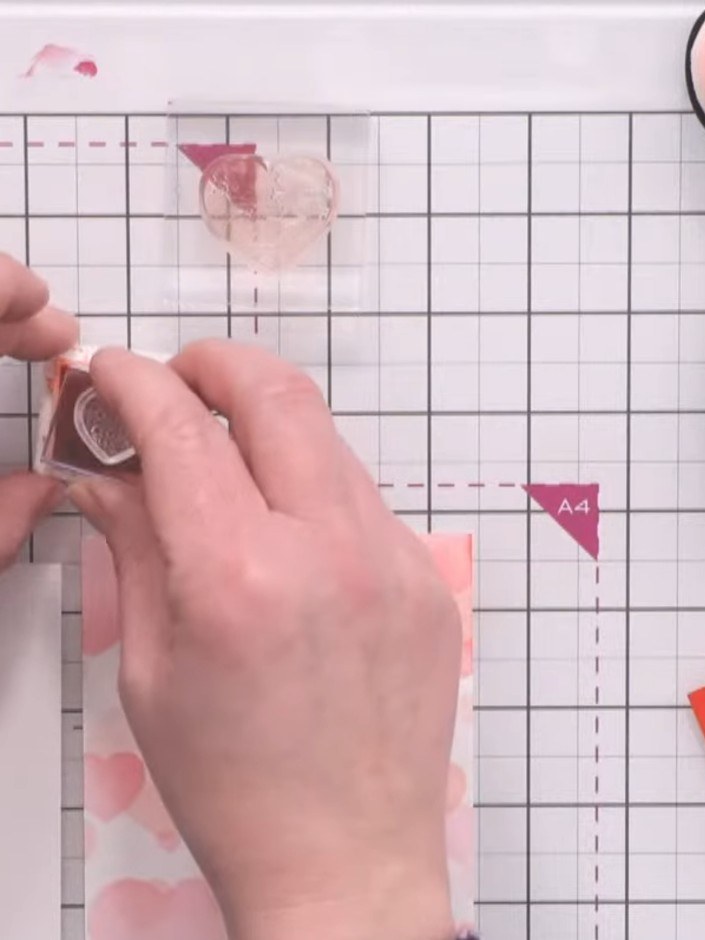
Layer your finished stencilled background onto a card base using foam adhesive to create dimension.
▶ diesen Schritt ansehen (42:00)Direkt aus der Show aufgeschrieben. Alle Anleitungen aus unseren Shows ansehen · kostenlose Anleitungen · live auf My Telly ansehen