Schenke deinen Freundinnen und Freunden 10 € Rabatt auf ihre erste Bestellung!
Freunde WERBEN








Ein Projekt aus unserer Live-Show BRAND SHOWCASE - FUNKY FOSSIL - Sei dabei bei diesem heiß geliebten Event, bei dem die KLEINEN Marken am LAUTESTEN rufen dürfen - Ausgestrahlt am 20. JAN. 23 · 20.01.2023 · ab 11:45 ansehen
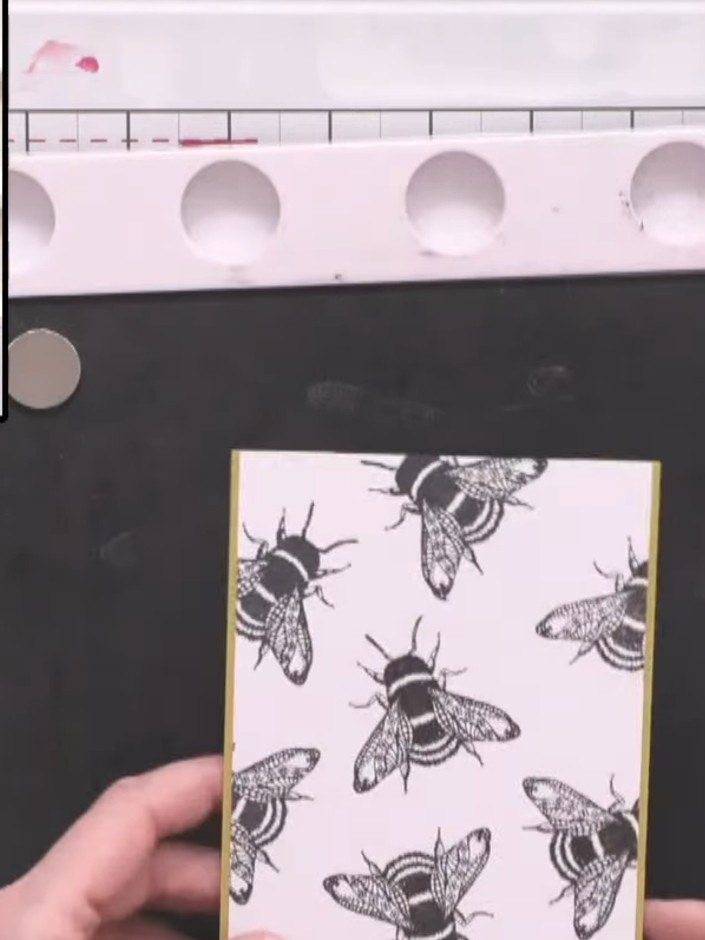
Create a striking monochrome card featuring randomly stamped small bees in black ink as a background pattern. Coordinating washi tape strips frame both sides of the design, with touches of yellow adding a pop of colour. This project demonstrates how to layer simple stamping with decorative tape for a contemporary, graphic look.
DIESE ANLEITUNG HERUNTERLADEN (PDF)
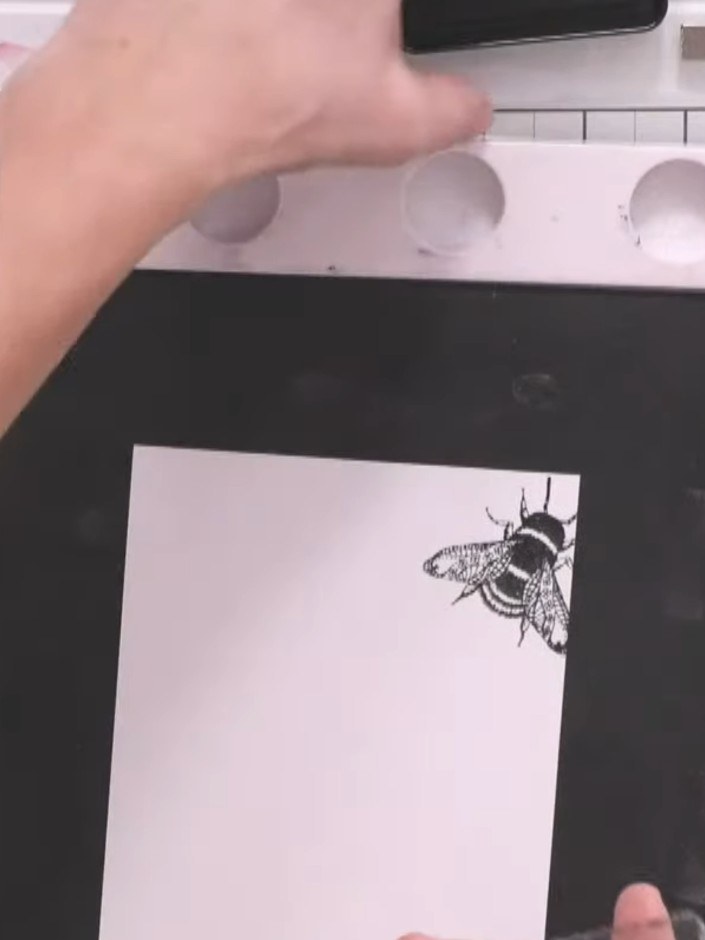
Ink up the smaller bee stamp from the Queen Bee A5 stamp set with black ink using your stamping platform.
▶ diesen Schritt ansehen (11:45)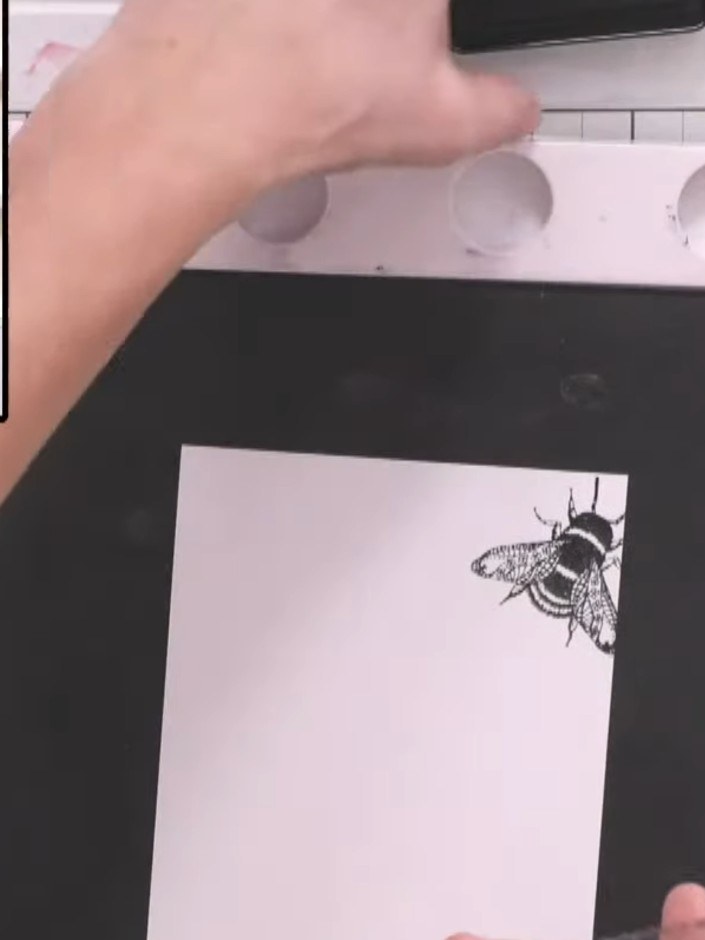
Randomly stamp the bee image across your white card panel using black ink. Stamp some bees partially off the edges to create an all-over background pattern.
▶ diesen Schritt ansehen (12:00)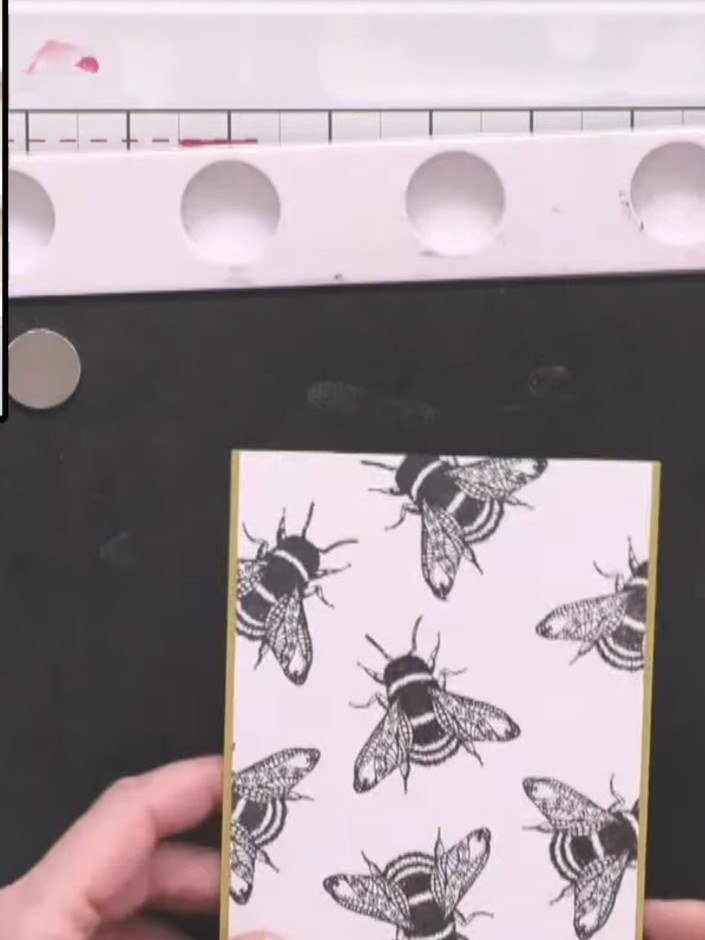
Add a touch of yellow ink or colouring to selected bees on your stamped panel to make them pop against the black and white background. Focus on just a few bees for accent rather than colouring them all.
▶ diesen Schritt ansehen (15:00)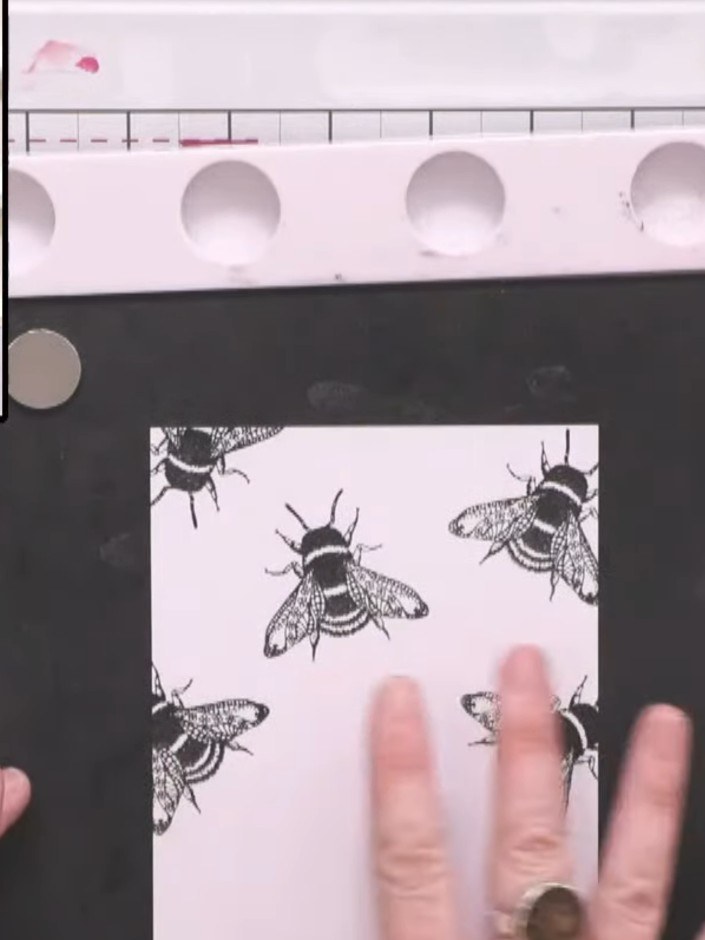
Cut washi tape strips from the paper pad bundle. Apply the washi tape strips down both sides of the black card front, creating decorative borders.
▶ diesen Schritt ansehen (15:15)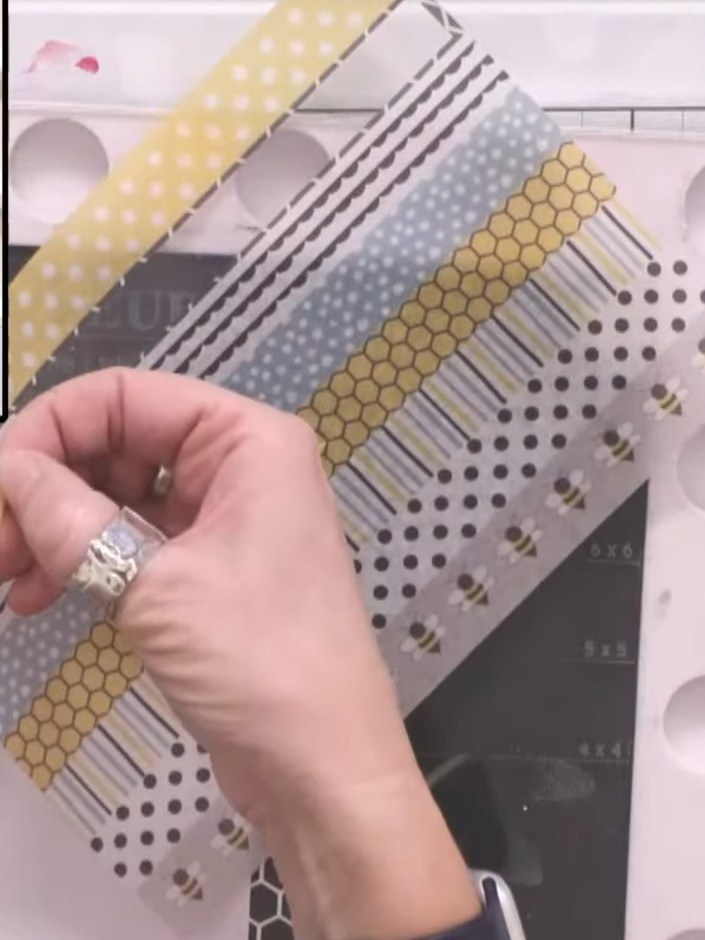
Assemble your card by positioning the washi tape strips to frame the stamped bee background. Ensure the strips are evenly spaced and create an attractive border around the focal panel.
▶ diesen Schritt ansehen (16:00)Direkt aus der Show aufgeschrieben. Alle Anleitungen aus unseren Shows ansehen · kostenlose Anleitungen · live auf My Telly ansehen