Schenke deinen Freundinnen und Freunden 10 € Rabatt auf ihre erste Bestellung!
Freunde WERBEN








Ein Projekt aus unserer Live-Show BRAND SHOWCASE - FUNKY FOSSIL - Sei dabei bei diesem heiß geliebten Event, bei dem die KLEINEN Marken am LAUTESTEN rufen dürfen - Ausgestrahlt am 20. JAN. 23 · 20.01.2023 · ab 21:00 ansehen
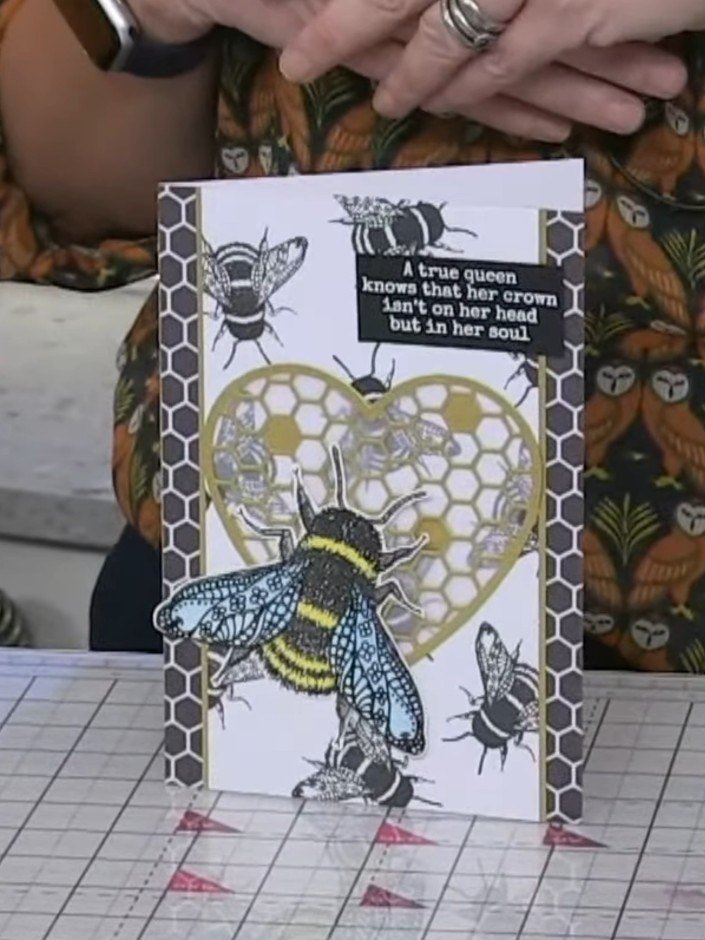
Create a stunning dimensional card featuring a beautifully hand-stamped bee coloured with distress oxide inks in rich blues and golden yellows. The bee is layered over an elegant honeycomb-patterned heart die-cut backed with vellum, creating a soft, translucent effect. This project demonstrates how to combine watercolouring techniques with vellum overlays to add depth and visual interest to your handmade cards.
DIESE ANLEITUNG HERUNTERLADEN (PDF)
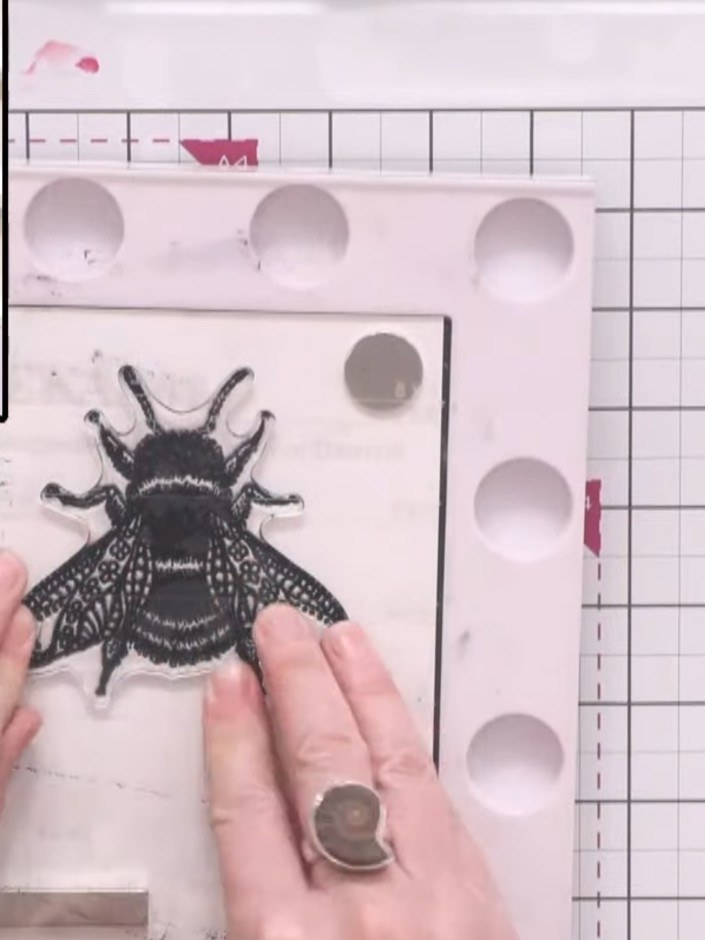
Stamp the large bee from the Queen Bee A5 stamp set onto white cardstock using hybrid black ink. Press firmly to ensure a clear, detailed impression.
▶ diesen Schritt ansehen (21:00)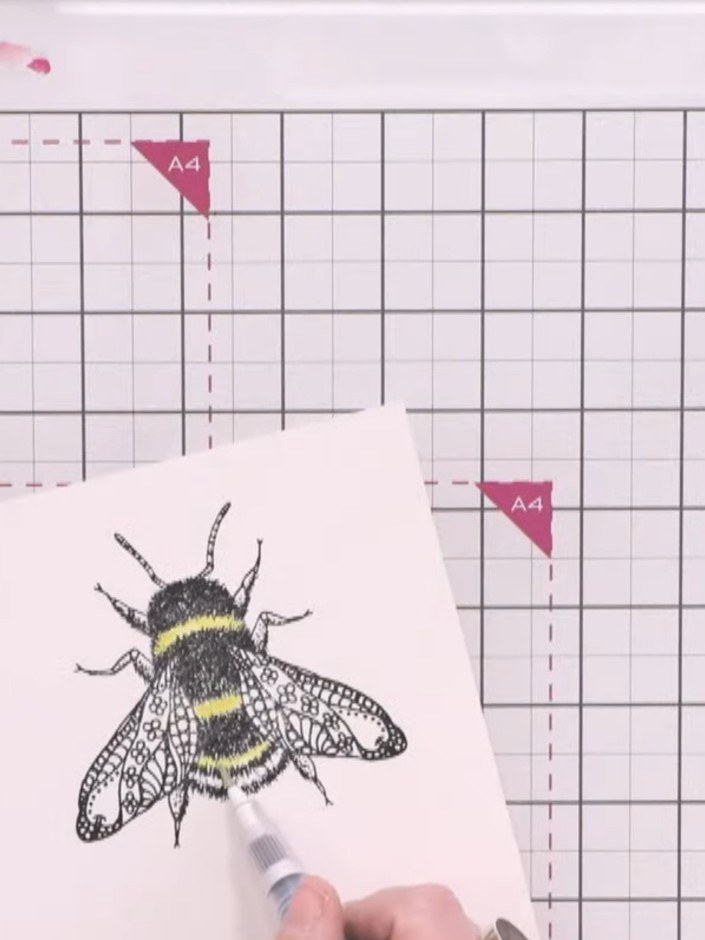
Colour the yellow stripes on the bee's body using distress oxide ink in fossilized amber. Use a water brush to pull and blend the colour into the stamped image.
▶ diesen Schritt ansehen (22:15)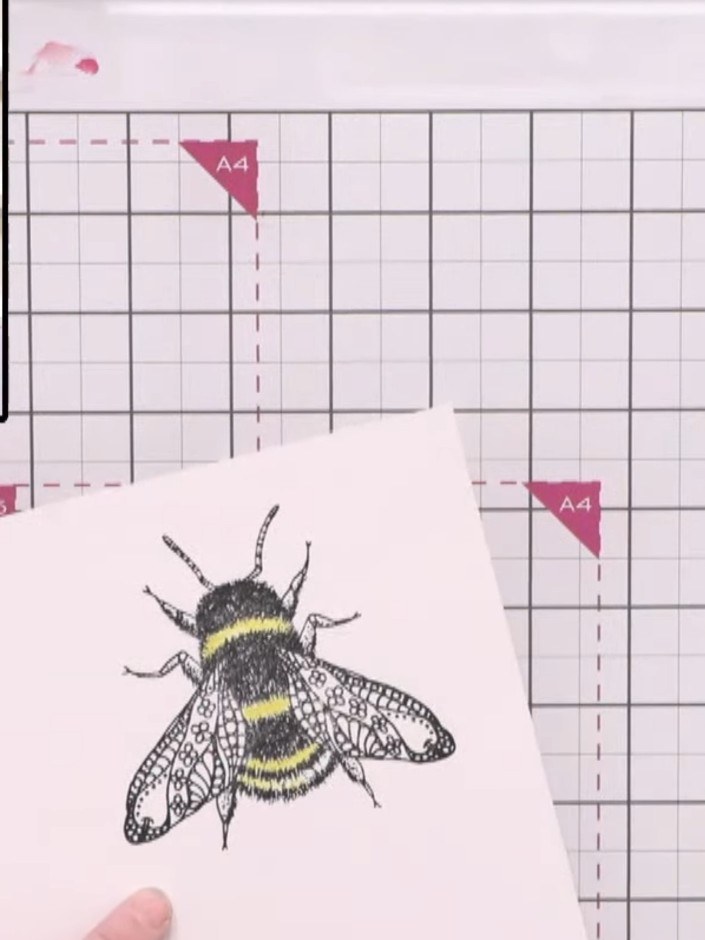
Stamp the bee image a second time on a separate piece of white cardstock. Colour the wings using a different distress oxide shade, such as lagoon, to create variation.
▶ diesen Schritt ansehen (23:30)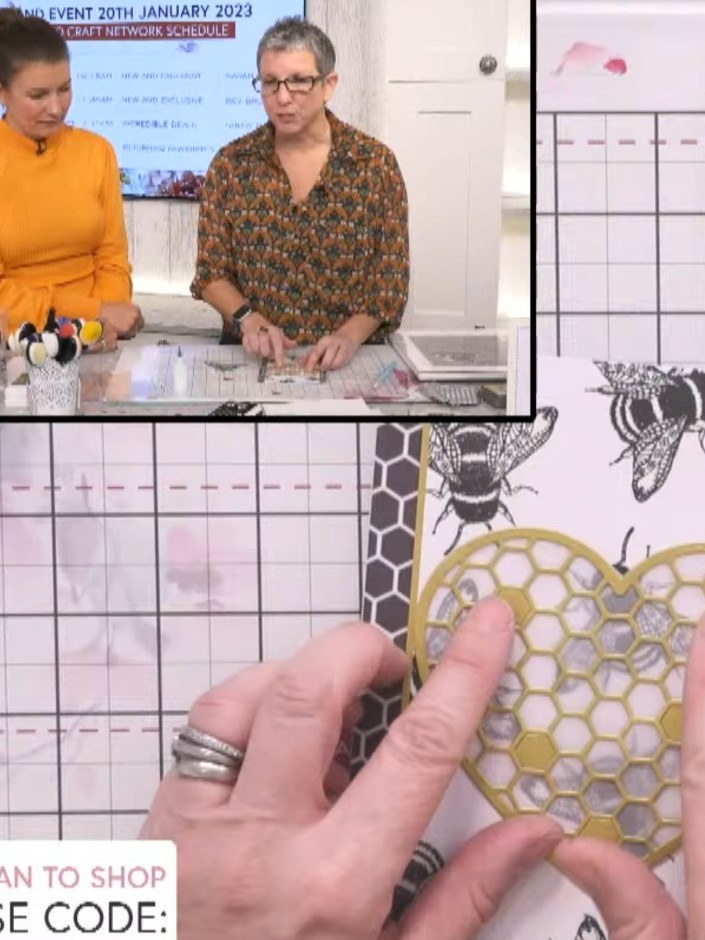
Die cut the honeycomb heart from gold cardstock using the heart die from the honeycomb heart die set.
▶ diesen Schritt ansehen (24:00)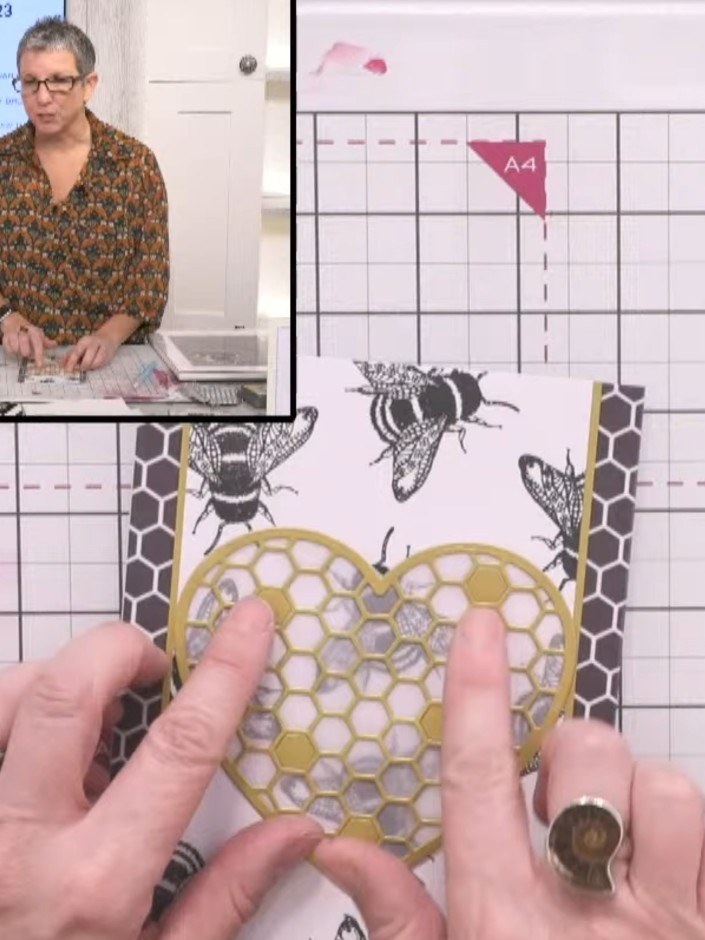
Position the gold honeycomb heart die cut over the vellum background. Carefully trim around the heart shape to create a softened overlay effect with the vellum showing through the honeycomb pattern.
▶ diesen Schritt ansehen (24:45)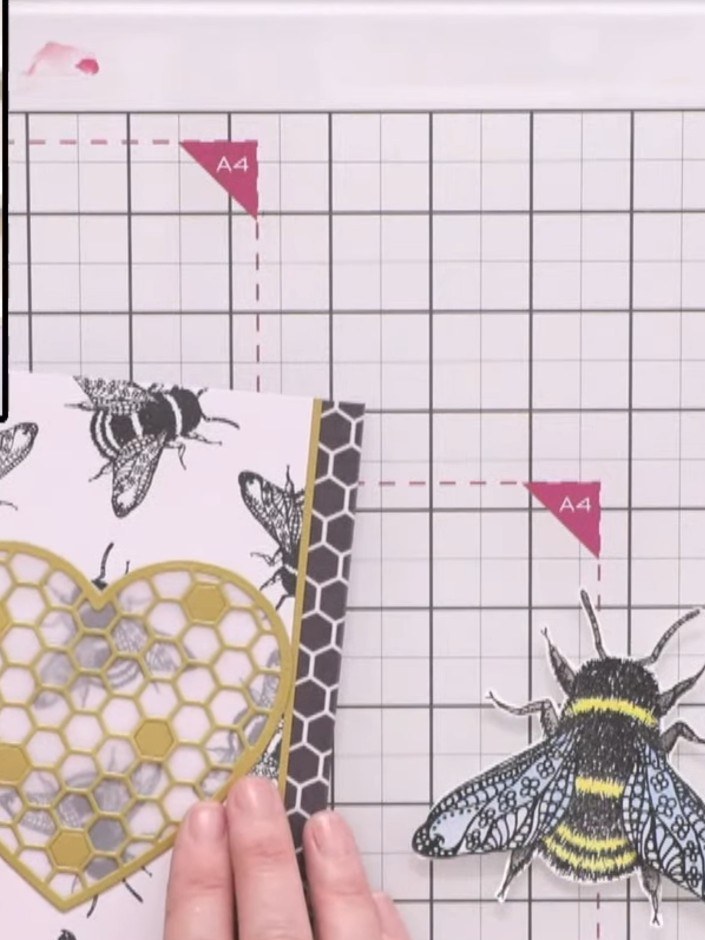
Position the gold honeycomb heart die-cut over the stamped bee background, ensuring the vellum backing is behind it. Adhere the heart in place using the honeycomb cells as landing points for your glue.
▶ diesen Schritt ansehen (25:00)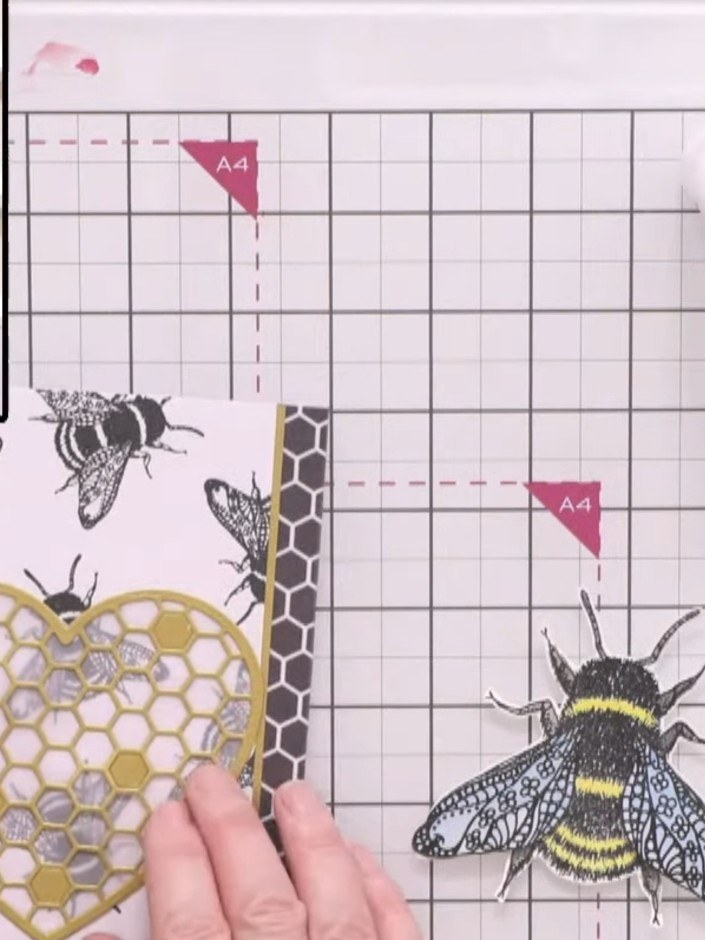
Add gold hexagon embellishments around the honeycomb heart, positioning them decoratively to fill the space and create additional interest around the focal point.
▶ diesen Schritt ansehen (25:15)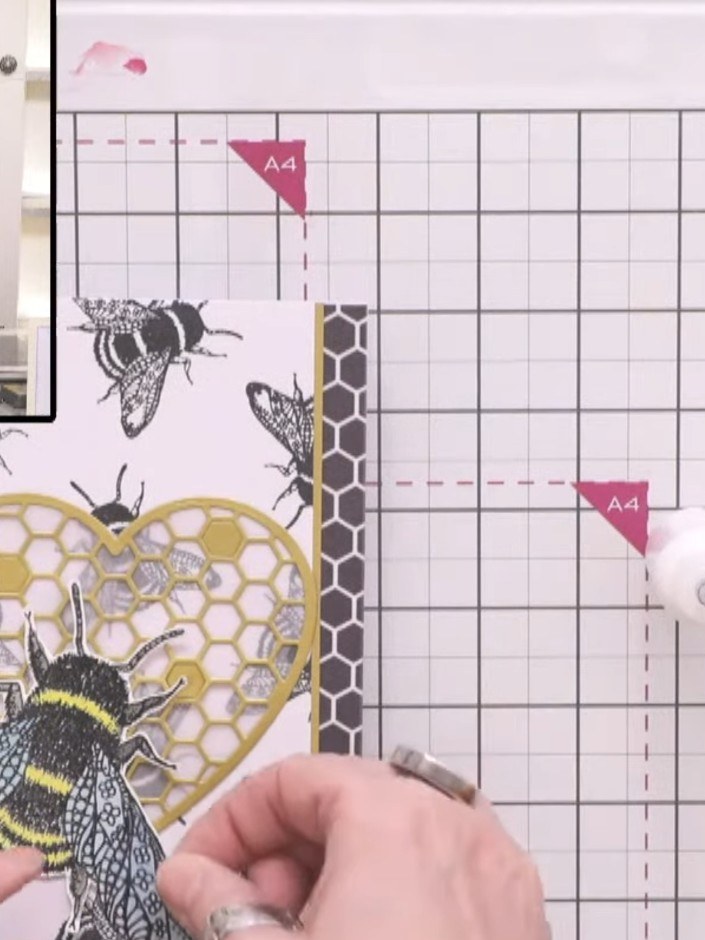
Shape the bee wings with your fingers to add dimension. Apply glue to the back of the coloured bee and attach it to the card, positioning it over the gold honeycomb heart.
▶ diesen Schritt ansehen (26:30)Direkt aus der Show aufgeschrieben. Alle Anleitungen aus unseren Shows ansehen · kostenlose Anleitungen · live auf My Telly ansehen