Schenke deinen Freundinnen und Freunden 10 € Rabatt auf ihre erste Bestellung!
Freunde WERBEN








Ein Projekt aus unserer Live-Show CREATE AND CRAFT SHOW 6. JAN. 2023 - Sei bei Tonis brandneuem Launch dabei! · 06.01.2023 · ab 23:15 ansehen
Create a vibrant cocktail-themed celebration card featuring a layered Tequila Sunrise glass with realistic dimension. Using three coordinating stencils, you'll build up colour and depth to create a stunning 3D effect with ice cubes and gradient liquid. The design is enhanced with stamping and 3D embossing techniques, finished with a bold 'CELEBRATE' sentiment on a striking red and black card base.
 STAMPS BY ME QUATTRO D - TEQUILA SUNRISE - 090922CANSEHEN
 HIGH DEFINITION 3D PRÄGEFOLDER - FRANTIC FLORAL - 080822FANSEHEN
DIESE ANLEITUNG HERUNTERLADEN (PDF)
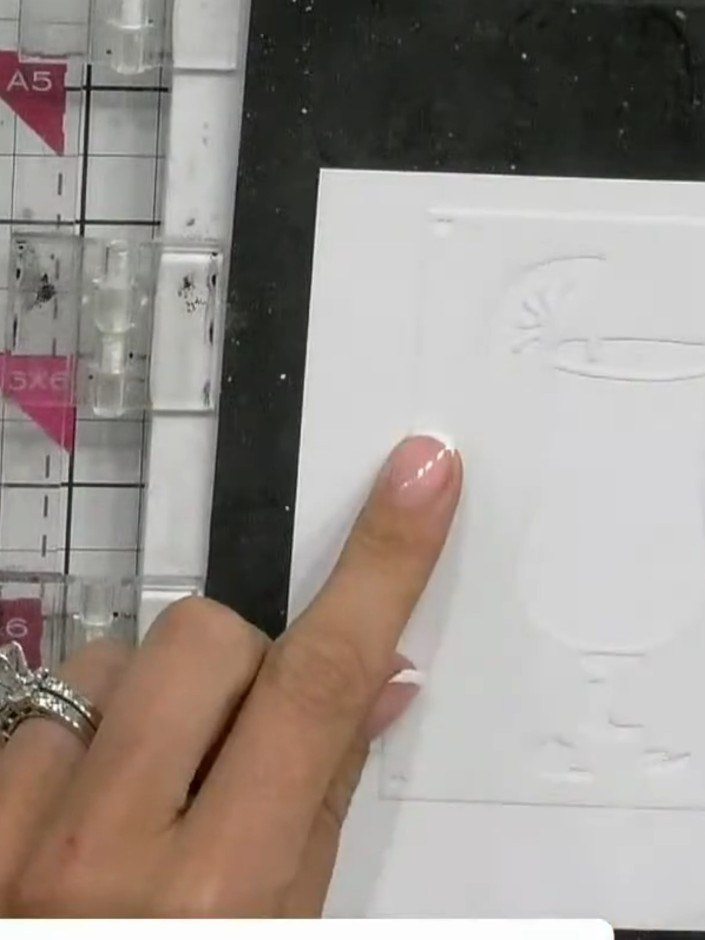
Position stencil number one in the corner of your white cardstock. Secure it in place with a magnet to prevent it from moving.
▶ diesen Schritt ansehen (24:15)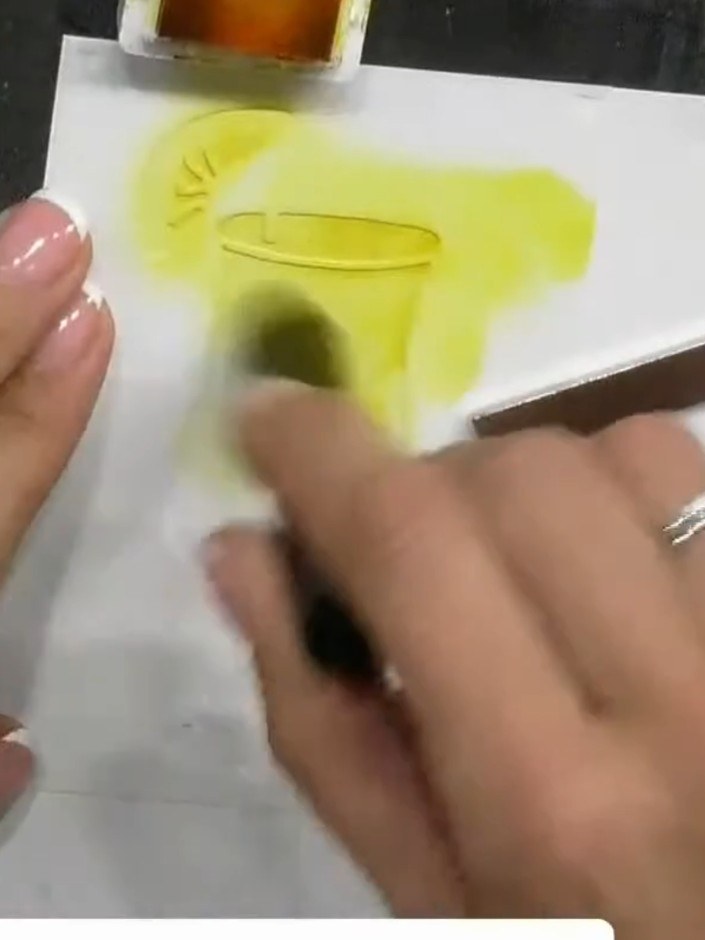
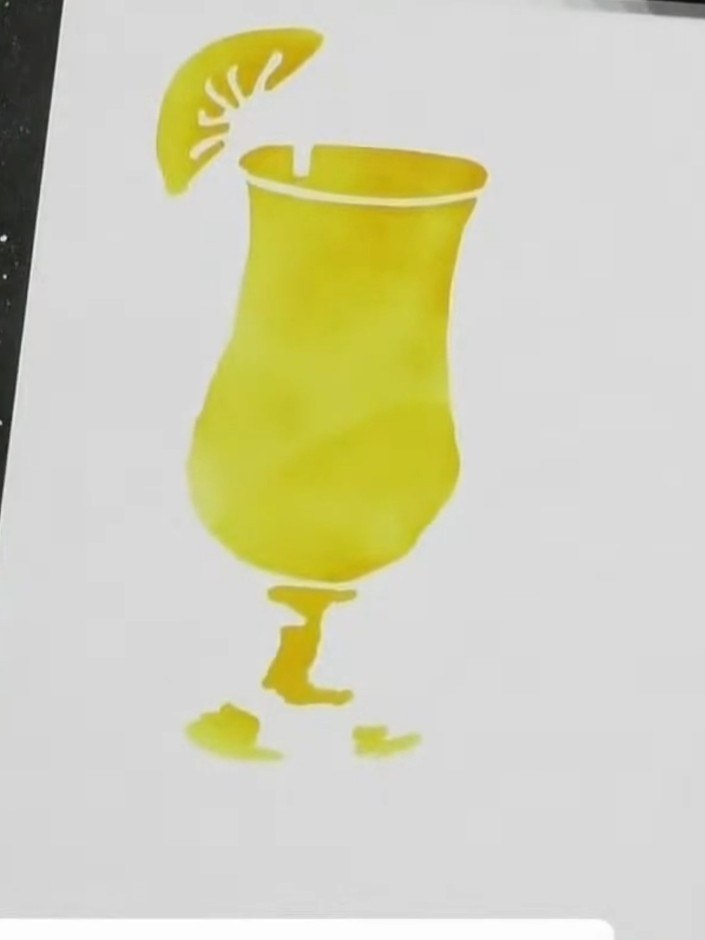
Apply yellow ink through the stencil using a brush, working the colour through the design. Build up the colour gradually without worrying about perfect coverage.
▶ diesen Schritt ansehen (24:30)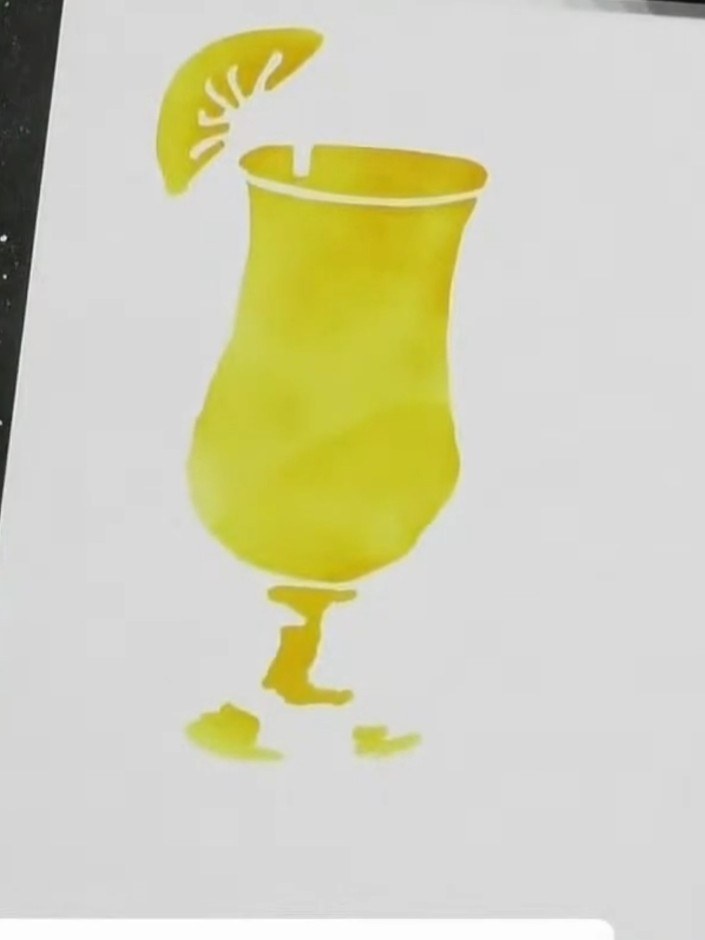
Remove the first stencil and position the second stencil in the same corner, aligning it carefully with the previous design.
▶ diesen Schritt ansehen (25:15)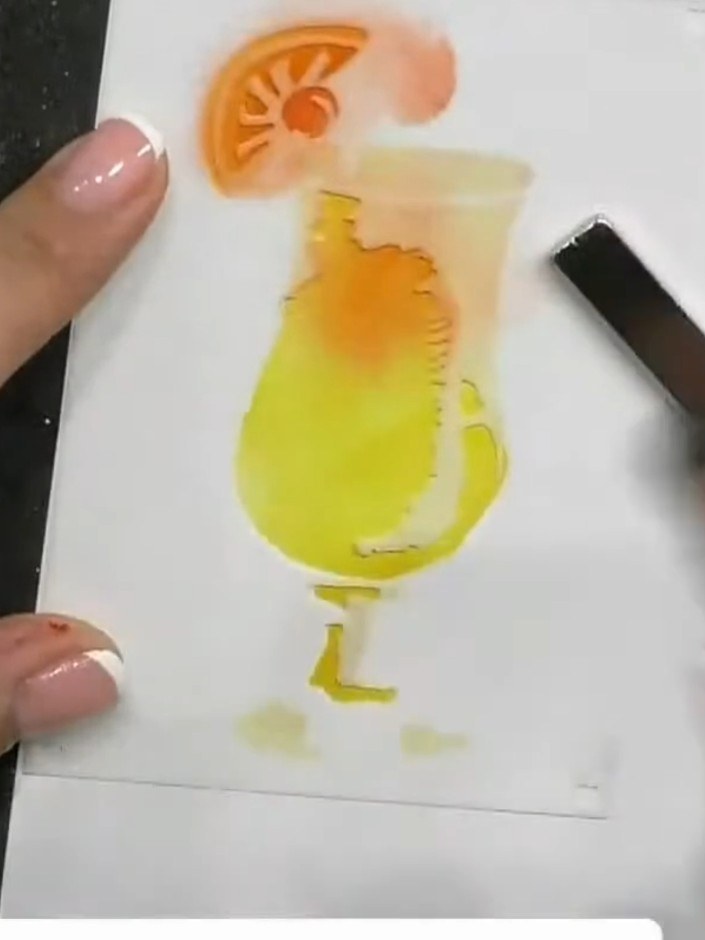
Apply orange ink through stencil two using a blending brush, building up the colour intensity by pressing harder if desired. Focus on the upper portion of the cocktail glass to create the orange layer of the tequila sunrise effect.
▶ diesen Schritt ansehen (25:30)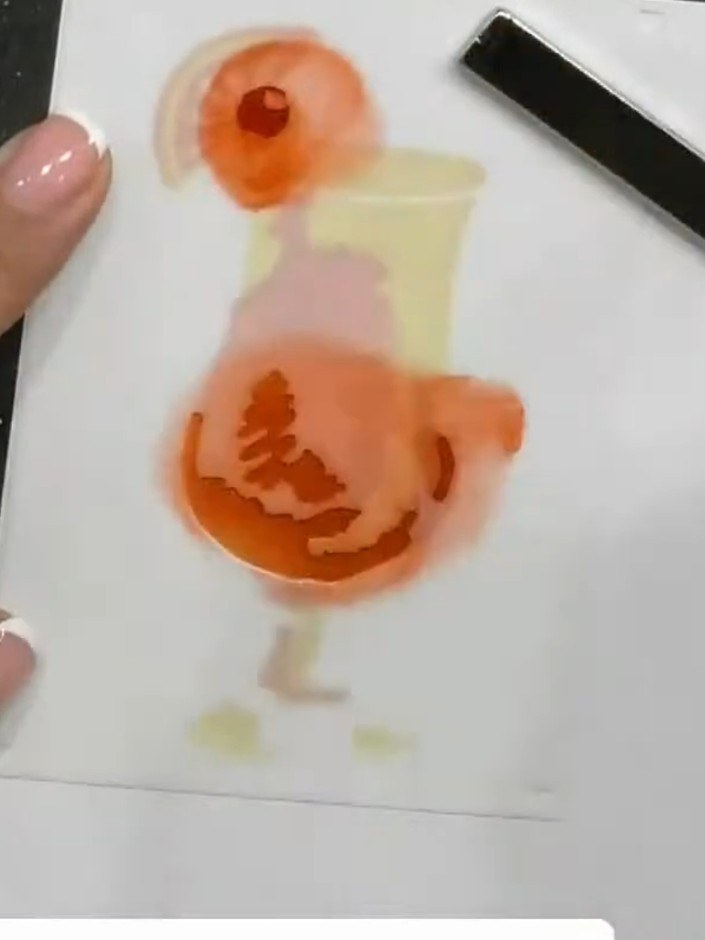
Remove the second stencil and position the third stencil in the corner of your card base.
▶ diesen Schritt ansehen (26:15)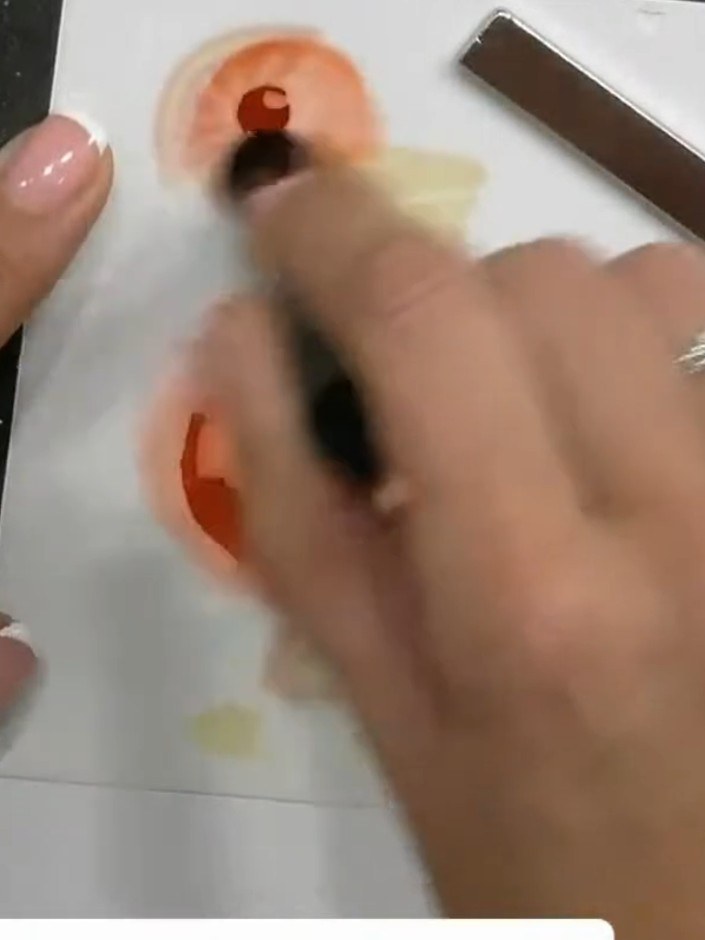
Position stencil three over your card and apply red or darker orange ink through the stencil. Press firmly with your blending brush to create depth and shadow in the design.
▶ diesen Schritt ansehen (26:30)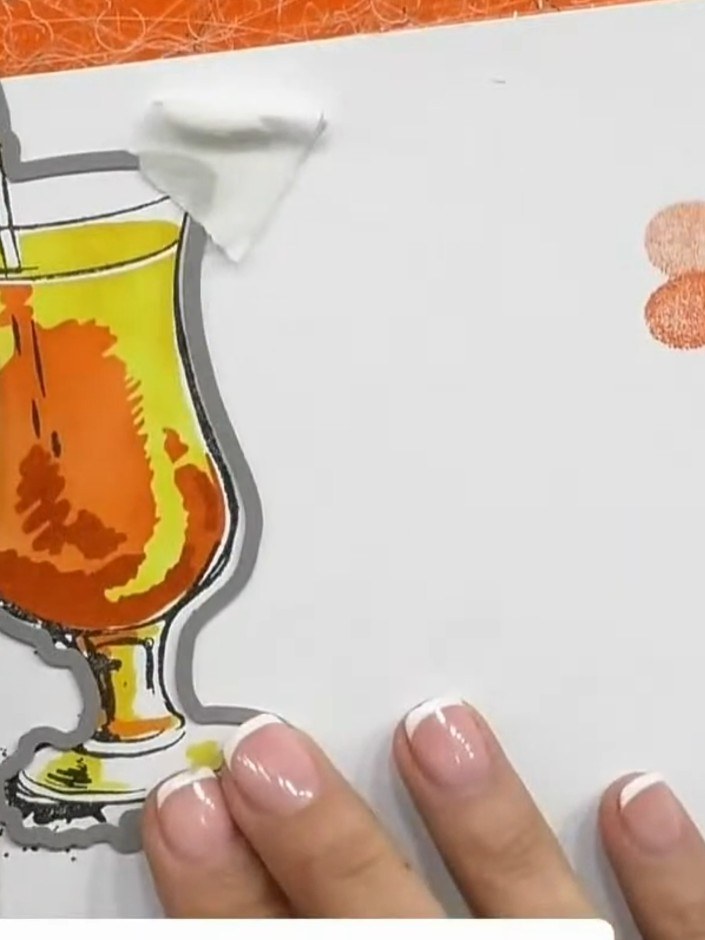
Stamp the cocktail glass design from the Quattro D Tequila Sunrise stamp set in black ink onto the stencilled background.
▶ diesen Schritt ansehen (27:00)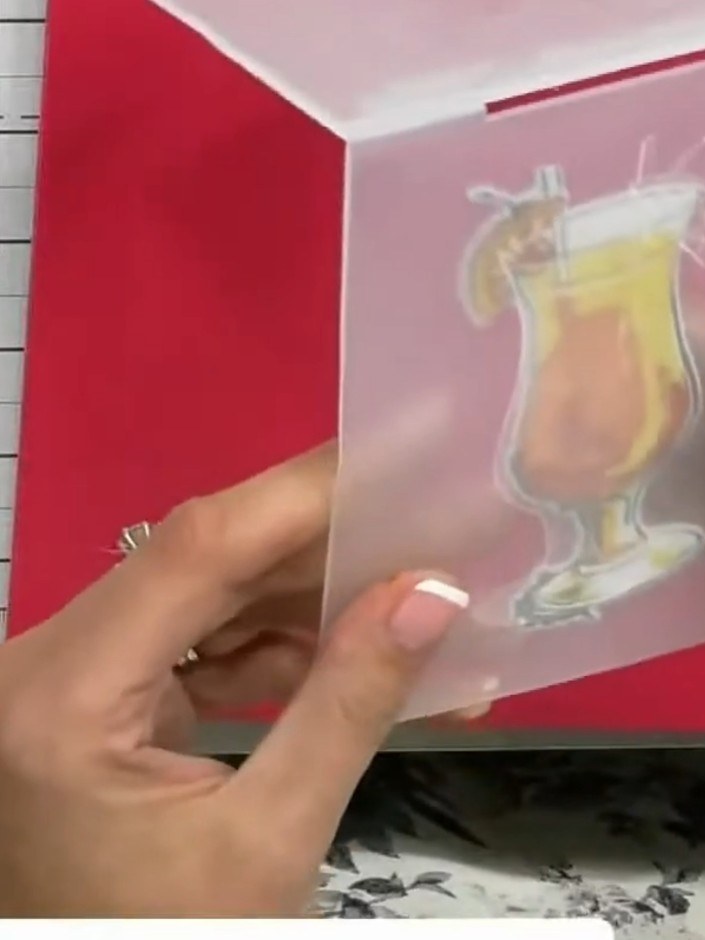
Die-cut the completed cocktail design using the coordinating die from the Tequila Sunrise kit.
▶ diesen Schritt ansehen (30:00)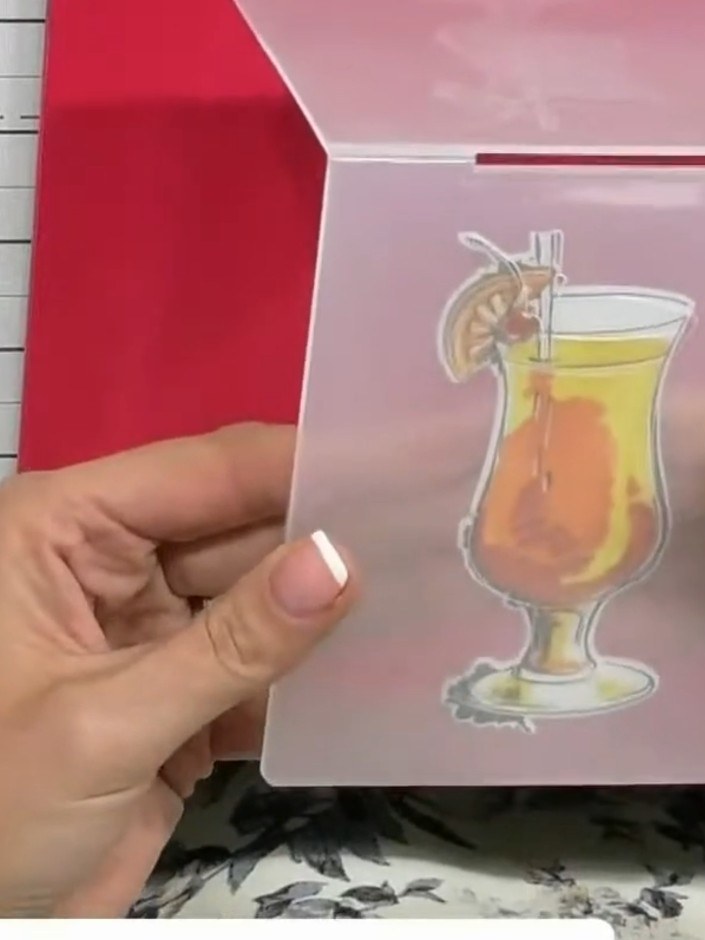
Place the die-cut cocktail image into the 3D embossing folder, lining it up carefully with the embossed detail on the folder. Pinch the folder closed to secure the die-cut in position.
▶ diesen Schritt ansehen (30:15)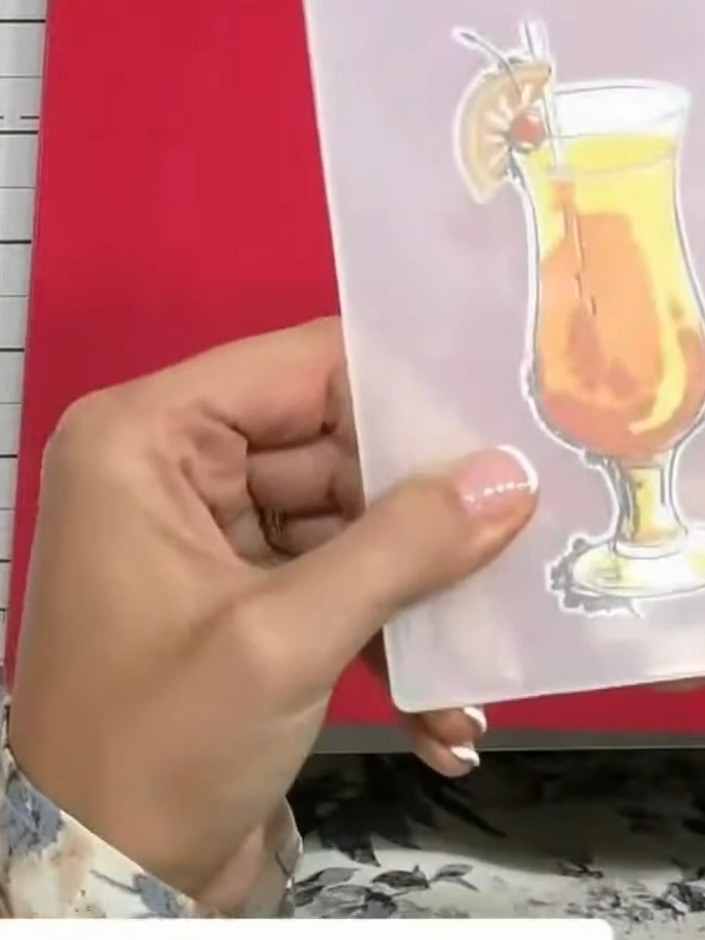
Run the embossing folder through your die-cutting machine to create the 3D embossed effect on your chosen cardstock.
▶ diesen Schritt ansehen (30:30)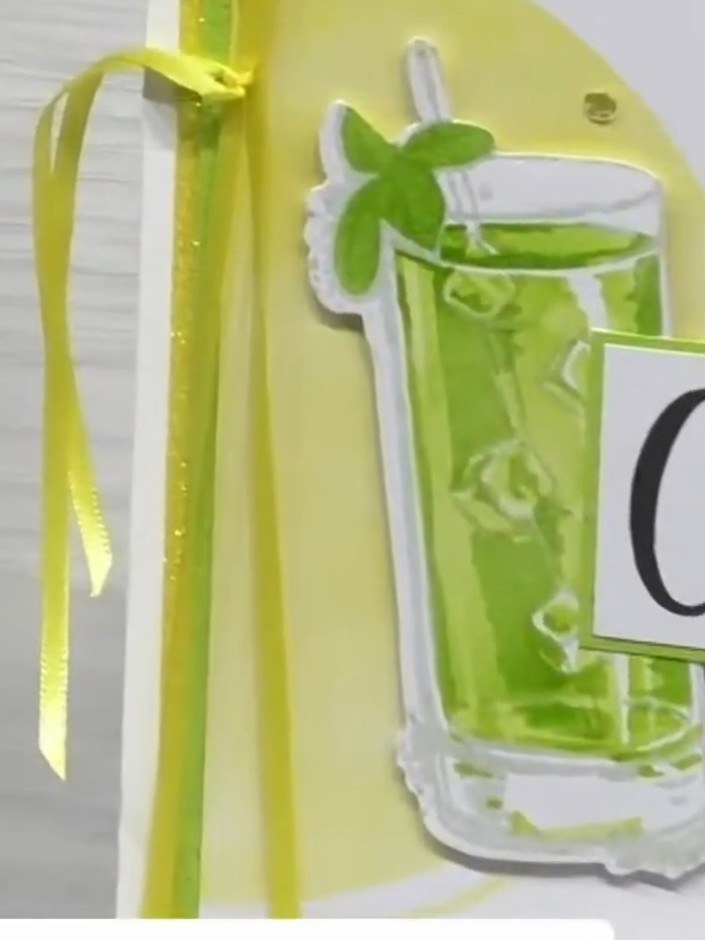
Adhere the finished embossed cocktail glass embellishment to your card base using foam pads for dimension. Position it centrally on the card front to complete your Tequila Sunrise cocktail card.
▶ diesen Schritt ansehen (31:00)Direkt aus der Show aufgeschrieben. Alle Anleitungen aus unseren Shows ansehen · kostenlose Anleitungen · live auf My Telly ansehen