Schenke deinen Freundinnen und Freunden 10 € Rabatt auf ihre erste Bestellung!
Freunde WERBEN








Ein Projekt aus unserer Live-Show QUATTRO-D Cocktails erklärt – direkt aus der Verpackung · 01.01.2023 · ab 2:15 ansehen
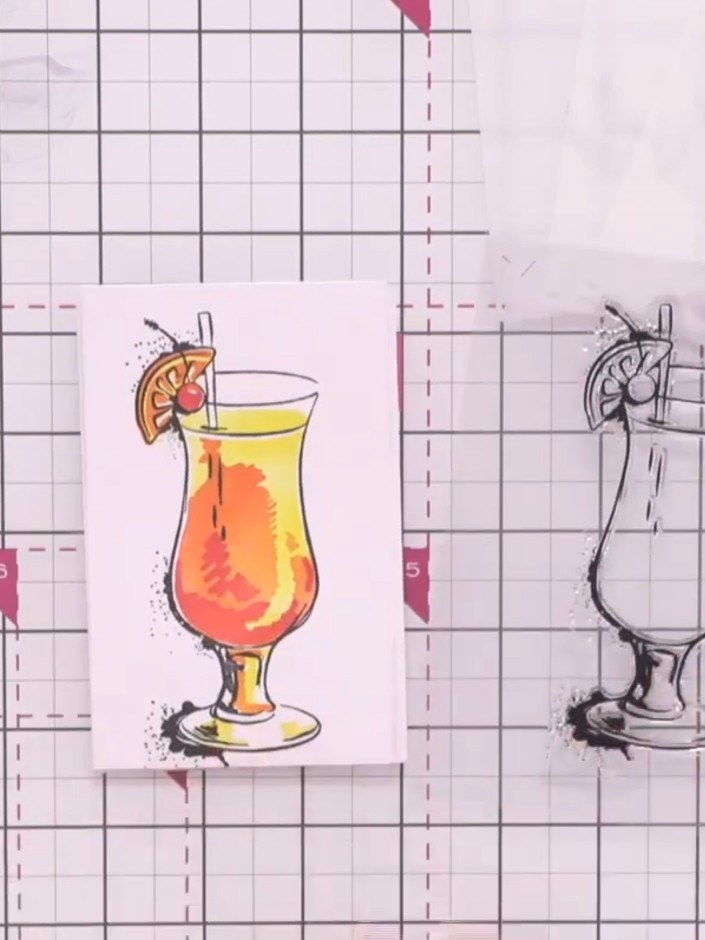
Create a stunning cocktail-themed card featuring a vibrant tropical drink in warm orange and yellow tones. This project combines stencilling with coordinating stamp detail to add beautiful abstract artistic finishes and intricate dimension. The finished design showcases a colourful cocktail glass complete with fruit garnish and straw embellishments.
 STAMPS BY ME QUATTRO D - MOJITO - 090922AANSEHEN
 STAMPS BY ME QUATTRO D - TEQUILA SUNRISE - 090922CANSEHEN
DIESE ANLEITUNG HERUNTERLADEN (PDF)
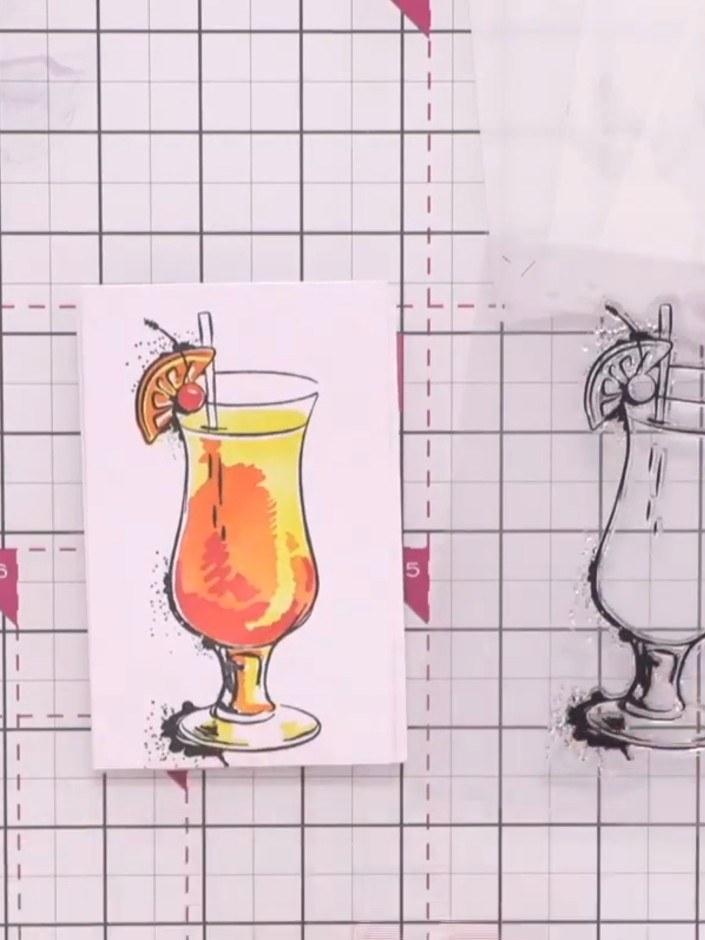
Complete the stencil layering by adding all the other elements and detail to build up the coloured cocktail image. Leave the finished image on the card on its own.
▶ diesen Schritt ansehen (2:15)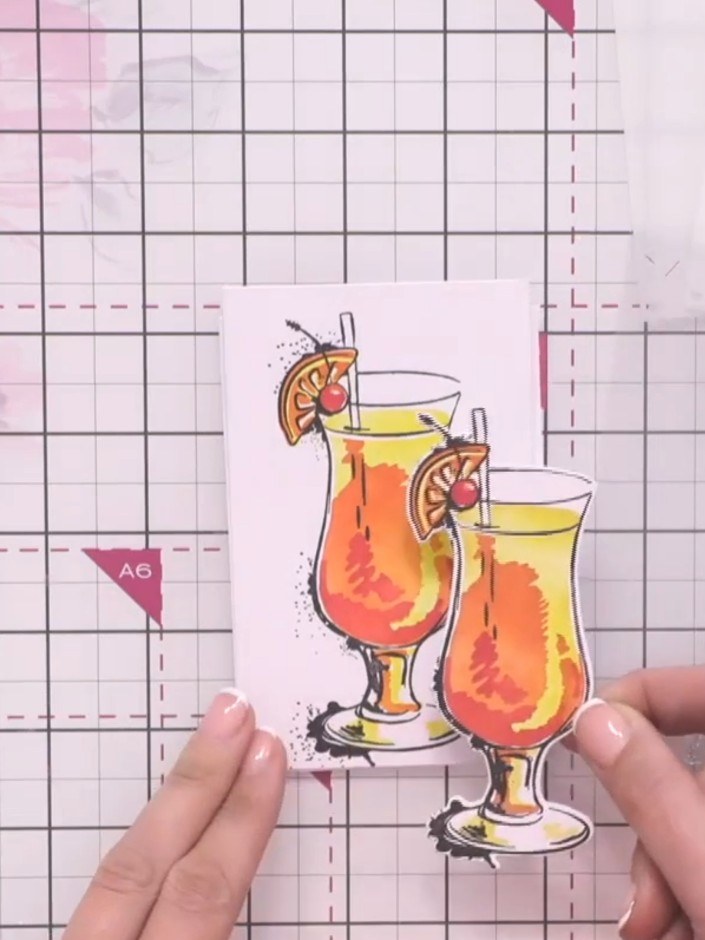
Take the coordinating stamp and ink it with your chosen colour. Position the stamp over the outline image on your card.
▶ diesen Schritt ansehen (2:30)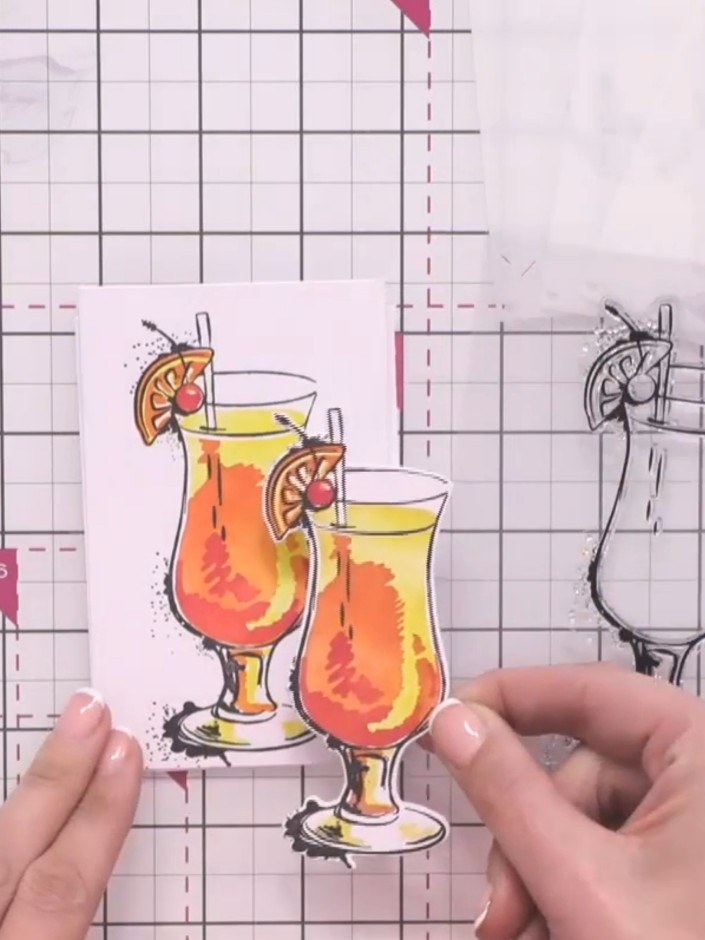
Stamp the detail onto your stencilled cocktail glass design using the coordinating stamp, carefully aligning it to add the abstract artistic finish. Build up the layered effect by stamping multiple cocktail glasses together.
▶ diesen Schritt ansehen (2:30)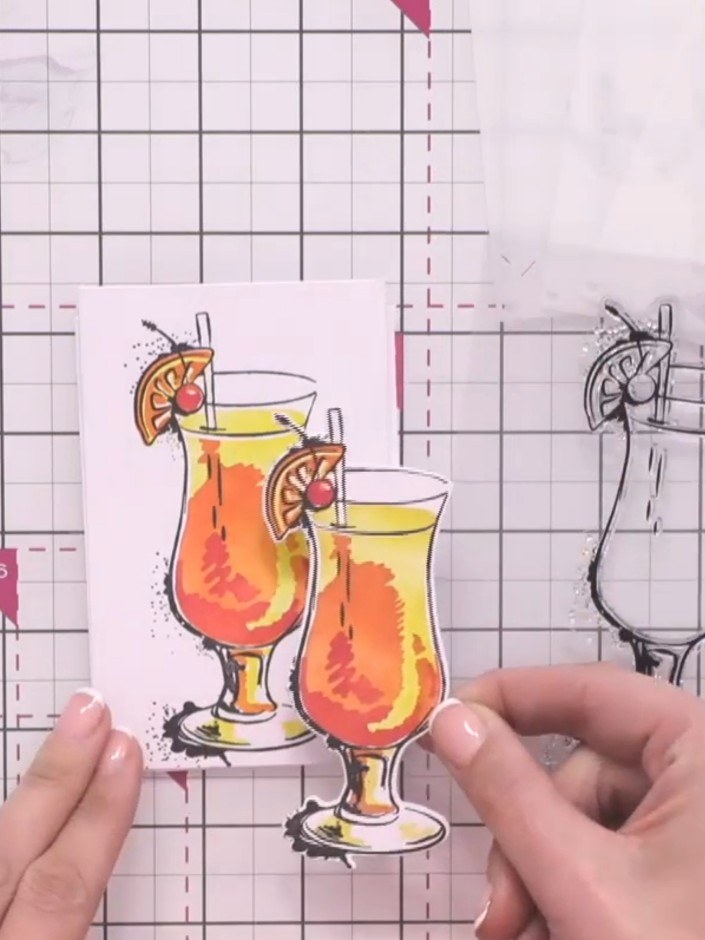
Allow the stamped cocktail images to dry completely before proceeding to the next step. The coloured layers need to be fully dry to prevent smudging when assembling the card.
▶ diesen Schritt ansehen (2:30)Direkt aus der Show aufgeschrieben. Alle Anleitungen aus unseren Shows ansehen · kostenlose Anleitungen · live auf My Telly ansehen