Schenke deinen Freundinnen und Freunden 10 € Rabatt auf ihre erste Bestellung!
Freunde WERBEN








Ein Projekt aus unserer Live-Show HOBBYMAKER TV - Sei bei unserer neuesten Show dabei - Sendung um 16 Uhr (UK) am 24. Oktober 2026 · 24.10.2026 · ab 48:45 ansehen
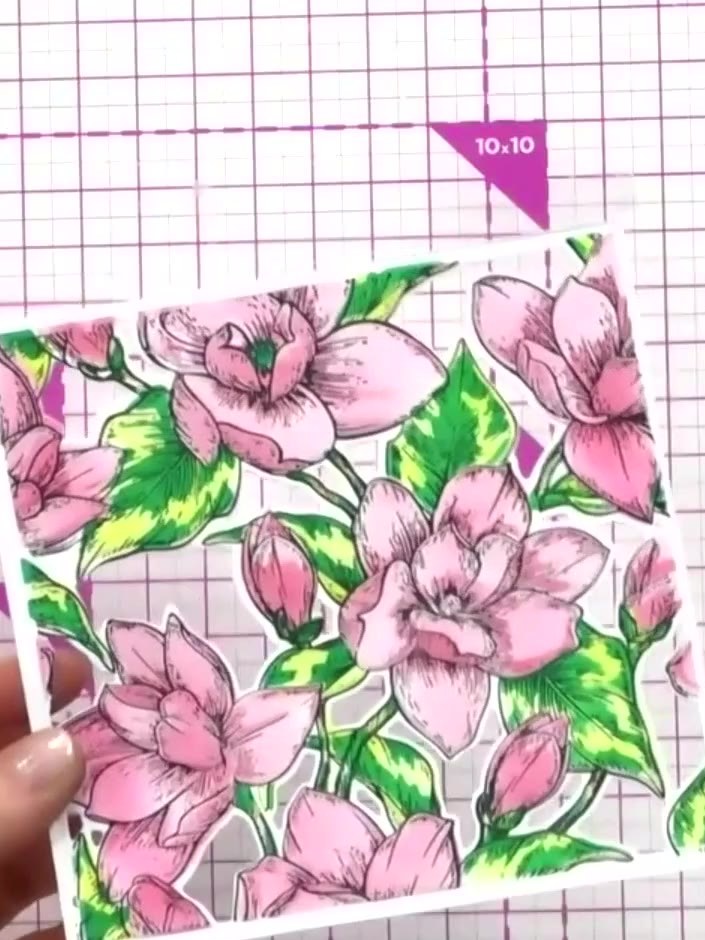
Create a stunning multi-layered floral card featuring the beautiful Magnolia design from the Stamps By Me Quattro D collection. This project combines four coordinated techniques - layering stencils, stamping, die-cutting, and embossing - to produce a professional-quality card with gorgeous 3D floral effects in elegant colours. The Quattro system makes it easy to achieve perfectly aligned layers for a truly impressive handmade card.
DIESE ANLEITUNG HERUNTERLADEN (PDF)
Open your Quattro Di Magnolia kit and remove all the elements including the stencil, stamp, die, and embossing folder. Lay them out on your craft mat ready to use.
▶ diesen Schritt ansehen (49:00)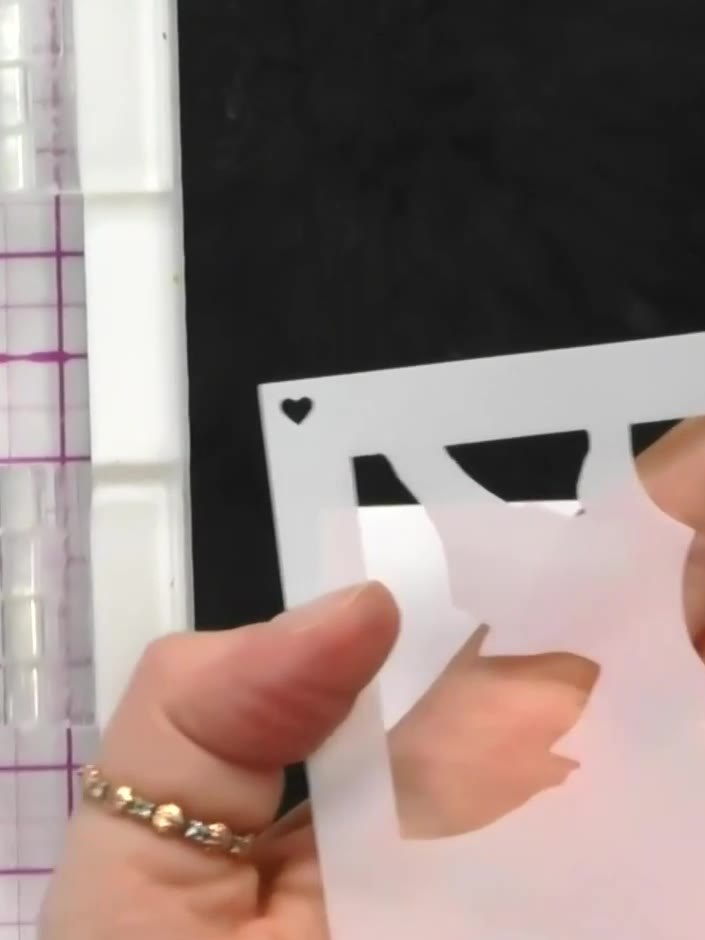
Locate the number on the first stencil to ensure it is positioned the right way up before use.
▶ diesen Schritt ansehen (49:30)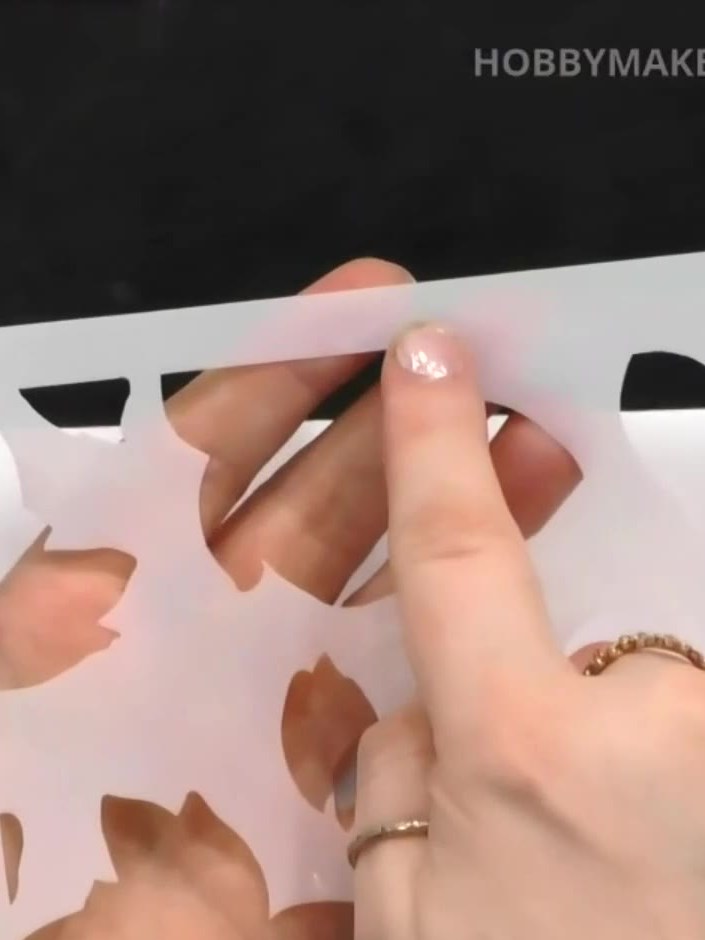
Apply your lightest colour ink through the largest stencil using a dauber. Work gently across the design, building up the colour gradually on your white card.
▶ diesen Schritt ansehen (50:30)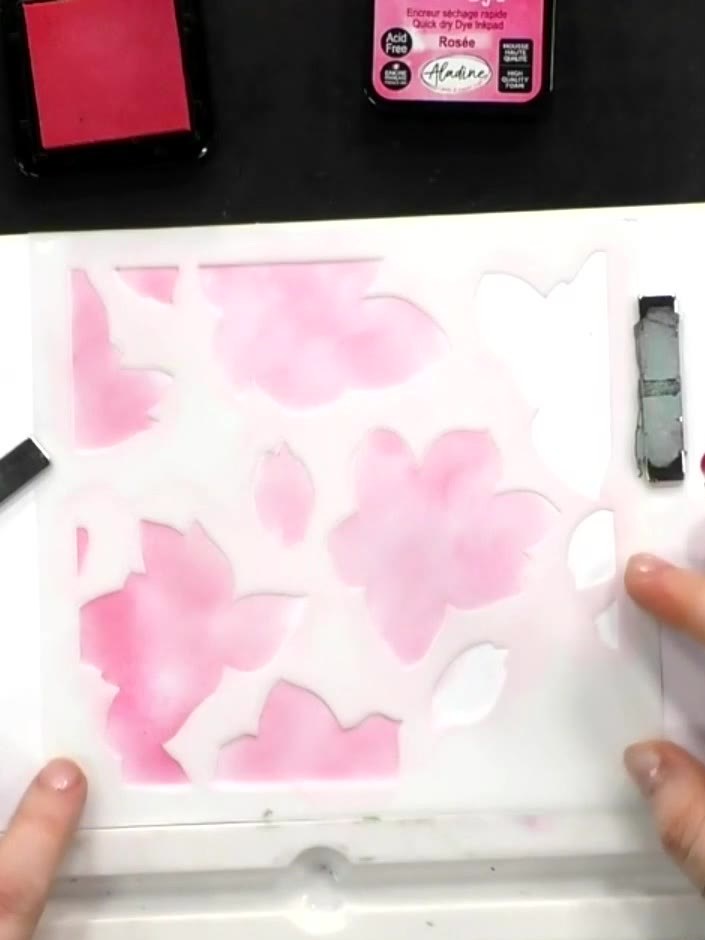
If the stencil moves during blending, carefully reposition it using the corner hearts as registration guides to ensure the design stays aligned.
▶ diesen Schritt ansehen (51:45)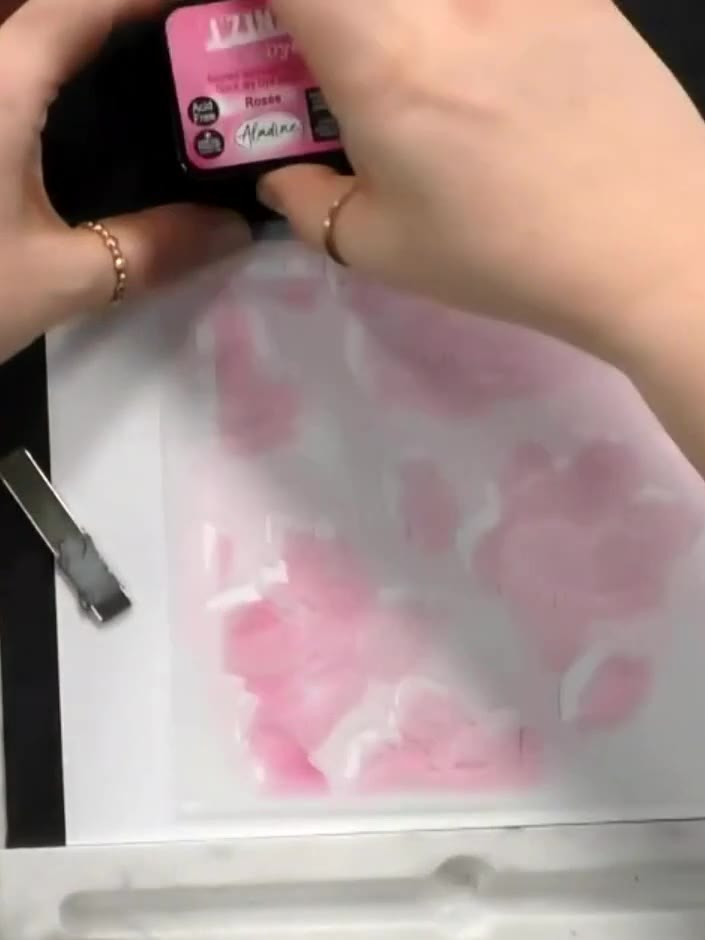
Position the second numbered stencil over your work and apply a slightly darker shade of pink ink using a blending tool, building up the colour gradually over the magnolia design.
▶ diesen Schritt ansehen (52:15)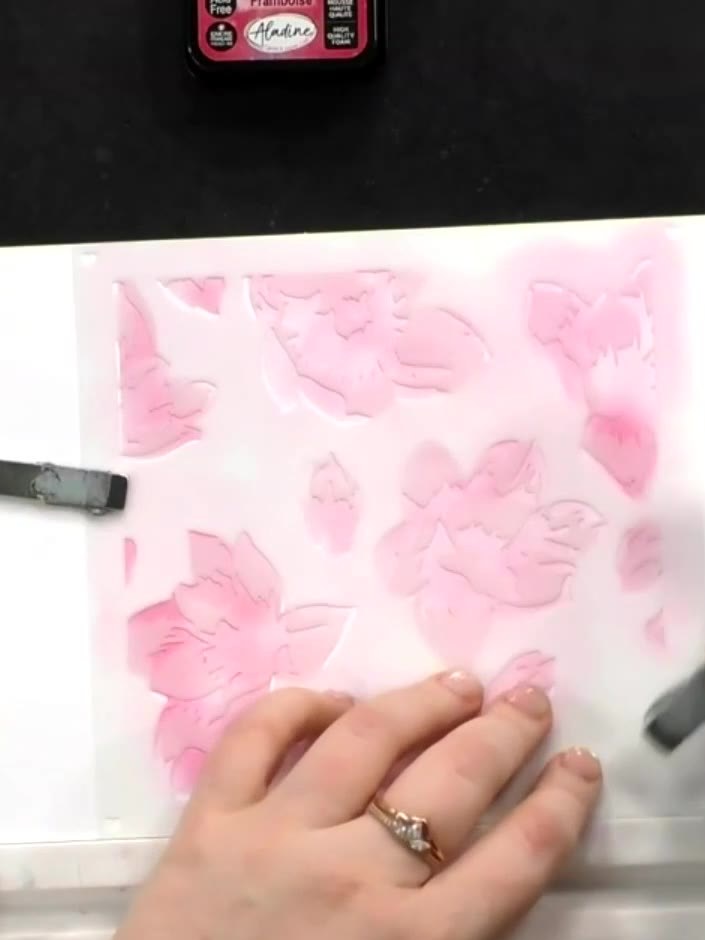
Position the third stencil layer and apply a darker pink ink using a blending tool, building up the depth and dimension of the magnolia design. Work the ink gently to create smooth transitions between the layers.
▶ diesen Schritt ansehen (52:30)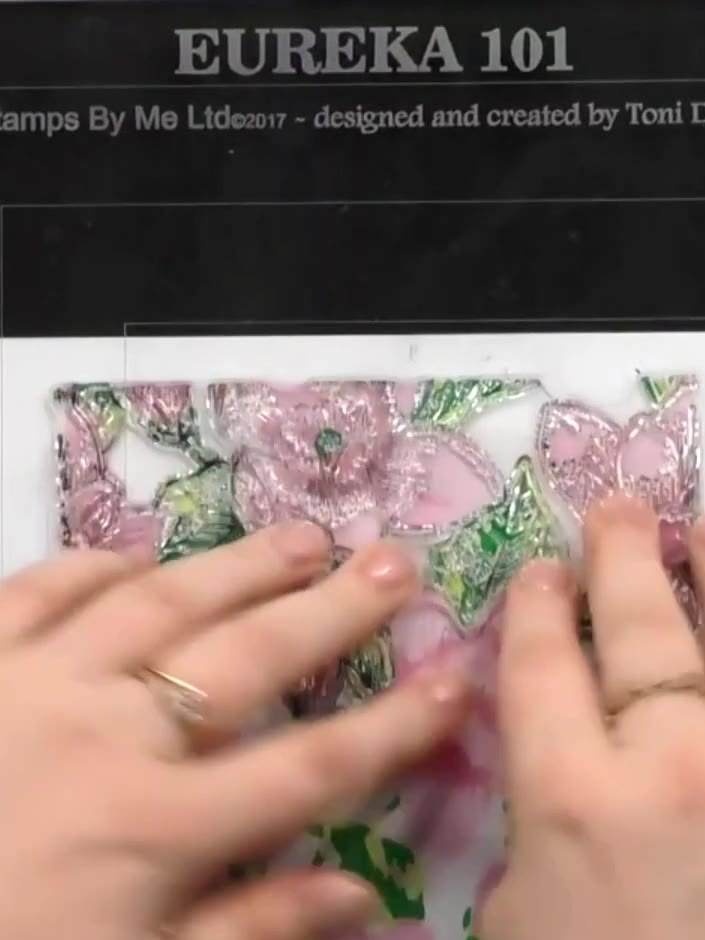
Using a stamping platform and black ink, stamp the large magnolia floral image onto white cardstock. If needed, stamp the image in two halves to cover the full area, ensuring the sections align properly.
▶ diesen Schritt ansehen (56:00)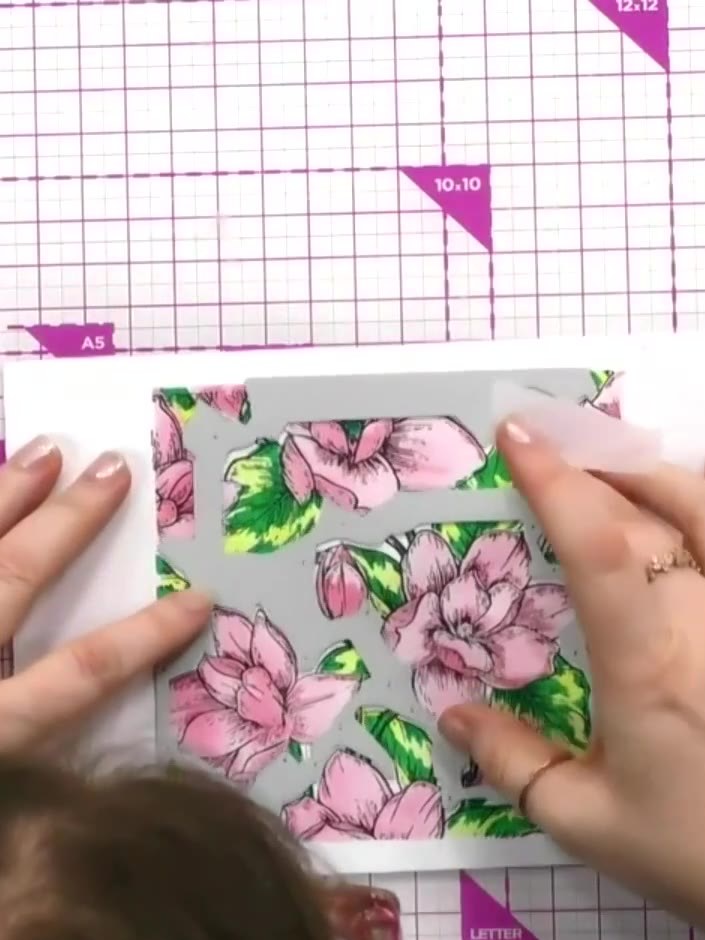
Die-cut the stencilled and stamped piece using the coordinating die. This will cut out the central floral elements while leaving the border intact.
▶ diesen Schritt ansehen (58:00)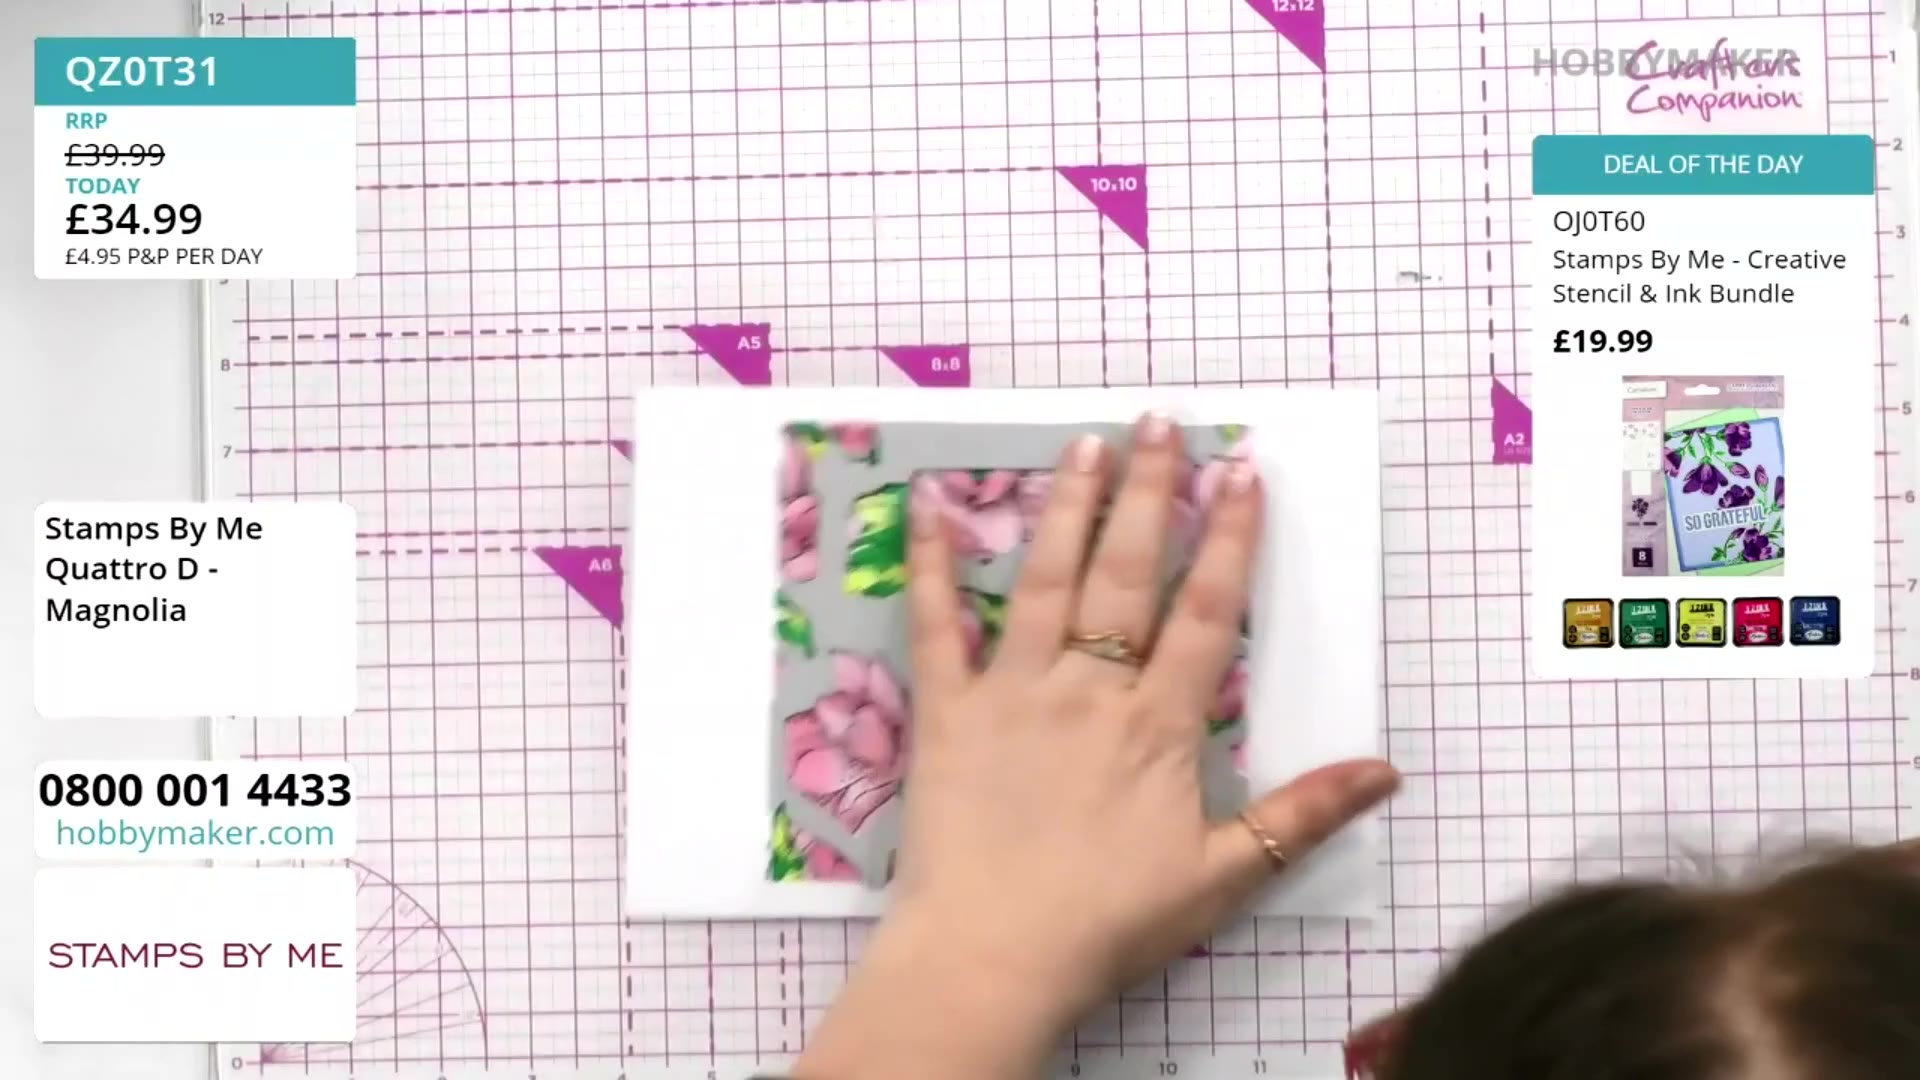
If desired, trim your die-cut floral piece to reduce the border using a paper trimmer. Cut carefully to achieve your preferred size whilst maintaining the design.
▶ diesen Schritt ansehen (58:30)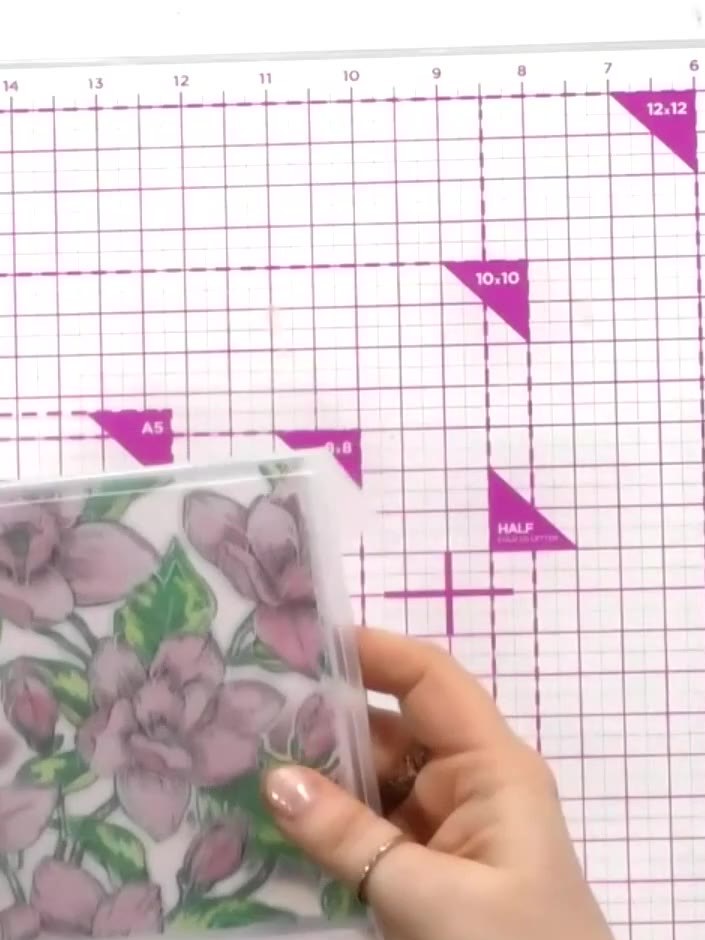
Place the stamped and coloured magnolia piece into the embossing folder, ensuring it is positioned correctly. Use the appropriate sandwich configuration for your die-cutting machine.
▶ diesen Schritt ansehen (1:00:30)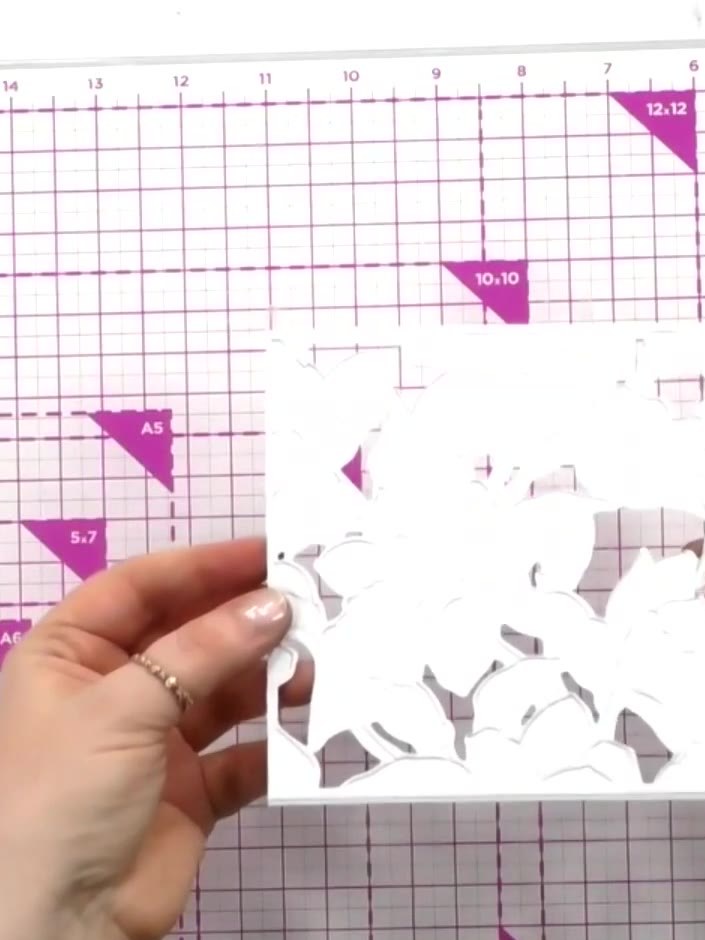
Run the stencil through your die-cutting machine to emboss from the back for better definition. This will create raised details on the magnolia design.
▶ diesen Schritt ansehen (1:01:00)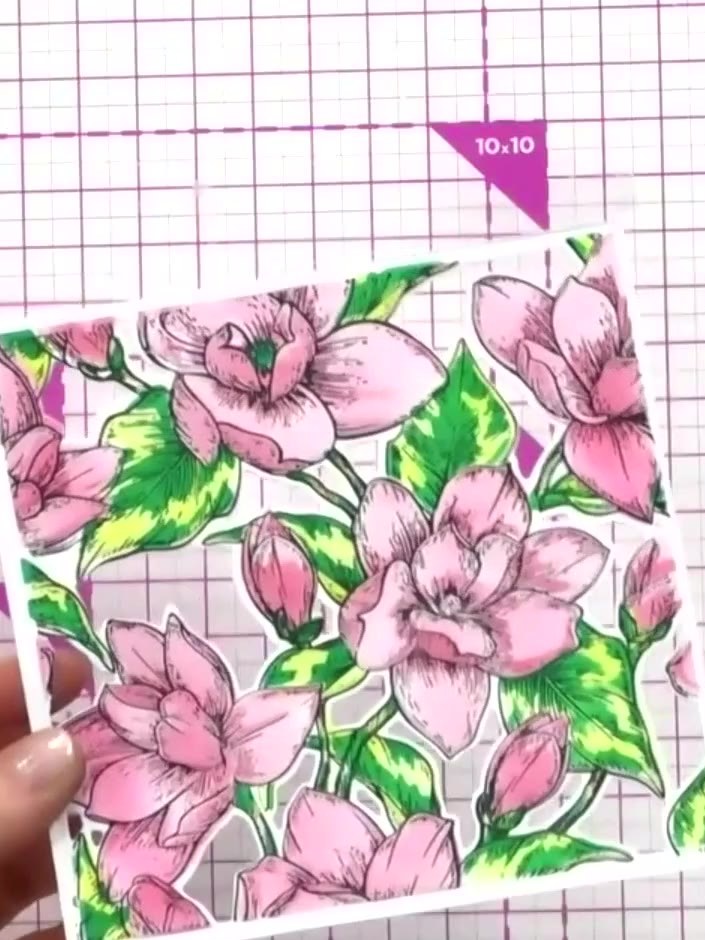
Mount the finished embossed and coloured magnolia panel onto a card blank. Add a sentiment to complete your layered floral card.
▶ diesen Schritt ansehen (1:01:30)Direkt aus der Show aufgeschrieben. Alle Anleitungen aus unseren Shows ansehen · kostenlose Anleitungen · live auf My Telly ansehen