Schenke deinen Freundinnen und Freunden 10 € Rabatt auf ihre erste Bestellung!
Freunde WERBEN








Ein Projekt aus unserer Live-Show CREATE AND CRAFT - BRANDNEUE KOLLEKTION - Sei dabei bei Tonis neuester Launch-Show 2 - ausgestrahlt am 29. Nov. 22 · 29.11.2022 · ab 21:00 ansehen
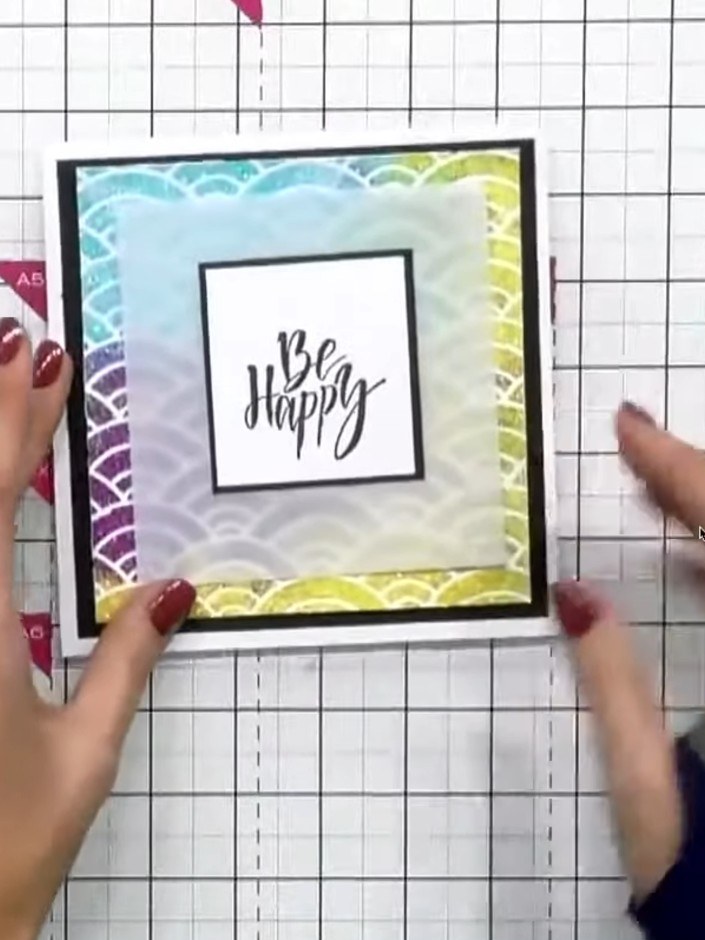
Create a striking encouragement card featuring a beautiful floral arch design stamped in black ink with an uplifting sentiment. The design includes delicate flowers forming an arch frame around the words 'You are kind, You are smart, You are important' with a hand-coloured heart accent. This quick and elegant card uses simple stamping techniques to achieve a bold, meaningful result perfect for lifting someone's spirits.
DIESE ANLEITUNG HERUNTERLADEN (PDF)
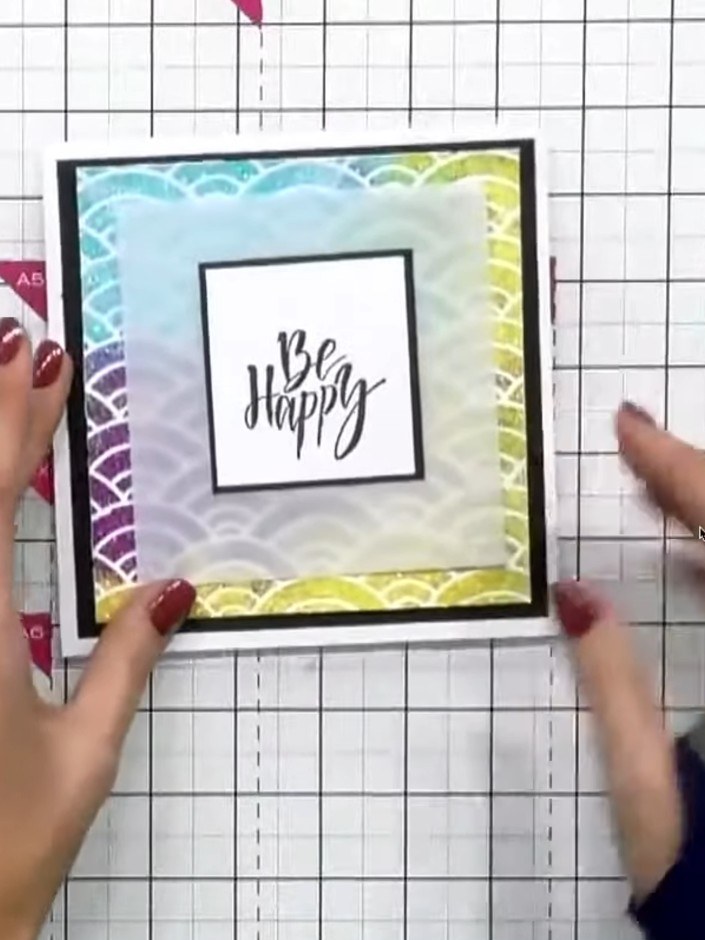
Stamp the arch design from the Hope Collection set onto white cardstock using black ink. Position the stamp to create a decorative border around where your sentiment will go.
▶ diesen Schritt ansehen (21:00)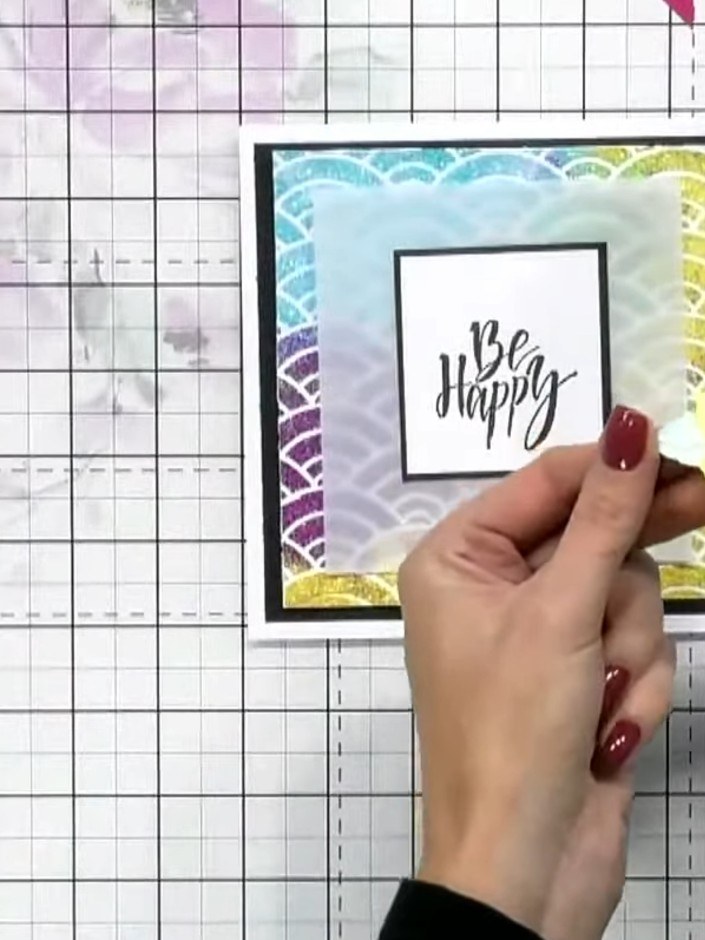
Cut away the heart portion from the stamped design using scissors or a craft knife.
▶ diesen Schritt ansehen (21:15)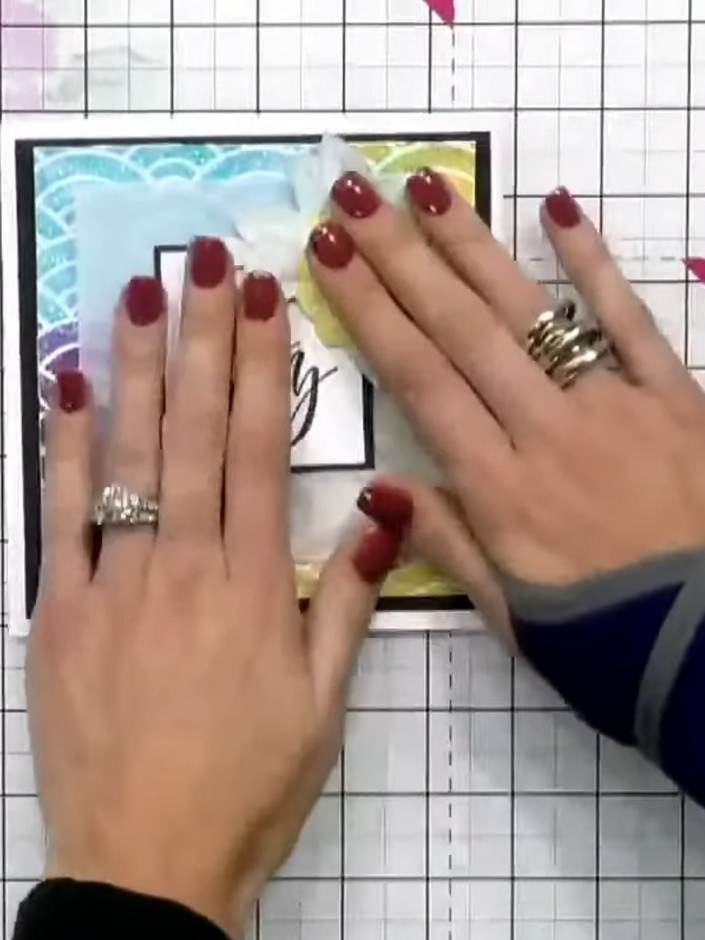
Colour in the heart on your sentiment panel using Sparkle pens in your chosen colour. Work carefully to fill in the heart design completely.
▶ diesen Schritt ansehen (21:30)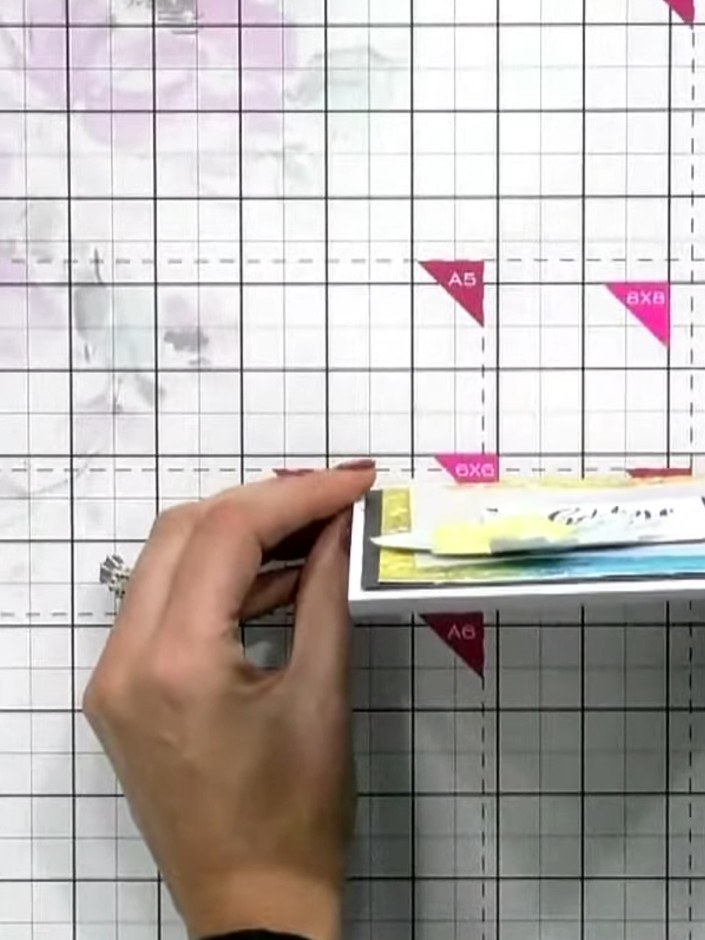
Stamp the sentiment onto the card using black ink. Position the stamp carefully on the card front and press firmly to ensure a clear impression.
▶ diesen Schritt ansehen (22:00)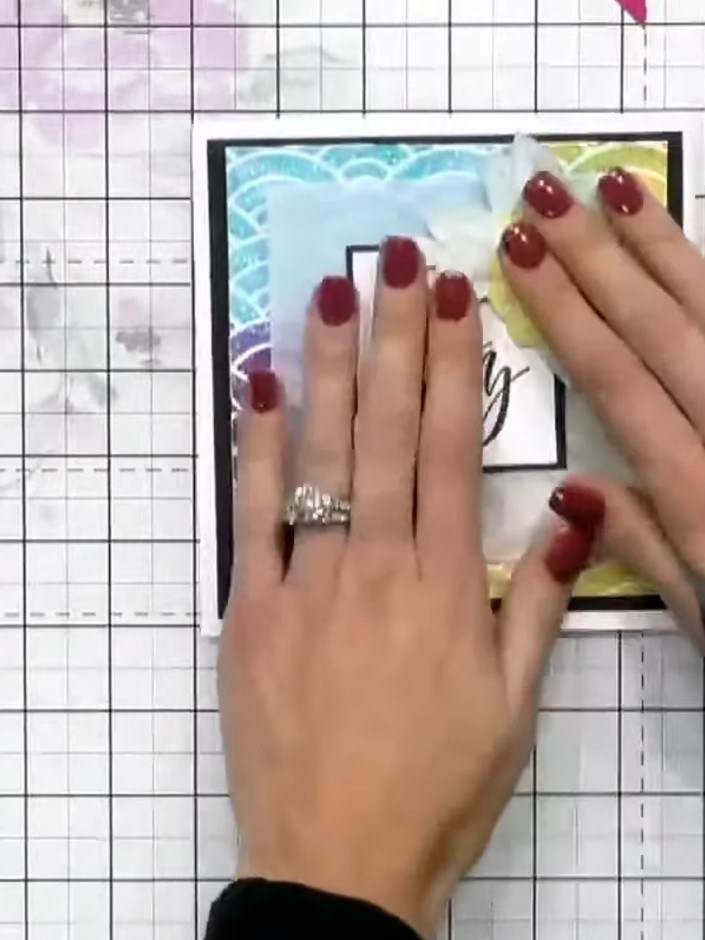
Apply foam pads to the back of the coloured heart sentiment and adhere it to the front of the card over the stencilled background.
▶ diesen Schritt ansehen (22:15)Direkt aus der Show aufgeschrieben. Alle Anleitungen aus unseren Shows ansehen · kostenlose Anleitungen · live auf My Telly ansehen