Schenke deinen Freundinnen und Freunden 10 € Rabatt auf ihre erste Bestellung!
Freunde WERBEN








Ein Projekt aus unserer Live-Show CREATE AND CRAFT - BRANDNEUE KOLLEKTION - Sei dabei bei Tonis neuester Launch-Show 2 - ausgestrahlt am 29. Nov. 22 · 29.11.2022 · ab 28:30 ansehen
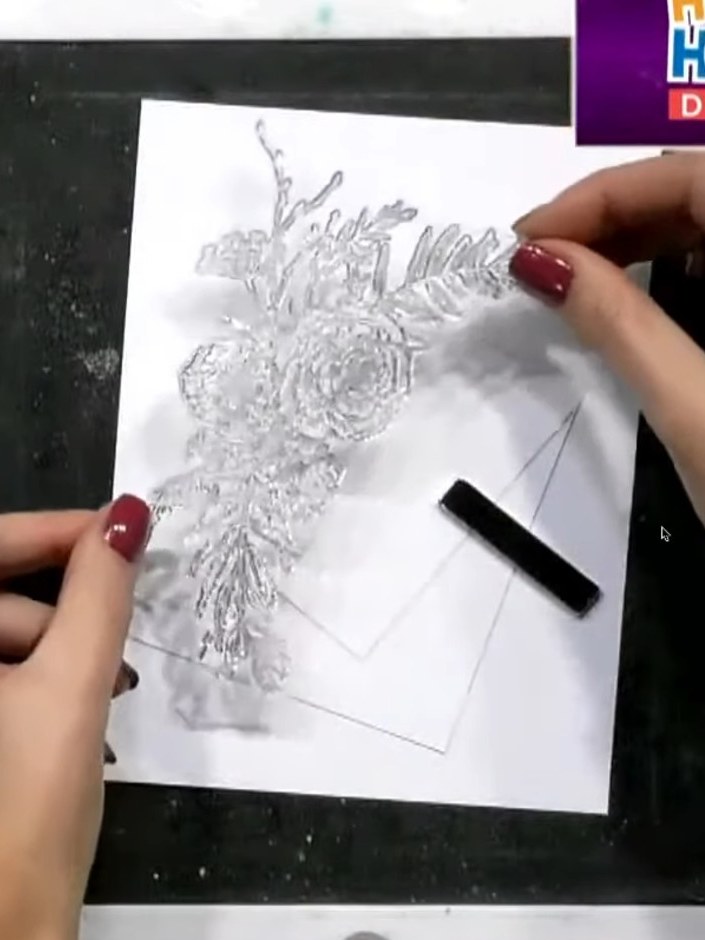
Create an elegant layered card featuring a delicate thistle design from the Hope collection. This sophisticated project uses three layers of white cardstock mounted on textured lilac card, with the botanical stamp positioned at a dynamic angle across the layers. The design achieves beautiful depth through careful alignment and dimensional foam pad layering.
DIESE ANLEITUNG HERUNTERLADEN (PDF)
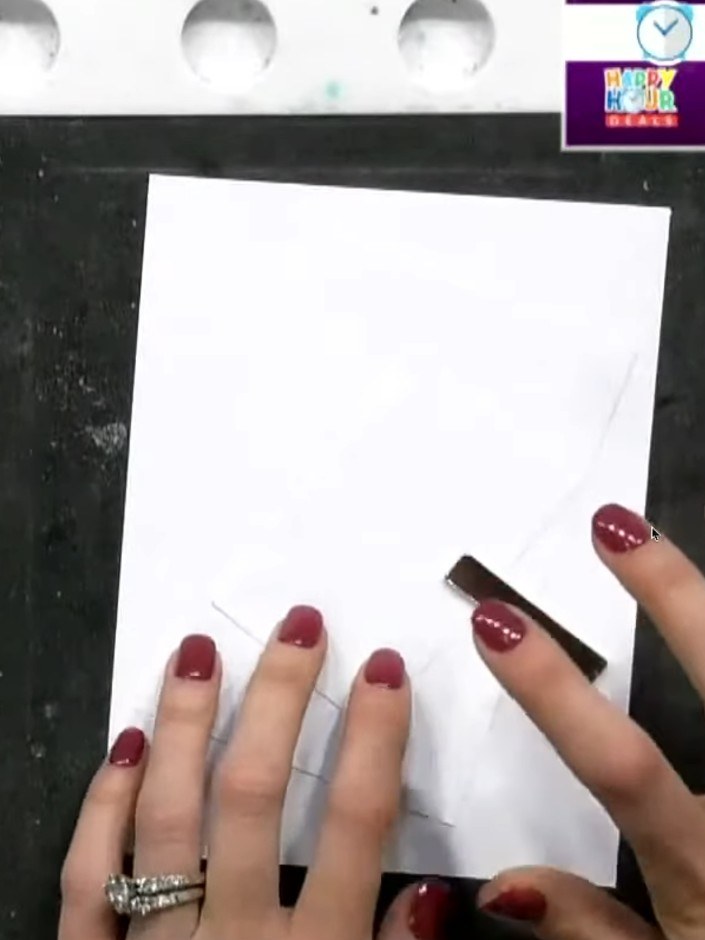
Position three pieces of white cardstock on your black mat at a slight angle. Tape them down to secure them in place, using a magnet to hold them whilst you work.
▶ diesen Schritt ansehen (28:30)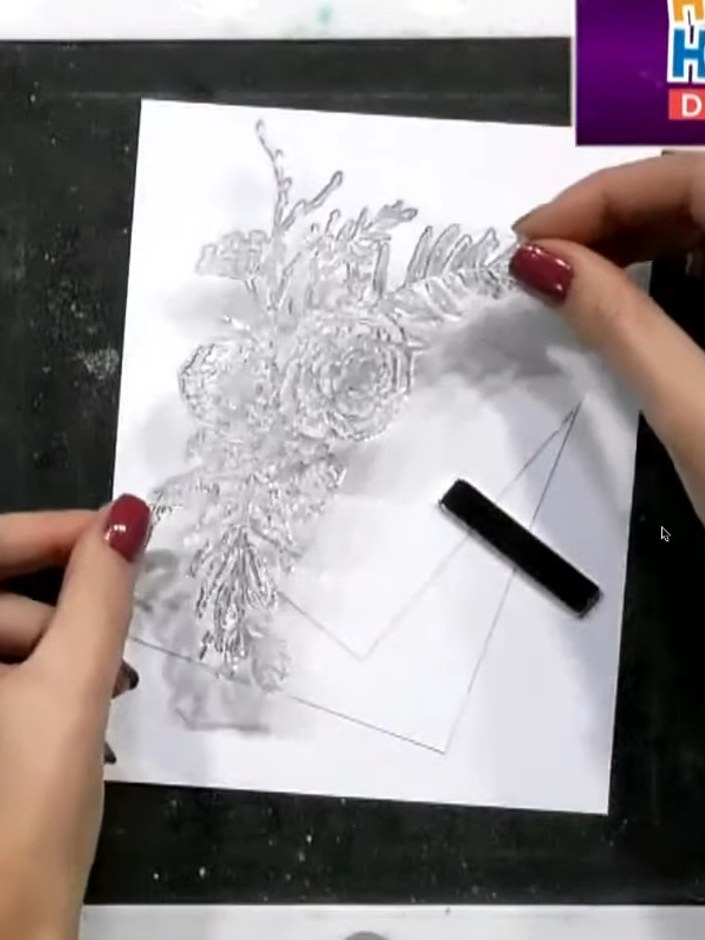
Stamp the thistle design onto all three layers of card using black ink. Position the stamped image along the curved edge of each layer.
▶ diesen Schritt ansehen (29:00)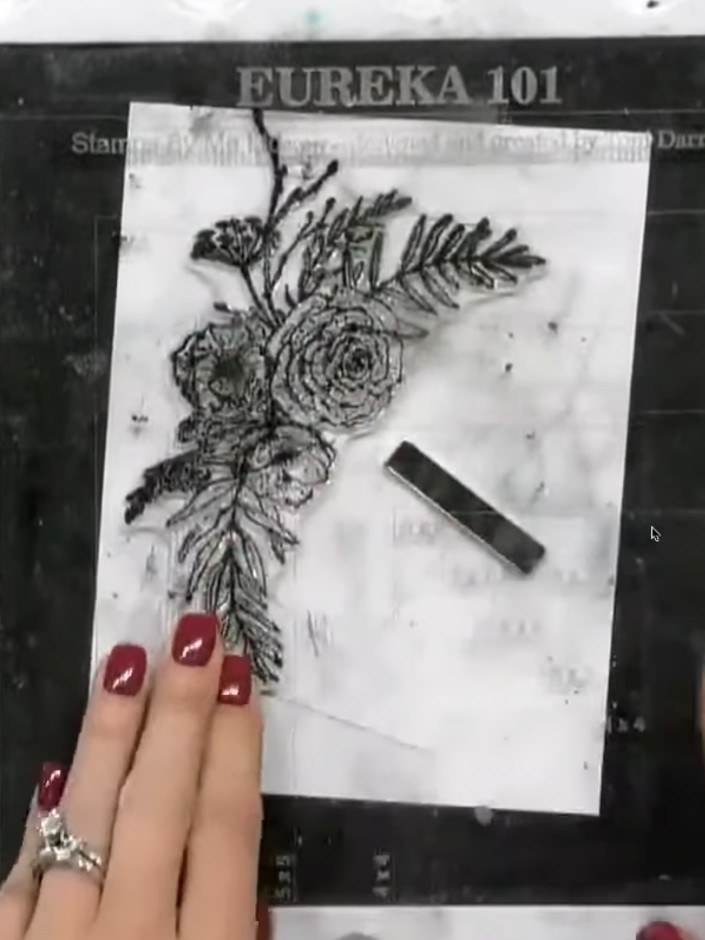
Stamp a sentiment onto the second white layer, angling it to follow the curve of the thistle design. Press down firmly and lift straight up to ensure a clear impression.
▶ diesen Schritt ansehen (29:30)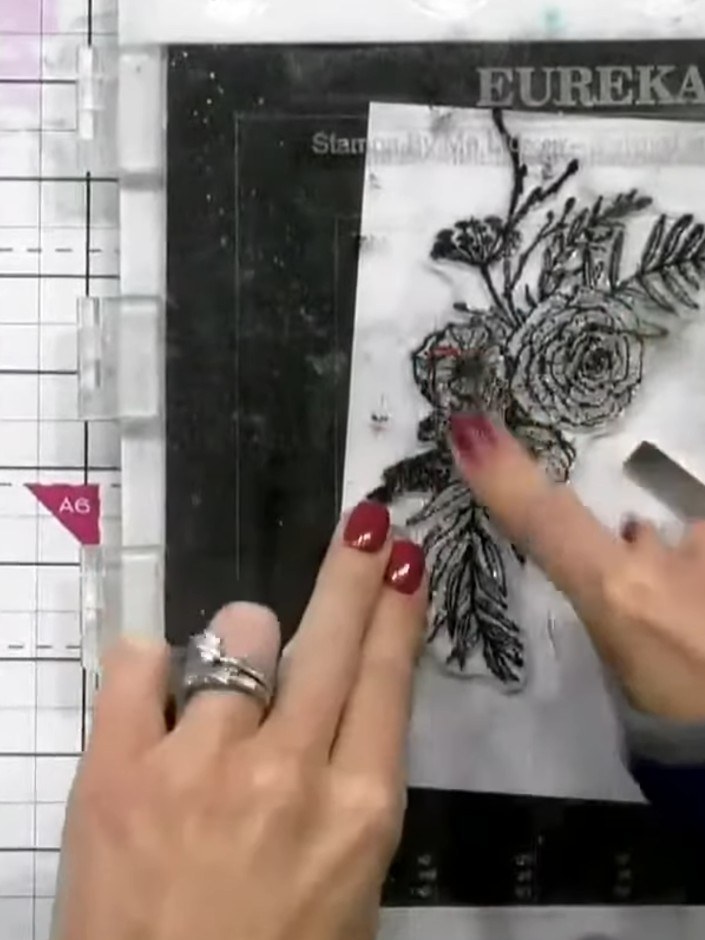
Mount the stamped floral image onto a piece of textured grey cardstock to create a backing layer for your design.
▶ diesen Schritt ansehen (30:00)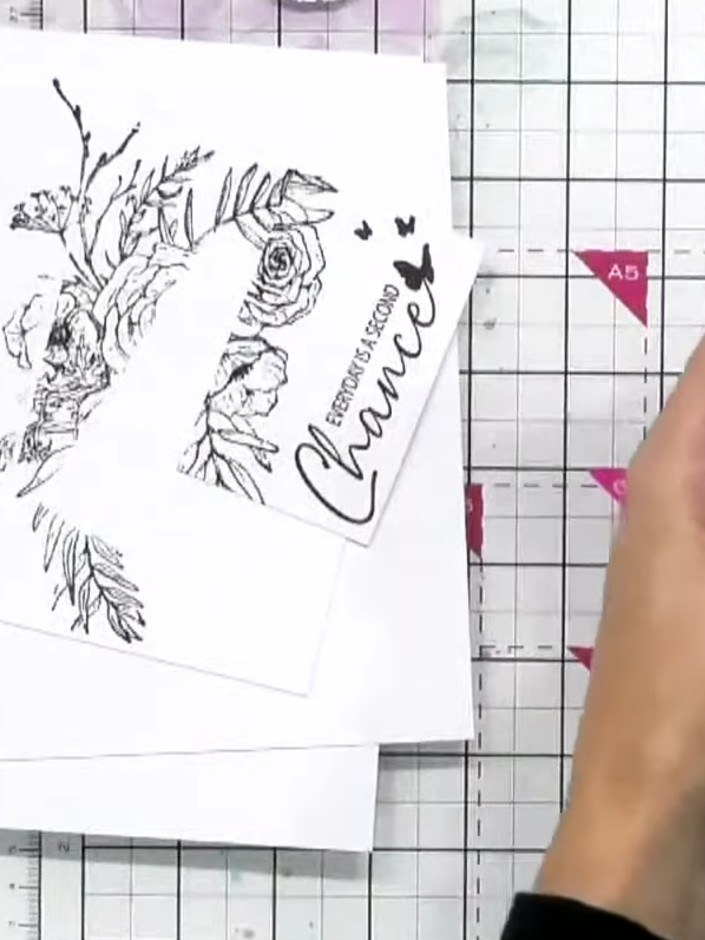
Layer the stamped floral piece on top of the purple card base using foam pads to create dimension.
▶ diesen Schritt ansehen (31:00)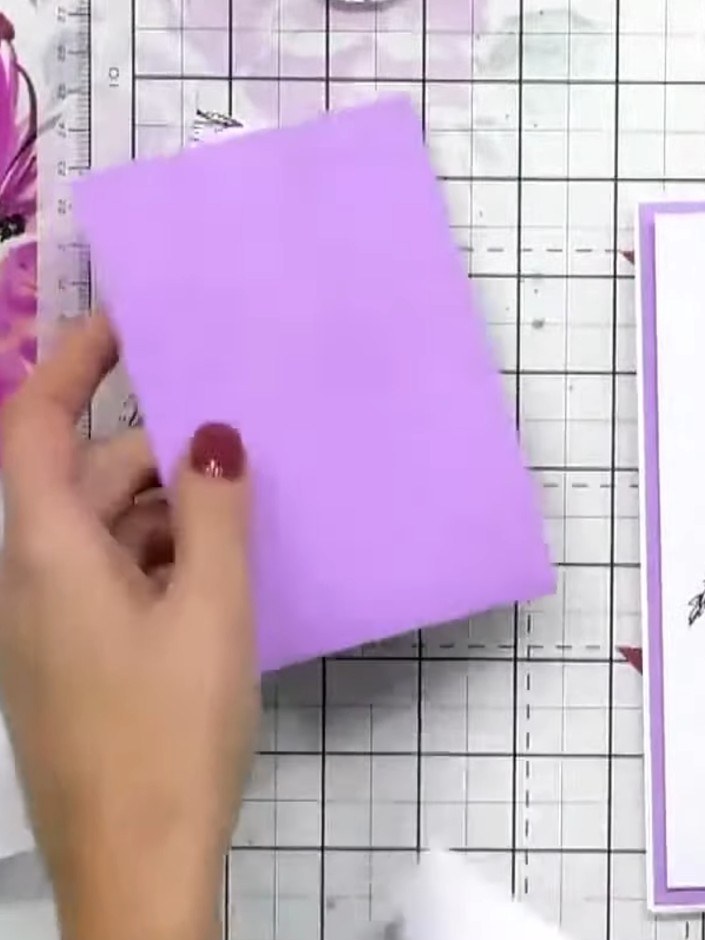
Layer the third stamped piece on top of the second layer using foam pads to add dimension.
▶ diesen Schritt ansehen (31:30)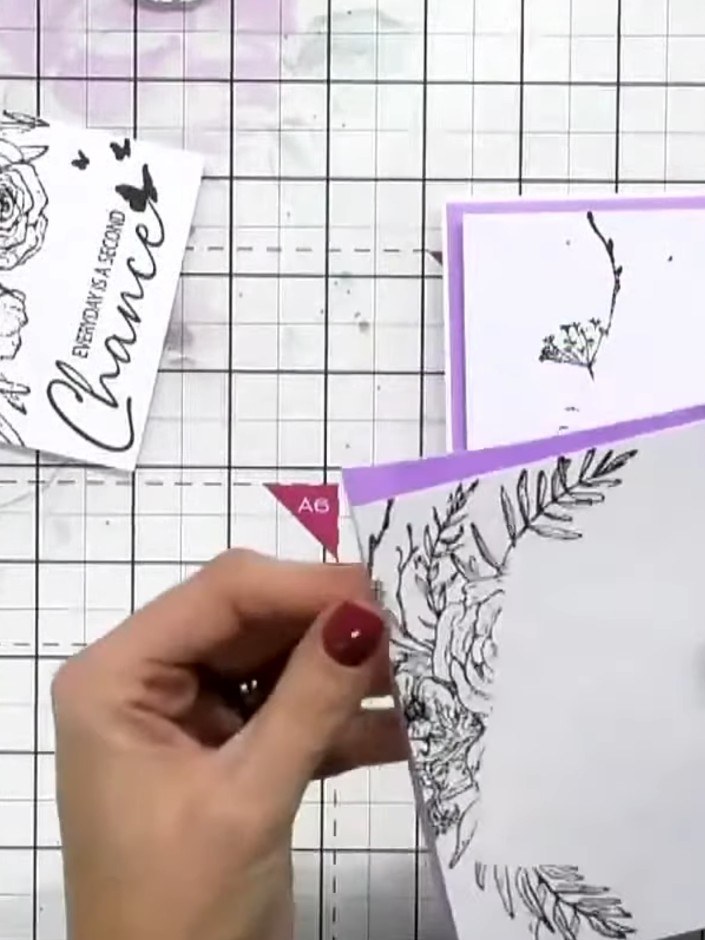
Fussy cut the thistle motif from a fourth stamped layer. Attach the cut-out thistle to the top of your card using foam pads to add dimension.
▶ diesen Schritt ansehen (32:00)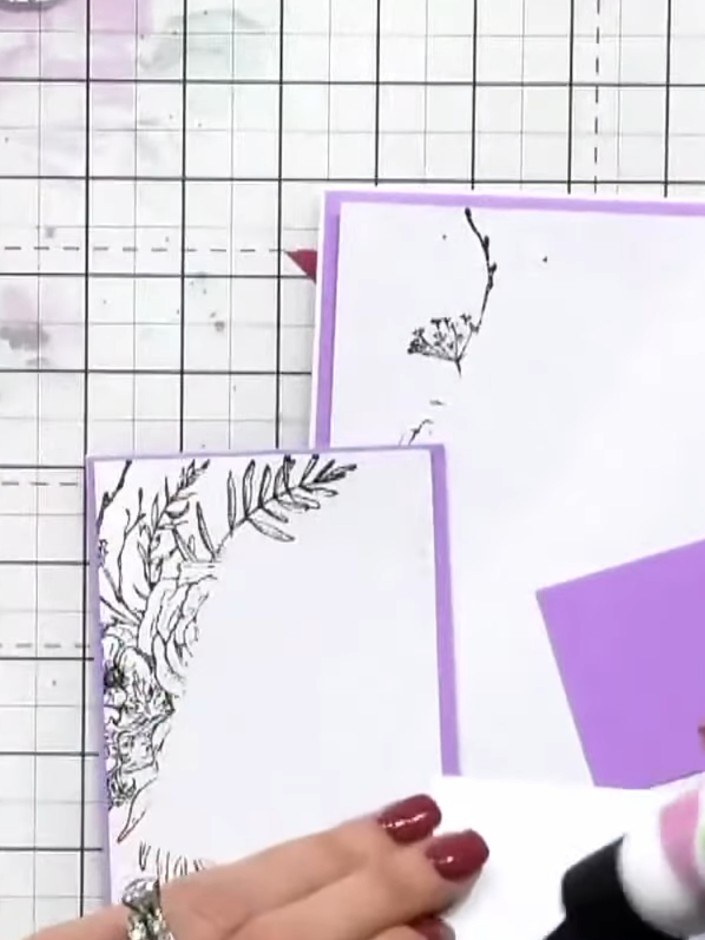
Add sparkle to your fussy-cut floral element using a glitter pen or similar product. Apply the glitter to highlight details on the flowers and foliage as desired.
▶ diesen Schritt ansehen (32:30)Direkt aus der Show aufgeschrieben. Alle Anleitungen aus unseren Shows ansehen · kostenlose Anleitungen · live auf My Telly ansehen