Schenke deinen Freundinnen und Freunden 10 € Rabatt auf ihre erste Bestellung!
Freunde WERBEN








Ein Projekt aus unserer Live-Show CREATE AND CRAFT - BRANDNEUE KOLLEKTION - Sei dabei bei Tonis neuester Launch-Show 1 - ausgestrahlt am 29. Nov. 22 · 29.11.2022 · ab 24:00 ansehen
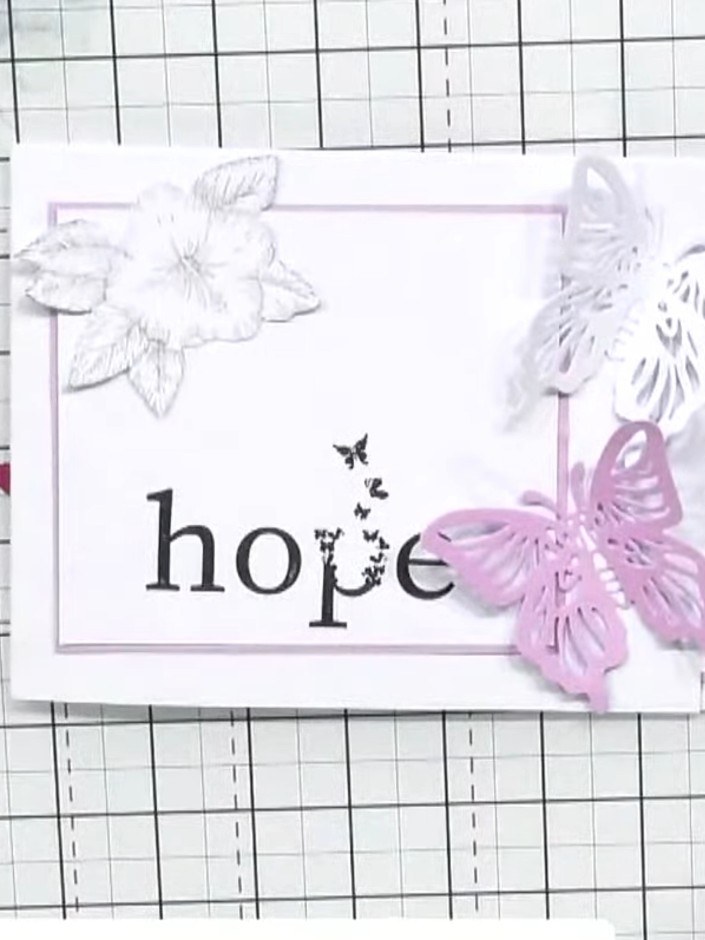
Create an elegant layered card featuring the Hope collection with cascading butterflies and a heartfelt sentiment. This design uses soft pink and grey tones with delicate floral stamps, creating dimension through layered cardstock and die-cut butterflies. The finished card combines stamping, die-cutting and layering techniques for a sophisticated and uplifting greeting.
DIESE ANLEITUNG HERUNTERLADEN (PDF)
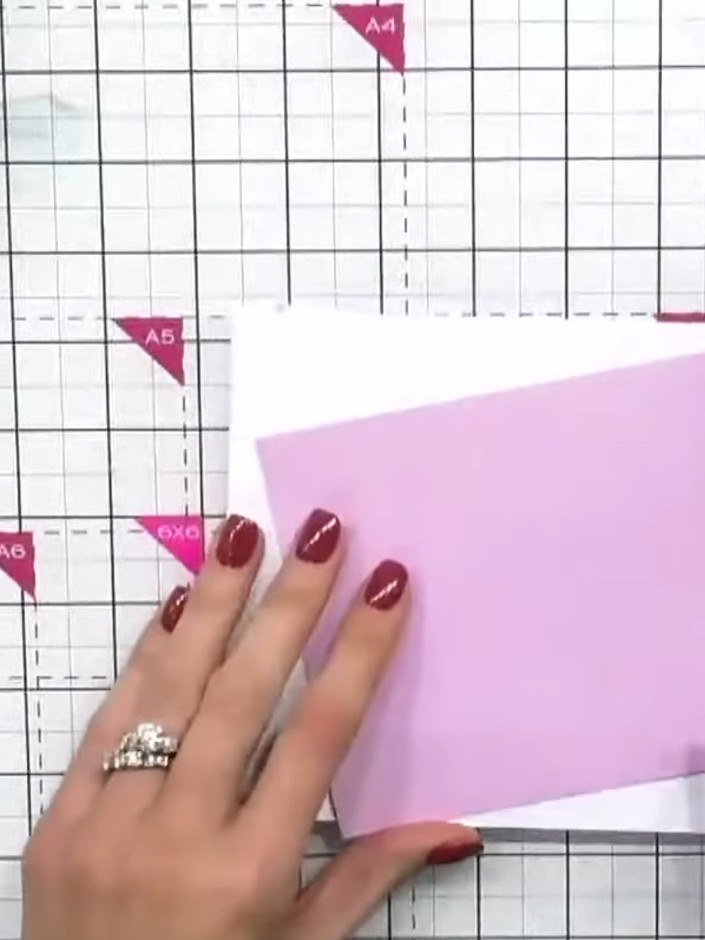
Select a cool pink textured linen cardstock from the pastel collection. Fold it in half to create your card base.
▶ diesen Schritt ansehen (24:15)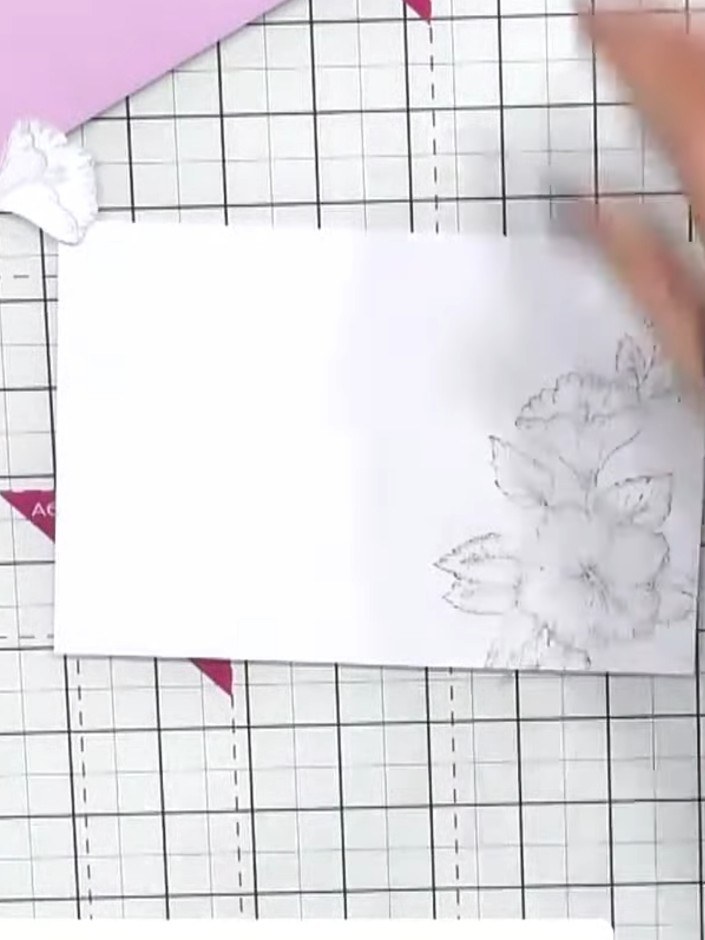
Stamp the smaller A6 floral design from the Hope collection in pale grey ink on the inside of your card. Position the stamp with the butterfly and flowers facing upwards.
▶ diesen Schritt ansehen (24:30)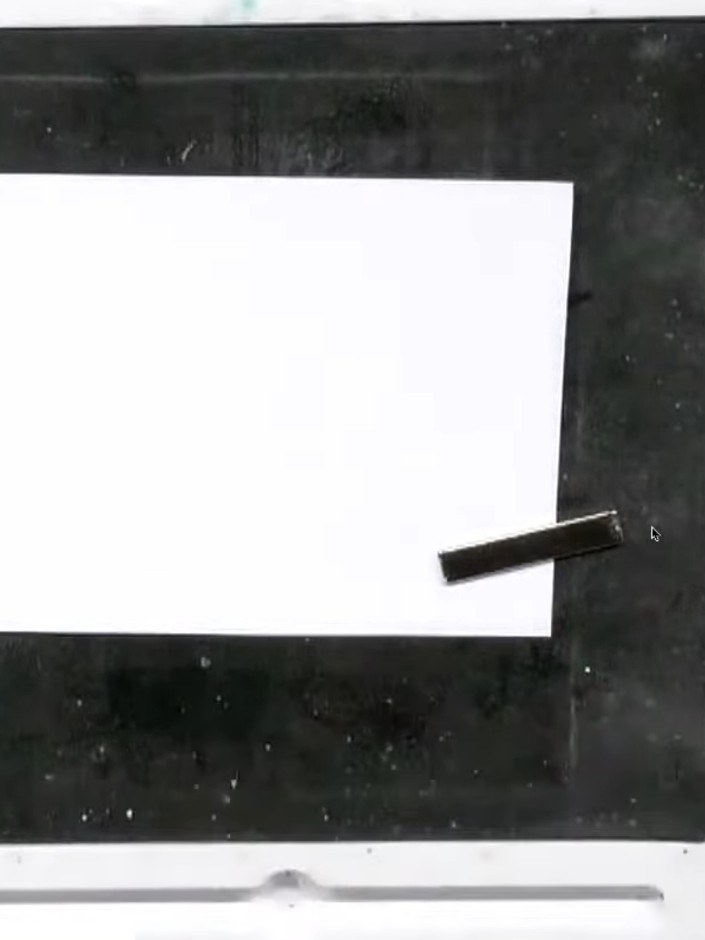
Layer a white smooth cardstock panel onto the front of your card base. Position it centrally and adhere it in place.
▶ diesen Schritt ansehen (25:00)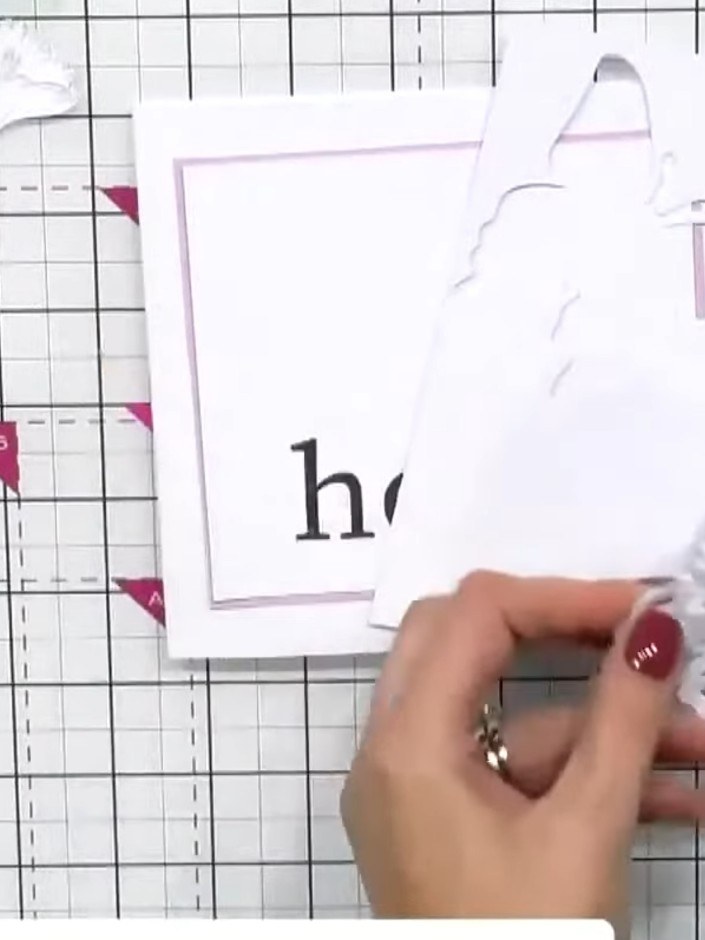
Fussy cut three butterfly stamps from the collection in pale grey cardstock. Cut carefully around the detailed edges of each butterfly to create delicate die-cut style embellishments.
▶ diesen Schritt ansehen (29:30)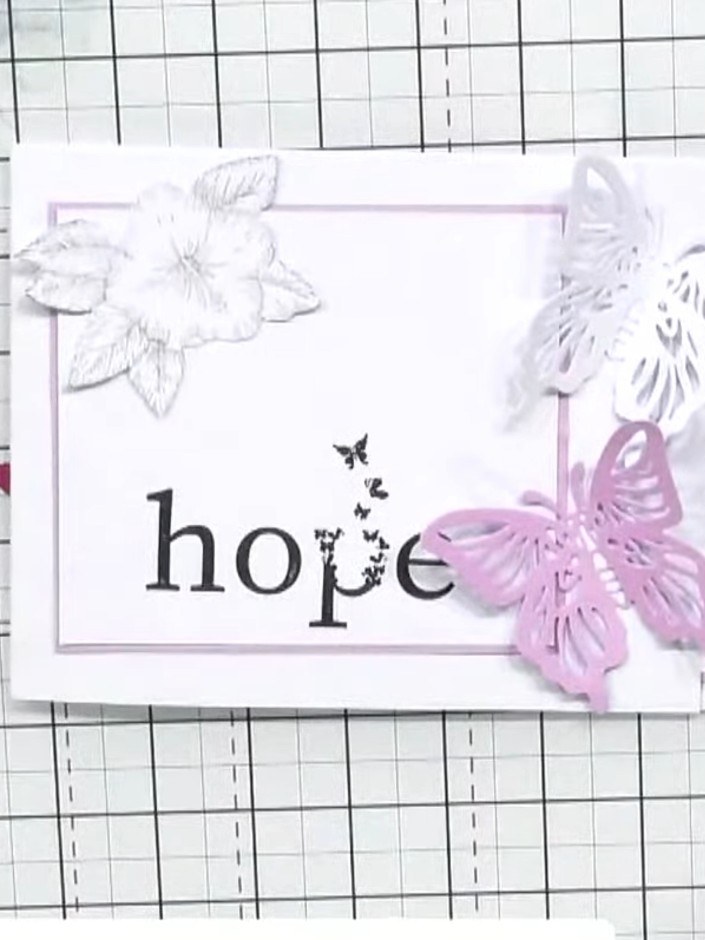
Adhere the fussy-cut butterflies to the front panel using foam pads to create dimension. Layer the white and pink butterflies across the card, positioning them around the sentiment and frame.
▶ diesen Schritt ansehen (31:00)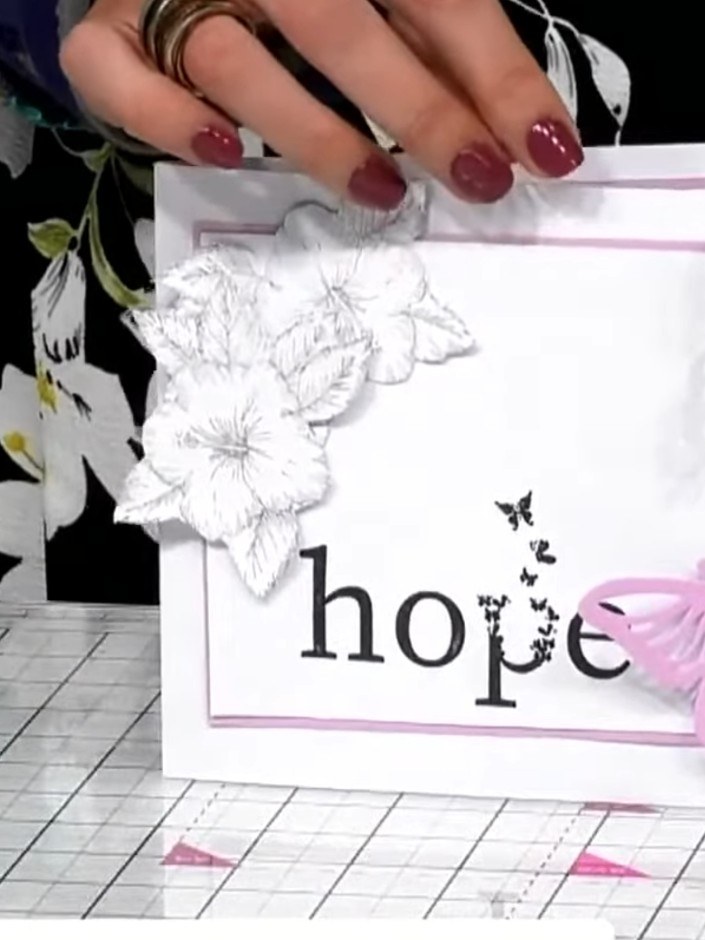
If desired, add sparkle or glitter pen details to the butterflies to give them extra dimension and shine.
▶ diesen Schritt ansehen (31:30)Direkt aus der Show aufgeschrieben. Alle Anleitungen aus unseren Shows ansehen · kostenlose Anleitungen · live auf My Telly ansehen