Schenke deinen Freundinnen und Freunden 10 € Rabatt auf ihre erste Bestellung!
Freunde WERBEN








Ein Projekt aus unserer Live-Show CREATE AND CRAFT - BRANDNEUE KOLLEKTION - Sei dabei bei Tonis neuester Launch-Show 1 - ausgestrahlt am 29. Nov. 22 · 29.11.2022 · ab 50:30 ansehen
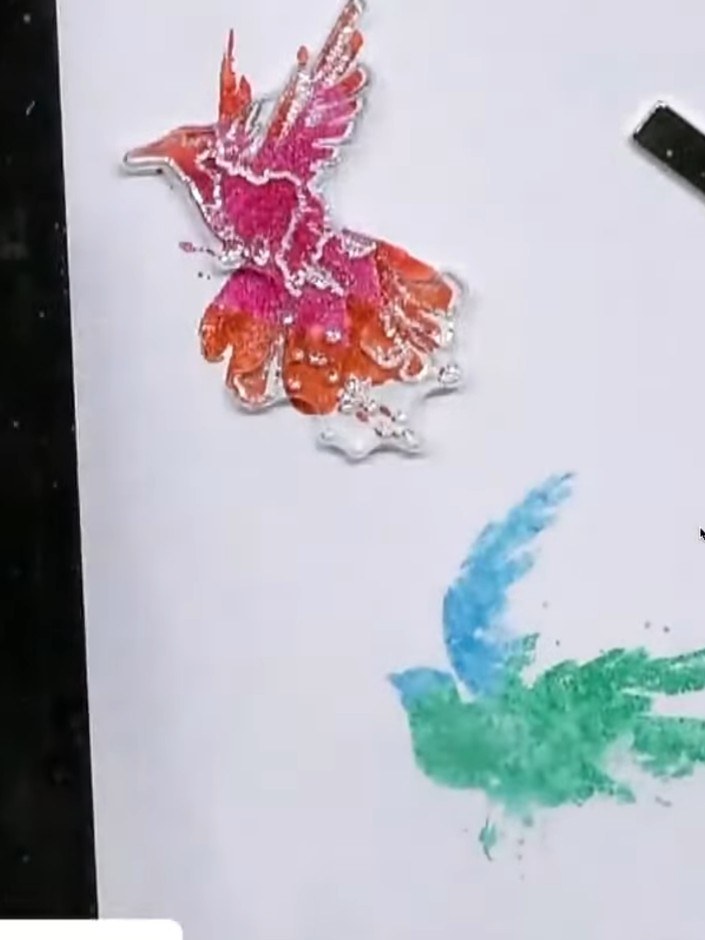
Create a stunning watercolour-effect card featuring vibrant hummingbirds in pink, orange, turquoise and green. Using a two-part lamination stamping technique, you'll build up beautiful layered images by first creating soft, watercolour backgrounds with coloured ink and water spray, then adding crisp black outline details on top for a professional finish.
DIESE ANLEITUNG HERUNTERLADEN (PDF)
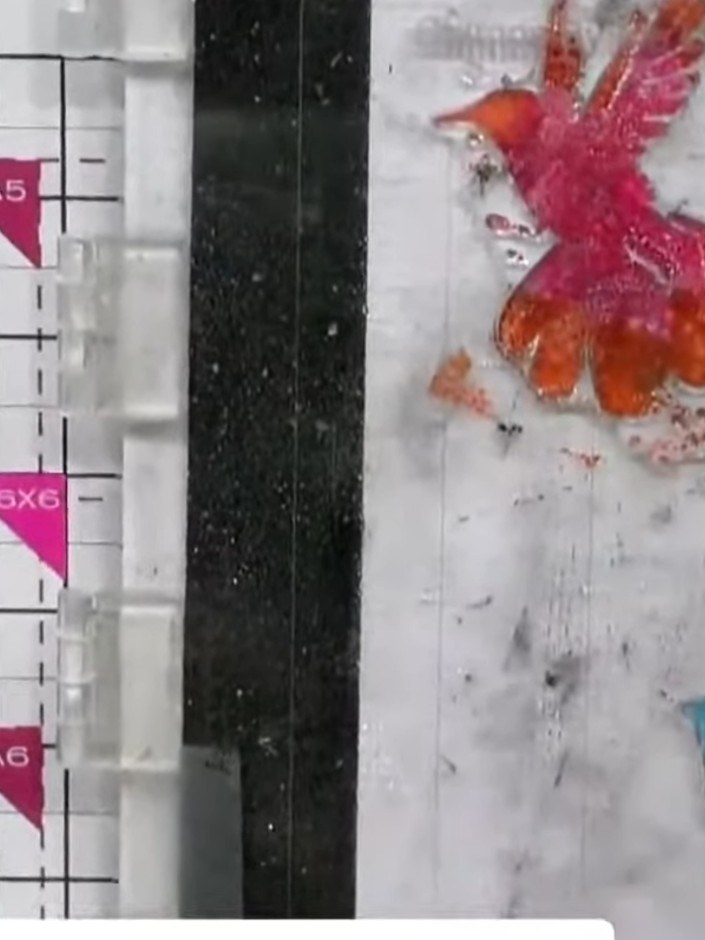
Examine your Stamps by Me A5 lamination stamp set from the Beautiful Moments collection. Identify the solid portions of the stamps - these are the areas that will hold the IZINK dye spray colours (teal and pink shown).
▶ diesen Schritt ansehen (50:45)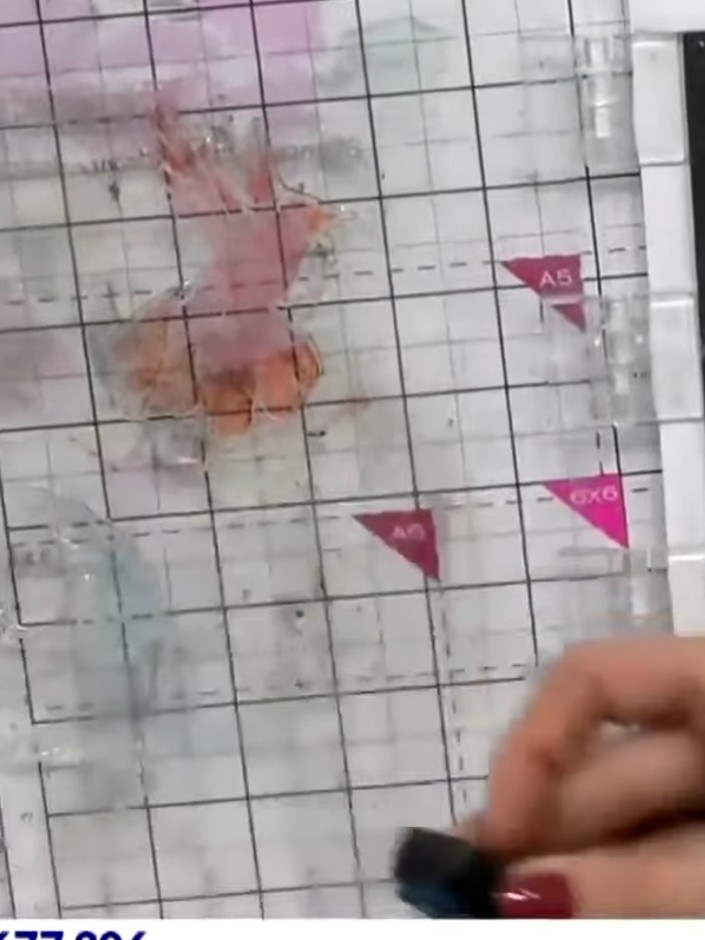
Stamp the coloured solid portion firmly onto your white cardstock and lift the stamp away cleanly to reveal the watercolour effect.
▶ diesen Schritt ansehen (51:45)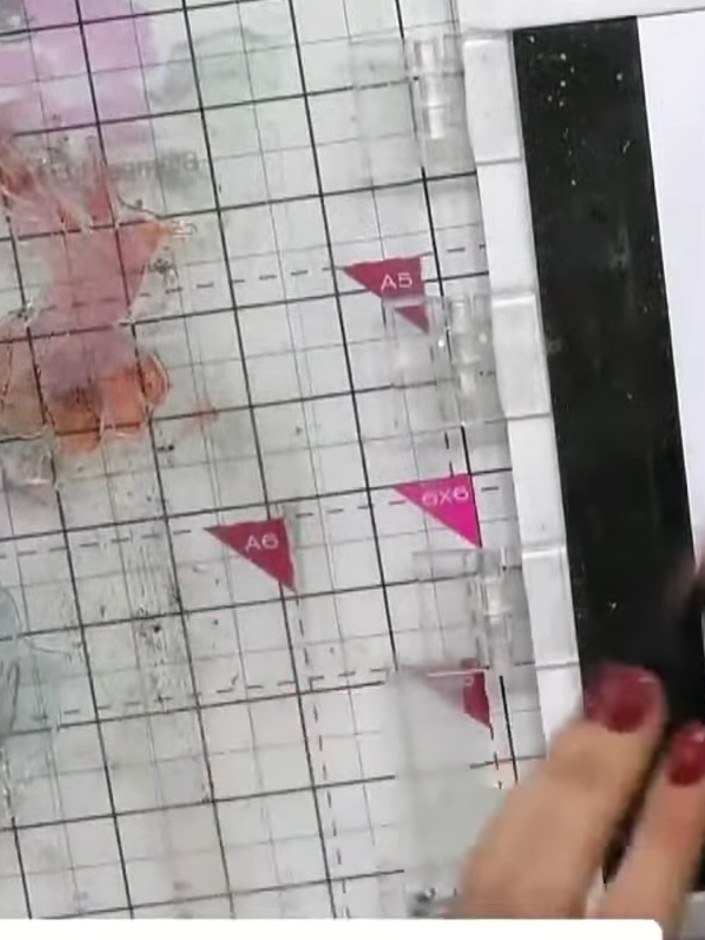
While the ink is still wet, observe the colours bleeding and blending together on the paper. The wet ink will create beautiful watercolour-effect patterns as the different colours merge.
▶ diesen Schritt ansehen (52:15)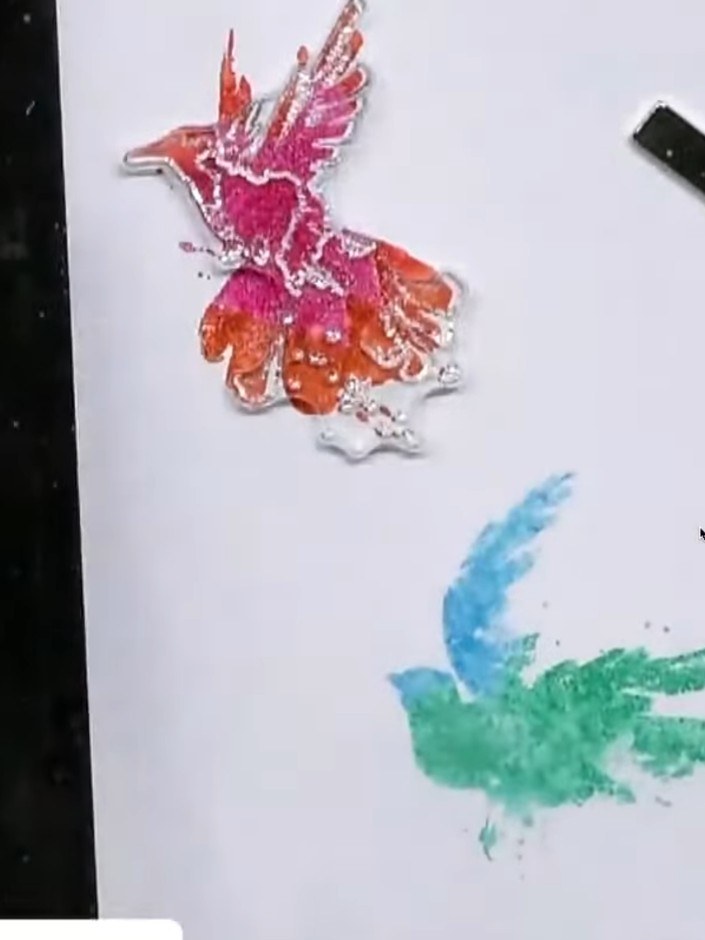
Clean the stamp thoroughly to remove all ink residue. Allow the first stamped layer on your card to dry completely before proceeding to the next step.
▶ diesen Schritt ansehen (52:30)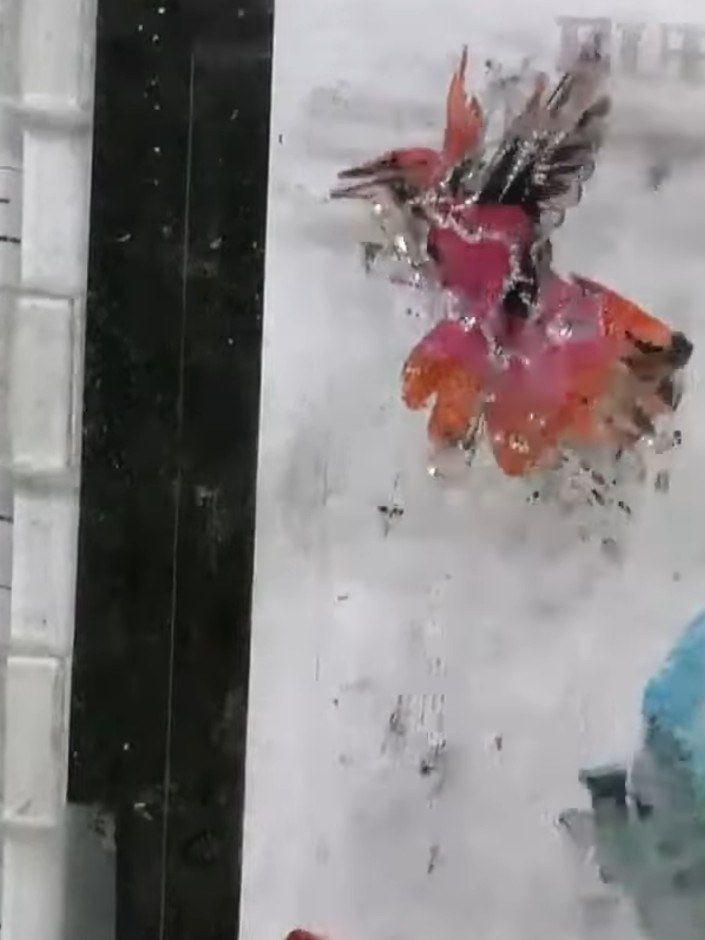
Carefully align and stamp the black outline bird stamp over the dried coloured background. Allow the stamp to sit naturally over the colours, accepting slight misalignment as part of the handmade effect.
▶ diesen Schritt ansehen (53:00)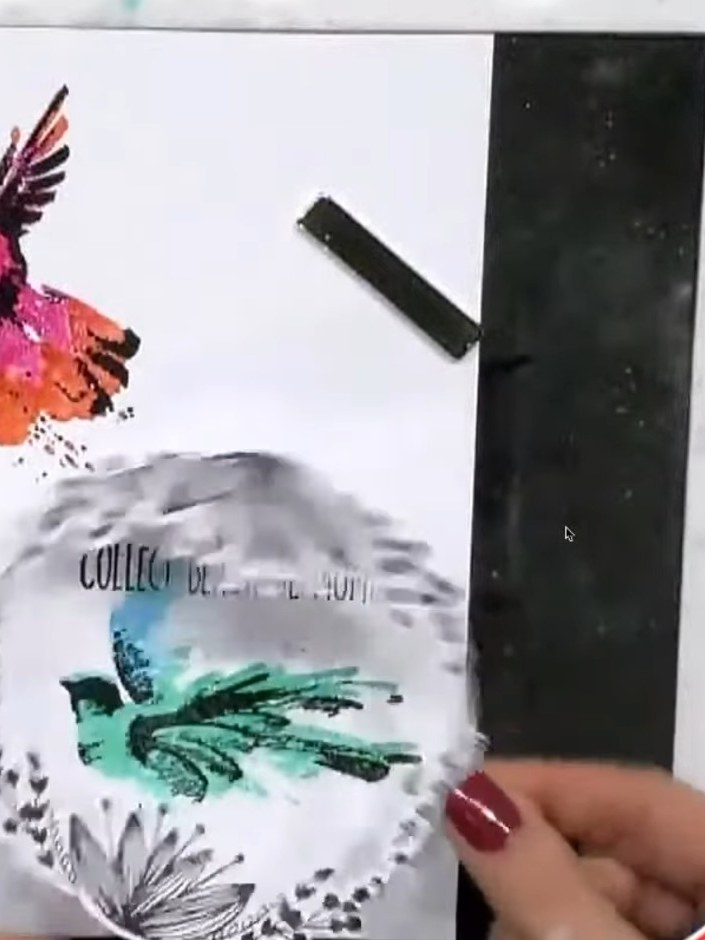
Stamp one of the coordinating sentiments in black ink onto the card to complete your design. Position the sentiment stamp where desired and press firmly to ensure a clear impression.
▶ diesen Schritt ansehen (53:30)Direkt aus der Show aufgeschrieben. Alle Anleitungen aus unseren Shows ansehen · kostenlose Anleitungen · live auf My Telly ansehen