Schenke deinen Freundinnen und Freunden 10 € Rabatt auf ihre erste Bestellung!
Freunde WERBEN








Ein Projekt aus unserer Live-Show ONE DAY SPECIAL - Join Toni for her brand new launch - Broadcast 13th February 2026 · 13/02/2026 · watch it from 51:30
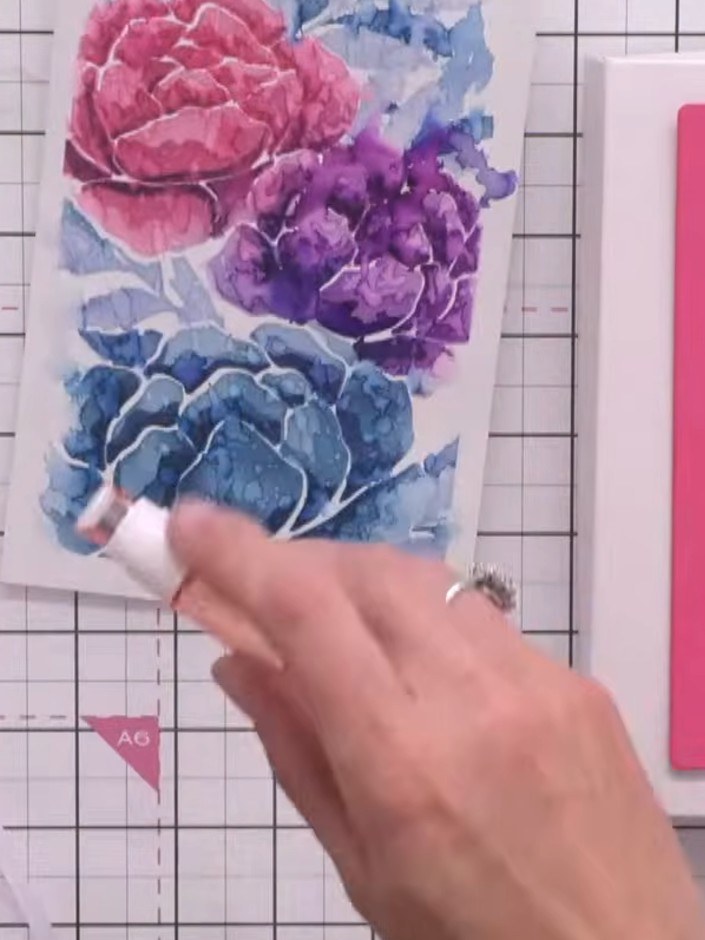
Gestalte eine elegante Geschenkschachtel mit passendem Deckel, verziert mit wunderschönen Pfingstrosen. Für dieses Projekt baust du aus Perlmutt-Cardstock eine Schachtel mit 3/4-inch Tiefe und krönst sie mit einem schablonierten Pfingstrosen-Design in zarten Rosa- und Koralltönen. Mit Falzen, Falten und Schablonieren erzielst du ein professionelles Ergebnis – perfekt, um besondere Geschenke liebevoll zu überreichen.
 STAMPS BY ME - SCHABLONEN- UND STANZSCHABLONEN-SET - PRETTY PEONY - 070824aSEE IT
 3D-ABSTANDSPADS 2MM DICK, DOPPELSEITIGE ABSTANDSPADS - 130226GSEE IT
DIESE ANLEITUNG HERUNTERLADEN (PDF)
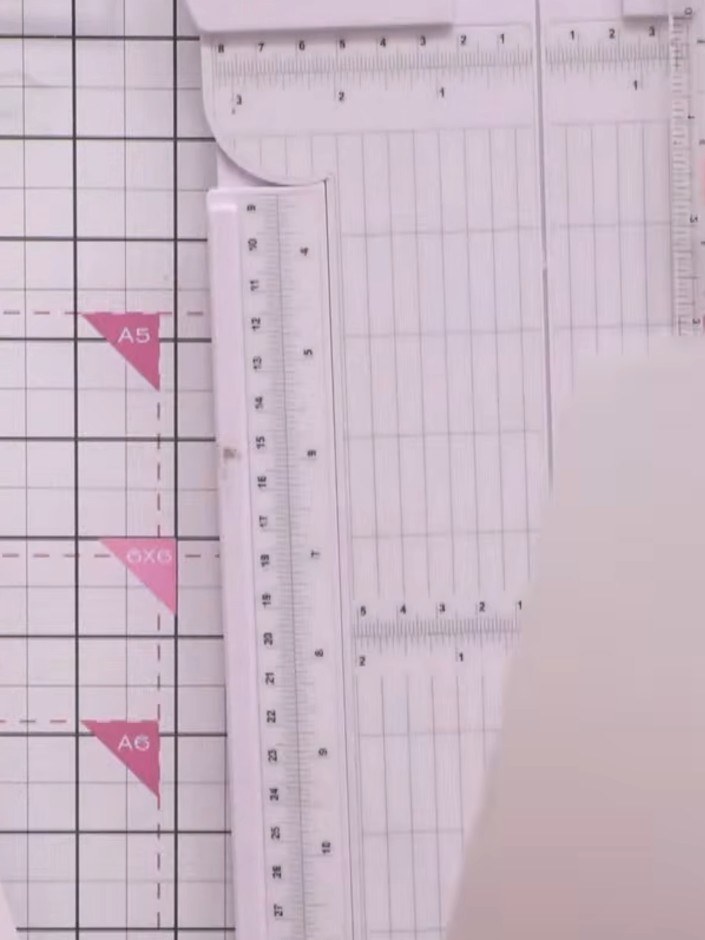
Schneide zwei Stücke Perlmutt-Cardstock auf 7 by 9 inches (ca. 18 x 23 cm) zu. Ein Stück wird zum Boden der Schachtel, das andere zum Deckel.
▶ watch this step (51:30)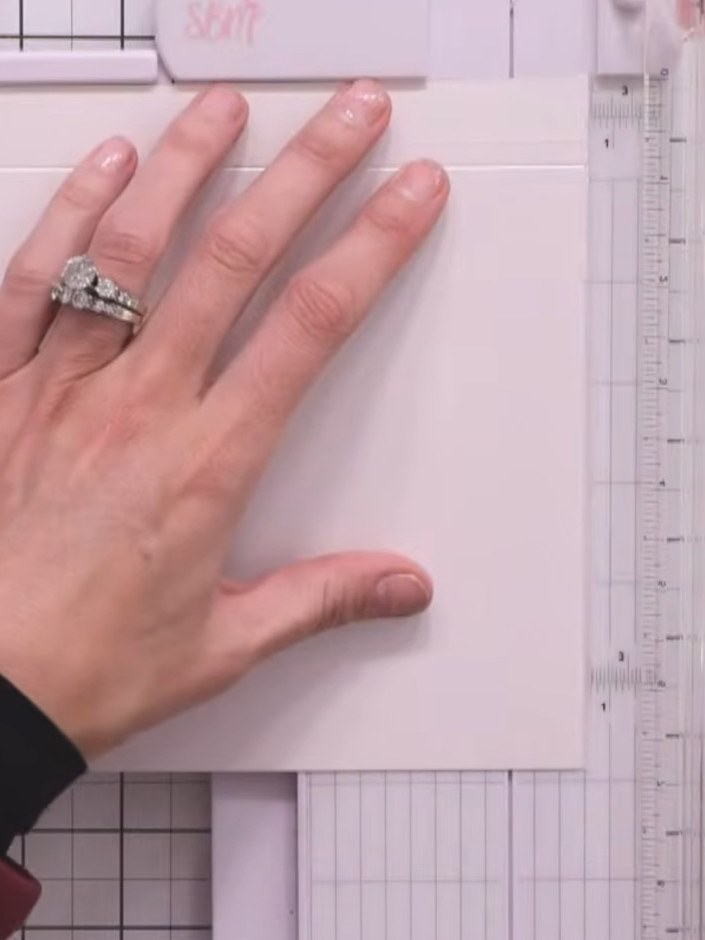
Schneide mit einer Hebelschneidemaschine bei einem der Stücke etwa 1mm an der Oberkante und an einer Seite ab. So entsteht ein etwas kleinerer Deckel, der innen im Boden sitzt.
▶ watch this step (53:15)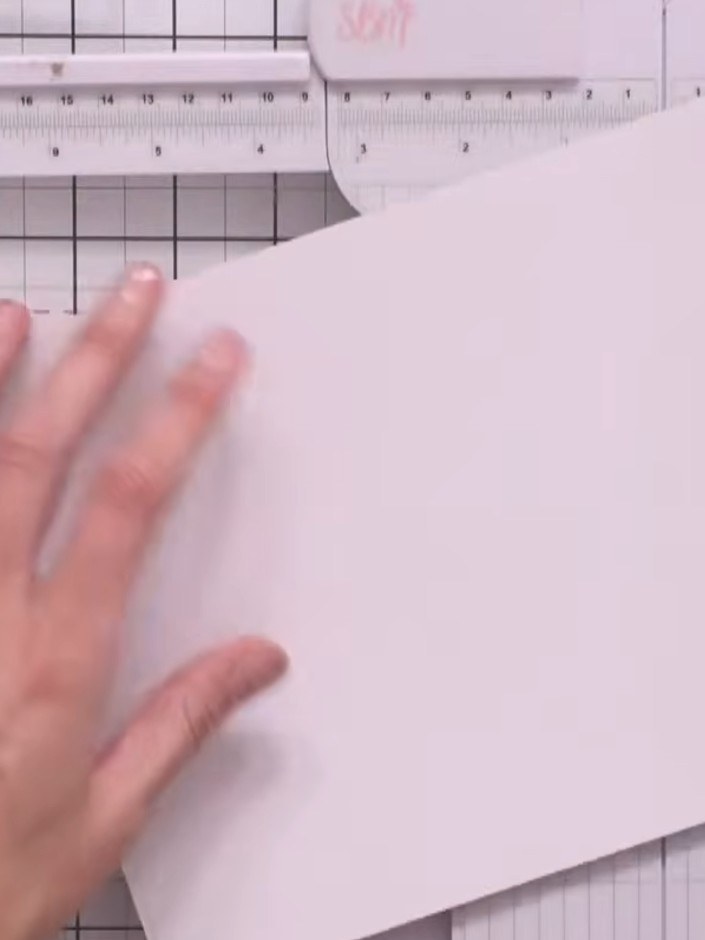
Leg beide Stücke weißen Cardstock in dein Falzbrett und falze rundherum an jedem Stück im Abstand von 3/4 inch.
▶ watch this step (53:45)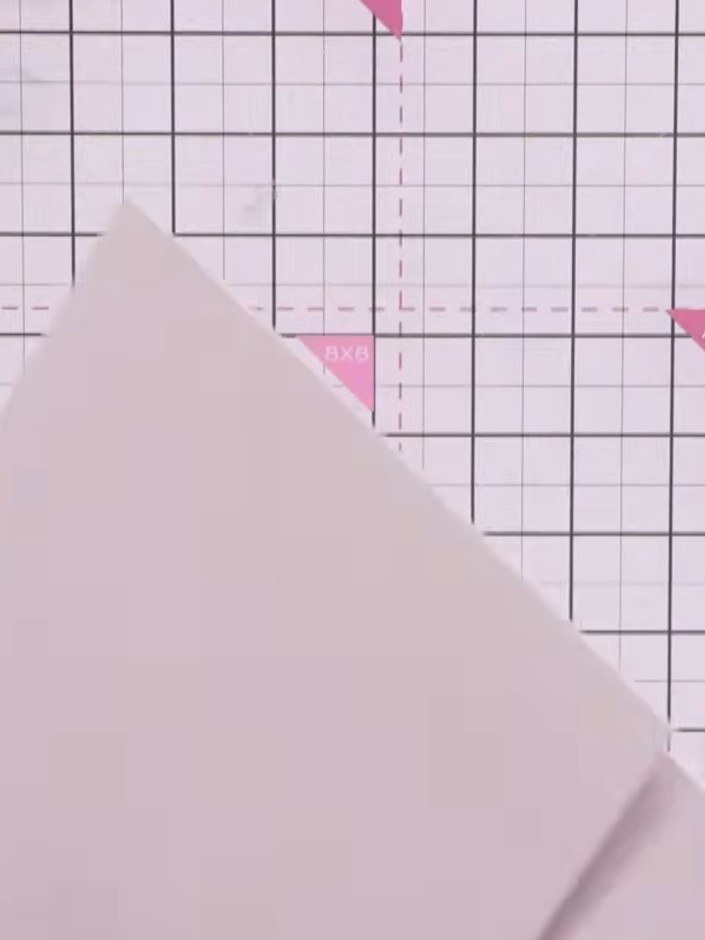
Schneide an jeder Ecke entlang der Falzlinien diagonal ein, sodass kleine Dreiecke entstehen – hör kurz vor der Falzlinie auf. So lassen sich die Seiten sauber hochklappen.
▶ watch this step (54:15)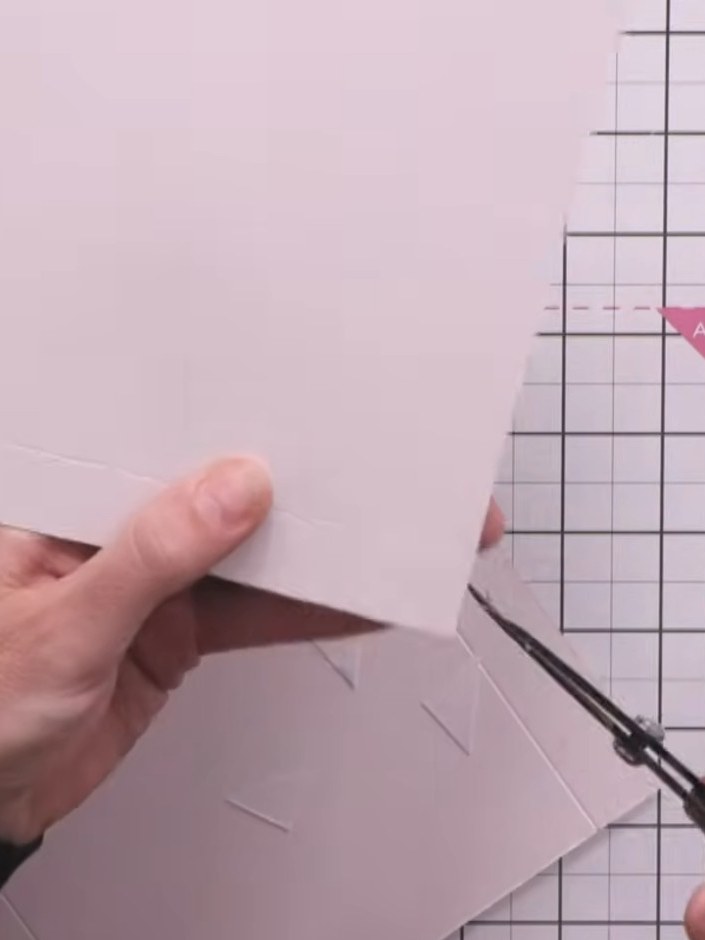
Klapp alle vier Seiten des Schachtelbodens entlang der Falzlinien hoch, um die Wände der Schachtel zu formen.
▶ watch this step (54:45)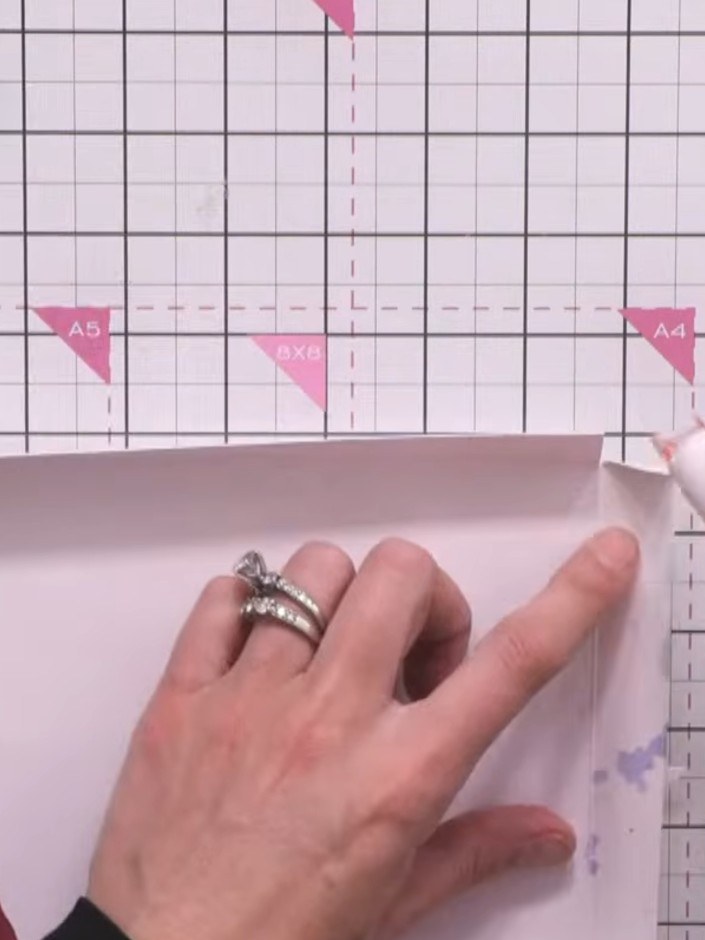
Schneide dein schabloniertes Kunstwerk so zu, dass es schön auf den Deckel passt und rundherum noch ein kleiner Rand des Perlmuttkartons sichtbar bleibt.
▶ watch this step (56:30)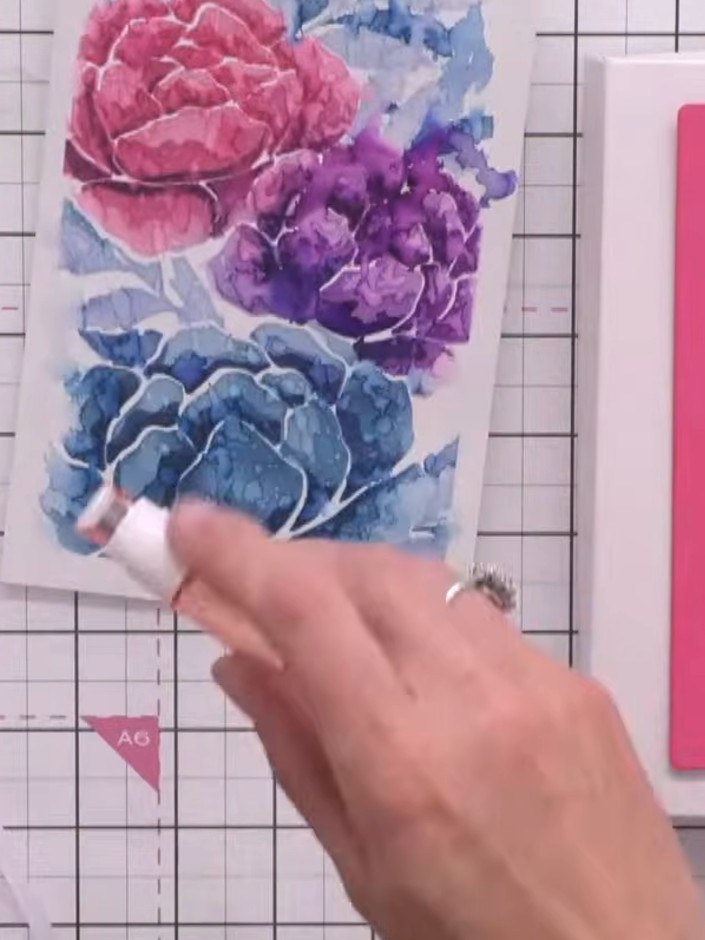
Kleb den weißen gestanzten Pfingstrosen-Rahmen mit 3D-Abstandspads oder einem Kleberstift auf das schablonierte Aquarell-Hintergrundpanel.
▶ watch this step (58:45)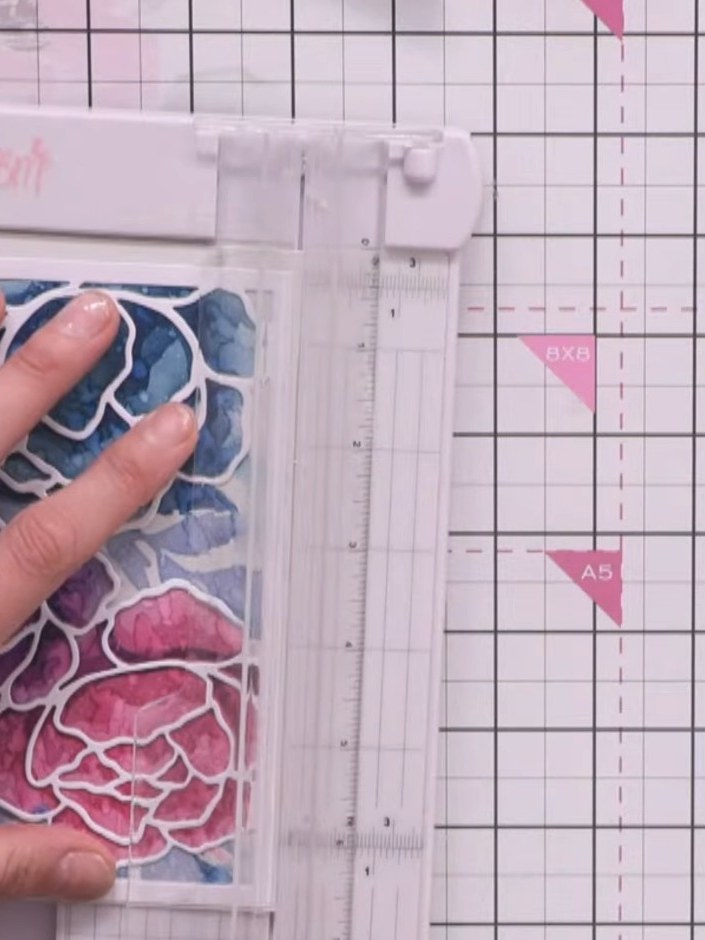
Bring 3D-Abstandspads auf der Rückseite deines geschichteten Pfingstrosen-Kunstwerks an. Platziere es mittig auf dem Deckel deiner rosa Schachtel und kleb es fest.
▶ watch this step (59:30)Direkt aus der Show aufgeschrieben. Alle Anleitungen aus unseren Shows ansehen · kostenlose Anleitungen · live auf My Telly ansehen