Schenke deinen Freundinnen und Freunden 10 € Rabatt auf ihre erste Bestellung!
Freunde WERBEN








Ein Projekt aus unserer Live-Show FUNKY TUESDAY - KOSTENLOSER WORKSHOP mit der fantastischen Sarah Gray - Sendung: 18. OKT. 22 · 18.10.2022 · ab 8:45 ansehen
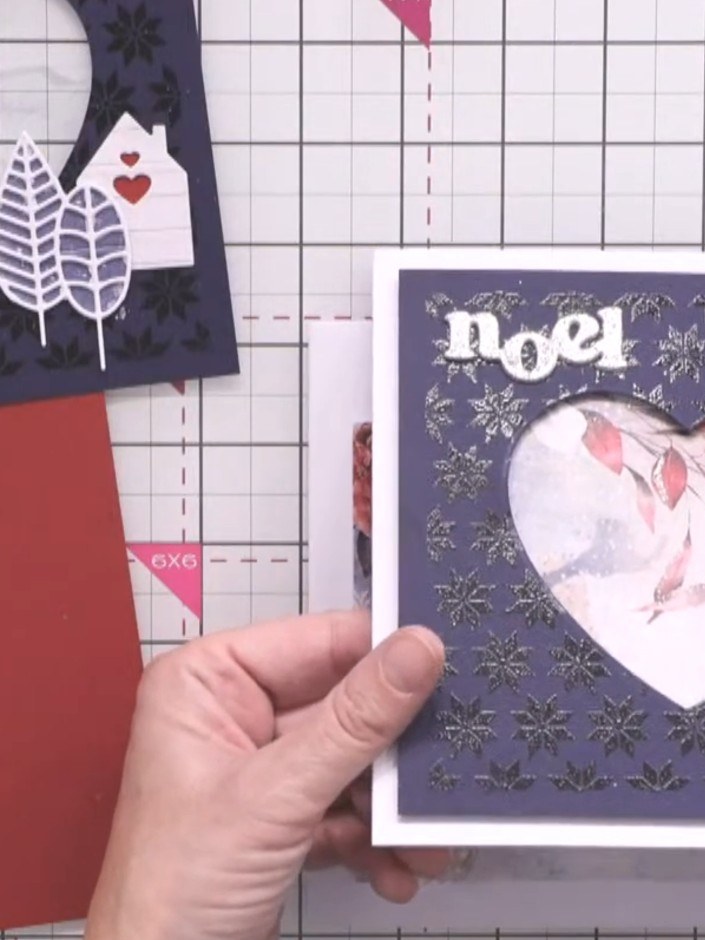
Create a striking Nordic-inspired card featuring a dark blue cardstock panel with a subtle clear heat-embossed star pattern. The design showcases a heart-shaped aperture revealing decorative patterned paper, layered with delicate die-cut trees and houses, and finished with a glittering heat-embossed festive sentiment. This elegant card combines sophisticated embossing techniques with dimensional die-cut elements for a beautiful winter-themed greeting.
DIESE ANLEITUNG HERUNTERLADEN (PDF)
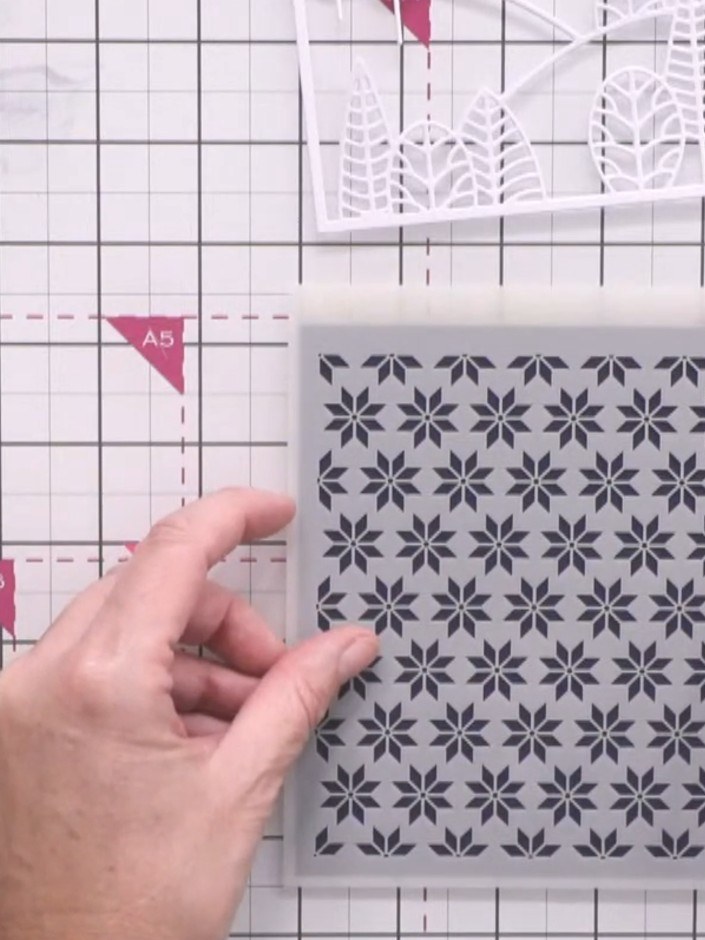
Position the Nordic star stencil onto a piece of dark blue cardstock. Secure the stencil in place with tape, ensuring it is centred with even spacing around the edges.
▶ diesen Schritt ansehen (10:15)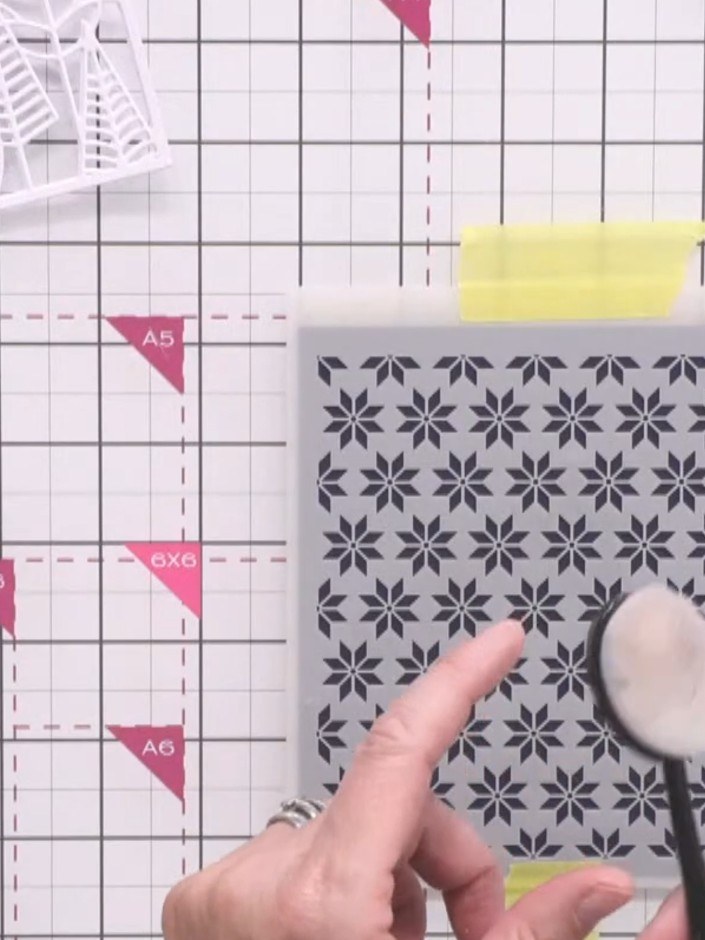
Apply Versamark embossing ink to the white cardstock using a blending tool, working carefully over the positioned stencil to capture the Nordic star pattern. The slightly sticky ink will help the embossing powder adhere in the next step.
▶ diesen Schritt ansehen (11:15)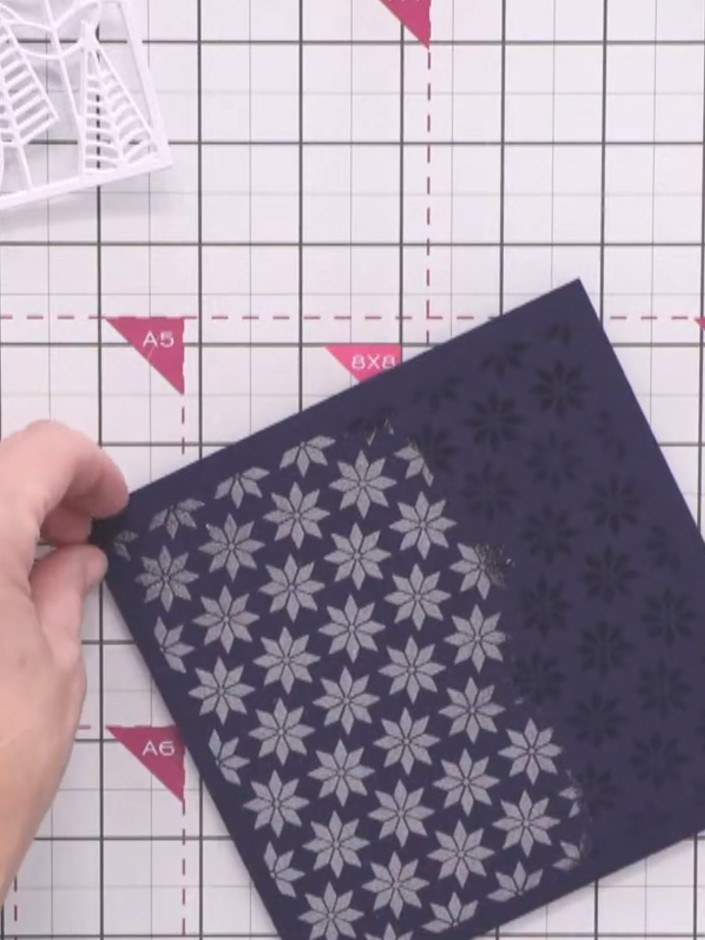
Remove the stencil carefully to reveal the inked floral pattern. Heat emboss the design using clear embossing powder and a heat gun to create a glossy watermark effect on the dark blue cardstock.
▶ diesen Schritt ansehen (13:30)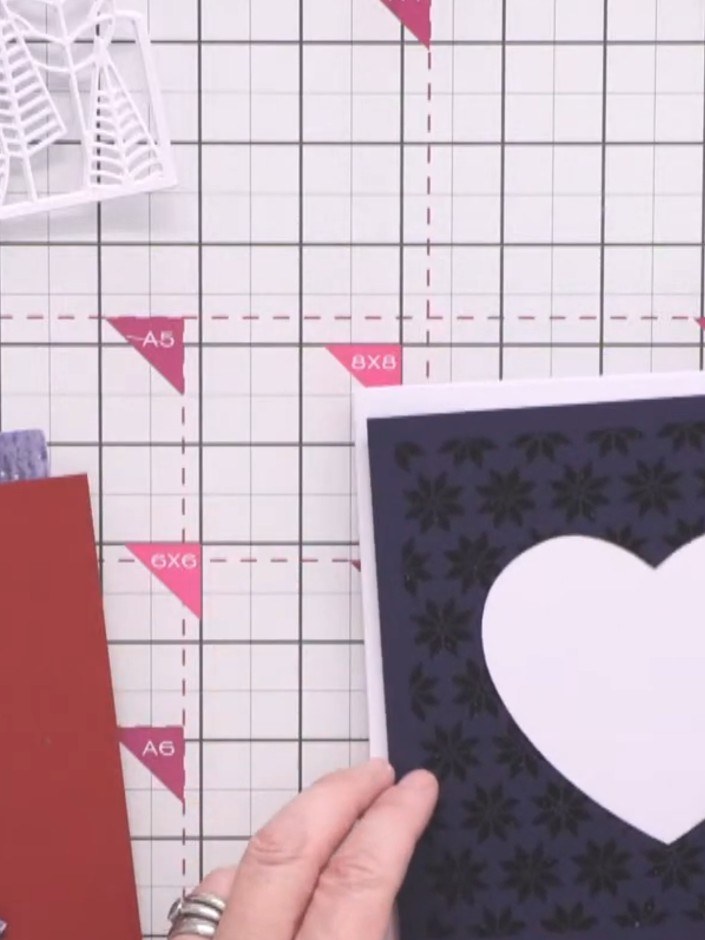
Die-cut a large heart aperture from the dark blue embossed panel using a heart die. The heart shape will be cut out, leaving a frame.
▶ diesen Schritt ansehen (17:15)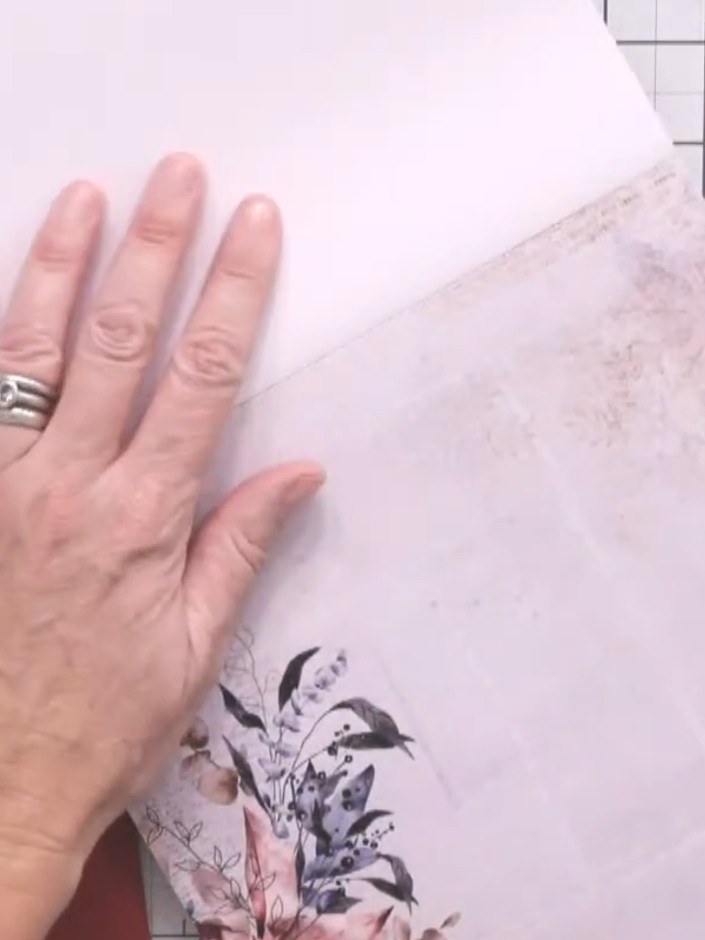
Select a patterned paper from the White Magic paper pad and position it behind the heart aperture on the navy card. Choose a design with a subtle plain background to frame a focal area of the pattern within the heart opening.
▶ diesen Schritt ansehen (17:45)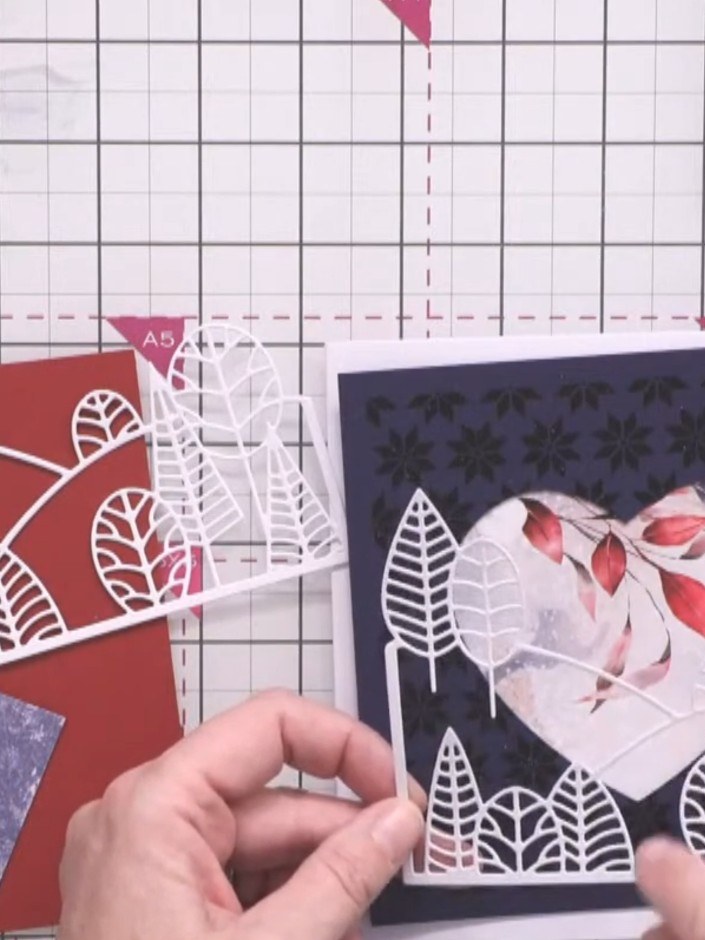
Die-cut tree elements from white cardstock using the Tree Line dies from the Country View die set. Layer the white die-cut trees over patterned paper sections from the card, positioning them to create a decorative border along the top of the aperture.
▶ diesen Schritt ansehen (20:15)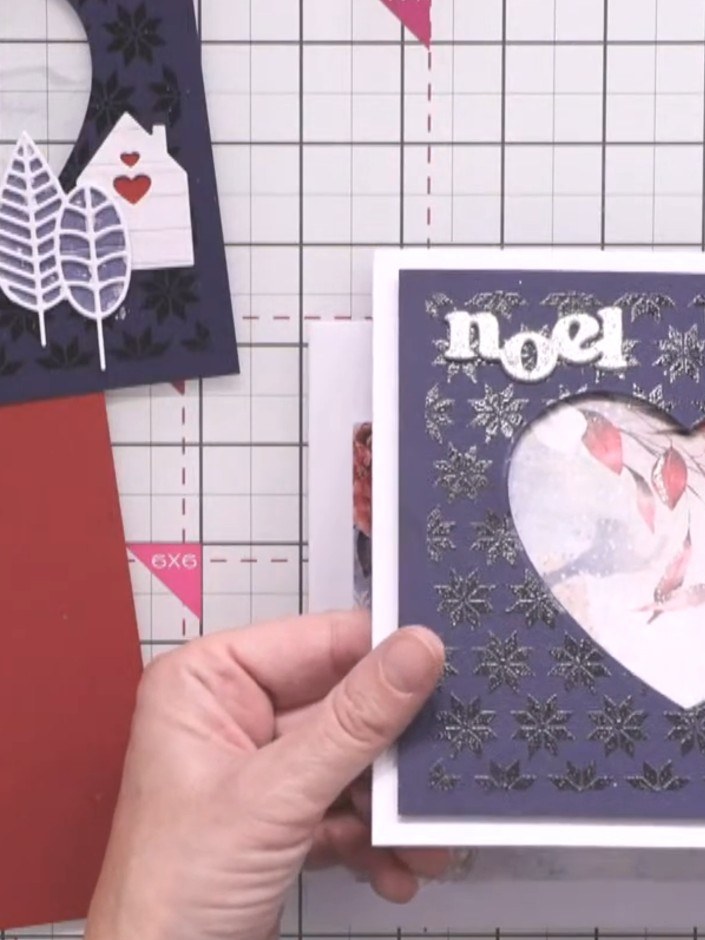
Apply embossing ink to selected areas of the patterned paper using a Versamark pen. Heat emboss with glitter powder for added shimmer. The finished piece shows 'noel' text and decorative snowflakes embossed on the navy background.
▶ diesen Schritt ansehen (26:00)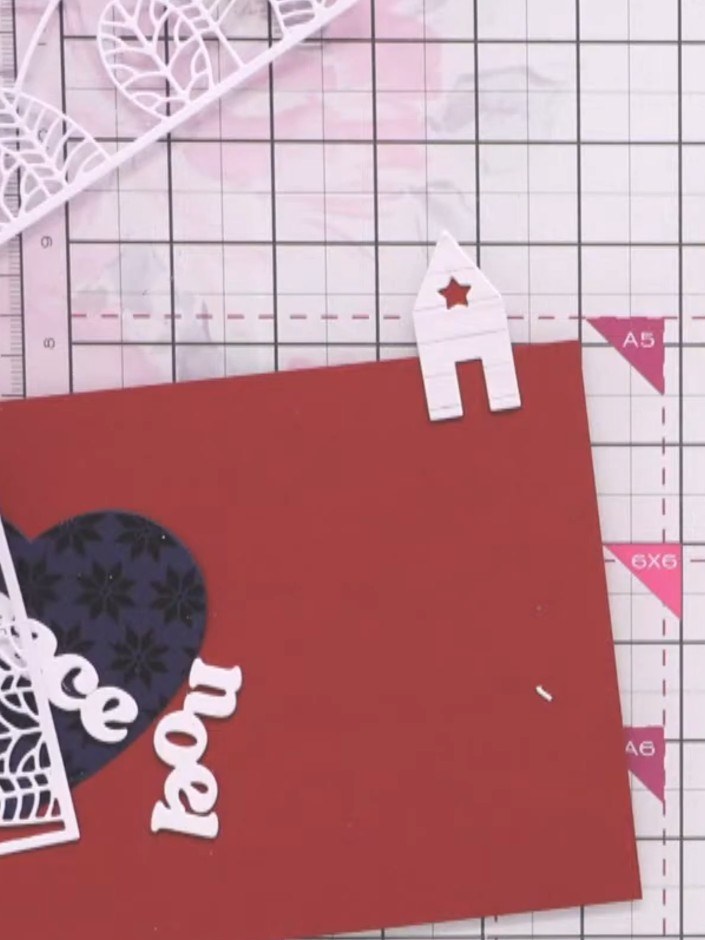
Die-cut a festive word from white cardstock and layer it multiple times to create substance. Apply embossing ink to the layered word and heat emboss with glitter powder for a sparkling finish.
▶ diesen Schritt ansehen (30:00)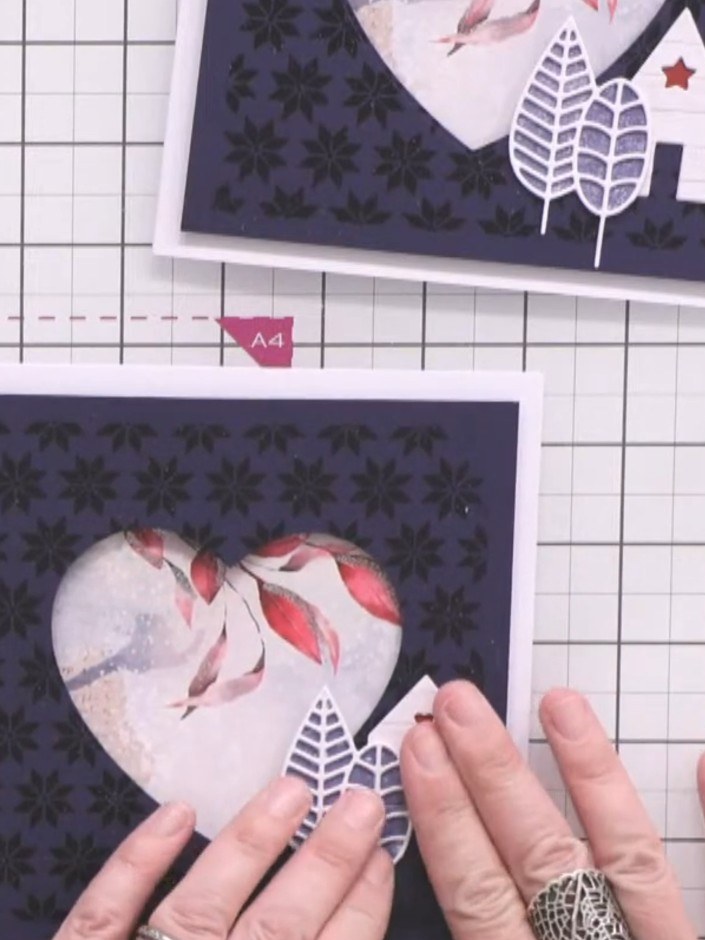
Assemble all elements onto the navy patterned card base. Position the white decorative leaf die-cuts in the bottom corner of the heart aperture. Use foam dots to add dimension when attaching the elements.
▶ diesen Schritt ansehen (31:00)Direkt aus der Show aufgeschrieben. Alle Anleitungen aus unseren Shows ansehen · kostenlose Anleitungen · live auf My Telly ansehen