Schenke deinen Freundinnen und Freunden 10 € Rabatt auf ihre erste Bestellung!
Freunde WERBEN








Ein Projekt aus unserer Live-Show FUNKY TUESDAY - KOSTENLOSER WORKSHOP mit der fantastischen Sarah Gray - Sendung: 18. OKT. 22 · 18.10.2022 · ab 36:45 ansehen
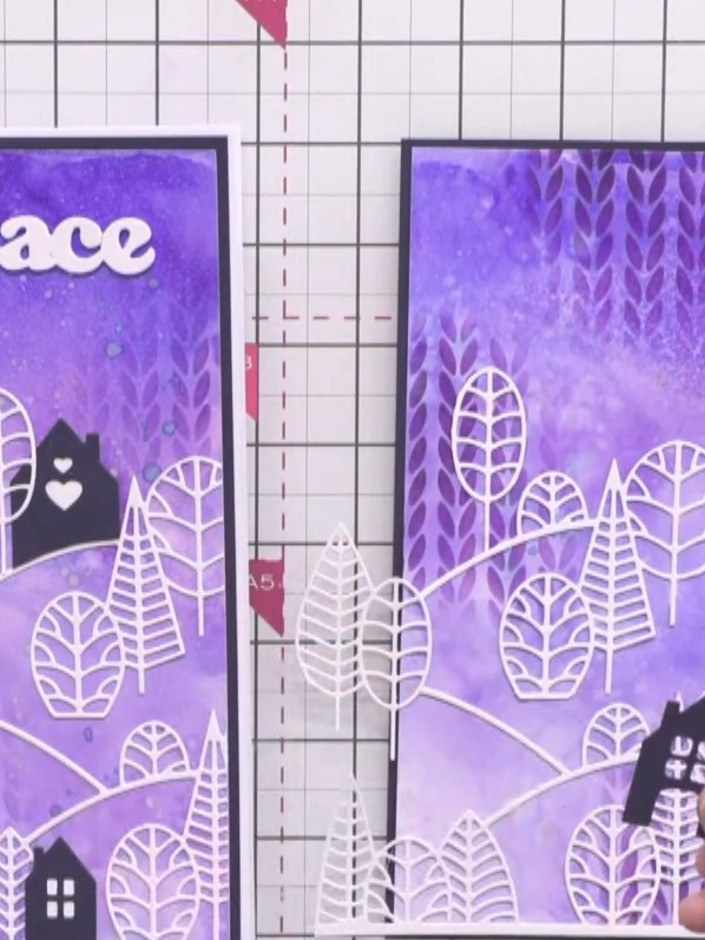
Create a stunning tall slimline card featuring a dramatic inky background in rich indigo and surfboard blue tones. The design is built up with layers including a Nordic knitted pattern stencil and a charming country view scene die-cut from three separate pieces to add beautiful depth and dimension. This project combines wet cardstock inking techniques with careful layering to produce an eye-catching handmade card.
DIESE ANLEITUNG HERUNTERLADEN (PDF)
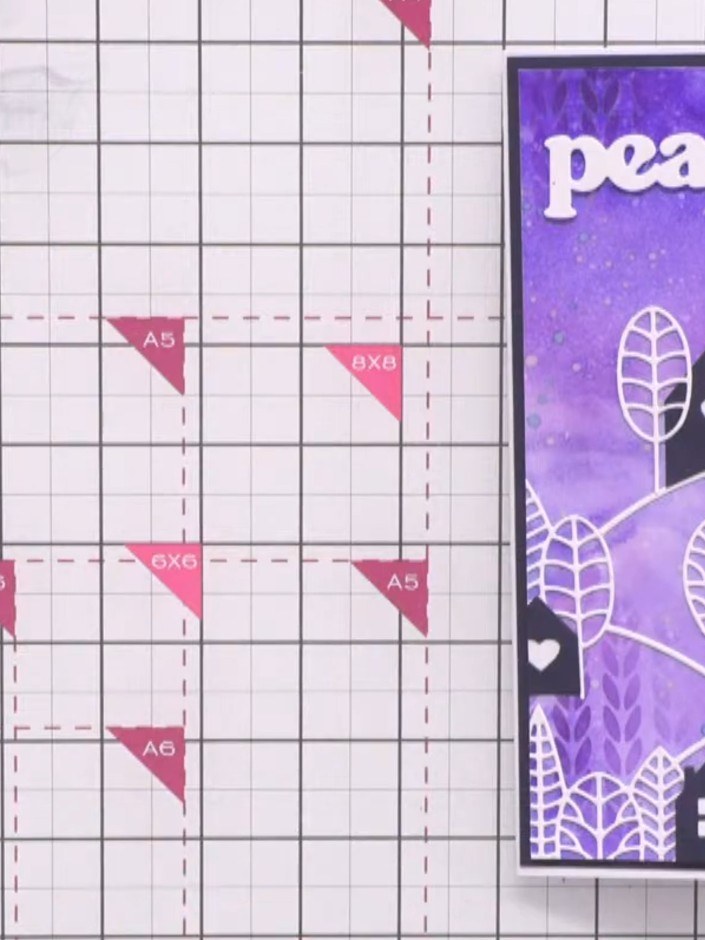
Cut a piece of white cardstock to slimline card size to create your background panel.
▶ diesen Schritt ansehen (37:00)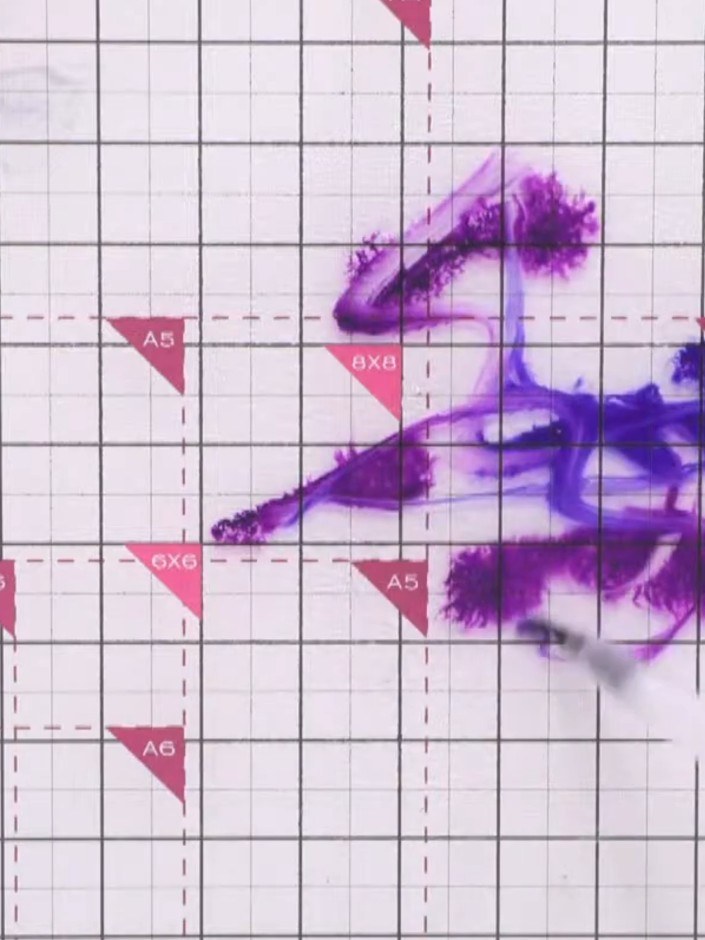
Spritz the white cardstock lightly with water using a spray bottle to prepare the surface for ink application.
▶ diesen Schritt ansehen (38:15)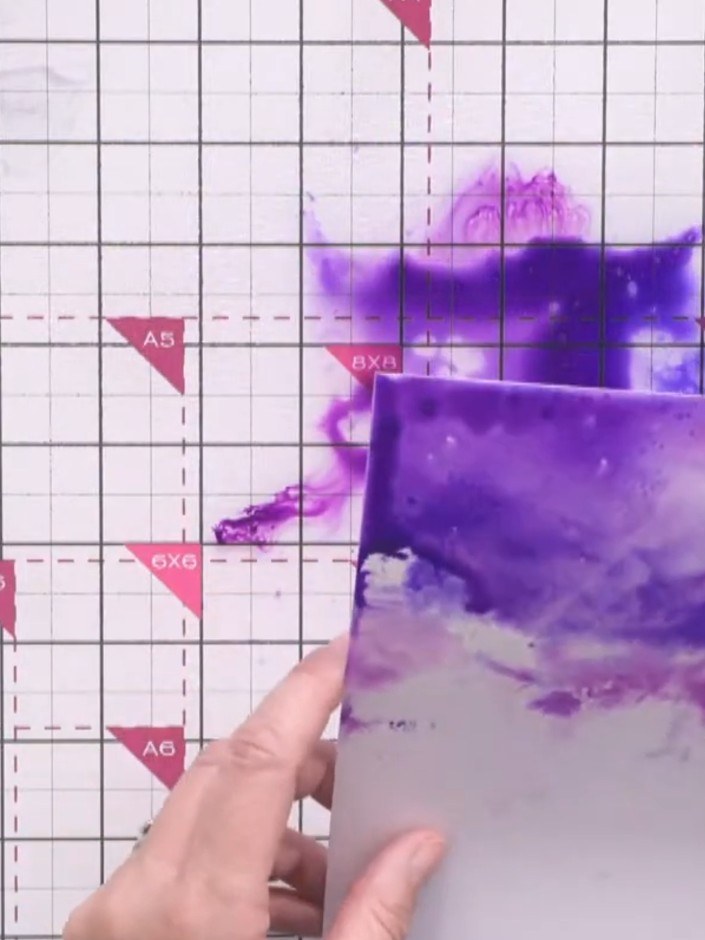
Dip the wet cardstock into the indigo ink pad, allowing the purple colour to spread and blend across the surface.
▶ diesen Schritt ansehen (38:30)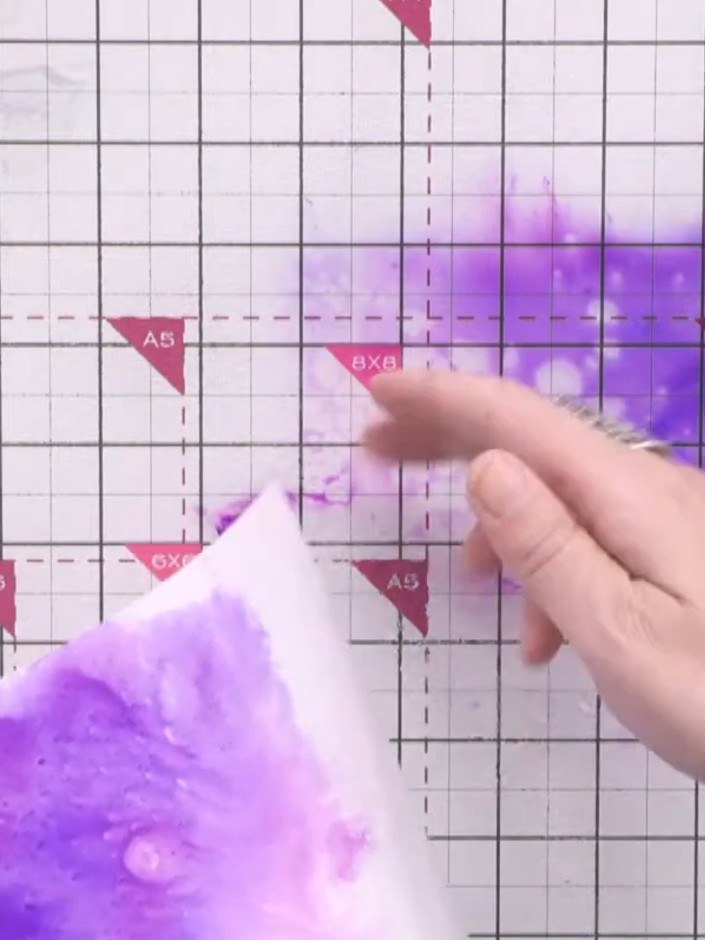
Dip the same piece of white cardstock into the surfboard ink pad to add a secondary colour layer that blends with the indigo, creating a purple ombré effect.
▶ diesen Schritt ansehen (39:00)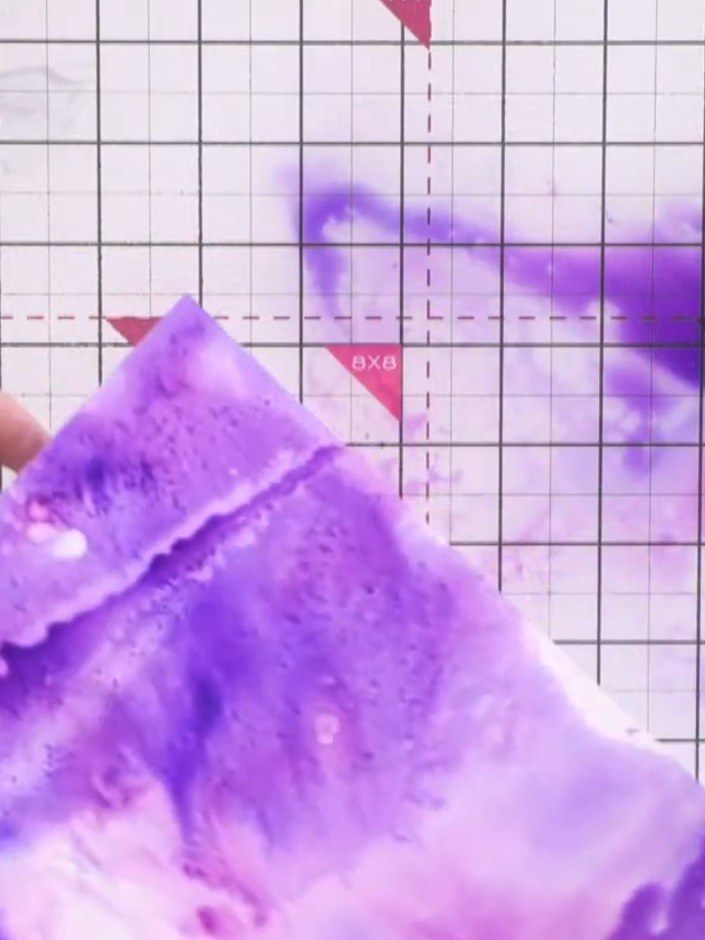
Spritz confetti shimmer ink onto the wet purple background to add sparkle and further colour variation. The shimmer will create a shimmering effect across the watercolour background.
▶ diesen Schritt ansehen (39:30)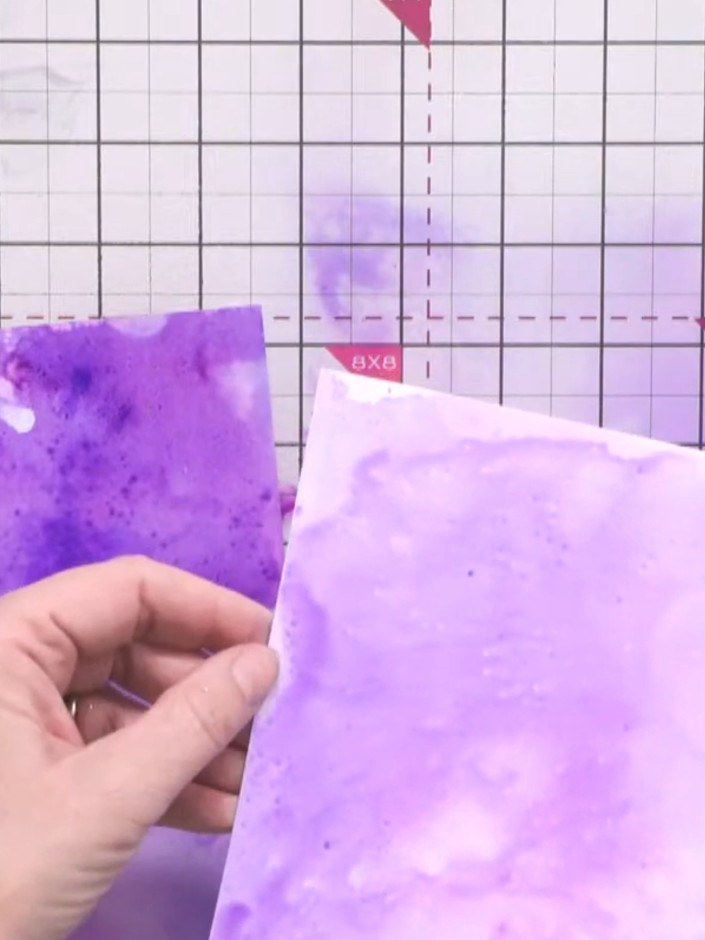
Allow the purple inked background to dry completely. You can use a heat gun to speed up the drying process if you want surface dryness before adding more layers.
▶ diesen Schritt ansehen (40:00)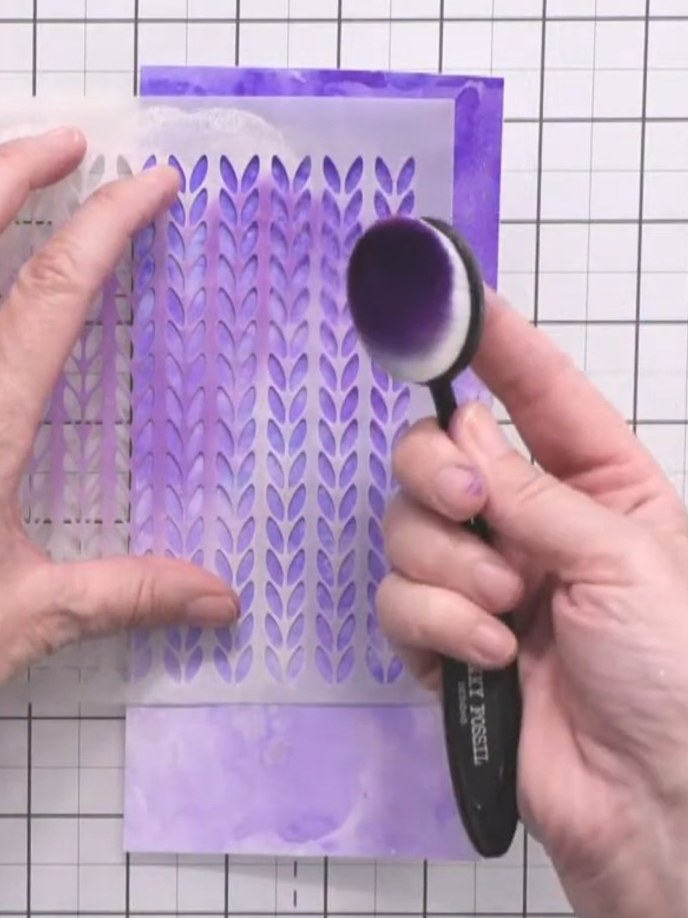
Mount the inky background panel with the knitted pattern stencil design onto a dark purple card mat using a blending tool to smooth it down.
▶ diesen Schritt ansehen (43:45)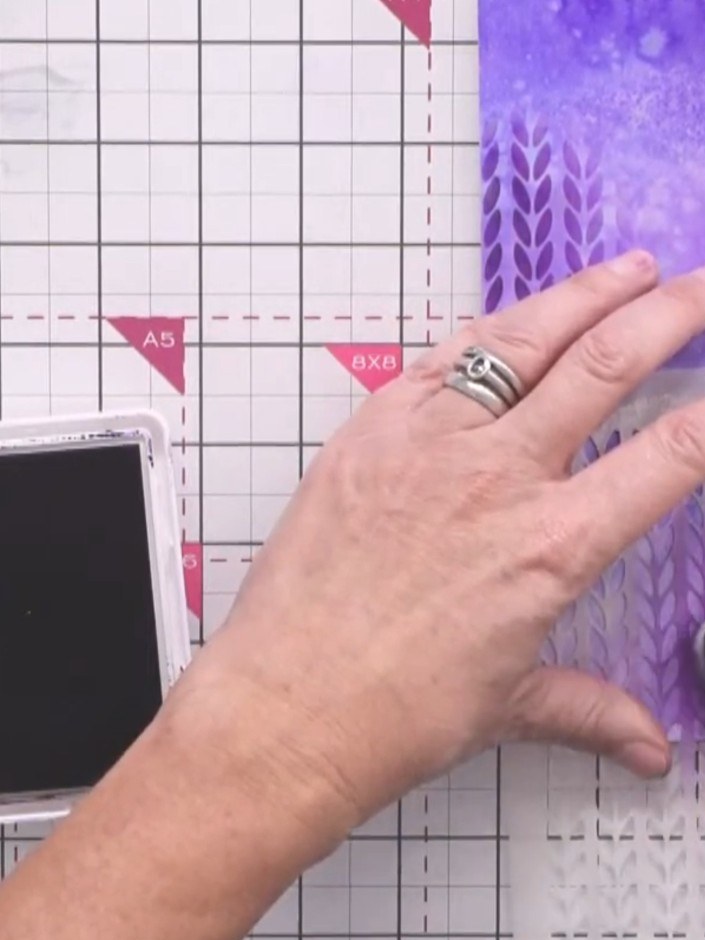
Position the Nordic knitted pattern stencil over the purple inky background. Using a brush, apply indigo ink through the stencil in three locations across the card for visual balance.
▶ diesen Schritt ansehen (44:00)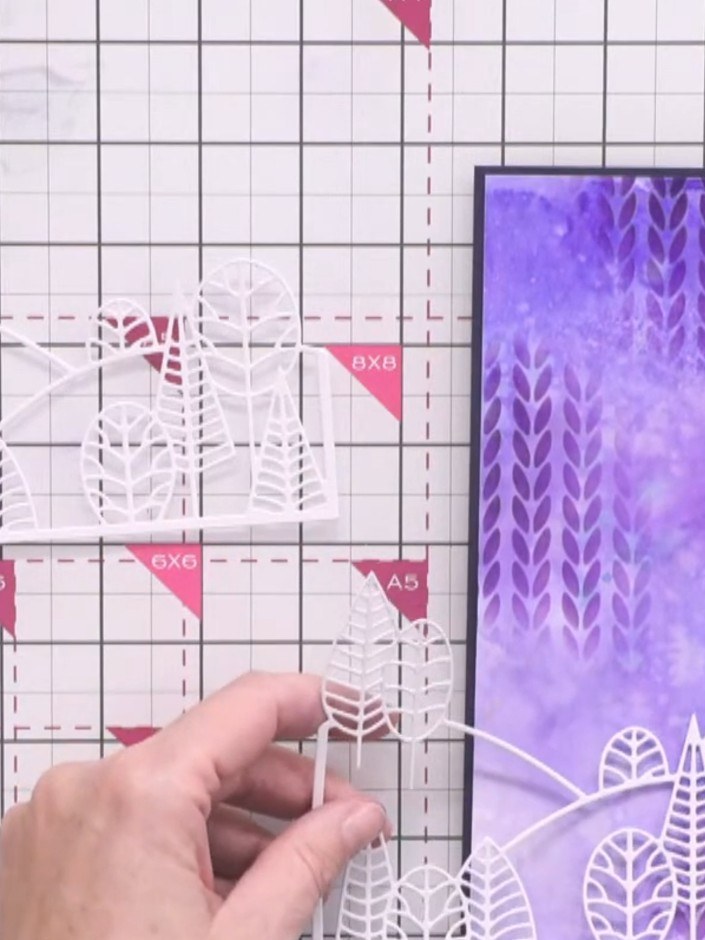
Die-cut the country view die from white cardstock three times to create layered hills for your scene.
▶ diesen Schritt ansehen (46:15)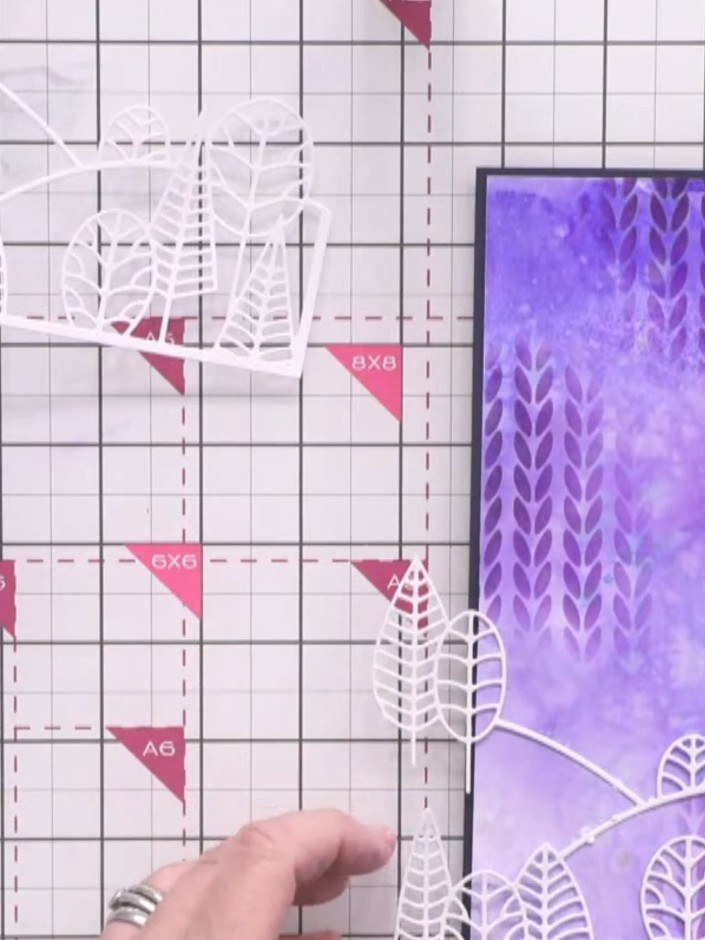
Carefully trim away the upper portion of the white die-cut leaf scene, keeping only the bottom hill section with the lower leaves intact.
▶ diesen Schritt ansehen (48:00)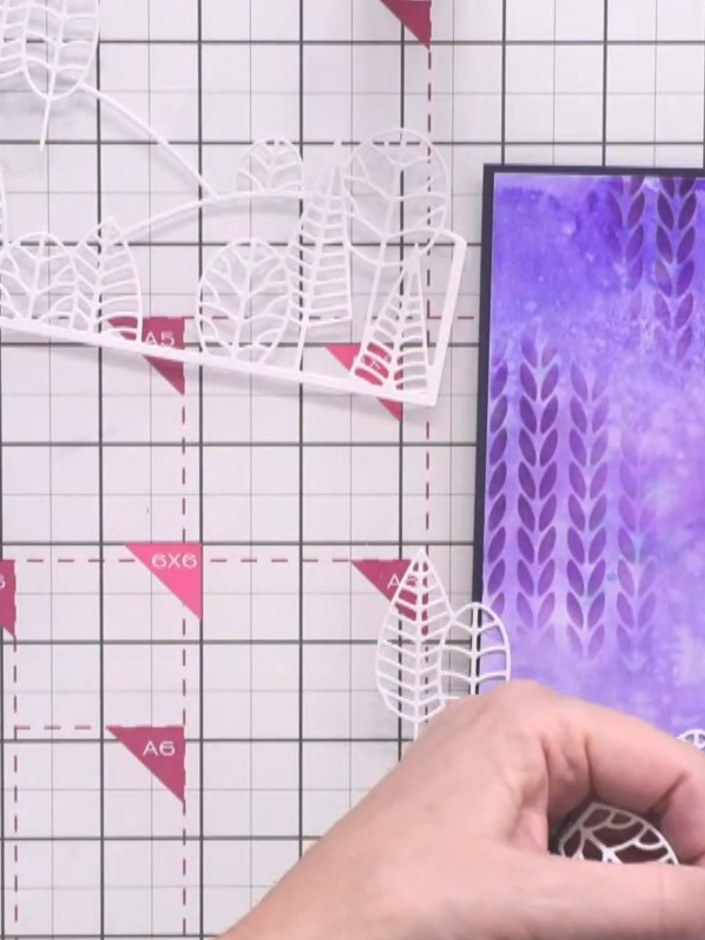
Cut away sections from the second white die-cut to create a middle hill layer. Trim the bottom portion and keep the upward slope to connect with the first layer.
▶ diesen Schritt ansehen (49:30)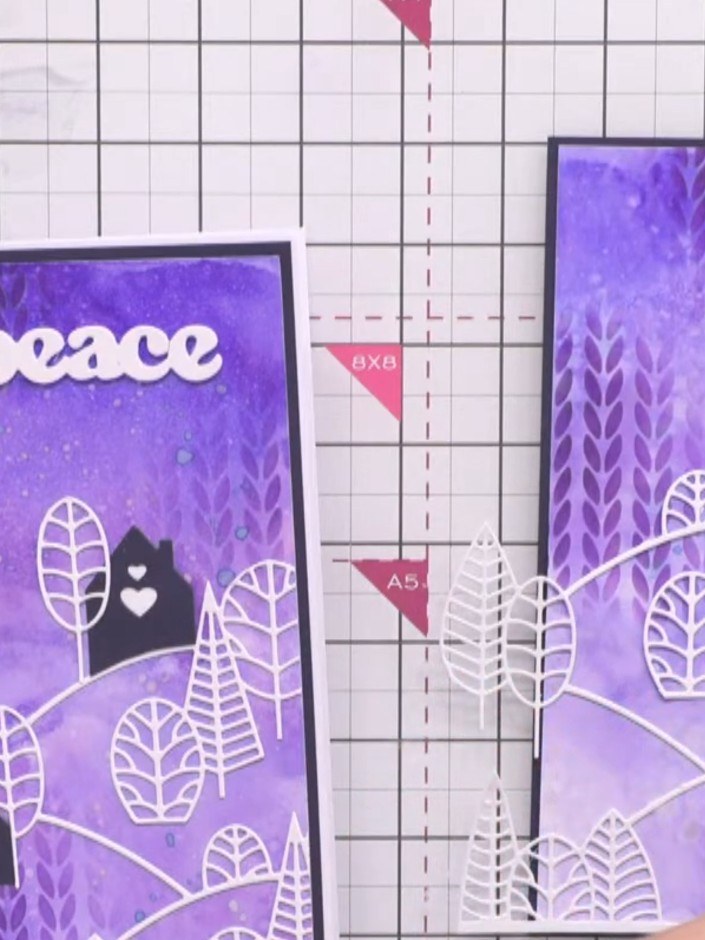
Trim the third die-cut piece to show only the top trees, cutting away the lower portion. This creates a layered scene that builds upwards across the card.
▶ diesen Schritt ansehen (51:30)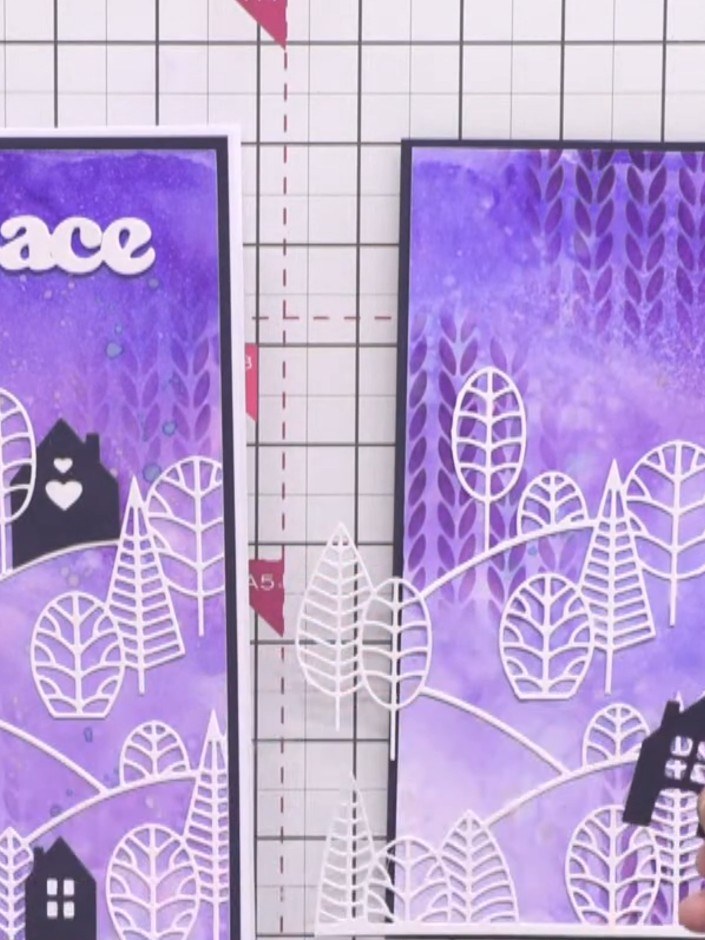
Glue each layer of the country view scene onto the inky background card, stacking the die-cut houses and trees to create depth. Position the black house die-cuts among the white outline trees to build up the layered scene.
▶ diesen Schritt ansehen (52:45)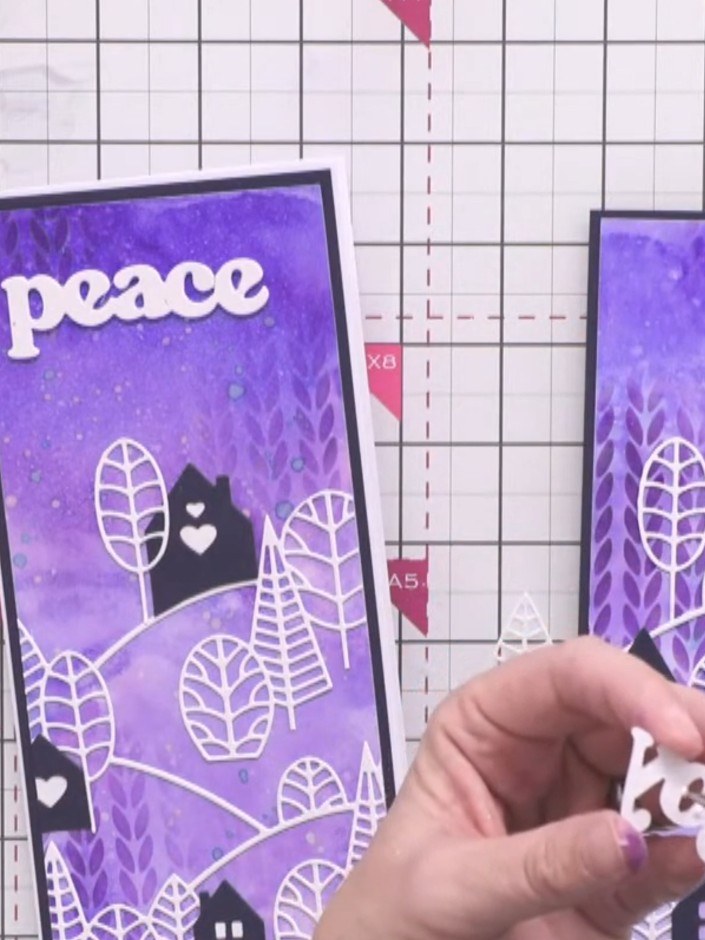
Die-cut a festive word such as 'Joy' from white cardstock using the Festive Word Dies. Position and adhere the word at the top of the right-hand card panel.
▶ diesen Schritt ansehen (55:00)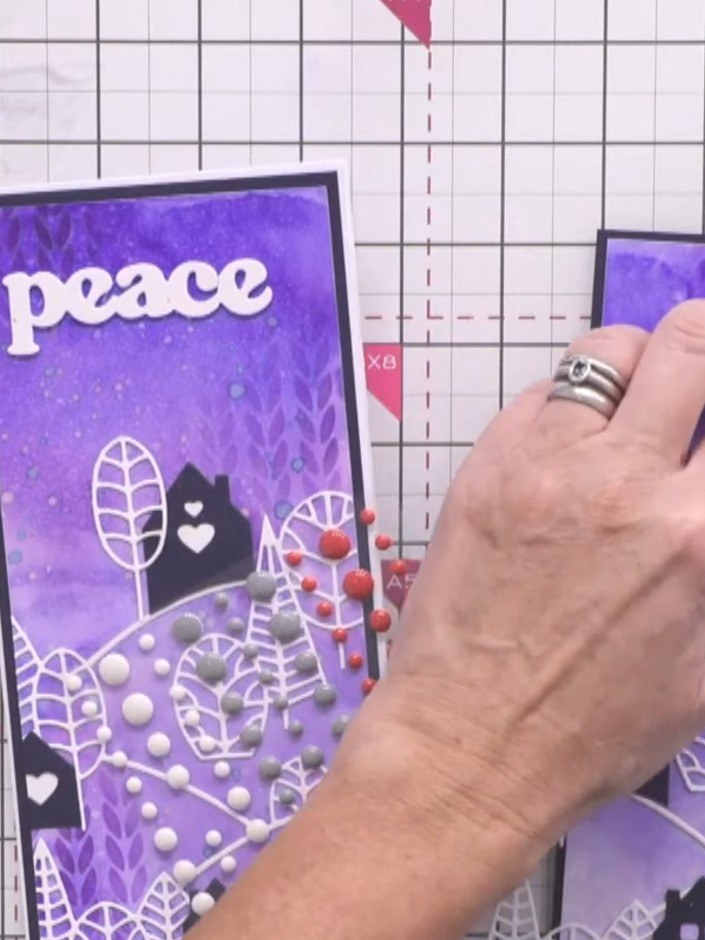
Add an enamel dot on top of the festive word die-cut to complete the card. Position the dot centrally for a polished finishing touch.
▶ diesen Schritt ansehen (55:45)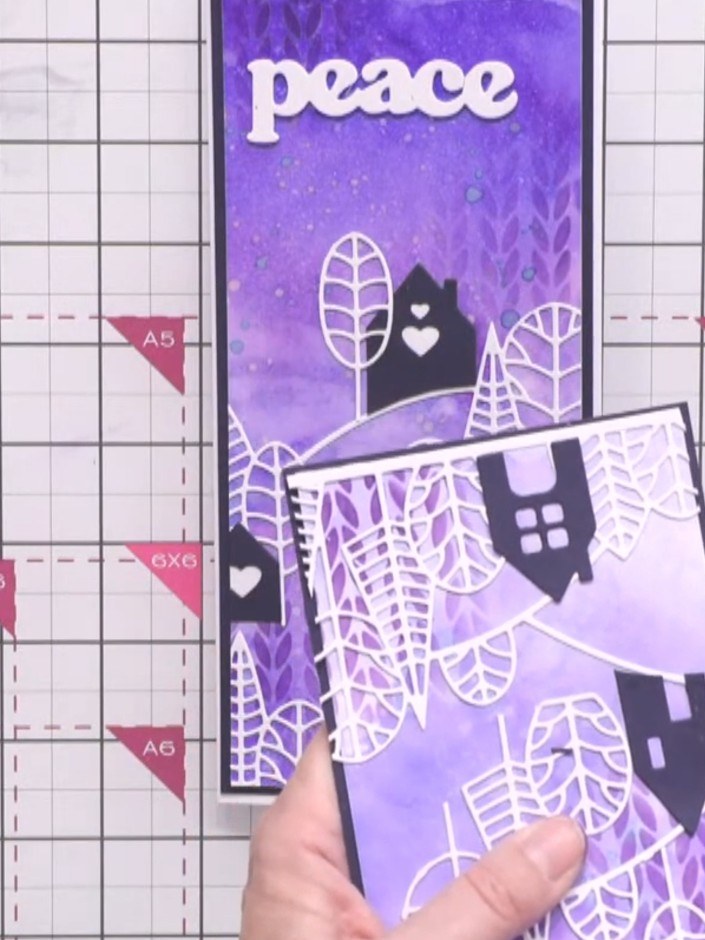
Trim away any die-cut elements that overhang the edges of your slimline card using scissors to create a clean, professional finish.
▶ diesen Schritt ansehen (57:00)Direkt aus der Show aufgeschrieben. Alle Anleitungen aus unseren Shows ansehen · kostenlose Anleitungen · live auf My Telly ansehen