Schenke deinen Freundinnen und Freunden 10 € Rabatt auf ihre erste Bestellung!
Freunde WERBEN








Ein Projekt aus unserer Live-Show CREATE AND CRAFT - NEU UND EXKLUSIV - Sei dabei, wenn Toni ihre neuesten Produkte und jede Menge Inspiration zeigt, Show 2 - Ausgestrahlt am 12. Okt. 22 · 12.10.2022 · ab 28:45 ansehen
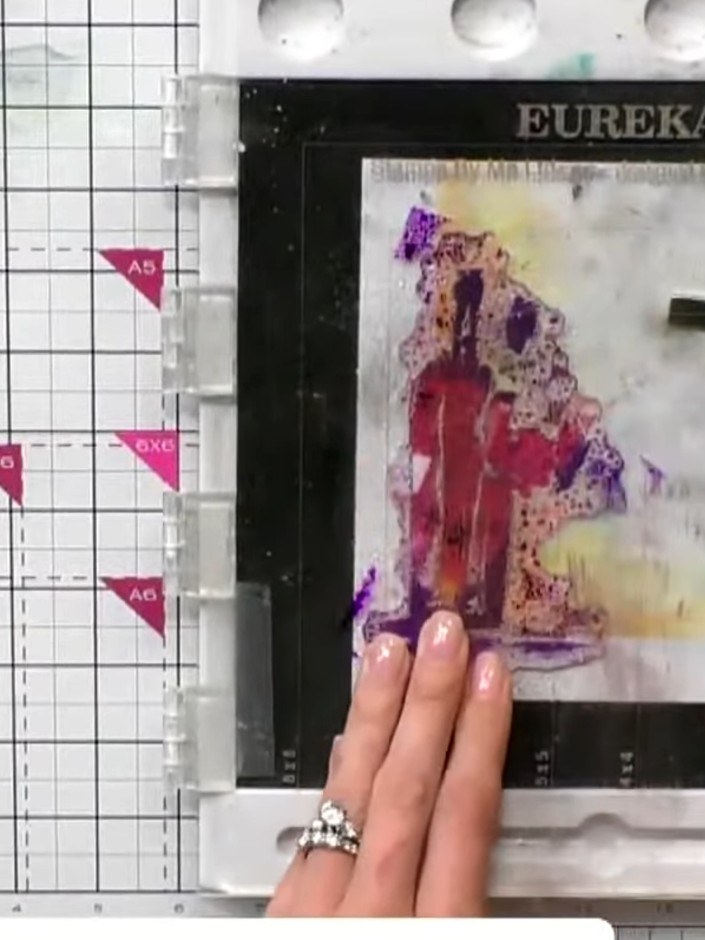
Create an elegant celebration card featuring a watercolour wine bottle and glass on a sophisticated gold-framed background. Using the lamination stamp technique, you'll build up rich purple and pink tones for the bottle and glass, set against a soft halo background created with gentle ink blending. This refined design is perfect for birthdays, anniversaries and special celebrations.
DIESE ANLEITUNG HERUNTERLADEN (PDF)
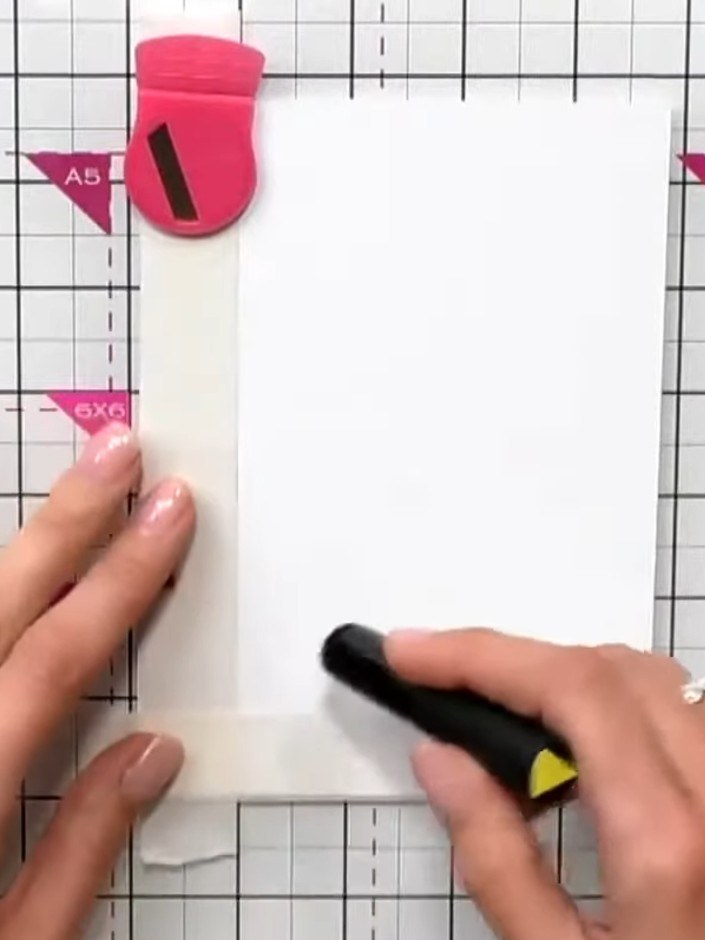
Position a piece of white cardstock on your cutting mat. Use a Halo tool or masking tape to hold a section in place on the cardstock, creating a masked area where you'll work from the outside in with colour.
▶ diesen Schritt ansehen (28:45)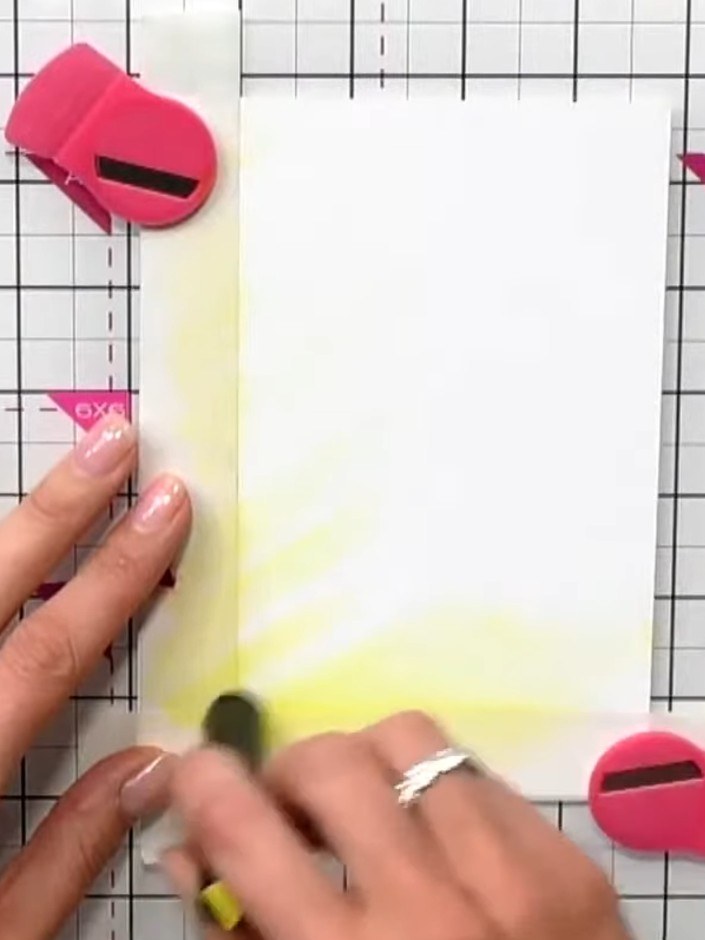
Lightly dust yellow ink around the edges of the masked area on the white card, working from the outside inward. Use a blending tool or sponge to apply the ink gently.
▶ diesen Schritt ansehen (29:00)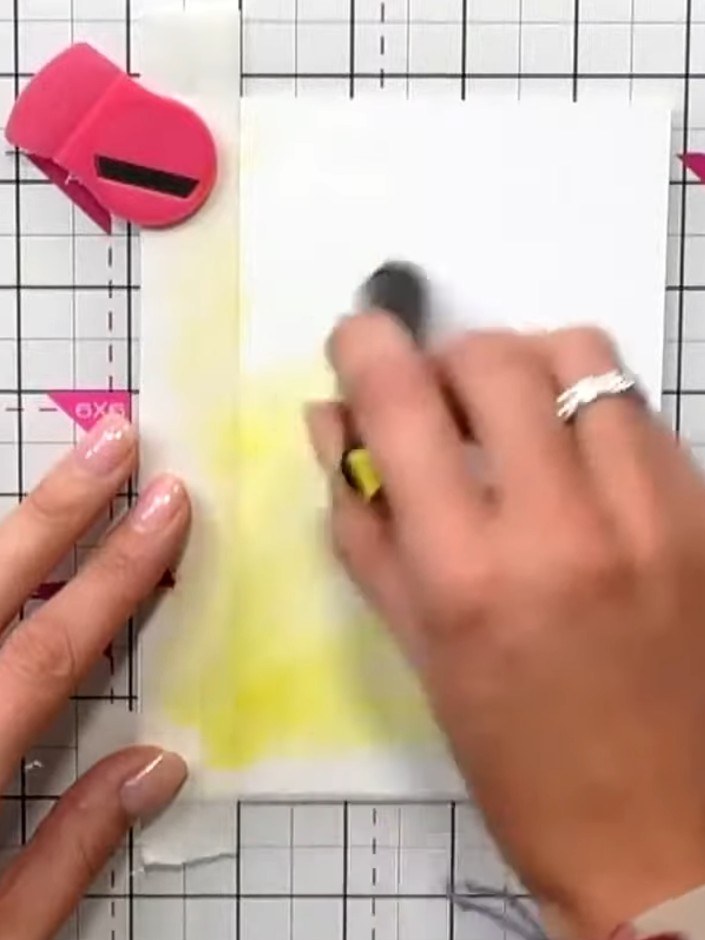
Apply orange ink over the yellow area, keeping it slightly more concentrated towards the outer edges and not extending as far inward as the yellow to create depth and dimension.
▶ diesen Schritt ansehen (29:15)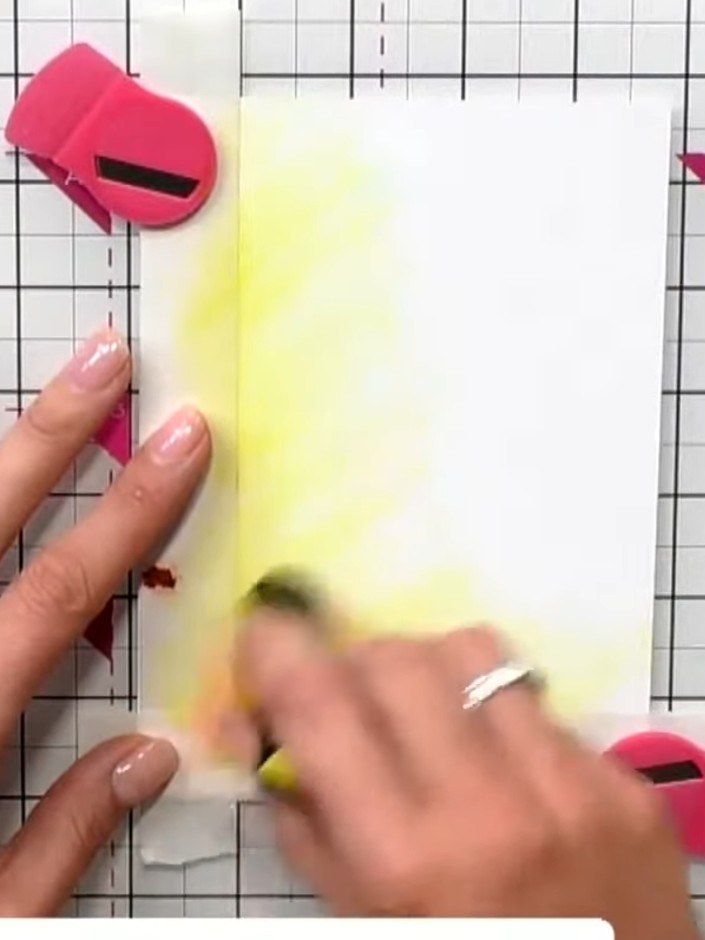
Carefully peel away the masking tape from the card to reveal the soft yellow halo background effect around where your stamped images will be.
▶ diesen Schritt ansehen (29:30)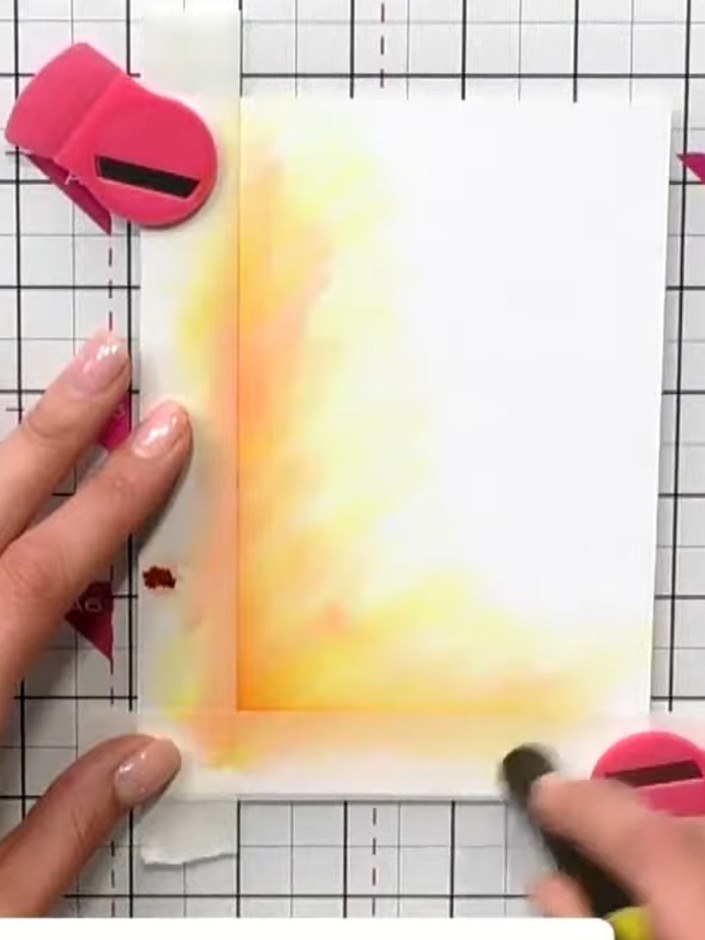
Using the blending brushes, pick up the yellow and orange colours from your watercolour background. Apply these colours to the solid portions of the wine bottle and glass stamp, inking the areas that will show the liquid inside.
▶ diesen Schritt ansehen (30:00)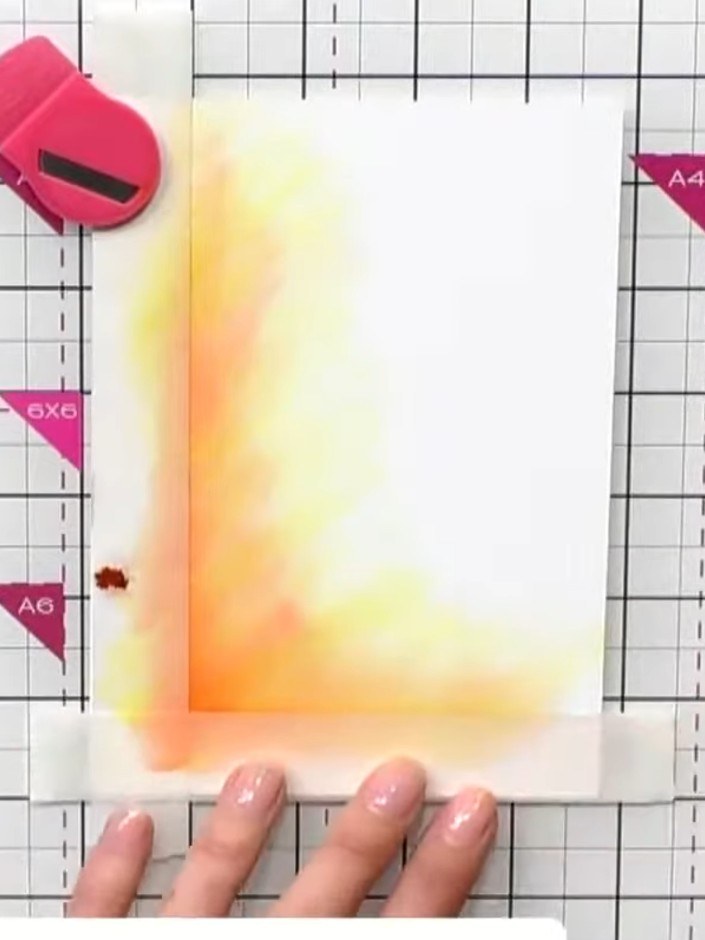
Spray the inked stamp with water to activate the watercolour effect. The water will blend the yellow and orange inks together to create a soft gradient.
▶ diesen Schritt ansehen (30:15)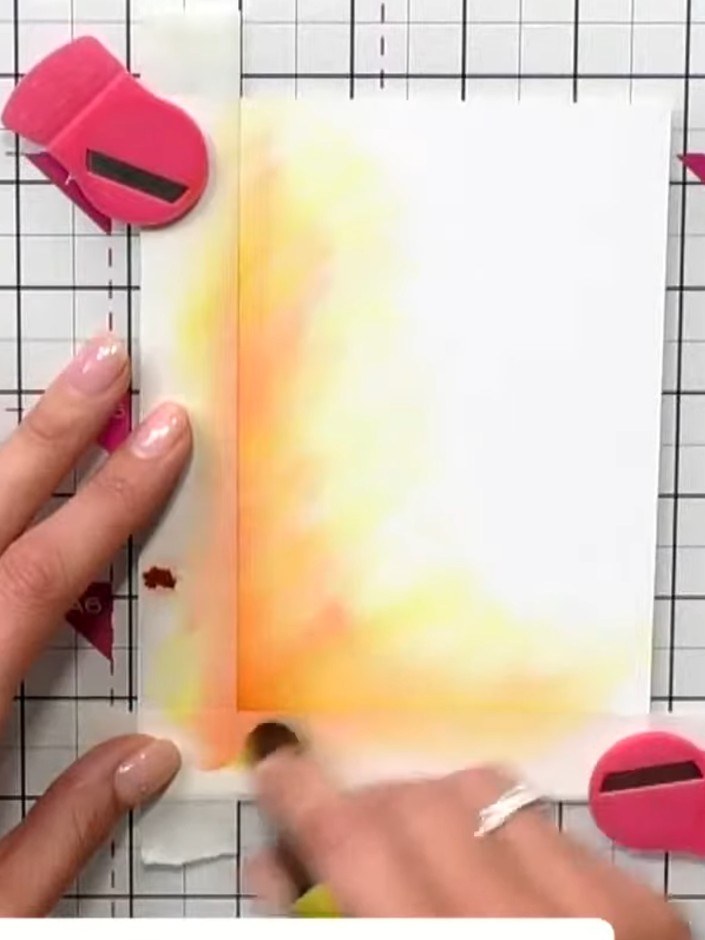
Stamp the solid wine bottle image onto your prepared yellow and orange blended background card. Position the stamp carefully and press firmly to ensure a clear impression.
▶ diesen Schritt ansehen (30:30)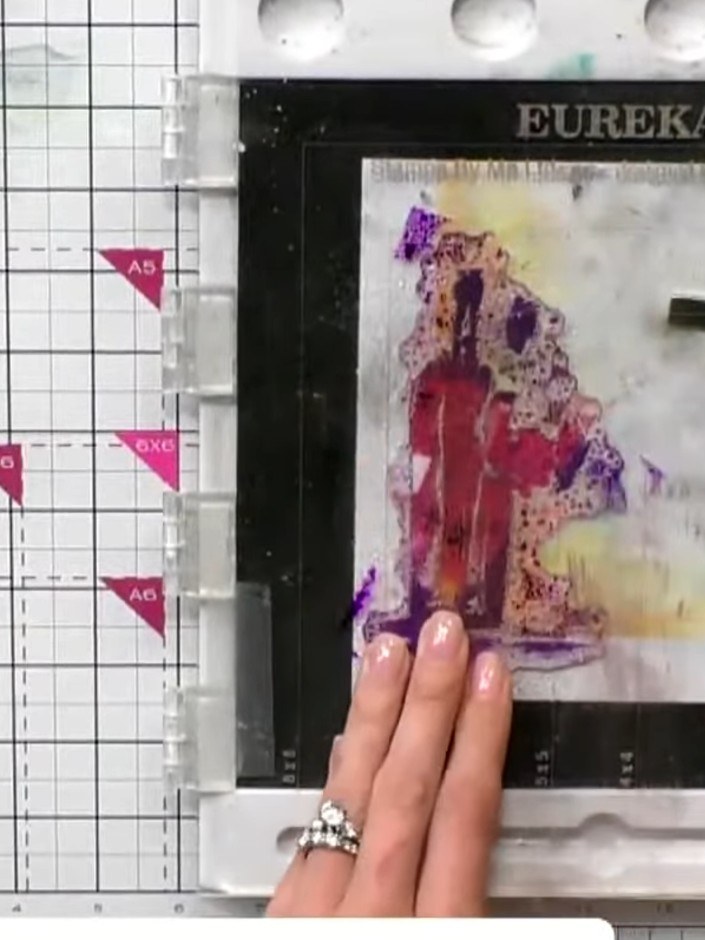
Ink the second layer outline stamp in black and carefully stamp it over the first watercoloured layer, aligning it to create the definition and detail over the background colours.
▶ diesen Schritt ansehen (31:00)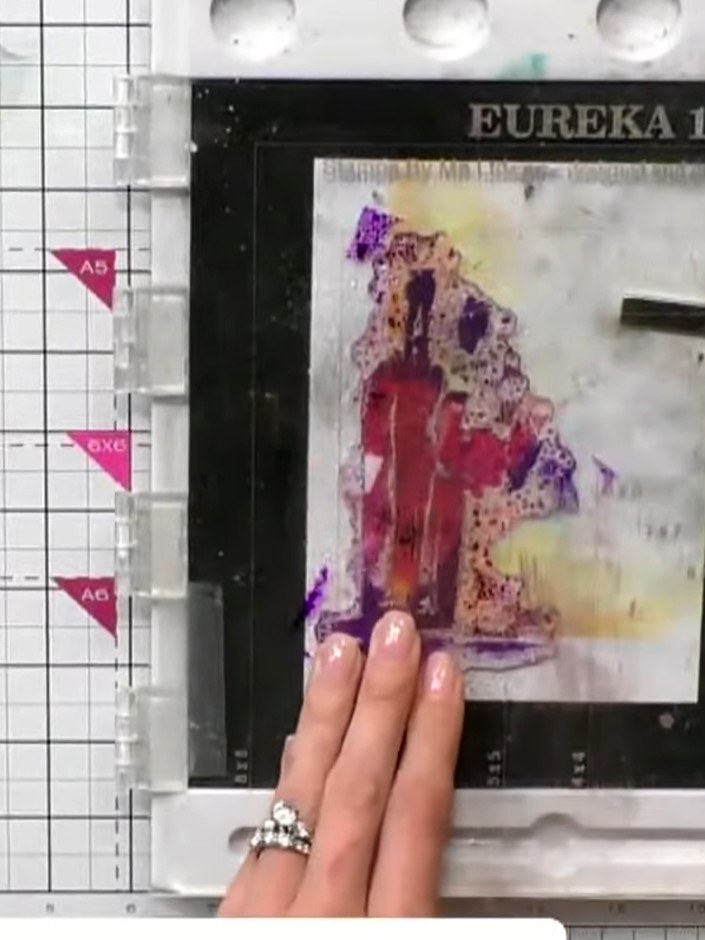
Position the sentiment stamp '100 chance of wine' below the watercolour design and stamp it using black ink onto the card.
▶ diesen Schritt ansehen (31:30)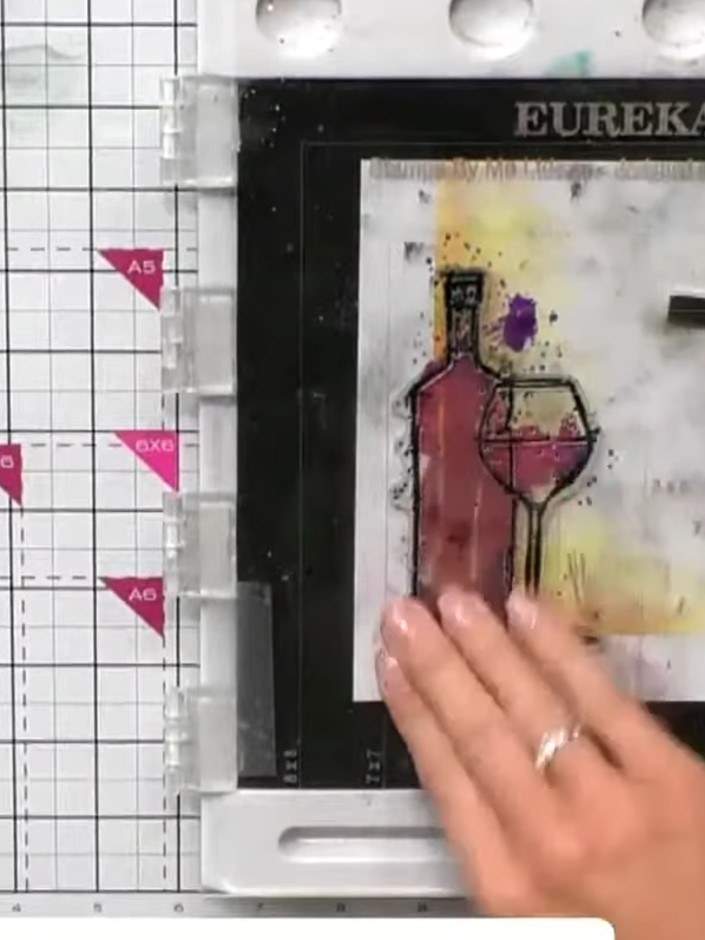
Add white gel pen highlights to the wine glass and bottle to create sparkle and dimension. Focus on areas where light would naturally catch, such as the rim of the glass and the bottle's surface.
▶ diesen Schritt ansehen (32:00)Direkt aus der Show aufgeschrieben. Alle Anleitungen aus unseren Shows ansehen · kostenlose Anleitungen · live auf My Telly ansehen