Schenke deinen Freundinnen und Freunden 10 € Rabatt auf ihre erste Bestellung!
Freunde WERBEN








Ein Projekt aus unserer Live-Show CREATE AND CRAFT - NEU UND EXKLUSIV - Sei dabei, wenn Toni ihre neuesten Produkte und jede Menge Inspiration zeigt, Show 2 - Ausgestrahlt am 12. Okt. 22 · 12.10.2022 · ab 46:15 ansehen
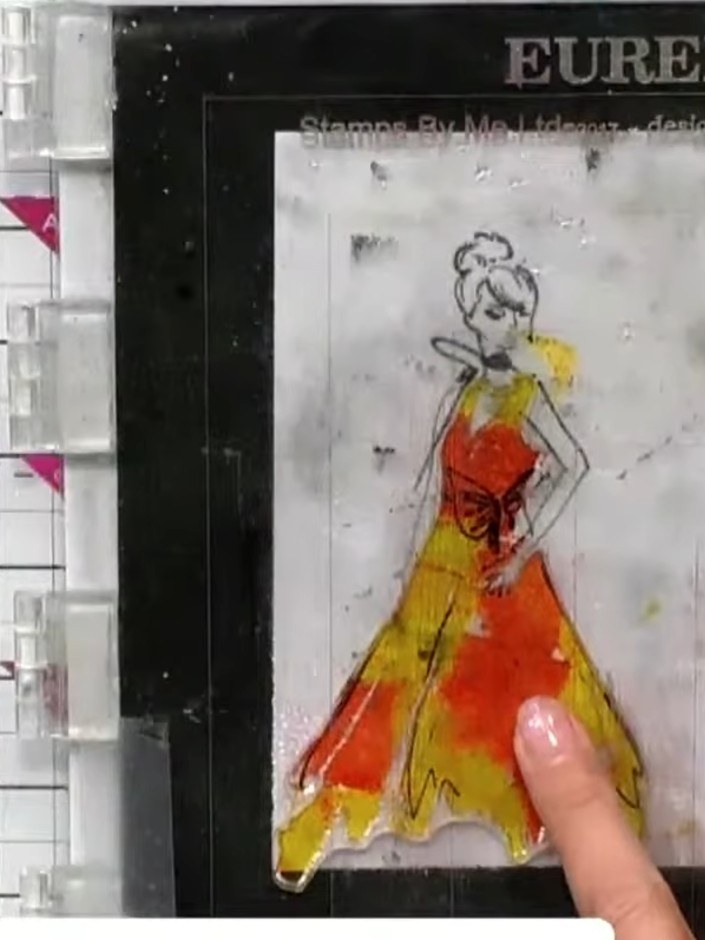
Create an elegant card featuring a beautifully dressed figure using two-part lamination stamps, then integrate complementary floral stamps to frame and enhance the design. This project demonstrates how to combine multiple stamp sets for a sophisticated, layered effect with a classic colour palette. The finished card showcases dimensional stamping techniques with careful alignment and artistic embellishment.
DIESE ANLEITUNG HERUNTERLADEN (PDF)
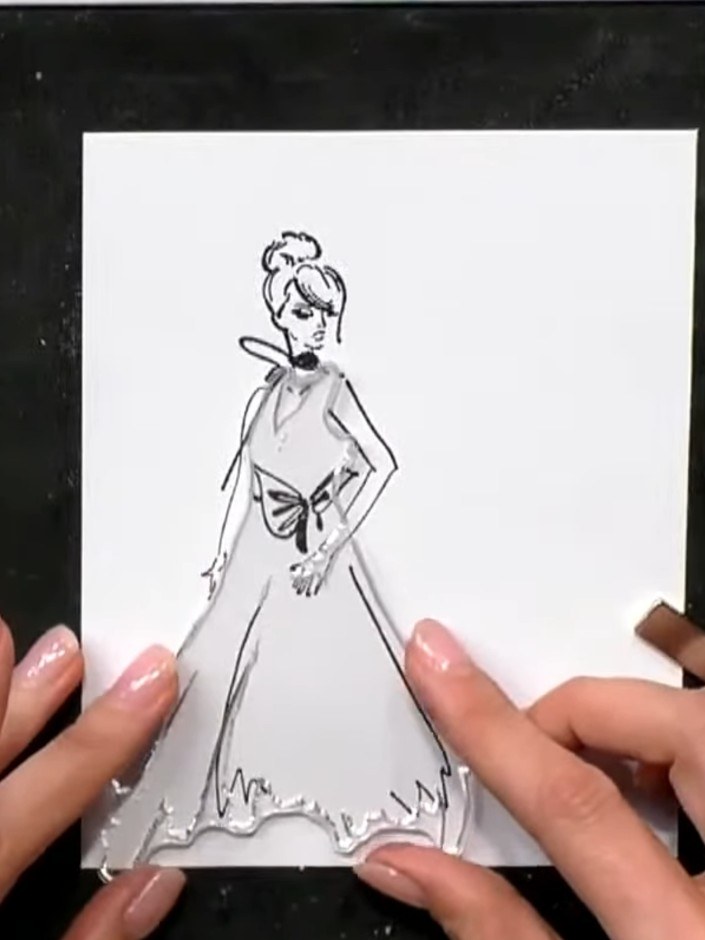
Ink the solid portion of the gown stamp outline with black ink using your stamping platform. The stamp shows a lady in an elegant gown with detailed bodice and flowing skirt.
▶ diesen Schritt ansehen (46:30)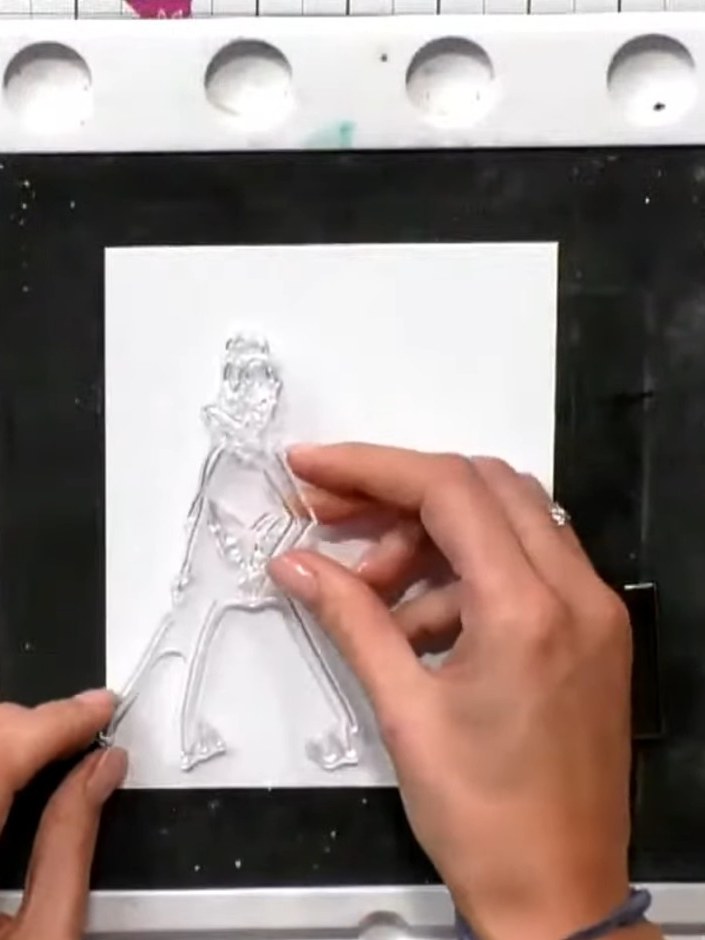
Stamp the outline image from the Celebrate Bundle onto white cardstock to create the figure's silhouette. Position the stamp carefully to establish the base of your design.
▶ diesen Schritt ansehen (46:45)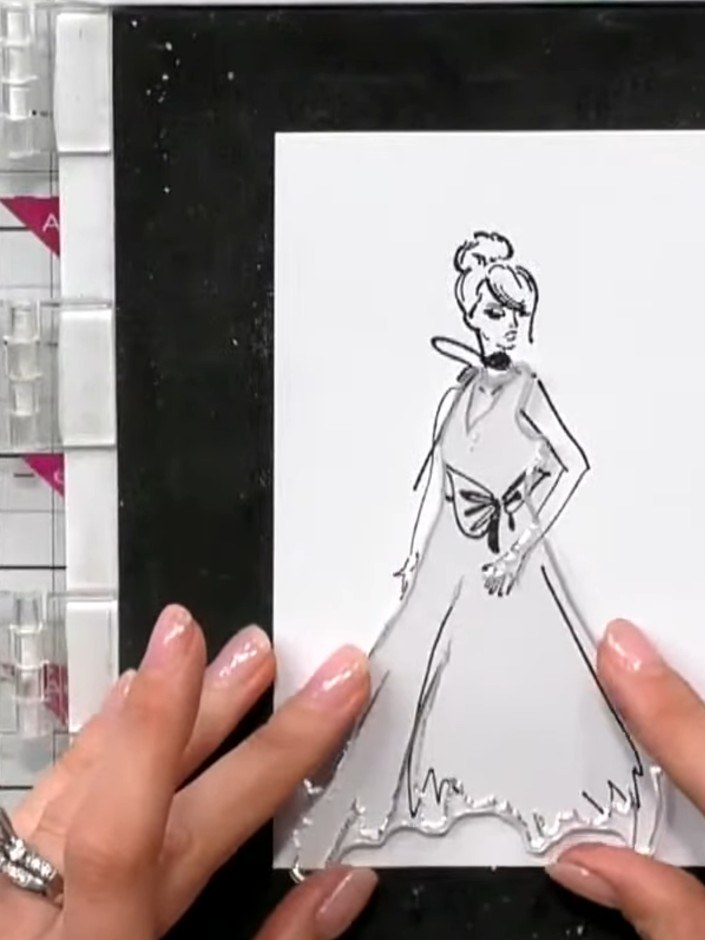
Ink the solid portion of the gown stamp with orange ink. Stamp the image onto white cardstock to create a sketchy outline of the dress.
▶ diesen Schritt ansehen (47:00)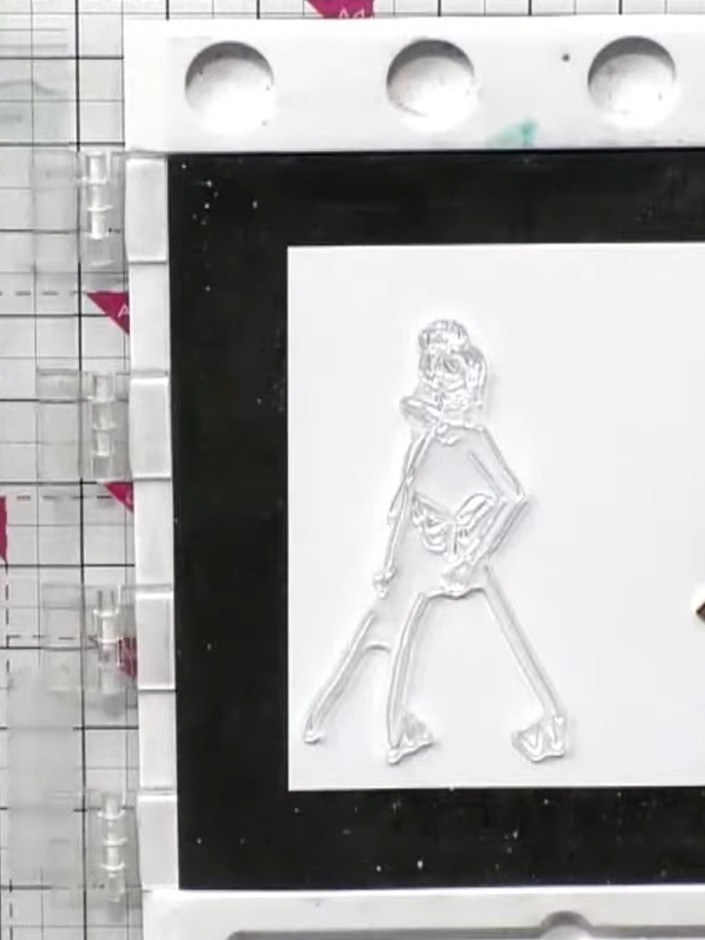
Add yellow ink to the same stamp pad to create colour variation. Tap the yellow ink onto the pad alongside the existing colour to blend and create a multi-toned effect.
▶ diesen Schritt ansehen (47:15)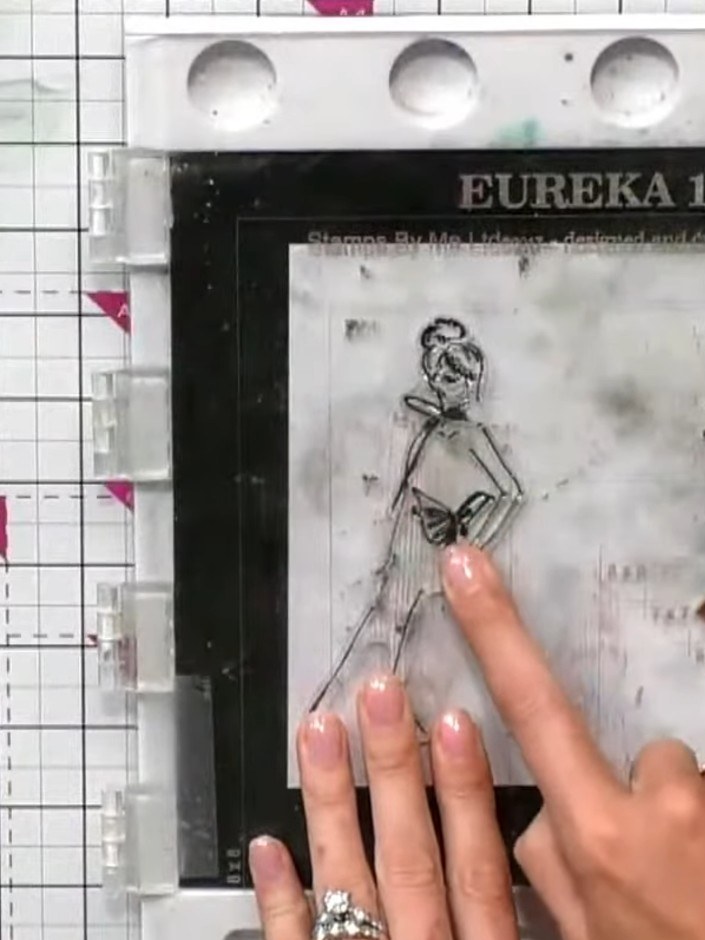
Lightly spray the stamped gown image with water to activate the watercolour effect on the ink. Use a fine mist to gently blend the colours.
▶ diesen Schritt ansehen (47:30)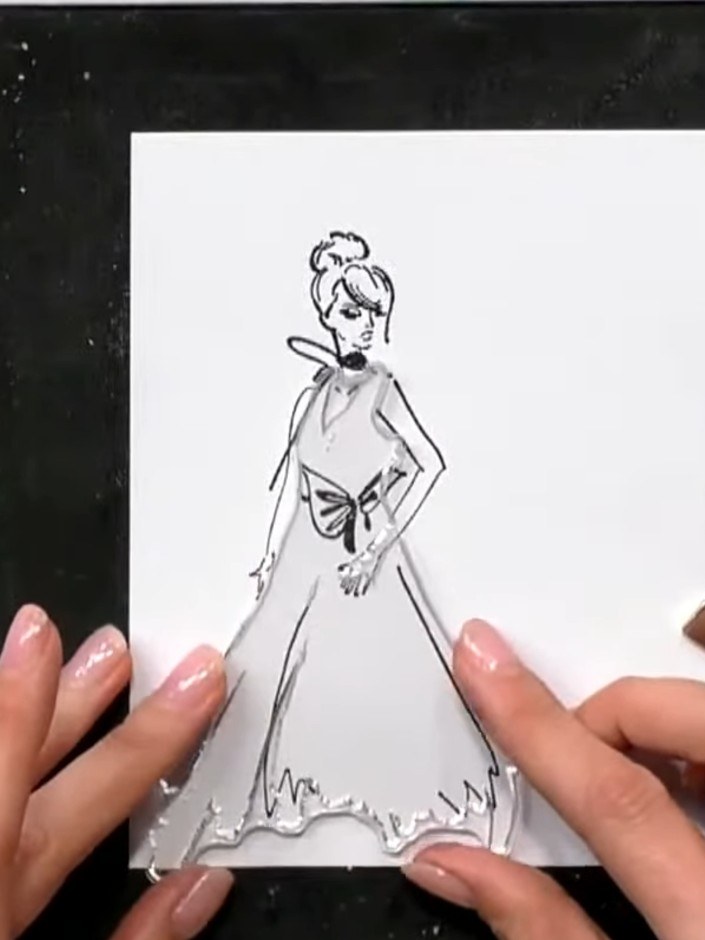
Stamp the gown image over the figure outline on white card, using the blended ink colours to create an ombré effect on the dress.
▶ diesen Schritt ansehen (47:45)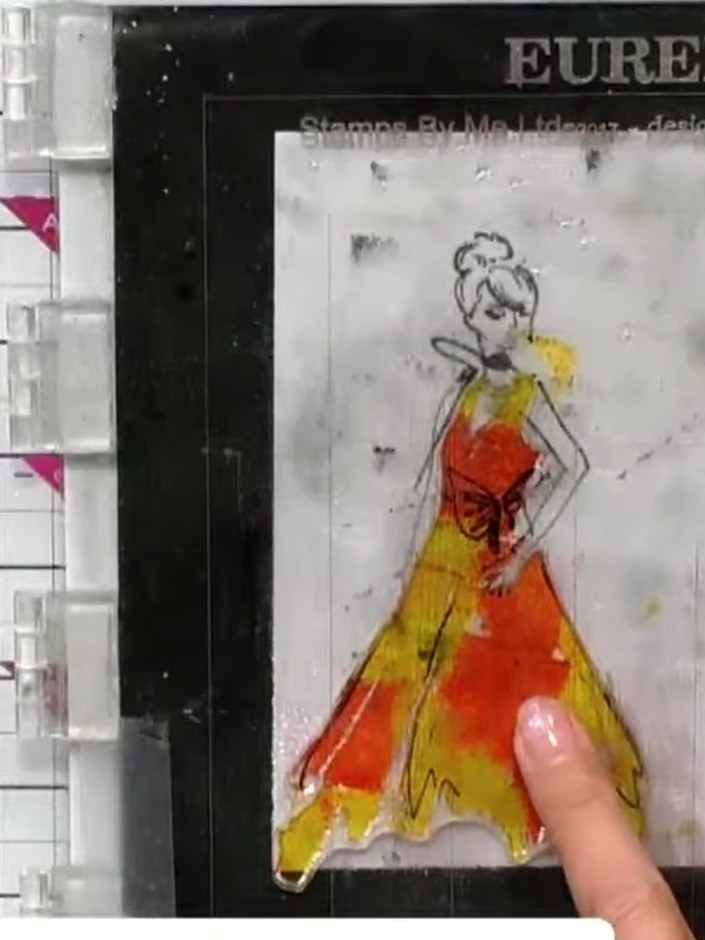
If desired, add pink ink to the same stamp pad and re-stamp the image to enhance the colour variation and create a more vibrant effect.
▶ diesen Schritt ansehen (48:00)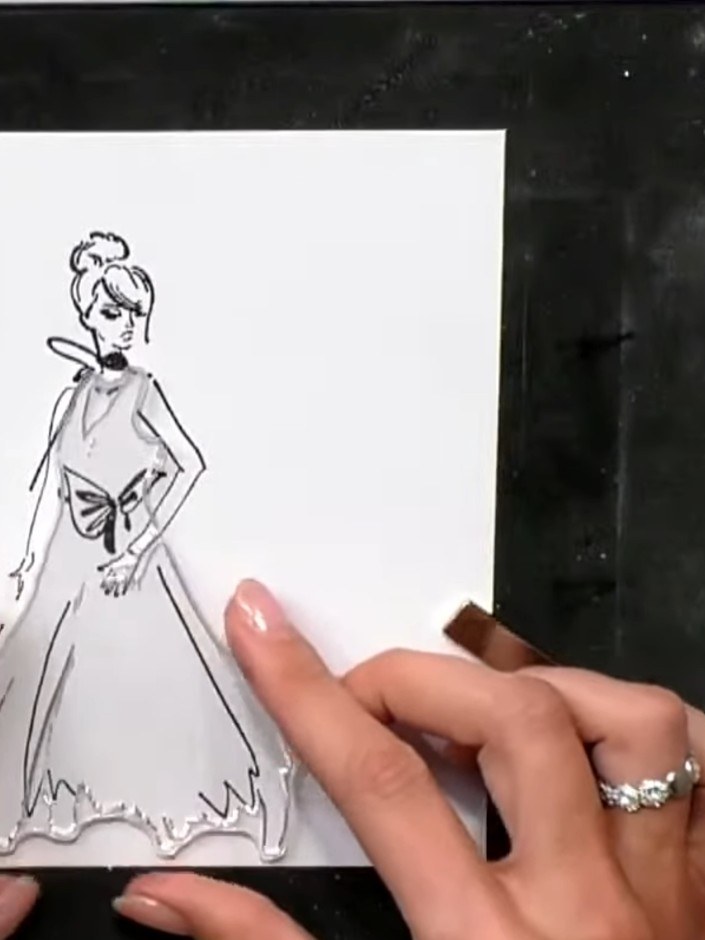
Ink the outline stamp of the gown in black ink and carefully layer it over the previously coloured gown image, aligning it precisely to create a defined border around the coloured areas.
▶ diesen Schritt ansehen (48:30)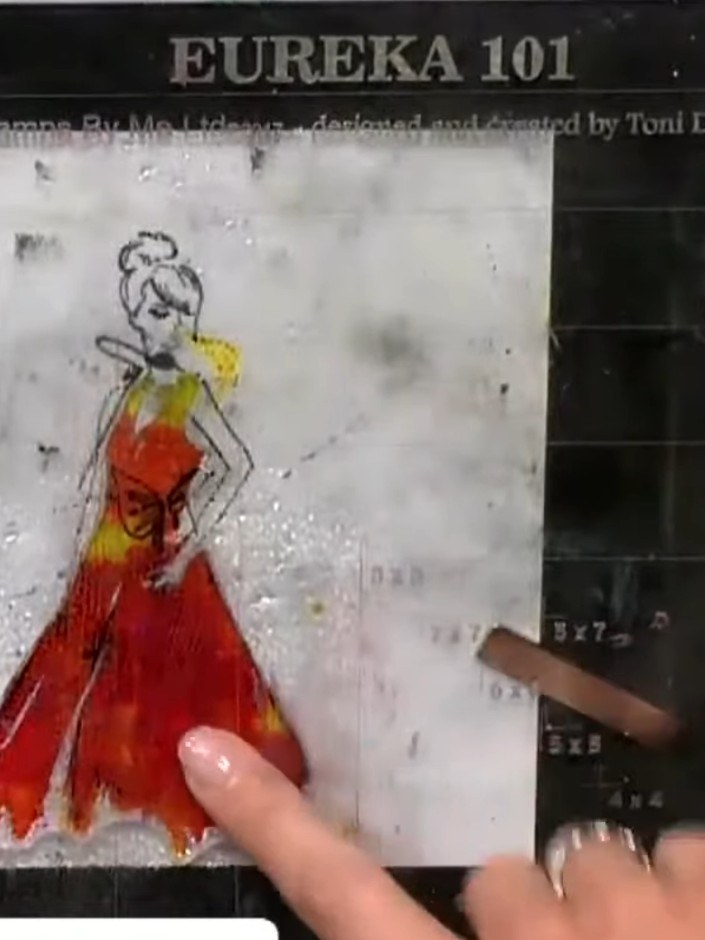
Spray the floral stamp with water and stamp it around the gown figure to create a decorative frame. The water will help create a softer, more blended effect with the stamp.
▶ diesen Schritt ansehen (49:30)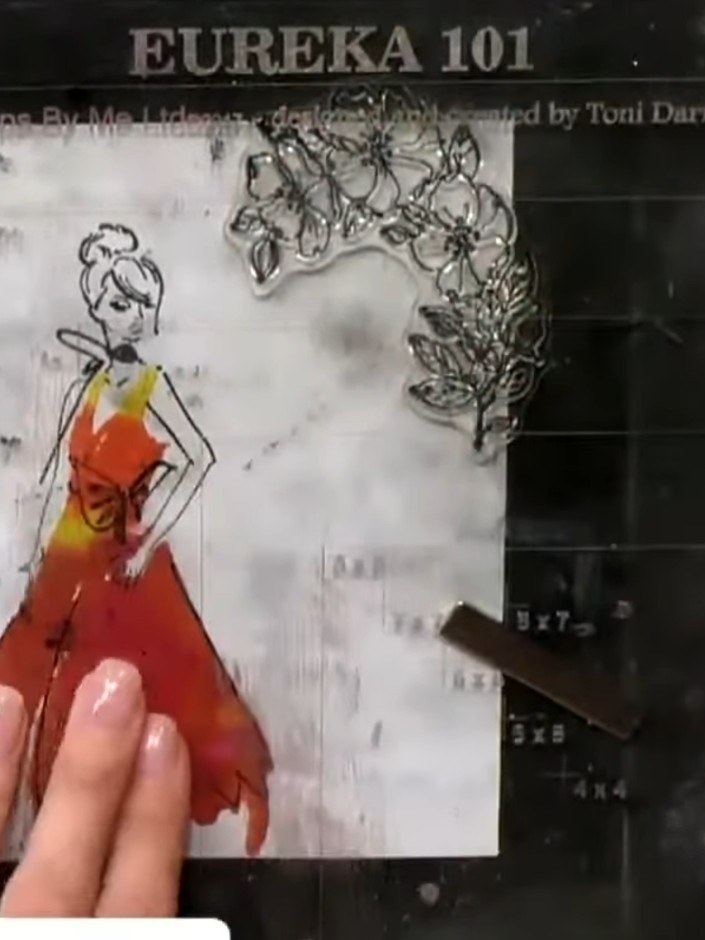
Stamp your chosen sentiment (such as 'Happy Birthday') through the gown design using black ink. Position the sentiment stamp so it integrates with the dress illustration.
▶ diesen Schritt ansehen (50:30)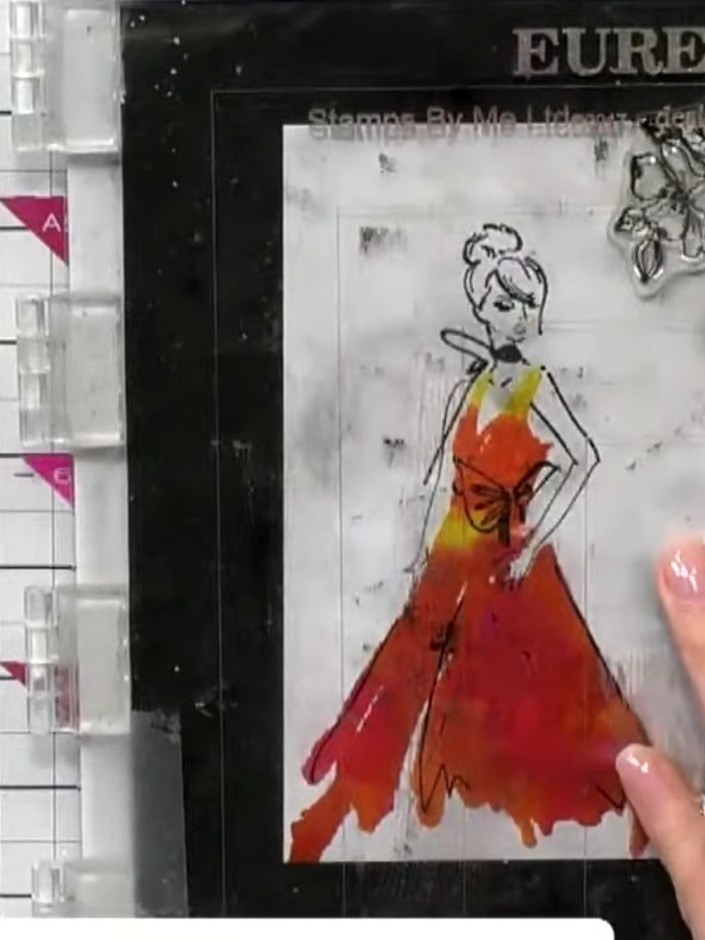
Mount the completed laminated fashion figure onto white cardstock, layering it to create depth and dimension. Position the design centrally on your card base to showcase the coloured gown and floral elements.
▶ diesen Schritt ansehen (51:00)Direkt aus der Show aufgeschrieben. Alle Anleitungen aus unseren Shows ansehen · kostenlose Anleitungen · live auf My Telly ansehen