Schenke deinen Freundinnen und Freunden 10 € Rabatt auf ihre erste Bestellung!
Freunde WERBEN








Ein Projekt aus unserer Live-Show FRIDAY LAUNCH - Sei dabei, wenn Toni ihre neuesten Produkte und Demos zeigt - Ausgestrahlt am 30. 22. September · 30.09.2022 · ab 26:45 ansehen
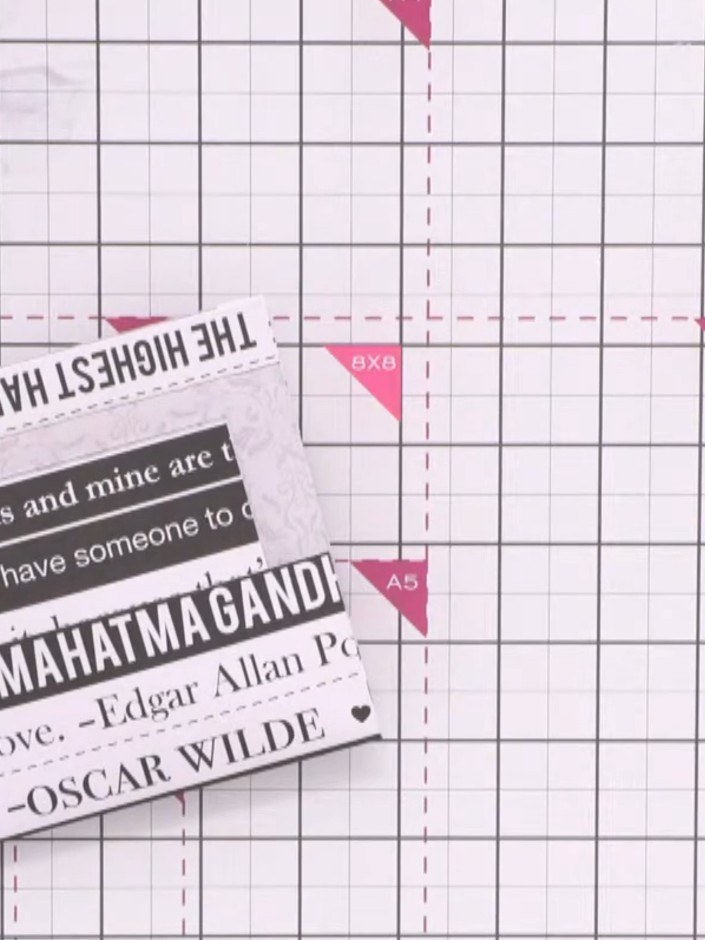
Create a charming mini booklet insert designed to fit perfectly inside album pockets. This interactive element features rounded corners, internal pockets, and uses offcut cardstock in coordinating pink and black tones with sentiment text. The folded design adds depth and dimension to your memory keeping projects whilst making clever use of leftover materials.
DIESE ANLEITUNG HERUNTERLADEN (PDF)
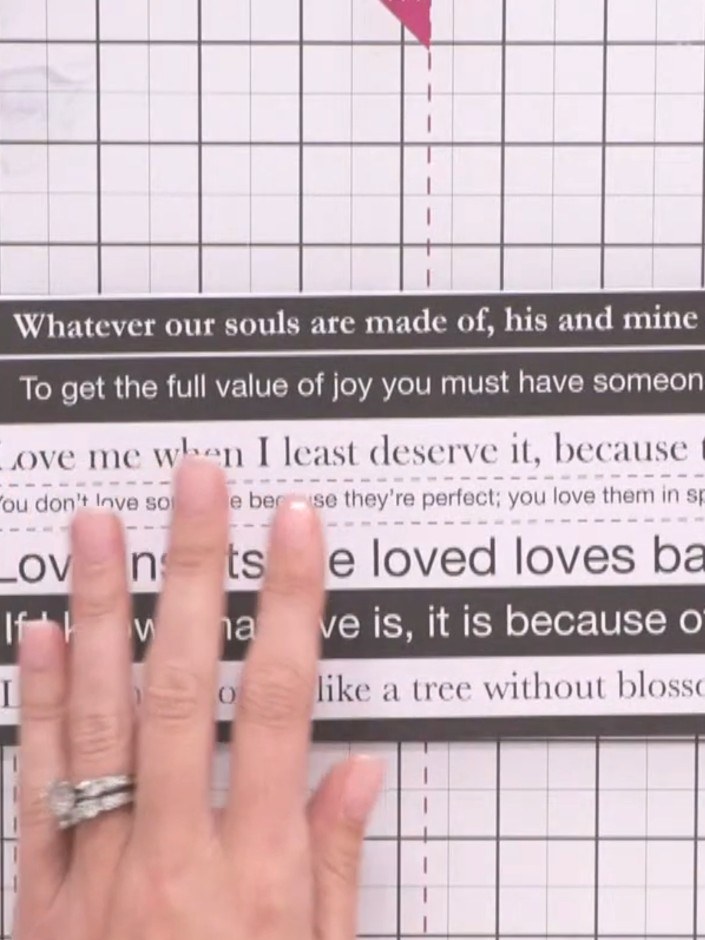
Using a guillotine, cut a piece of off-white cardstock to approximately 8 inches in length.
▶ diesen Schritt ansehen (26:45)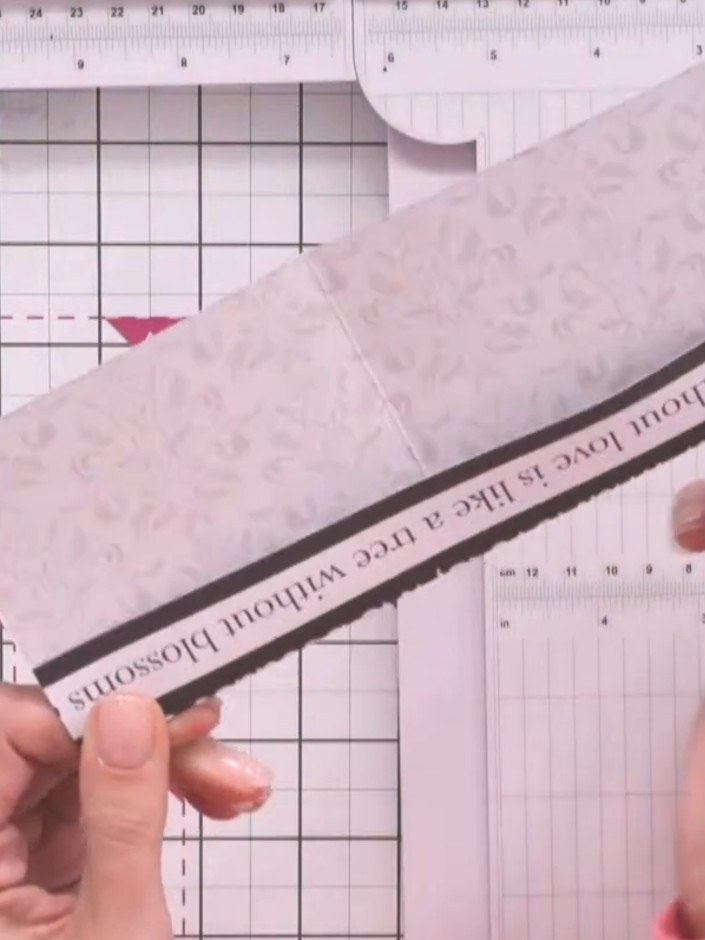
Score the card in half at 4 inches using a scoreboard to create a centre fold.
▶ diesen Schritt ansehen (27:00)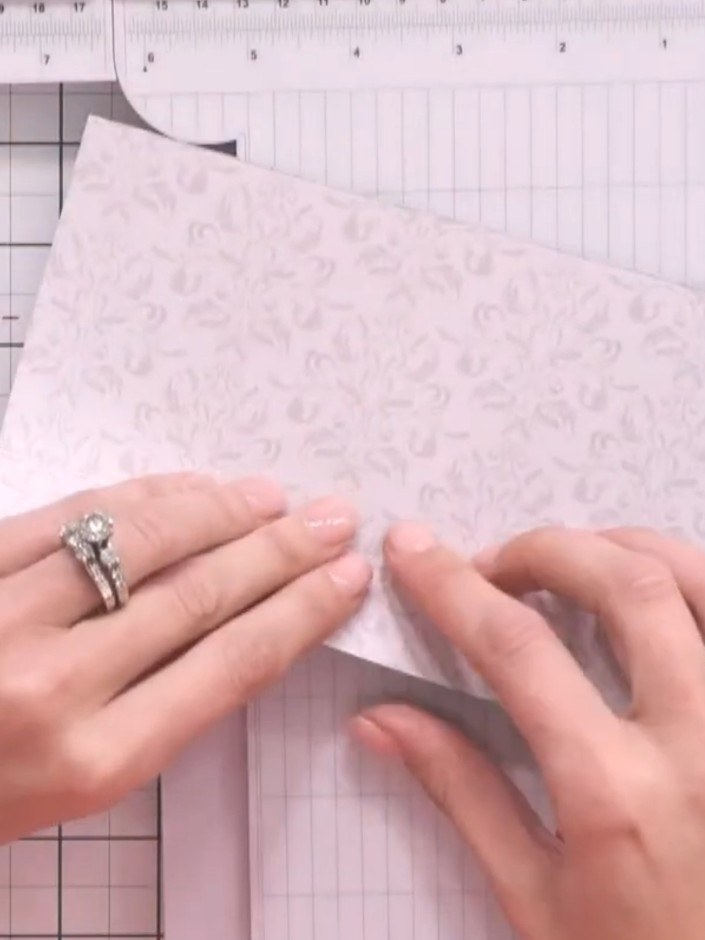
Score additional lines approximately 1 inch (2.5 cm) from the top edge of the paper to mark where the internal pockets will be created.
▶ diesen Schritt ansehen (27:15)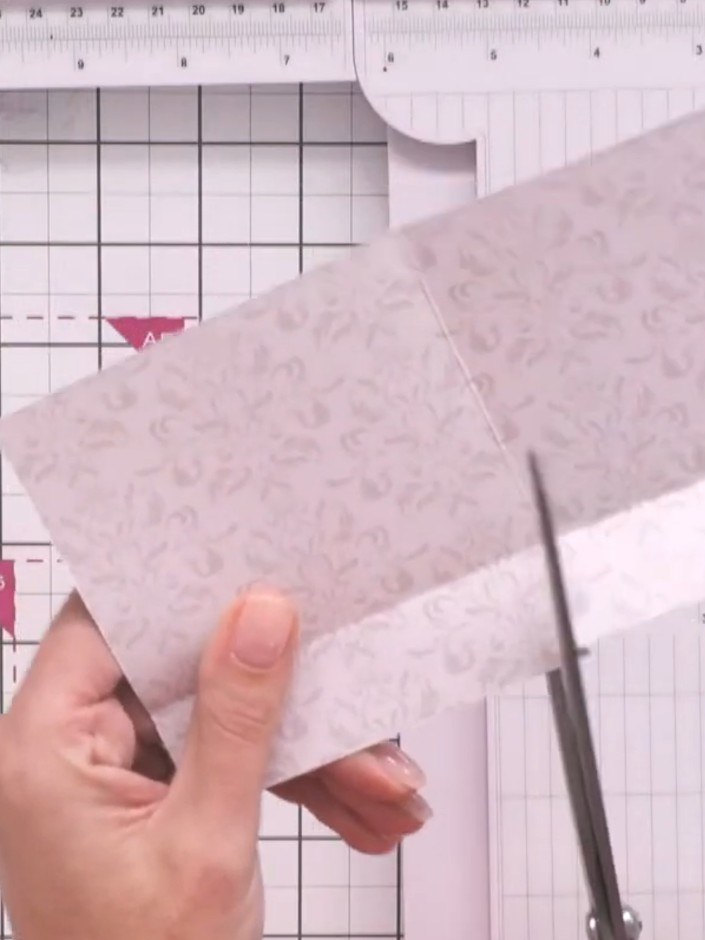
Cut from the top edge of the folded paper down to the centre fold line using scissors to create pocket flaps.
▶ diesen Schritt ansehen (27:45)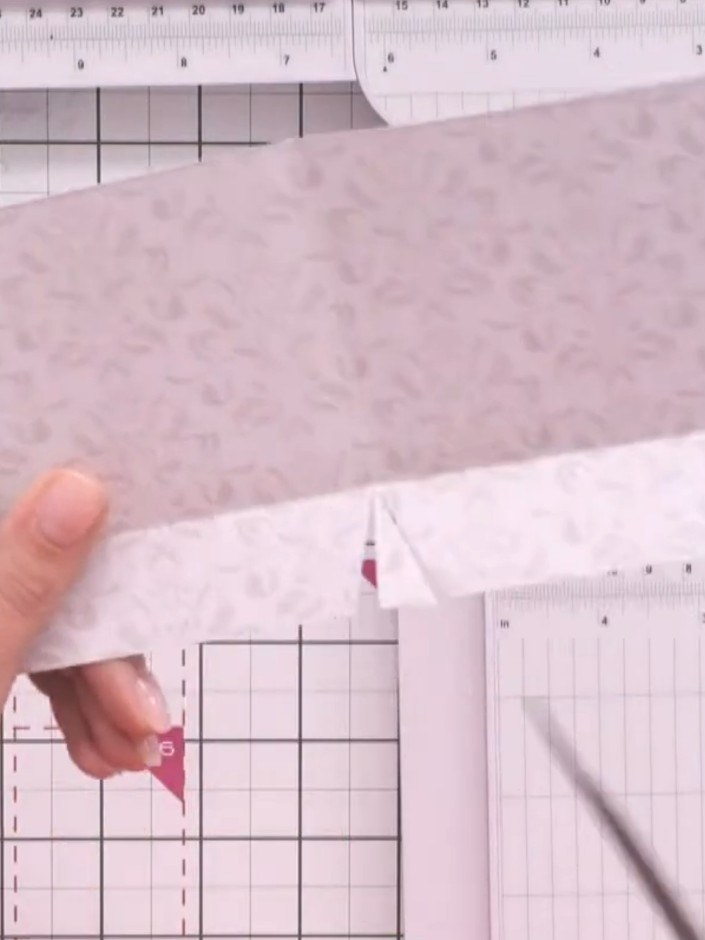
Fold the card in half along the main score line to create the mini book insert.
▶ diesen Schritt ansehen (28:00)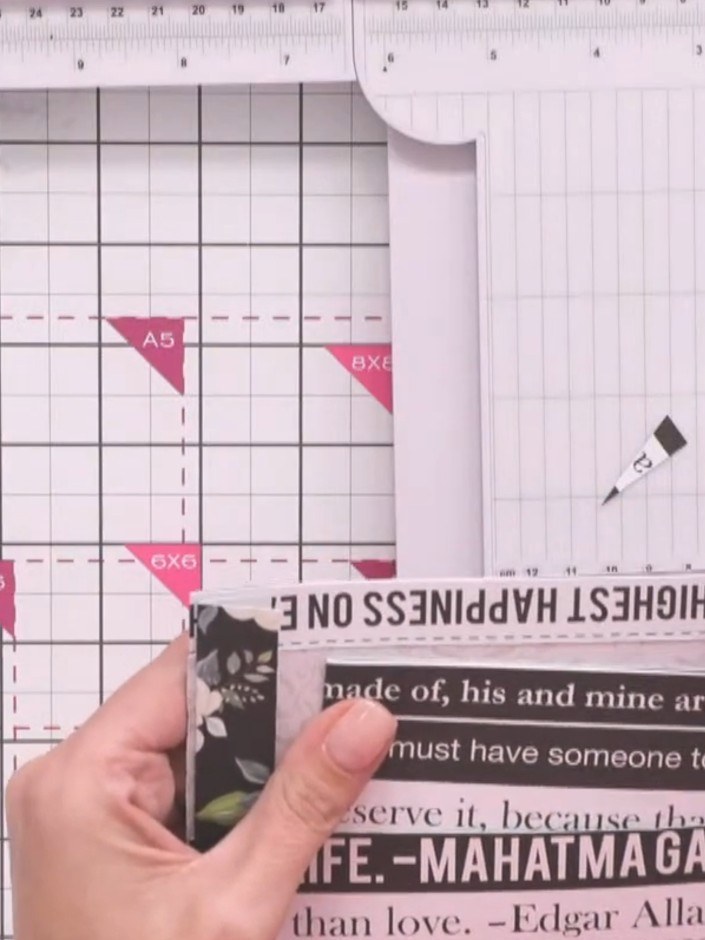
Use a corner punch to round off all four corners of the booklet for a polished, finished look.
▶ diesen Schritt ansehen (28:30)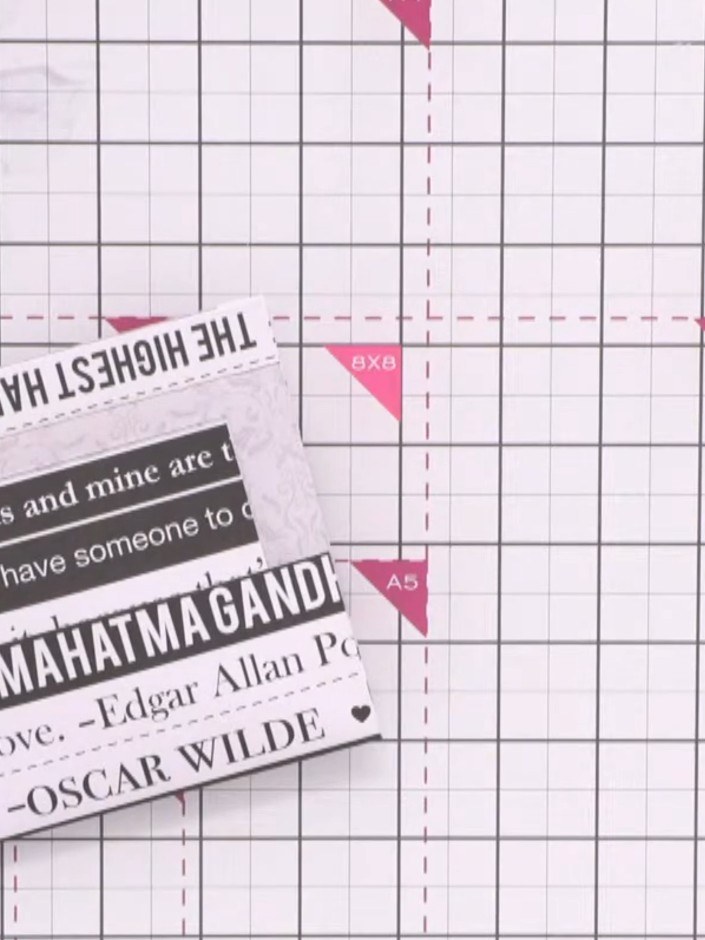
Adhere a decorative topper or piece of patterned paper to the front cover to hide any text that may be showing upside down. This completes your mini book insert.
▶ diesen Schritt ansehen (29:00)Direkt aus der Show aufgeschrieben. Alle Anleitungen aus unseren Shows ansehen · kostenlose Anleitungen · live auf My Telly ansehen