Schenke deinen Freundinnen und Freunden 10 € Rabatt auf ihre erste Bestellung!
Freunde WERBEN








Ein Projekt aus unserer Live-Show ONE DAY SPECIAL - Join Toni for her brand new launch - Broadcast 7th November 2025 · 07/11/2025 · watch it from 45:30
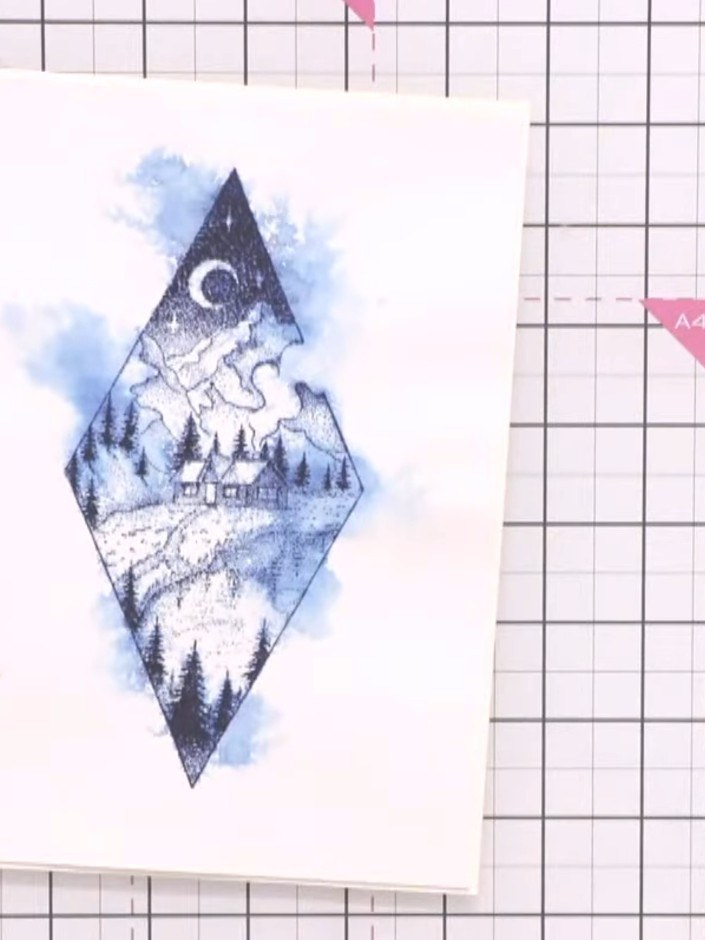
Gestalte eine traumhafte Aquarellkarte mit einer großen, rautenförmigen Winterdorf-Szene. Das Design lebt von einer wunderschönen Farbpalette in Blau und Weiß und einem zarten, stimmungsvollen Effekt: Dafür sprühst du Wasser über die gestempelte Farbe, sodass sie verträumt verläuft. Zum Schluss wird das Ganze auf weißem Karton mit einem Fensterrahmen in Szene gesetzt, damit die feine Aquarelltechnik richtig zur Geltung kommt.
 STAMPS BY ME - SEEK THE EXTRAORDINARY PAPIERBLOCK 12 x 12 - 071223ASEE IT
 STAMPS BY ME WASTE FREE STANZSCHABLONEN-SET - DOTTY FRAMEWORK - 260424BSEE IT
 STAMPS BY ME - PREMIUM PIGMENT-STEMPELFARBE PURE WHITE - COTTON - 121022MSEE IT
 STAMPS BY ME - PREMIUM HYBRID STEMPELFARBE - MIDNIGHT - 121022NSEE IT
DIESE ANLEITUNG HERUNTERLADEN (PDF)
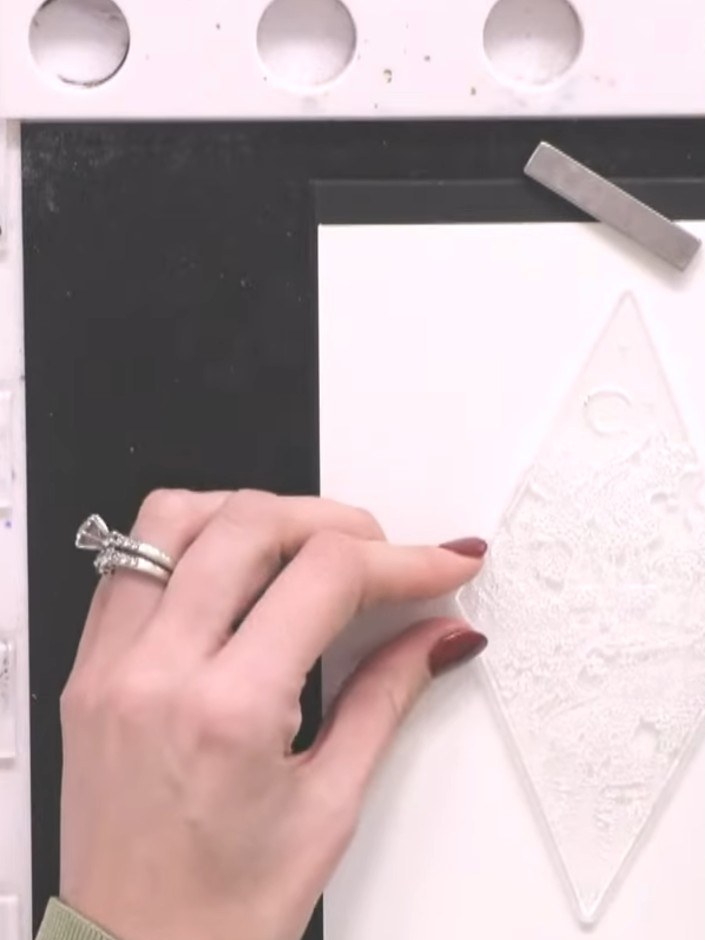
Lege eine große, rautenförmige abfallfreie Stanzschablone zusammen mit einem Stück weißem Aquarellkarton in deine Stanzmaschine.
▶ watch this step (46:00)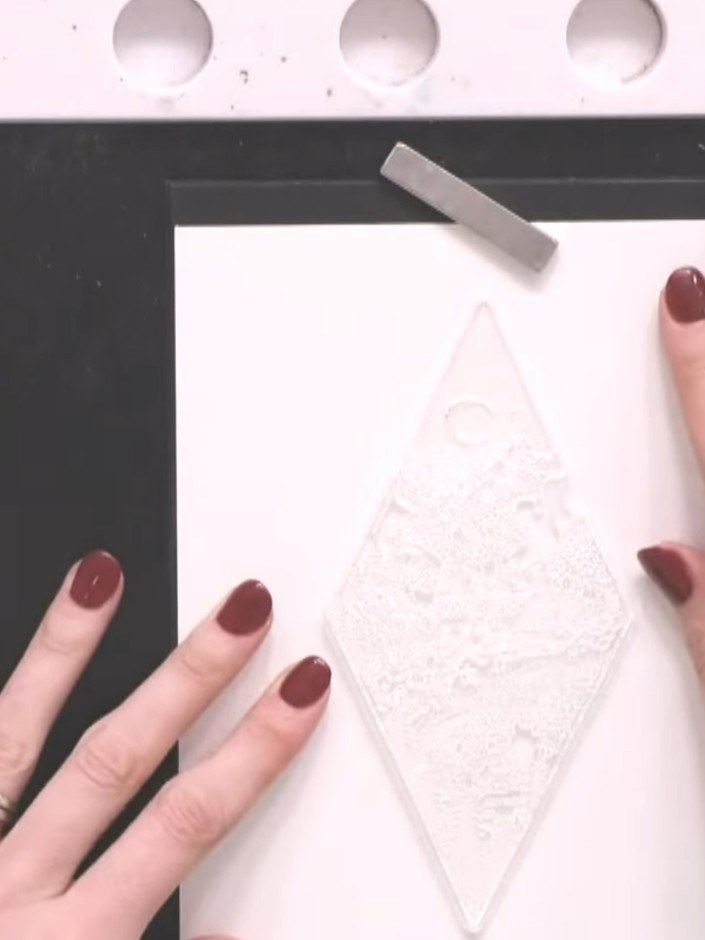
Tupfe das ozeanblaue Premium-Stempelkissen ganz leicht auf deinen Rauten-Stempel. Nimm nur wenig Stempelfarbe, so bekommst du einen zarten Effekt.
▶ watch this step (46:15)
Stemple das Rautenmotiv mit schwarzer Stempelfarbe mittig auf den Aquarellkarton. Richte den Stempel sorgfältig aus, damit das Motiv schön zentriert auf der Karte sitzt.
▶ watch this step (46:45)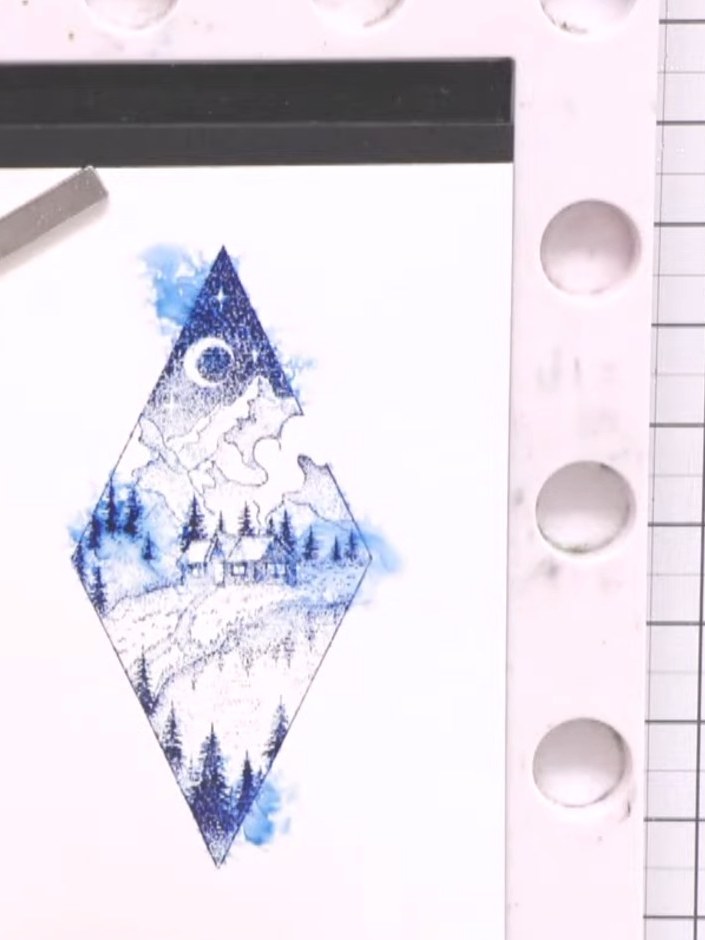
Besprühe das gestempelte Motiv leicht mit Wasser aus einer Sprühflasche. So kann die blaue Stempelfarbe von den gestempelten Stellen aus nach außen verlaufen und sich vermischen – es entsteht ein weicher Aquarell-Effekt.
▶ watch this step (48:45)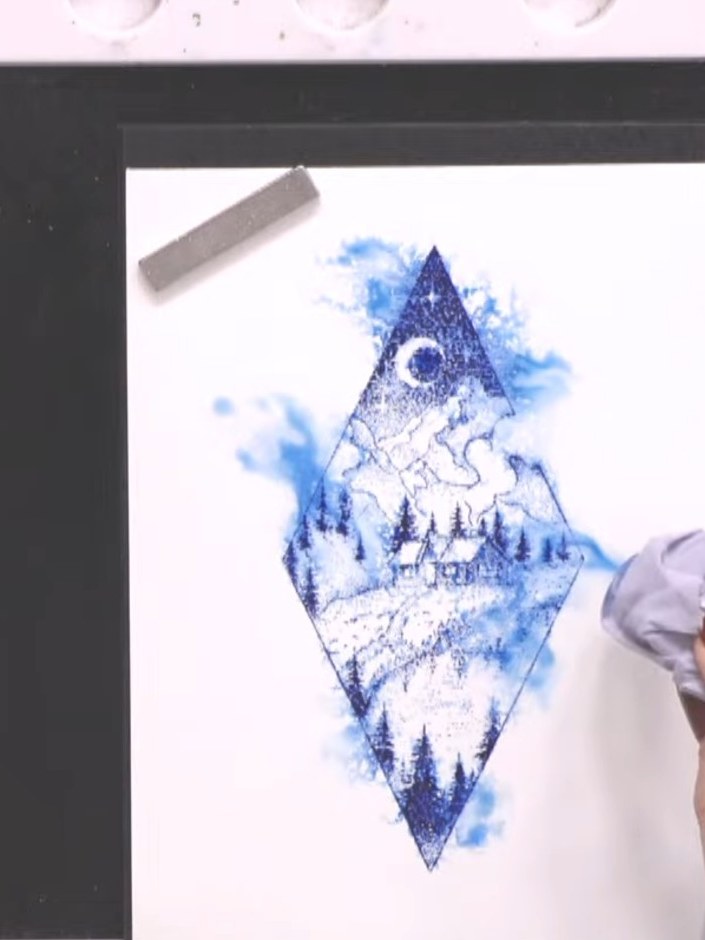
Tupfe Wasser- oder Farbpfützen auf dem gestempelten Motiv vorsichtig mit einem Taschentuch auf. Dann trocknet alles schneller.
▶ watch this step (49:30)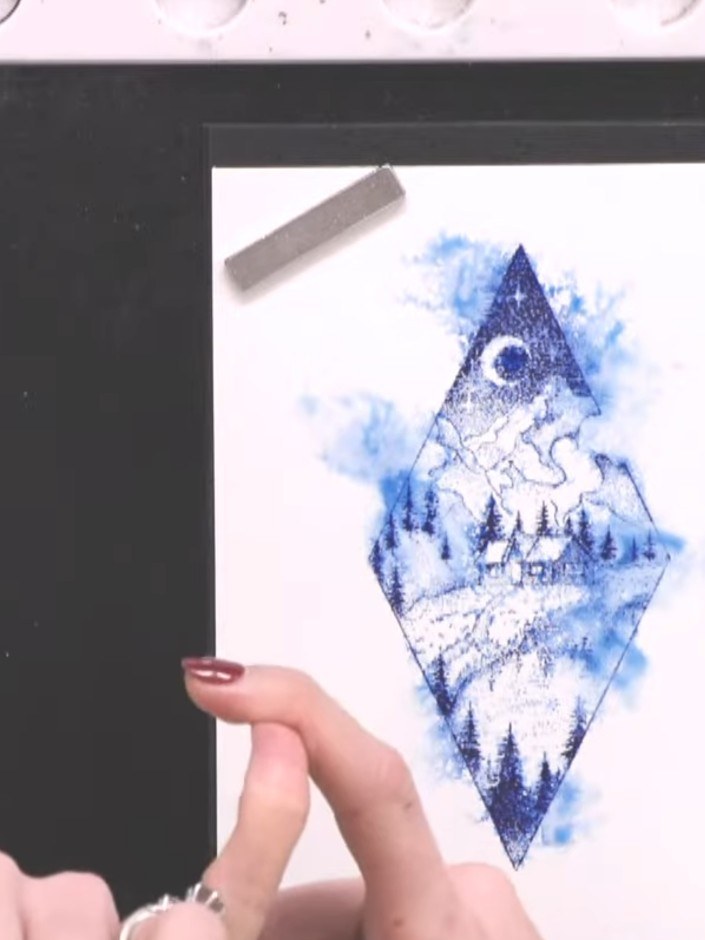
Trockne die gestempelte Karte mit dem Heißluftfön, bis die Stempelfarbe komplett fixiert ist. Halte den Heißluftfön über die Karte und bewege ihn sanft über die Oberfläche, bis die Aquarellfarbe vollständig trocken ist.
▶ watch this step (50:00)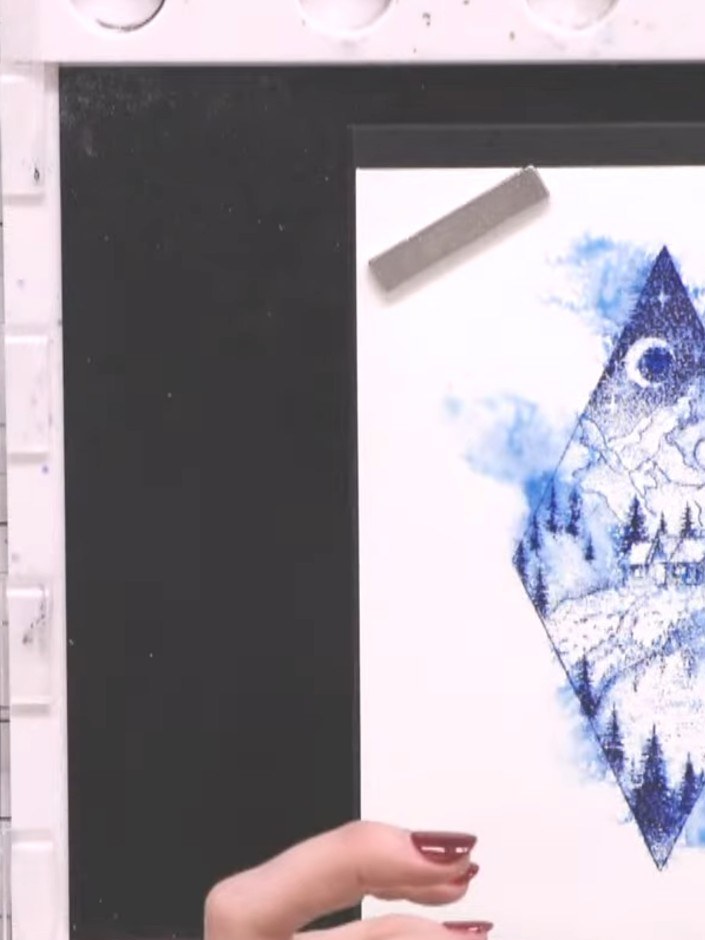
Stemple das Rautenmotiv noch einmal mit der ozeanblauen Stempelfarbe genau an dieselbe Stelle. So holst du die Details zurück und bekommst einen schönen Used-Look an den Rändern.
▶ watch this step (50:15)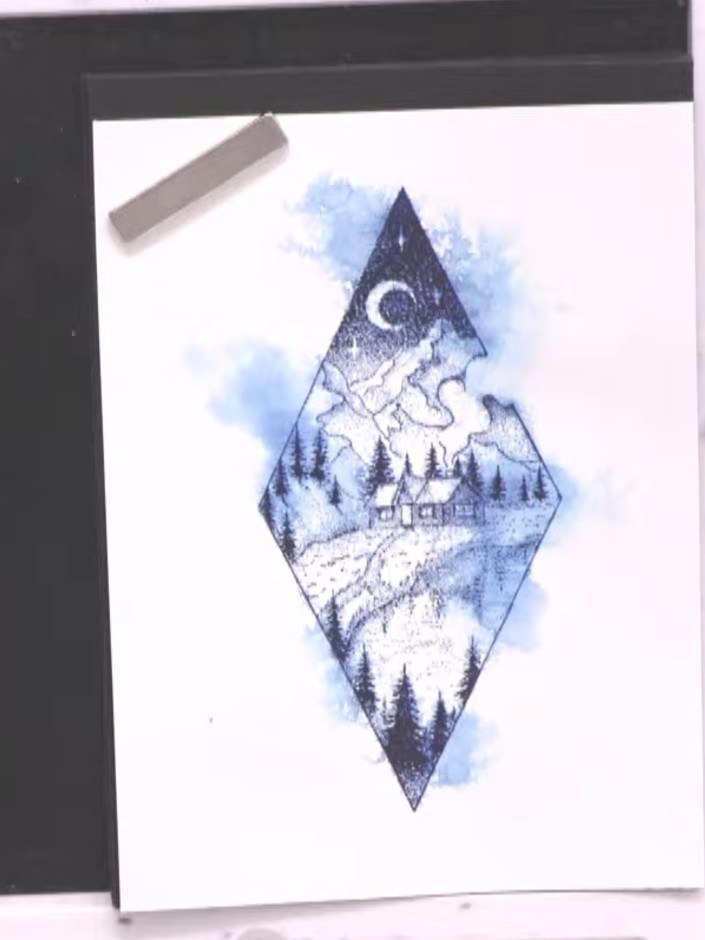
Stanze mit einer rautenförmigen Stanzschablone aus dem Stanzschablonen-Set Dotty Framework ein Fenster in ein zweites Stück Aquarellkarton, das genauso groß ist wie deine erste Karte. Platziere die Schablone so, dass sie deine gestempelte Winterszene schön einrahmt.
▶ watch this step (53:30)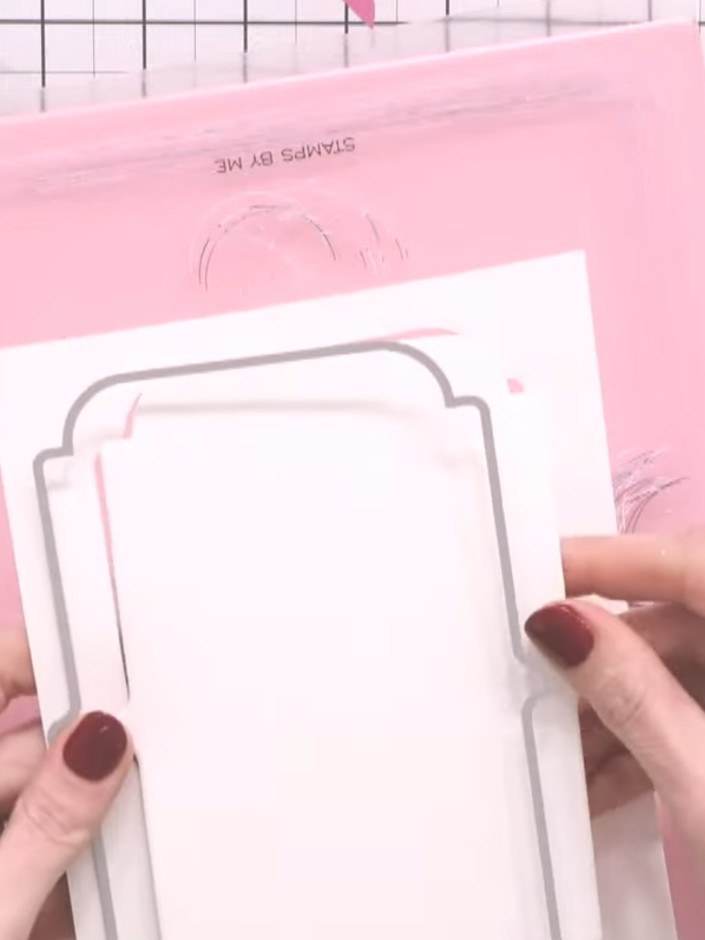
Klebe das gestempelte und besprühte Rautenpanel mit Kleber auf einen cremefarbenen Kartenrohling.
▶ watch this step (55:00)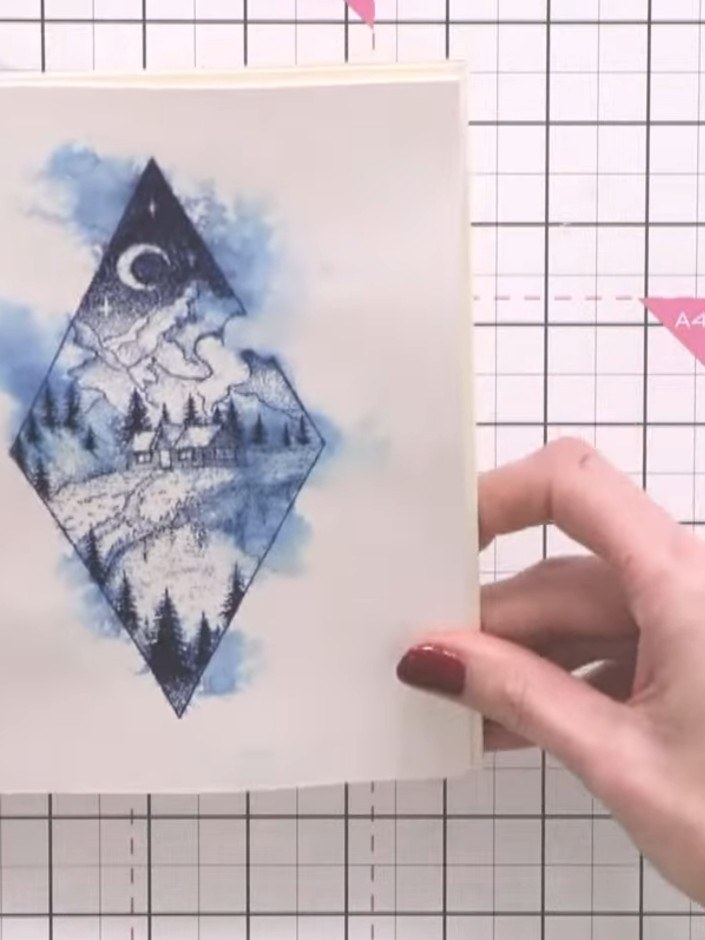
Setze den Rautenrahmen mit Abstandspads auf die Karte – so bekommt sie schön Tiefe. Wenn du magst, kannst du ihn aber auch flach aufkleben.
▶ watch this step (57:00)Direkt aus der Show aufgeschrieben. Alle Anleitungen aus unseren Shows ansehen · kostenlose Anleitungen · live auf My Telly ansehen