Schenke deinen Freundinnen und Freunden 10 € Rabatt auf ihre erste Bestellung!
Freunde WERBEN








 Deal HuntersDi., 3. Nov. 9:00 Uhr
 Hidden GemsMi., 4. Nov. 5:00 Uhr
 The Thursday DropDo., 5. Nov. 13:00 Uhr
Preise ändern sich sofort.
Ein Projekt aus unserer Live-Show Thirsty Brush - Kreatives Chaos-Basteln mit Emma, gesendet am 11. Feb. · 11.02.2022
Create a decorative wrap for a pillar candle by watercolouring parchment paper and stamping it with large floral designs. The heat from the candle melts the wax slightly, embedding the parchment and creating a beautiful, dimensional effect.
Dampen parchment paper with water using a spray bottle.
Apply watercolour paint to the damp parchment, allowing colours to blend and move naturally.
Allow the watercoloured parchment to dry completely.
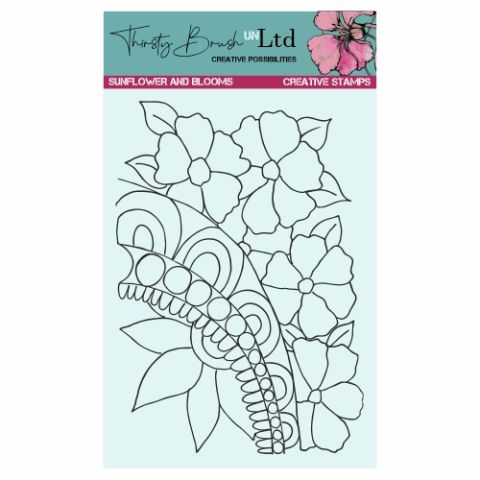
Stamp the large sunflower and blooms design onto the watercoloured parchment using a dark ink pad.
Wrap the stamped parchment around a pillar candle, positioning it where you want it to sit.
Cover the parchment with greaseproof paper to protect your fingers.
Hold the greaseproof paper in place and carefully apply heat from a heat tool to the back of the parchment.
Watch as the candle wax melts slightly and the parchment embeds into the wax, creating a permanent, dimensional wrap.
Allow the candle to cool and set completely before handling.
Teile dein Projekt mit der Stamps By Me Community - und behalte diese Anleitung für das nächste Mal.
Direkt aus der Show aufgeschrieben. Alle Anleitungen aus unseren Shows · kostenlose Anleitungen · live auf My Telly ansehen · die bisherige Ansicht