Schenke deinen Freundinnen und Freunden 10 € Rabatt auf ihre erste Bestellung!
Freunde WERBEN








 Deal HuntersDi., 3. Nov. 9:00 Uhr
 Hidden GemsMi., 4. Nov. 5:00 Uhr
 The Thursday DropDo., 5. Nov. 13:00 Uhr
Preise ändern sich sofort.
Ein Projekt aus unserer Live-Show Thirsty Brush - Kreatives Chaos-Basteln mit Emma, gesendet am 11. Feb. · 11.02.2022
Create dimensional paper flowers using die-cut elements and layer them onto a decorated candle with ribbon and stamped embellishments. This technique transforms simple die cuts into sculptural flowers by twisting and shaping the pieces.
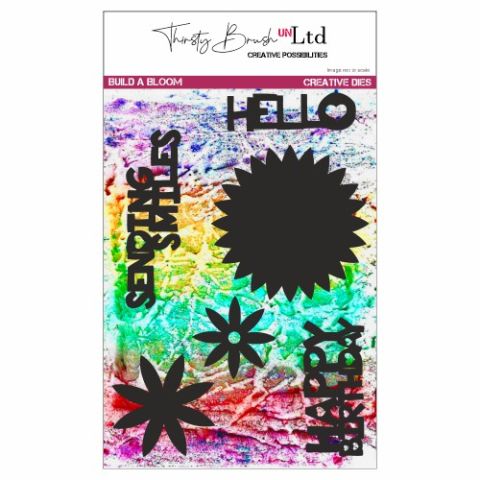
Die-cut the build a bloom flower elements three times each to create multiple layers.
Twist and shape each die-cut layer to create a dimensional, three-dimensional flower form.
Remove the stamen or wire elements from the centre of each flower.
Wrap ribbon or twine around the candle to create a decorative band.
Use a hot glue gun to attach the dimensional flowers to the ribbon on the candle.
Die-cut the fancy flowers design and fold it in half to create a decorative accent.
Stamp words or sentiments onto white card and layer them onto black card for contrast.
Attach the stamped sentiment to the candle decoration using glue.
Teile dein Projekt mit der Stamps By Me Community - und behalte diese Anleitung für das nächste Mal.
Direkt aus der Show aufgeschrieben. Alle Anleitungen aus unseren Shows · kostenlose Anleitungen · live auf My Telly ansehen · die bisherige Ansicht