Schenke deinen Freundinnen und Freunden 10 € Rabatt auf ihre erste Bestellung!
Freunde WERBEN








Ein Projekt aus unserer Live-Show Create Together Club - 5 Days of Creativity - Broadcast Wednesday 24TH September 2025 · 24/09/2025 · watch it from 7:15
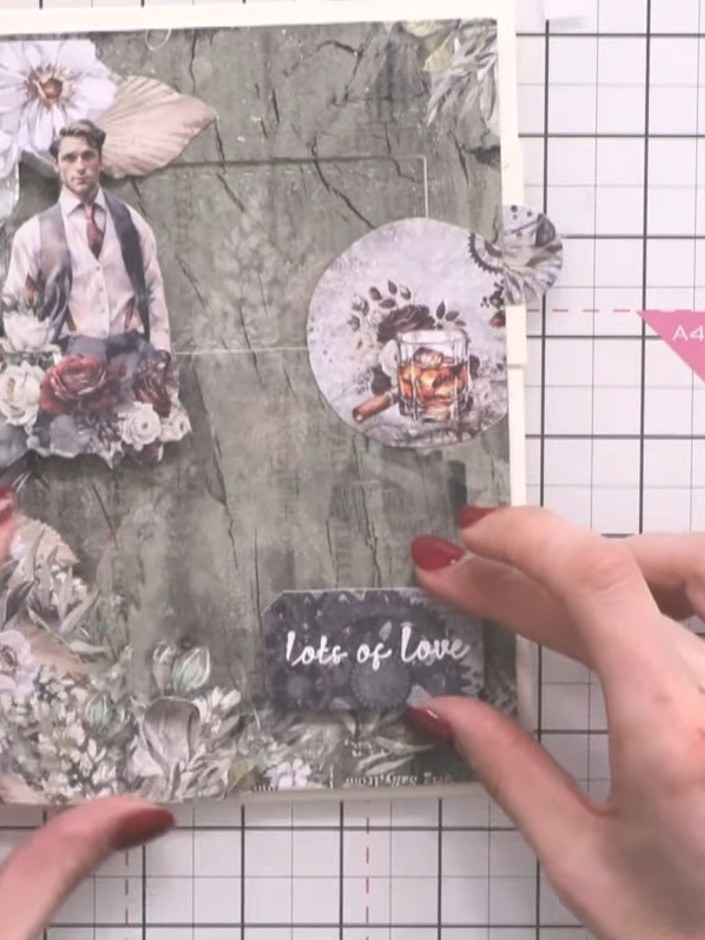
Gestalte eine interaktive Slider-Karte mit romantischem Vintage-Thema in gedeckten Grautönen, zartem Rosa und blumigen Motiven. Diese tolle Grußkarte hat einen Zugmechanismus, der durch ein Fenster eine versteckte „Lots of Love“-Botschaft enthüllt. Das Projekt kombiniert Layering-Techniken, Stanzen und plastische Verzierungen – so entsteht eine unvergessliche Erinnerungskarte, perfekt für besondere Anlässe.
DIESE ANLEITUNG HERUNTERLADEN (PDF)
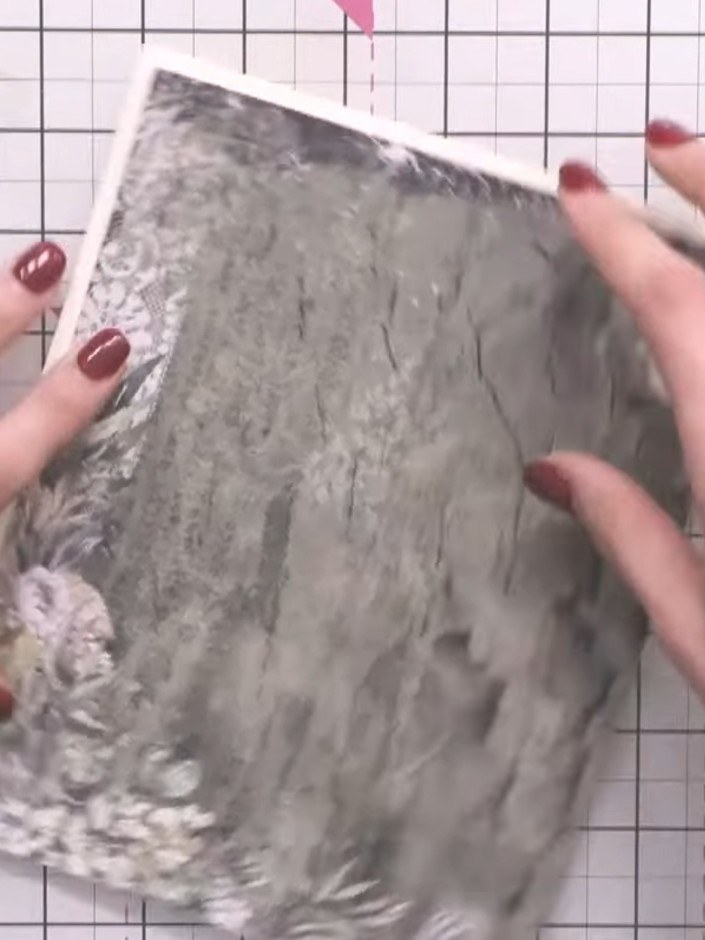
Schneide mit einer Hebelschneidemaschine oder einem Papierschneider ein Stück grauen strukturierten Cardstock auf die richtige Größe zu. Entscheide dich für deine Lieblingsausrichtung – Hoch- oder Querformat – für deine Kartenbasis.
▶ watch this step (12:00)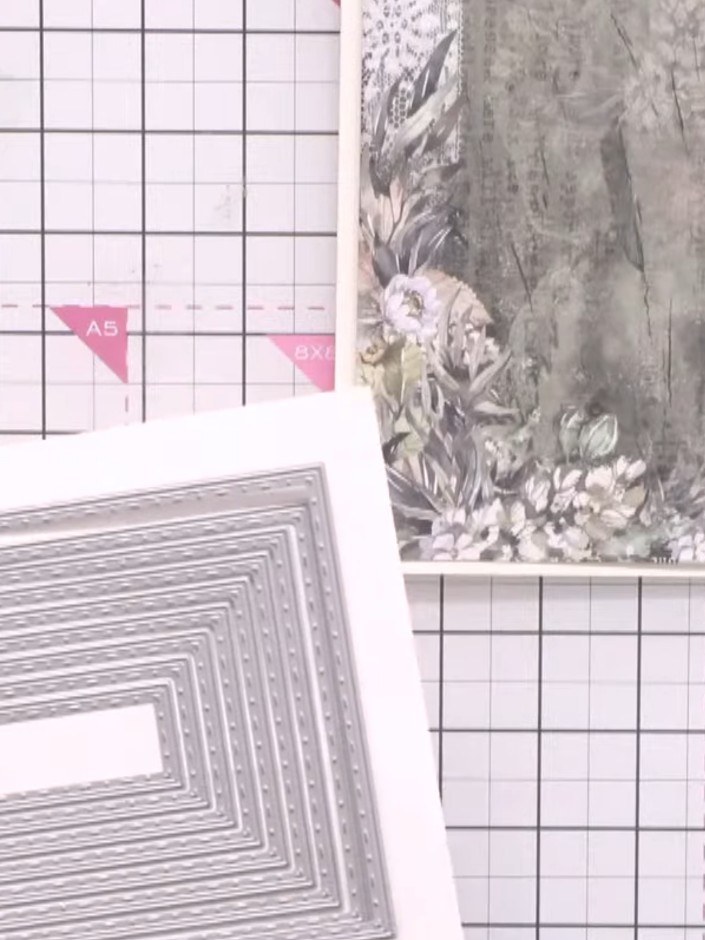
Such dir aus deinem Set eine passende Rechteck-Stanzschablone in der richtigen Größe aus. Leg sie auf deine Kartenbasis und stanz ein Fenster aus, das später dein Slider-Element einrahmt.
▶ watch this step (13:15)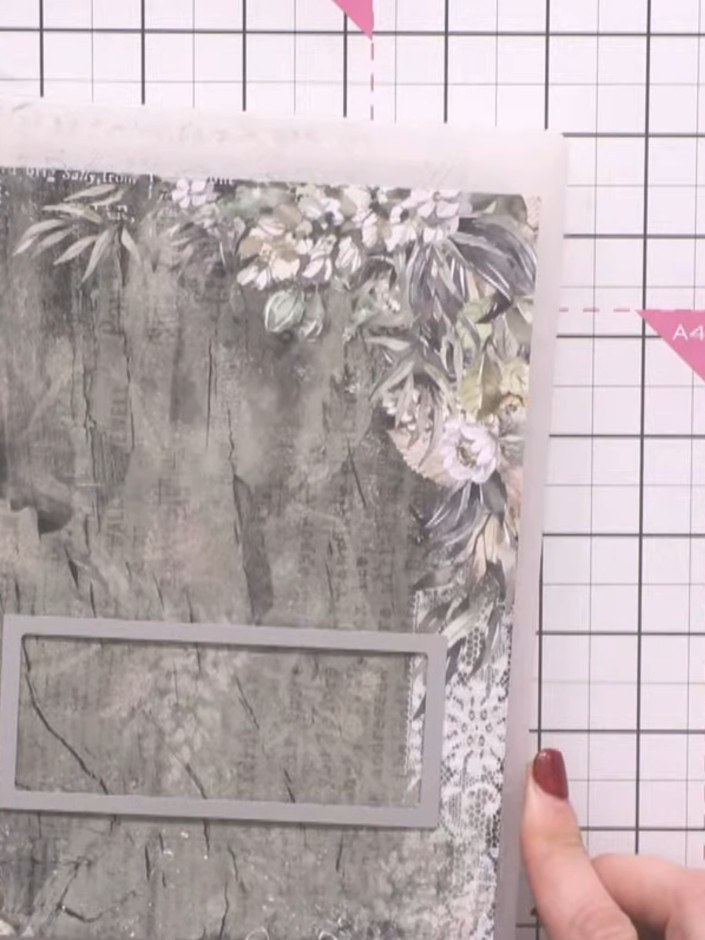
Leg den gestanzten Fensterrahmen auf dein dekoratives Papierstück. Dieser Rahmen bildet die Fensteröffnung für dein Slider-Element.
▶ watch this step (15:30)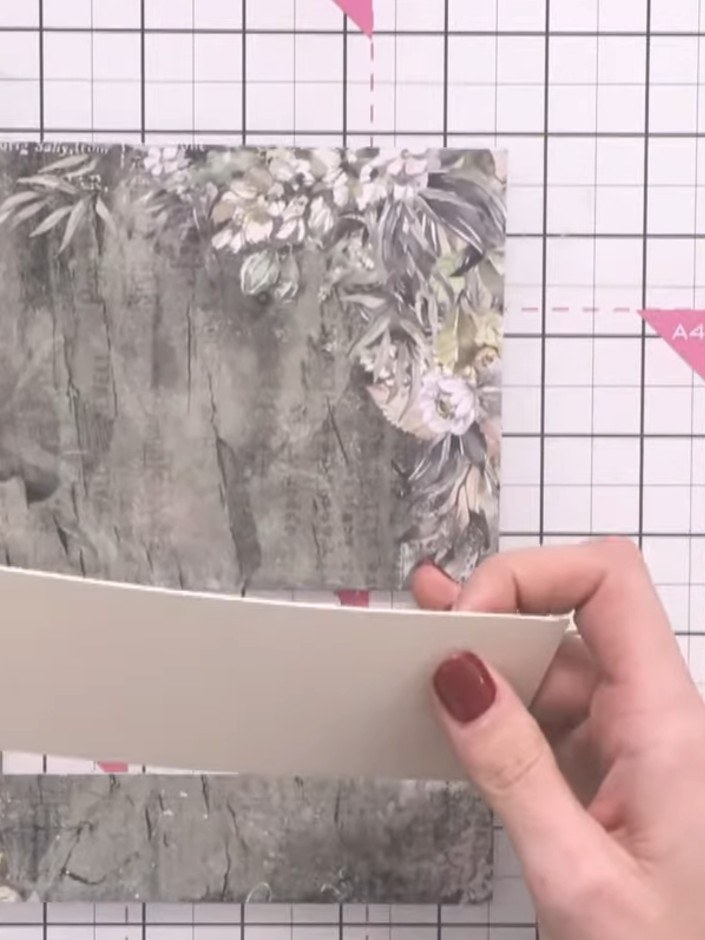
Schneide das Slider-Teil so zu, dass es sich geschmeidig durch die Fensteröffnung ziehen lässt – nicht zu locker und nicht zu stramm. Probier es aus, indem du es durch die Öffnung schiebst, damit du sicher bist, dass alles schön gleitet.
▶ watch this step (17:30)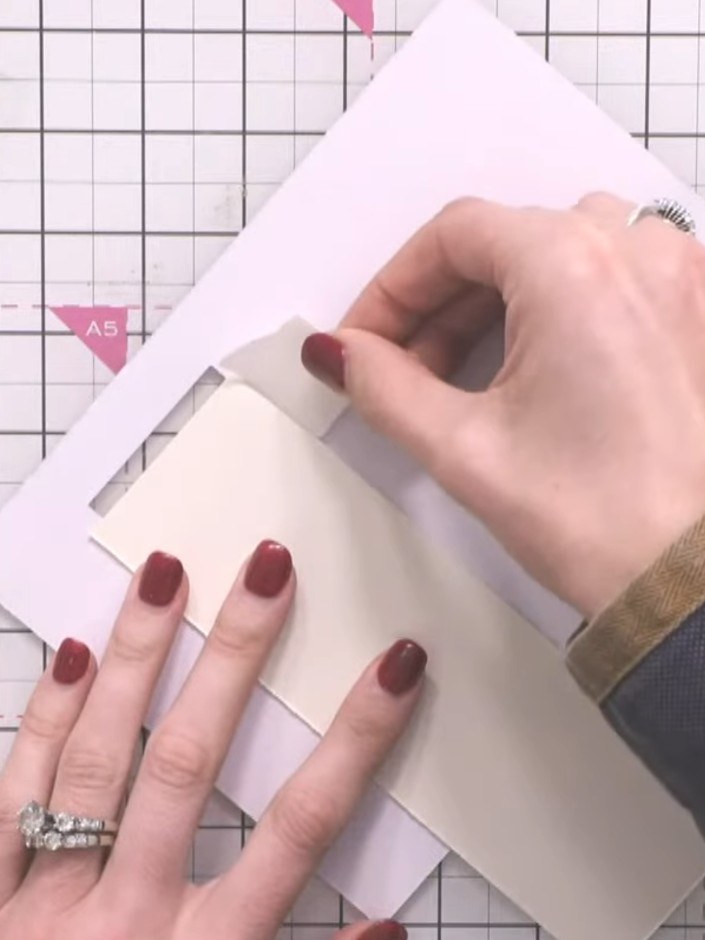
Setz Abstandspads rund um das Fenster auf deiner Kartenbasis und lass dabei eine Seite offen. So entsteht ein erhöhter Kanal, durch den der Slider-Mechanismus ganz leicht gleiten kann.
▶ watch this step (18:30)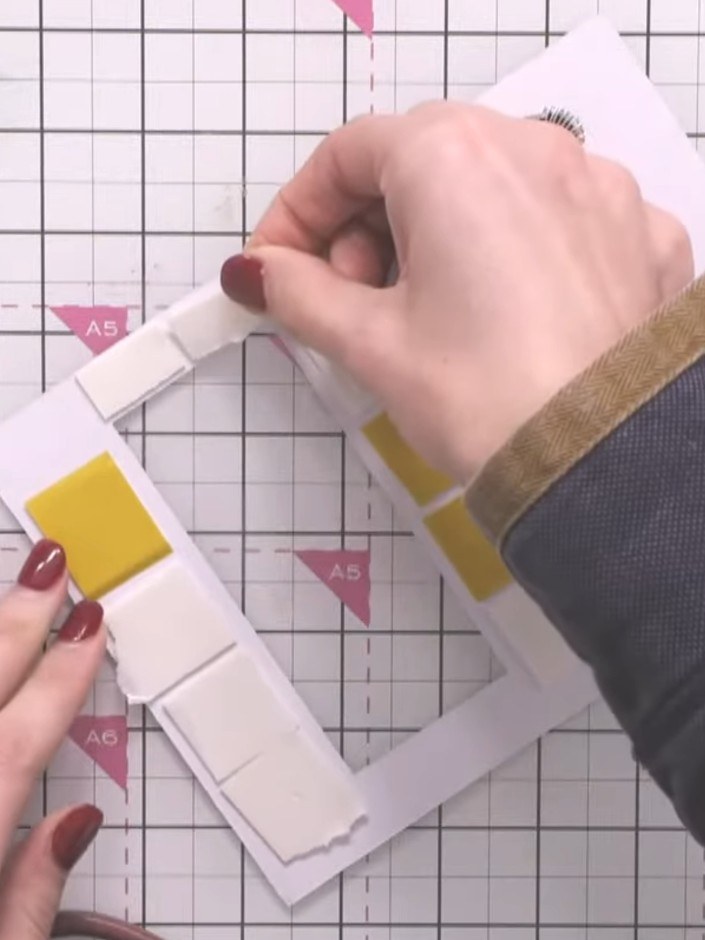
Setz dünne Abstandspads als Stopper an das Ende des Fensterteils, das den gelben Quadraten gegenüberliegt. So rutscht der Slider beim Herausziehen nicht komplett heraus.
▶ watch this step (20:30)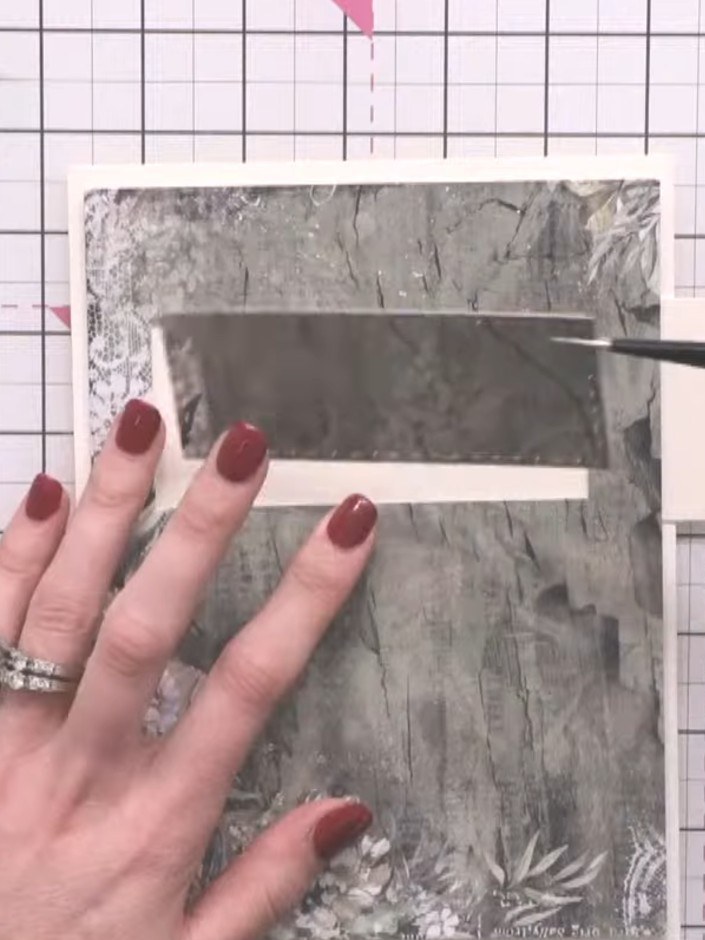
Trag mit einem Klebestift vorsichtig Kleber auf die Ränder deines ausgewählten Motivs oder Deko-Elements auf. Kleb es auf das Slider-Teil – achte dabei darauf, dass nur an den Rändern Kleber ist, damit nichts an den Fensterkanten hängen bleibt, wenn sich der Slider bewegt.
▶ watch this step (27:15)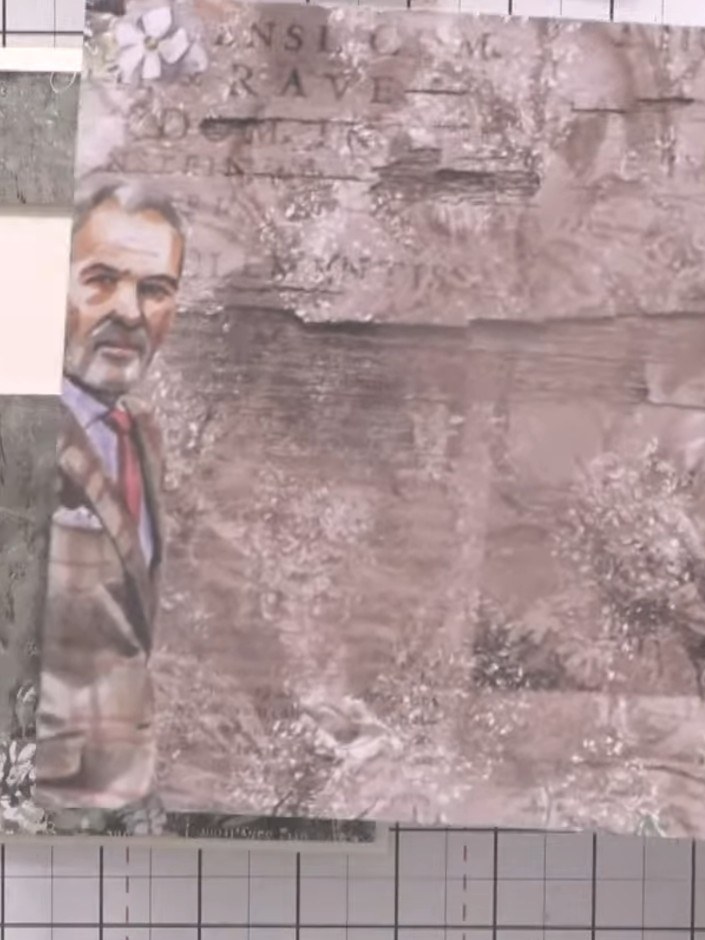
Stempel einen Spruch oder eine Botschaft auf die Kartenbasis, und zwar genau an die Stelle, die beim Herausziehen des Sliders sichtbar wird. Positioniere ihn so, dass er im Fenster erscheint.
▶ watch this step (31:00)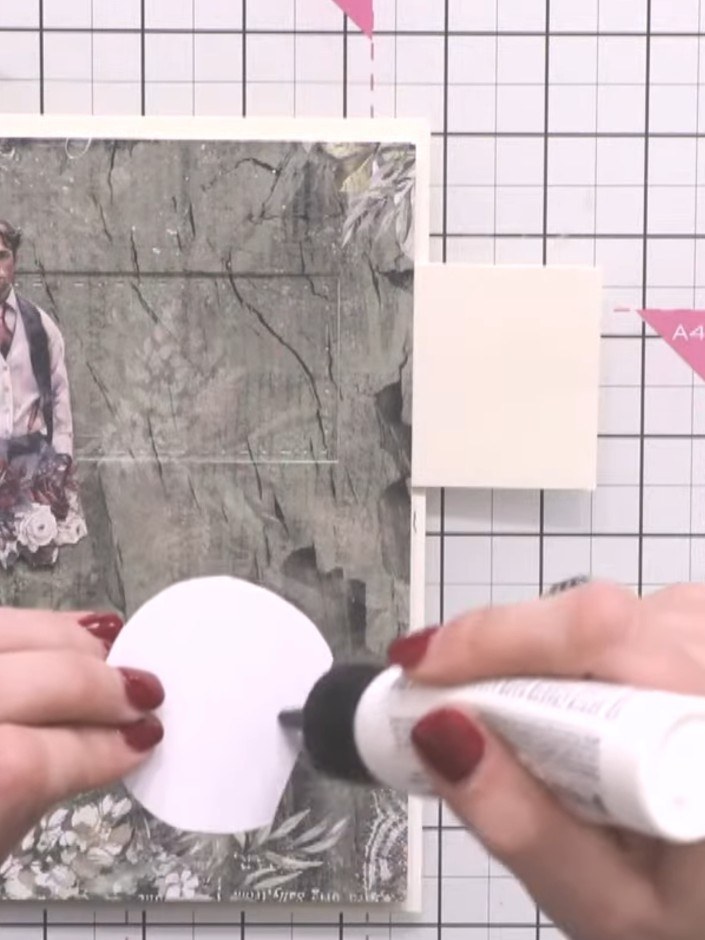
Kleb Abstandspads auf die Rückseite deines Hauptmotivs (des Figuren-Toppers). Stapel die Abstandspads so, dass genug Höhe entsteht und das Motiv genau auf der richtigen Ebene sitzt, um mit den Elementen auf deiner Kartenbasis zusammenzuspielen.
▶ watch this step (34:45)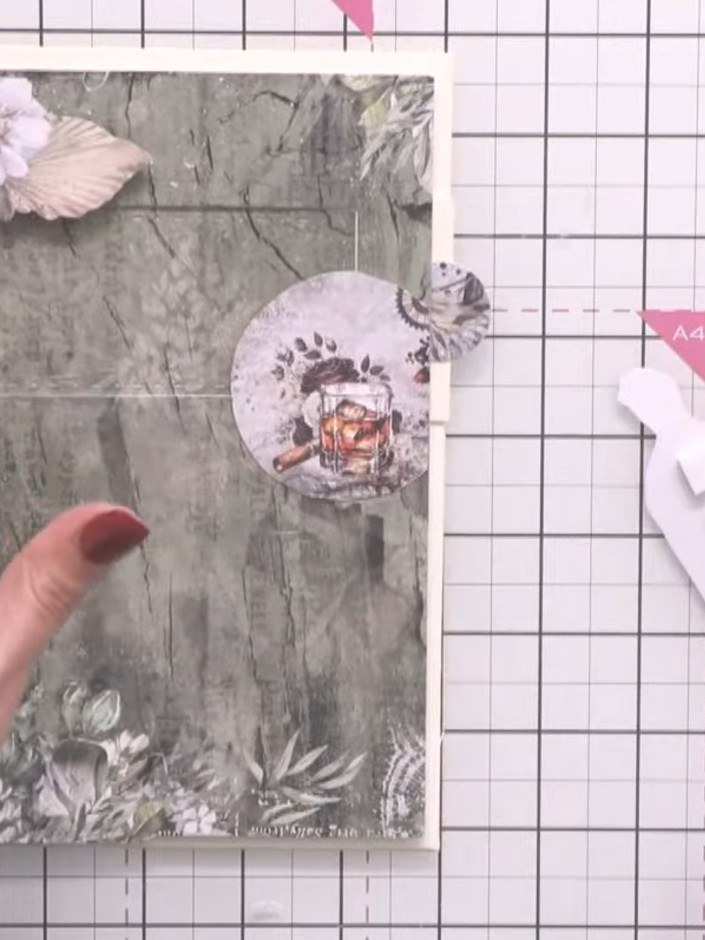
Schneide dekorative Elemente aus deinem Papierblock sorgfältig entlang der Konturen aus und verteile sie mit Abstandspads auf der Kartenvorderseite – das sorgt für Tiefe und macht deine Karte richtig spannend.
▶ watch this step (46:00)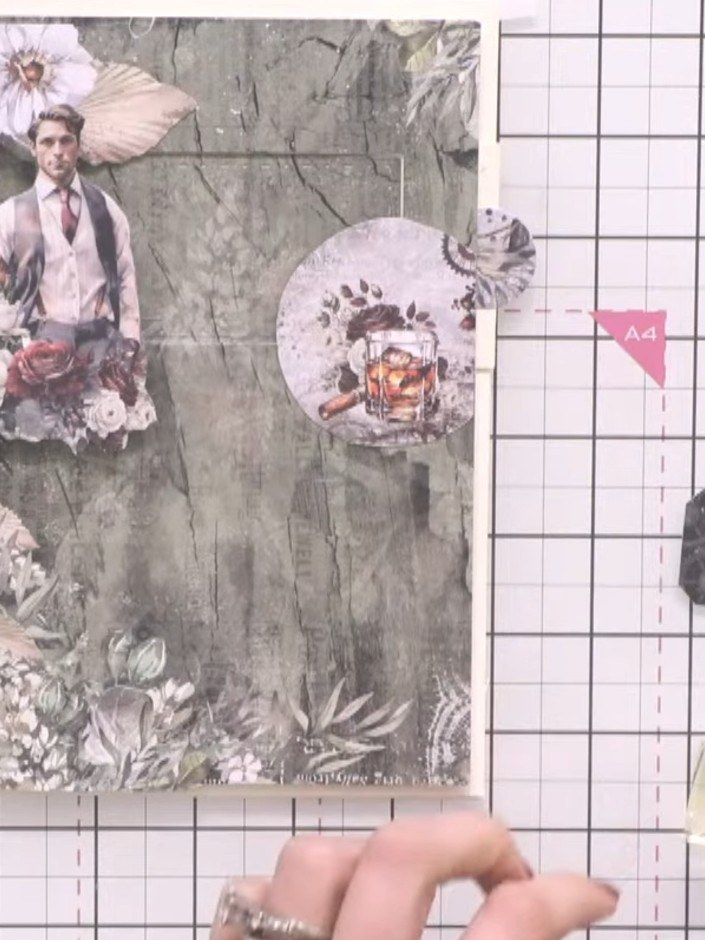
Bring mit weißem Embossingpulver und dem Heißluftfön per Heißembossing einen Spruch auf ein dekoratives Schild. Positioniere das embosste Schild unten auf der Kartenvorderseite.
▶ watch this step (50:30)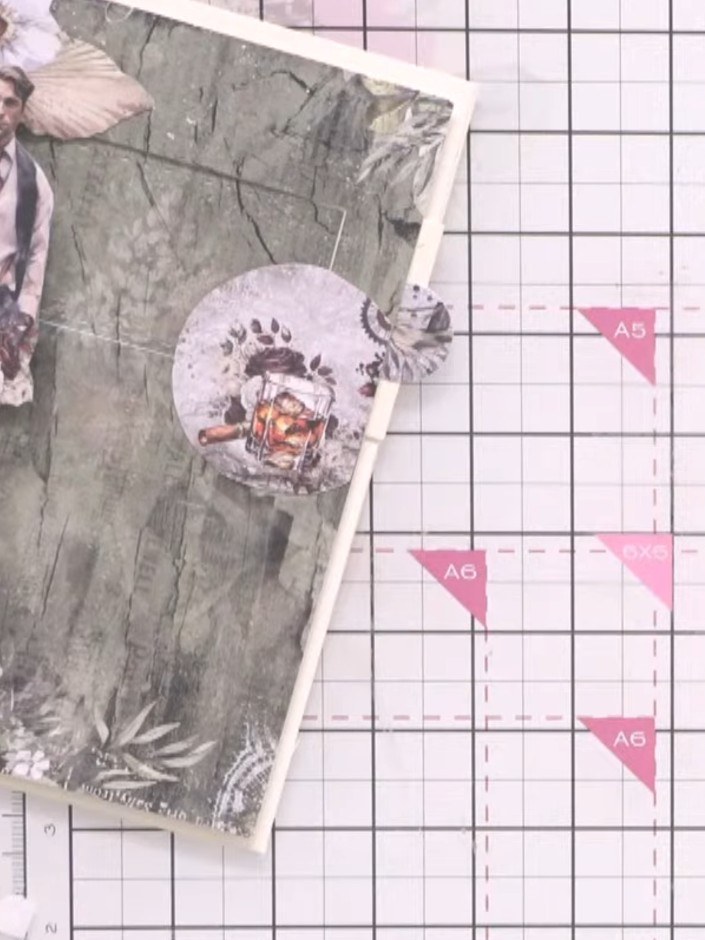
Kleb das embosste Schild mit Abstandspads auf die Kartenvorderseite, damit es schön plastisch wirkt. Teste dann, ob sich der Slider-Mechanismus geschmeidig bewegt, ohne an irgendwelchen Kartenelementen hängen zu bleiben.
▶ watch this step (52:30)Direkt aus der Show aufgeschrieben. Alle Anleitungen aus unseren Shows ansehen · kostenlose Anleitungen · live auf My Telly ansehen
