Schenke deinen Freundinnen und Freunden 10 € Rabatt auf ihre erste Bestellung!
Freunde WERBEN








 Deal HuntersDi., 10. Nov. 9:00 Uhr
 Hidden GemsMi., 11. Nov. 5:00 Uhr
 The Thursday DropDo., 12. Nov. 13:00 Uhr
Preise ändern sich sofort. Jede Sprache ist unsere eigene Übersetzung, nicht Google.
Ein Projekt aus unserer Live-Show THE FRIDAY FINAL CUT - Sendung vom 6. November 2026 · 06.11.2026 · ab 55:45 ansehen
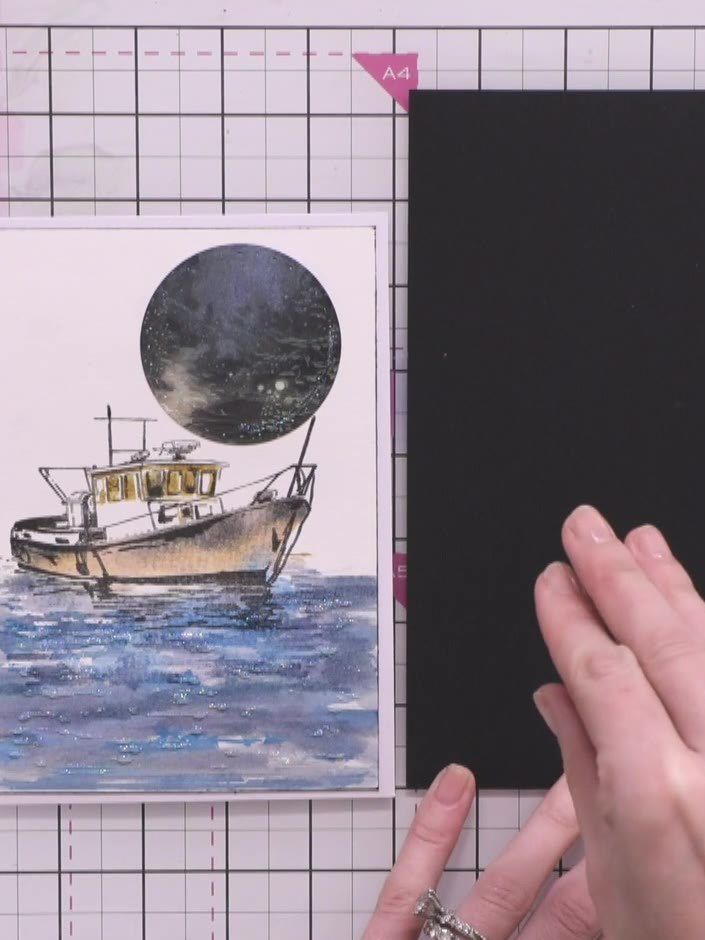
Create a striking boat card on black cardstock with white pigment ink stamping and clear embossing for a sophisticated, high-contrast finish. The embossed detail creates a glass-like dimensional shimmer that makes the nautical design truly stand out. This elegant technique transforms a simple stamp into a dramatic, contemporary greeting card.
DIESE ANLEITUNG HERUNTERLADEN (PDF)
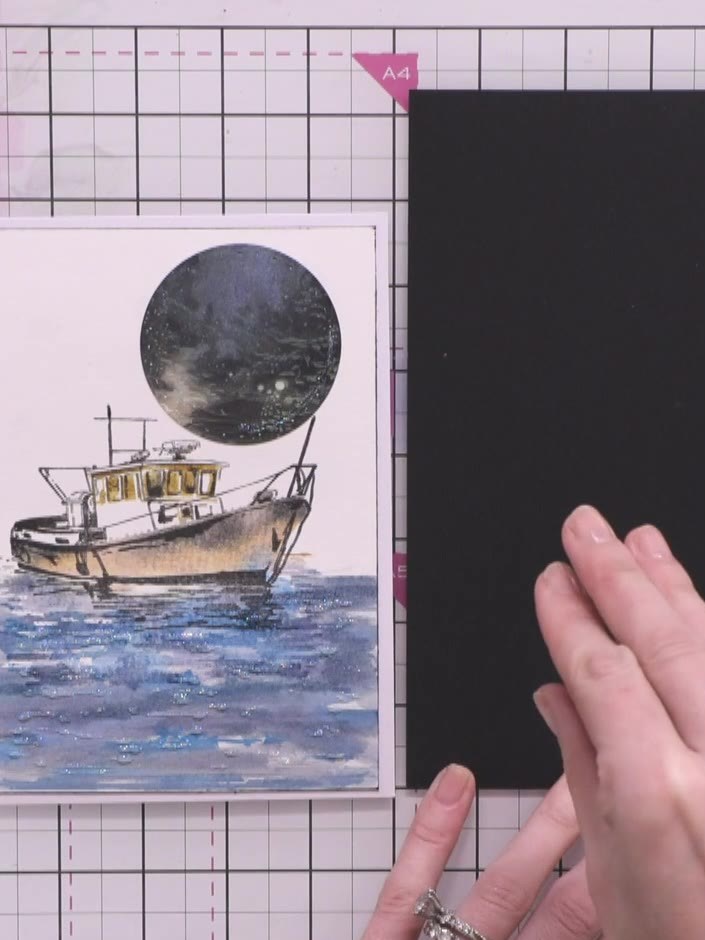
Cut a piece of black cardstock to your desired card size.
▶ diesen Schritt ansehen (55:45)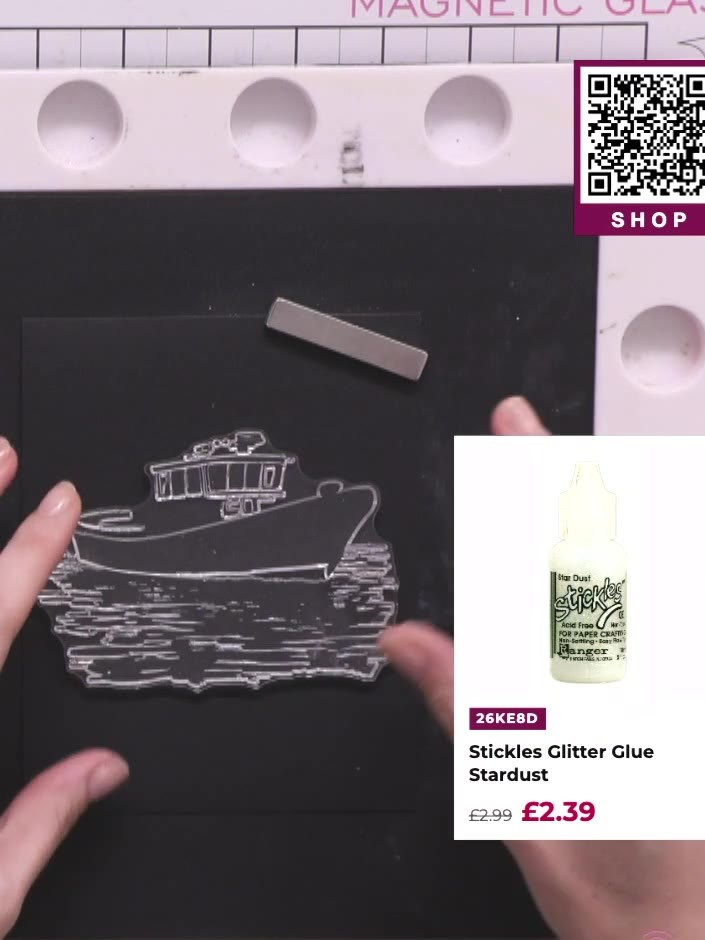
Ink up the solid portion of the boat stamp using white pigment ink, ensuring even coverage across the entire stamping surface.
▶ diesen Schritt ansehen (58:15)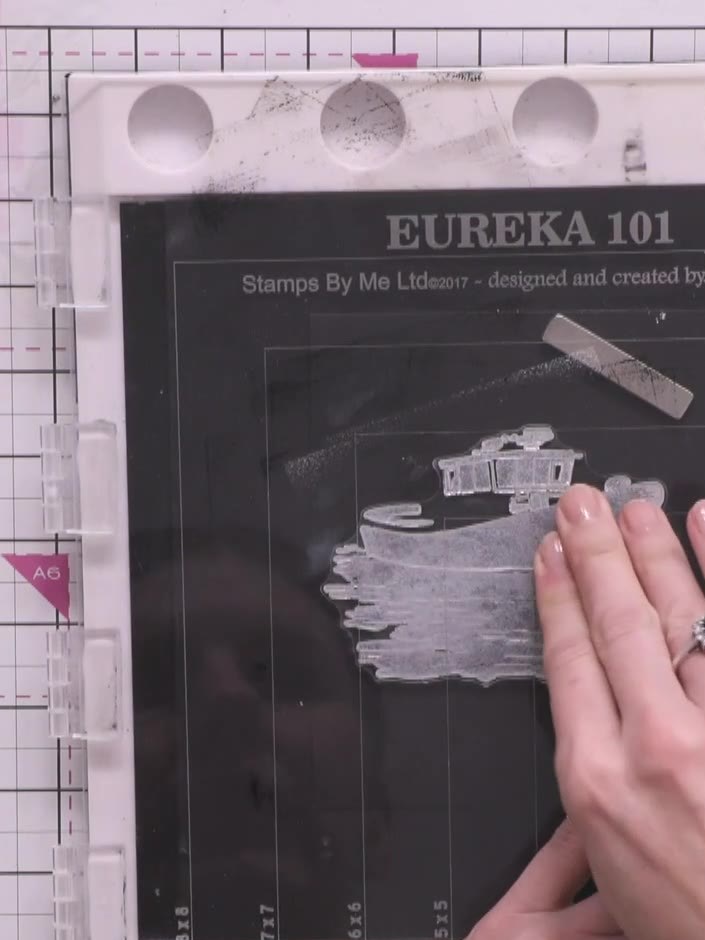
Stamp the inked solid portion of the boat image onto the black cardstock, positioning it in the centre of the panel.
▶ diesen Schritt ansehen (58:30)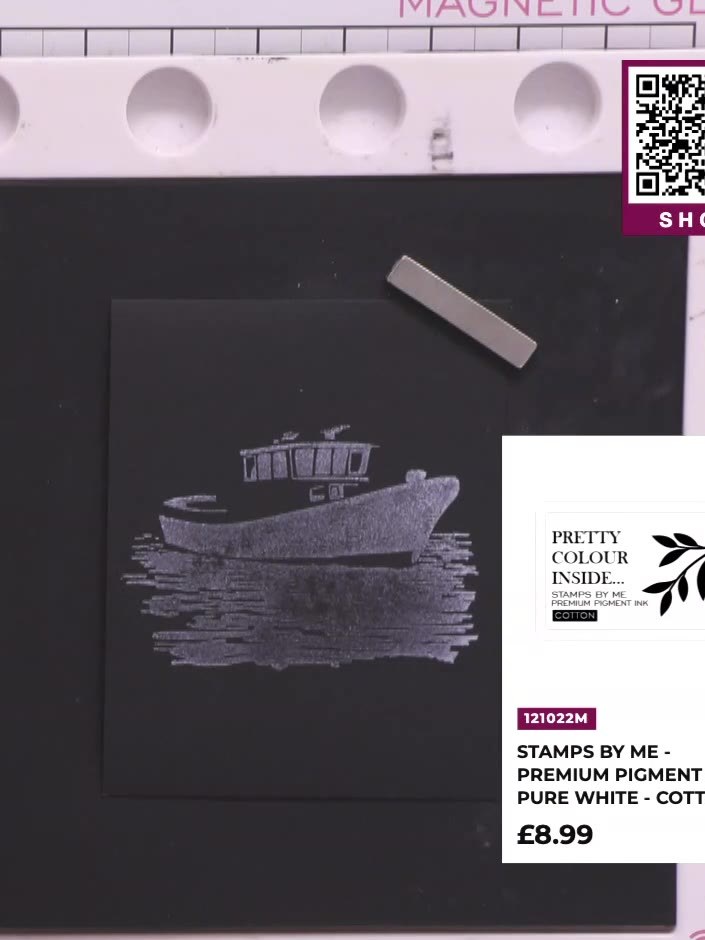
Reload the stamp with white pigment ink and stamp a second time directly over the first impression to build up the white colour and create a more opaque finish.
▶ diesen Schritt ansehen (59:30)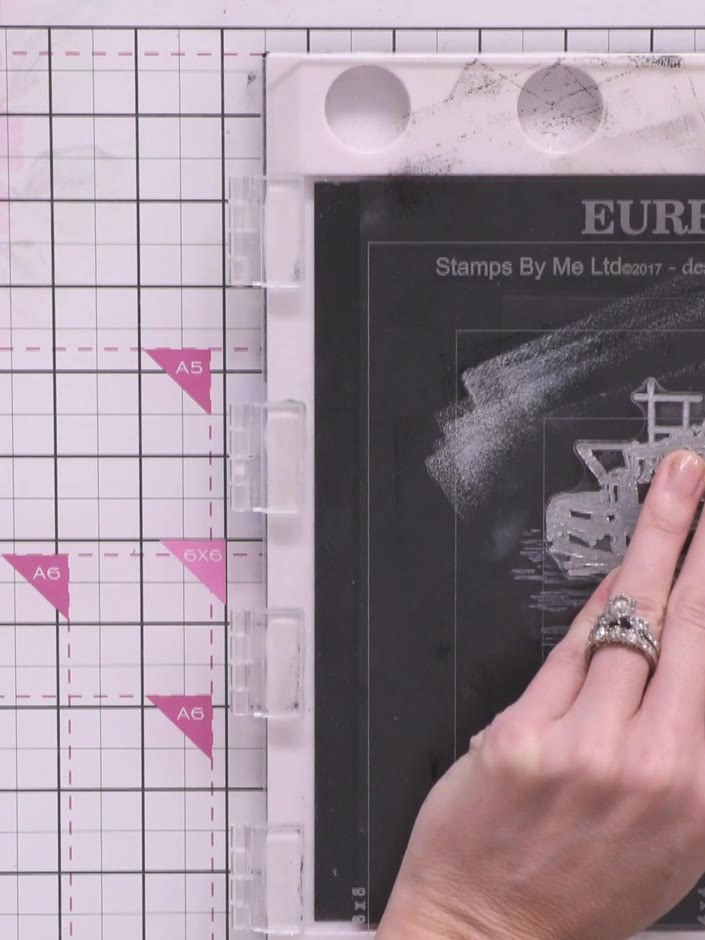
Sprinkle clear gloss embossing powder over the wet white ink on the boat image. Ensure the powder covers all the stamped areas completely.
▶ diesen Schritt ansehen (1:00:00)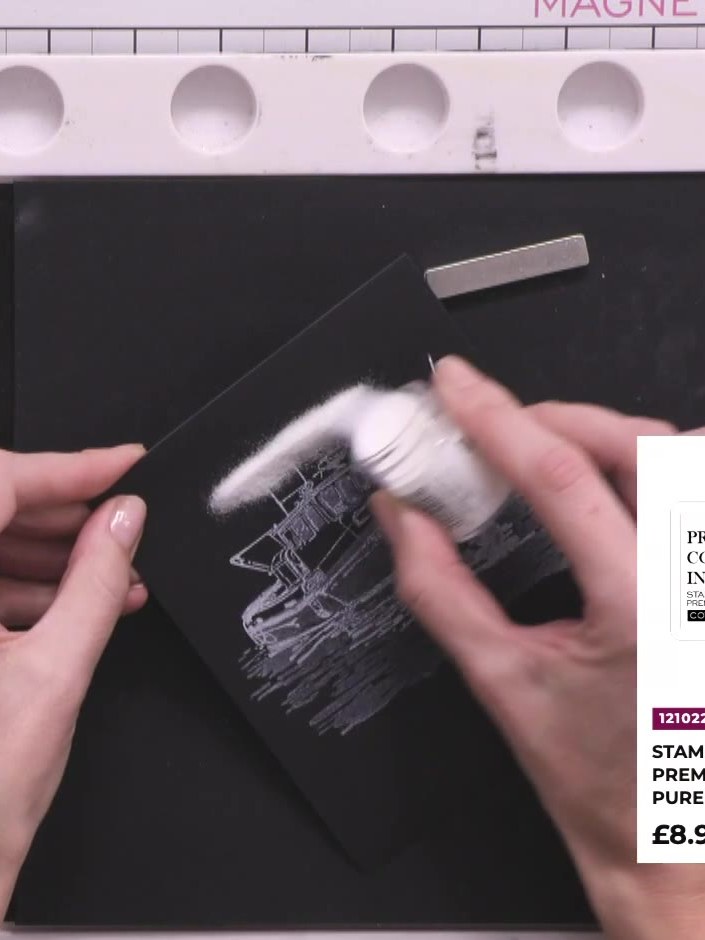
Heat-set the white embossing powder using a heat gun, moving it over the surface until the powder melts and becomes shiny and glass-like.
▶ diesen Schritt ansehen (1:00:45)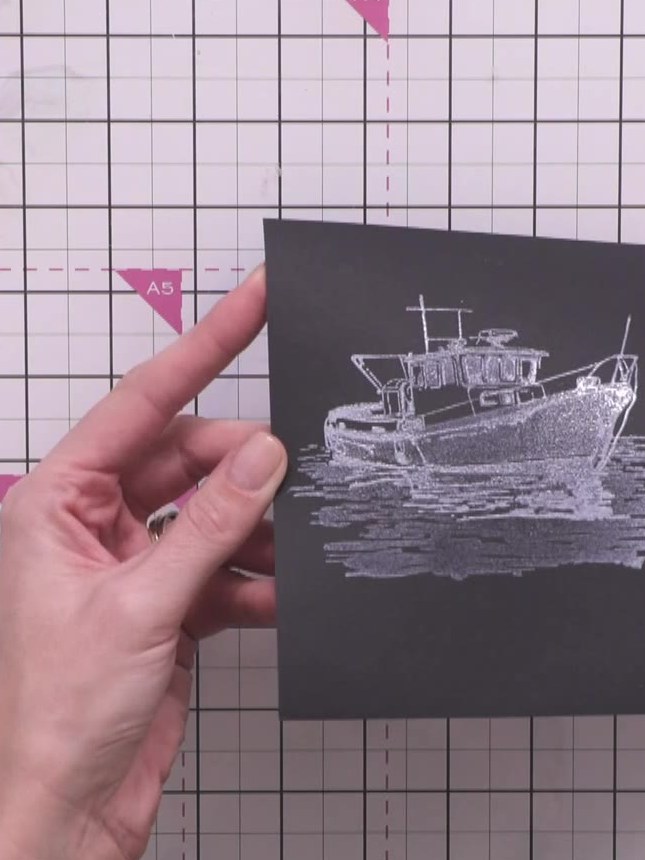
Once the embossed image has cooled, you can optionally add white details such as a moon or additional highlights to complement the embossed boat design on your black cardstock.
▶ diesen Schritt ansehen (1:02:45)Direkt aus der Show aufgeschrieben. Alle Anleitungen aus unseren Shows ansehen · kostenlose Anleitungen · live auf My Telly ansehen
