Schenke deinen Freundinnen und Freunden 10 € Rabatt auf ihre erste Bestellung!
Freunde WERBEN








 Aus der CommunityMo., 23. Nov. 5:00 Uhr
 Deal HuntersDi., 24. Nov. 8:00 Uhr
 Hidden GemsMi., 25. Nov. 5:00 Uhr
Preise ändern sich sofort. Jede Sprache ist unsere eigene Übersetzung, nicht Google.
Ein Projekt aus unserer Live-Show THE THURSDAY DROP – Ausstrahlung vom 19. November 2026 · 19.11.2026 · ab 26:30 ansehen
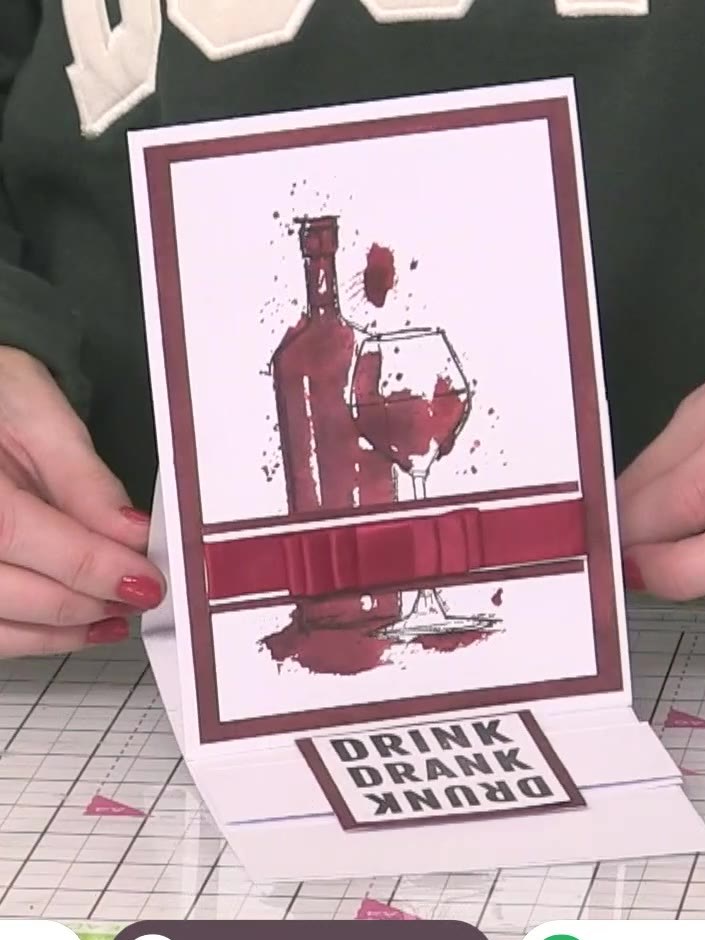
Create an elegant easel-style Christmas card featuring a sophisticated wine bottle and glass design in rich burgundy tones. The card showcases a hand-painted effect achieved through lamination technique with aged mahogany distress ink, complete with coordinating ribbon embellishment and a festive 'Drink Drank Drunk' sentiment. This striking design stands upright as an easel card, making it a perfect statement piece for the festive season.
 100569 - HTCN - A5 STEMPEL - LAMINATION - WEEKEND - 110722EANSEHEN
 Tim Holtz - Distress - Stempelkissen Mini Aged MahoganyANSEHEN
DIESE ANLEITUNG HERUNTERLADEN (PDF)
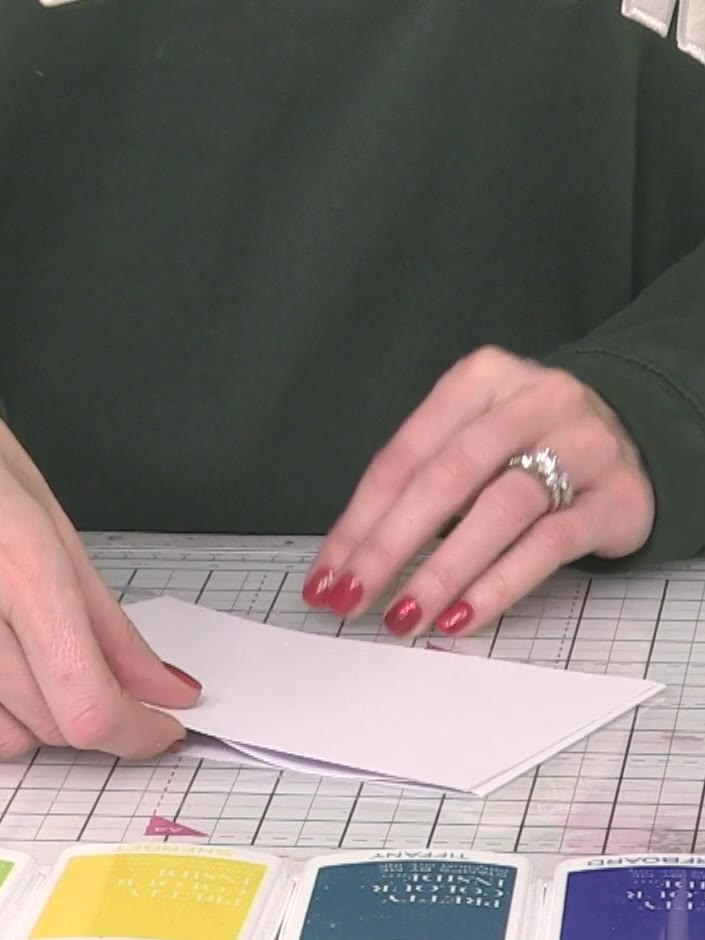
Take a white A5 card blank and score it down the centre vertically using a bone folder, creating a fold line without cutting through the card.
▶ diesen Schritt ansehen (26:30)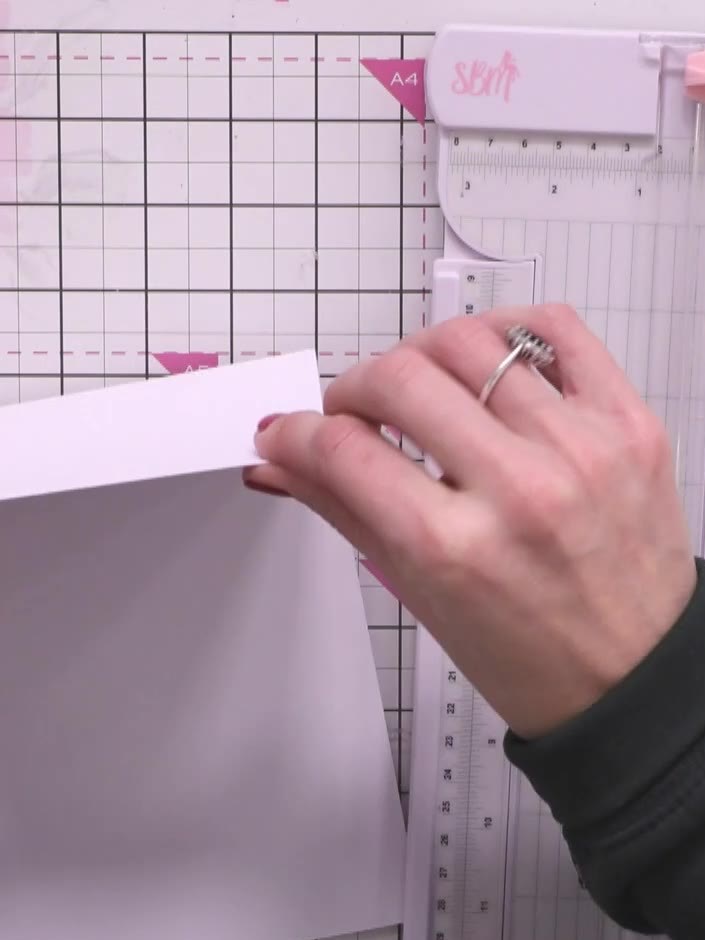
Cut a second piece of white card to the same size as the first. Remove the top portion of this piece to create the easel support.
▶ diesen Schritt ansehen (26:45)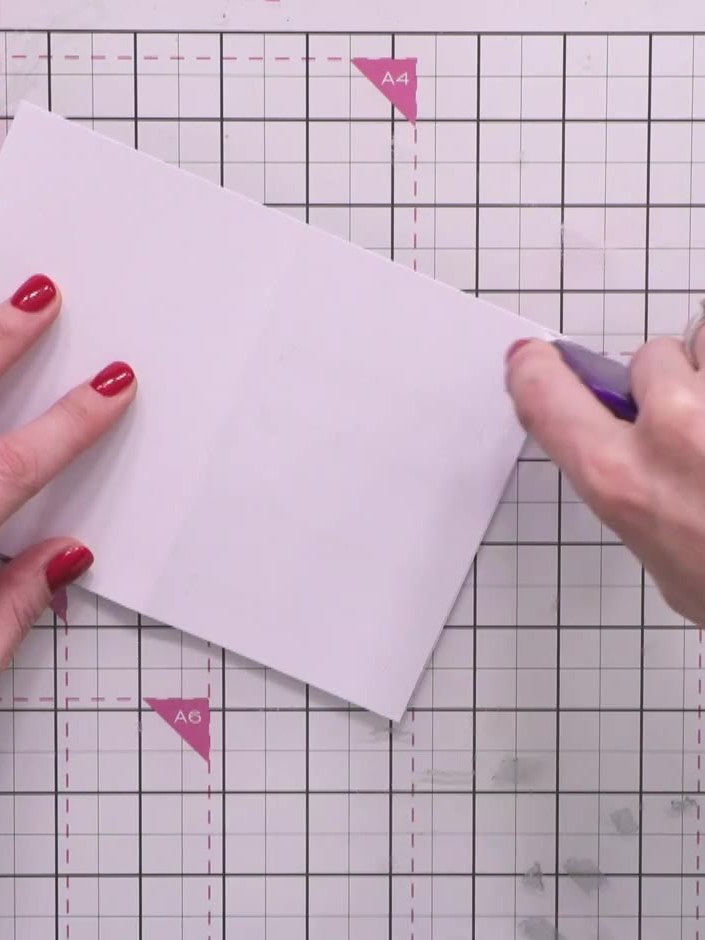
Apply tape to the bottom of the easel support piece and adhere it to the inside of the base card, positioning it to hold the card at an angle when opened.
▶ diesen Schritt ansehen (27:45)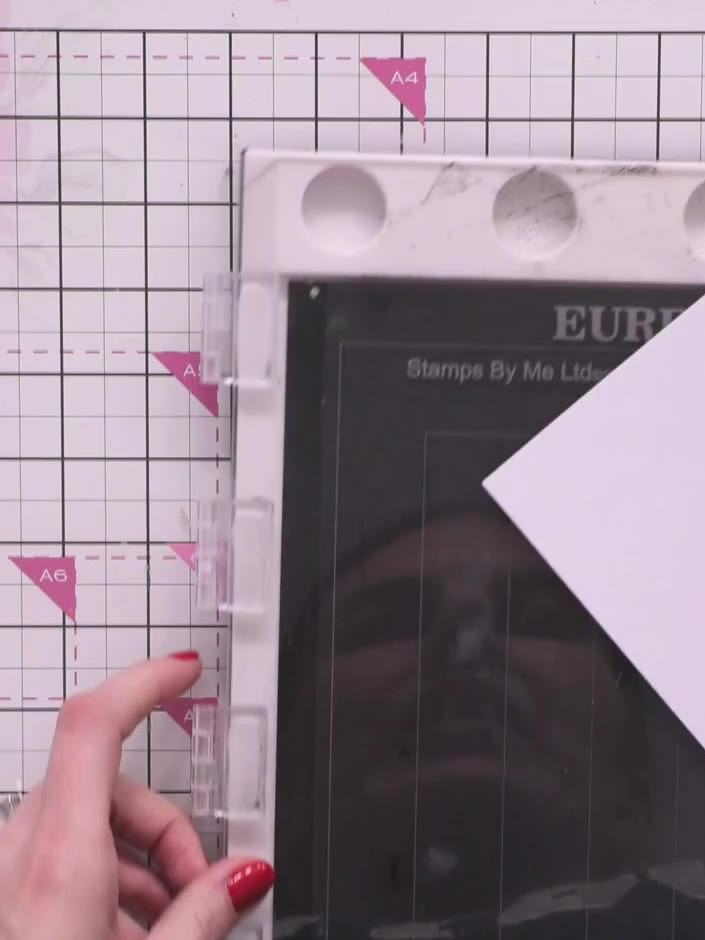
Trim a piece of white card to create a mat slightly smaller than your card front, leaving a narrow border around the edges.
▶ diesen Schritt ansehen (28:30)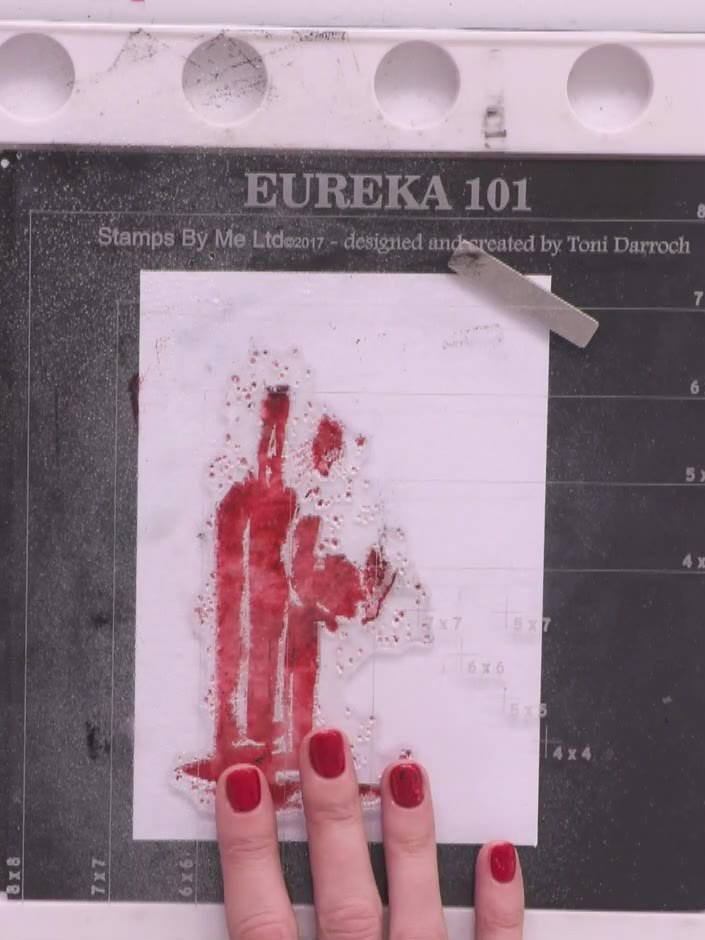
Place a piece of white card on your stamping platform and spray it with water using a spray bottle to dampen the surface evenly.
▶ diesen Schritt ansehen (29:45)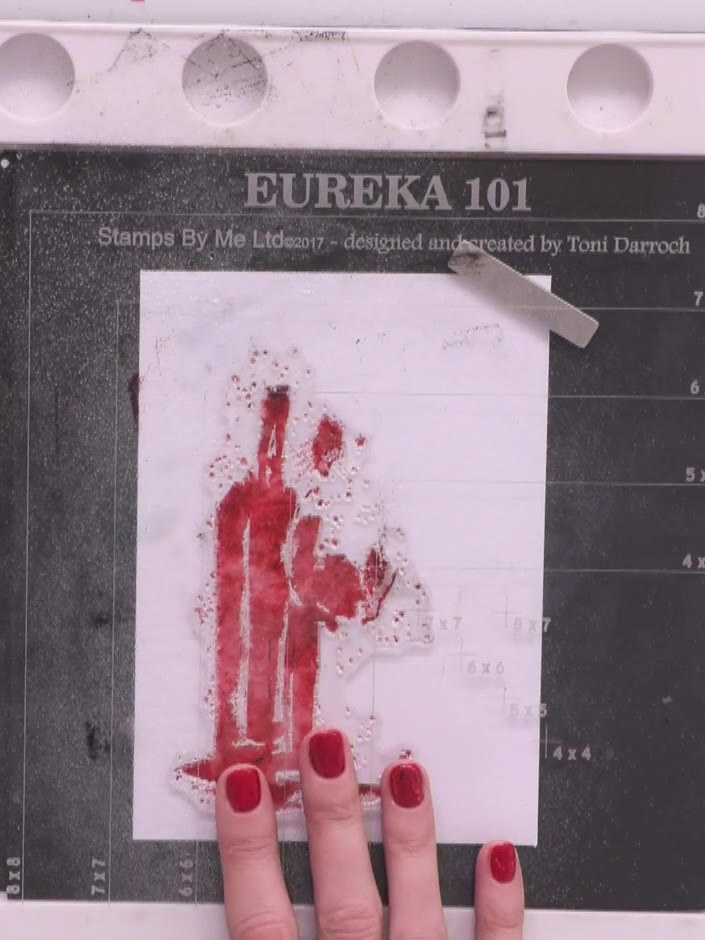
Ink the solid wine bottle stamp with aged mahogany distress ink and stamp it onto the sprayed white card. Press firmly to ensure a clear impression.
▶ diesen Schritt ansehen (30:00)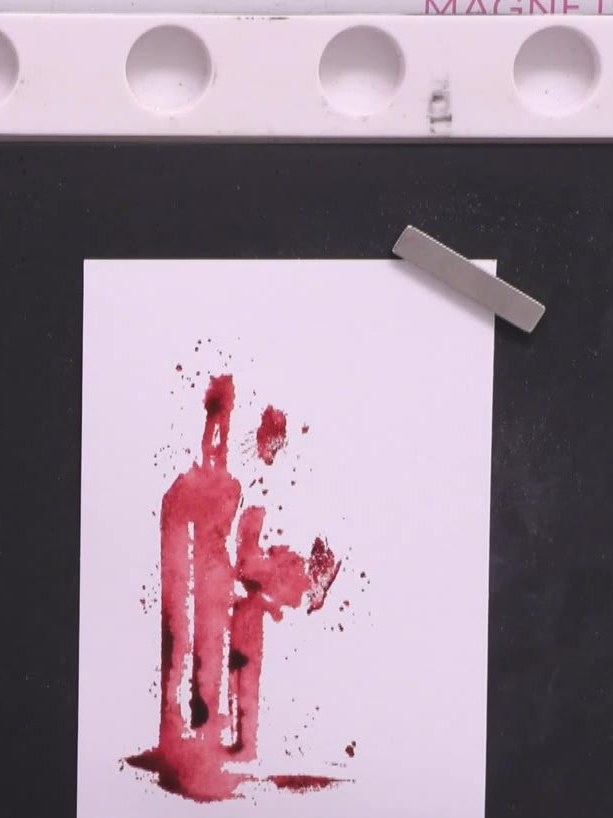
Apply additional aged mahogany distress ink to selected areas of the stamped wine bottle image to create shading and depth. Focus on adding shadows to enhance the dimensional effect of the stamped design.
▶ diesen Schritt ansehen (30:45)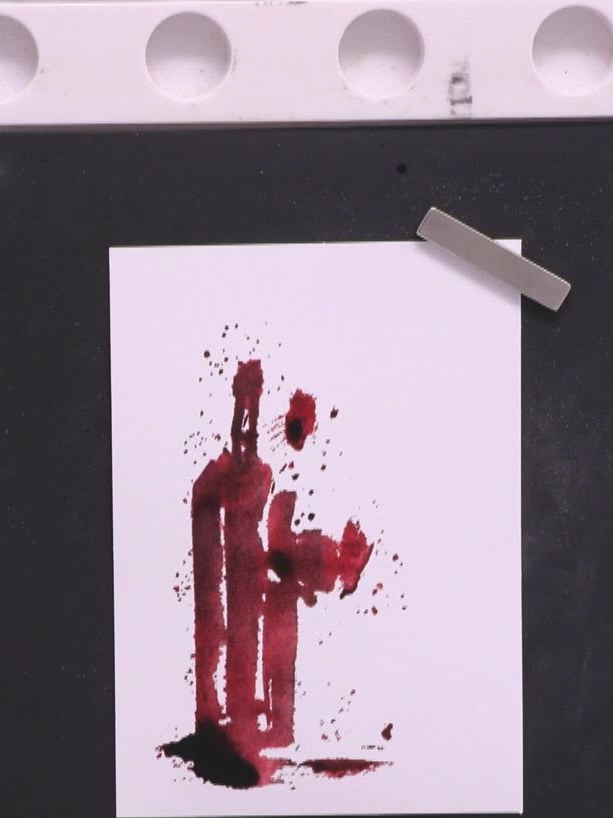
Use a heat gun to thoroughly dry the stamped image on the white card. Ensure the Distress Ink is completely dry before proceeding to the next step.
▶ diesen Schritt ansehen (31:45)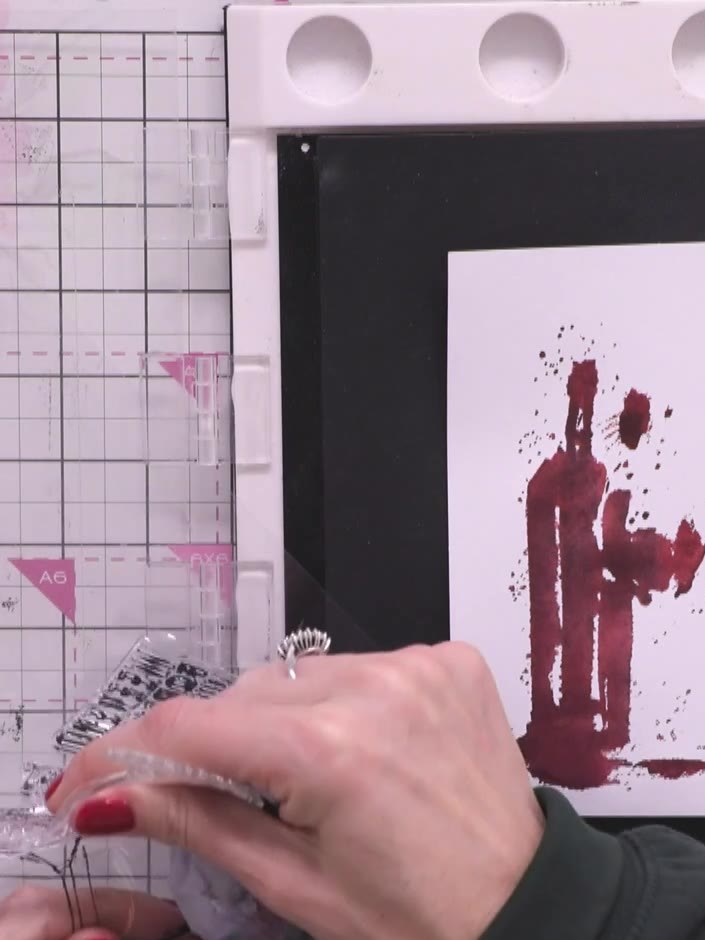
Line up and stamp the outline portion of the lamination stamp in black ink over the coloured wine bottle image on your card panel.
▶ diesen Schritt ansehen (33:00)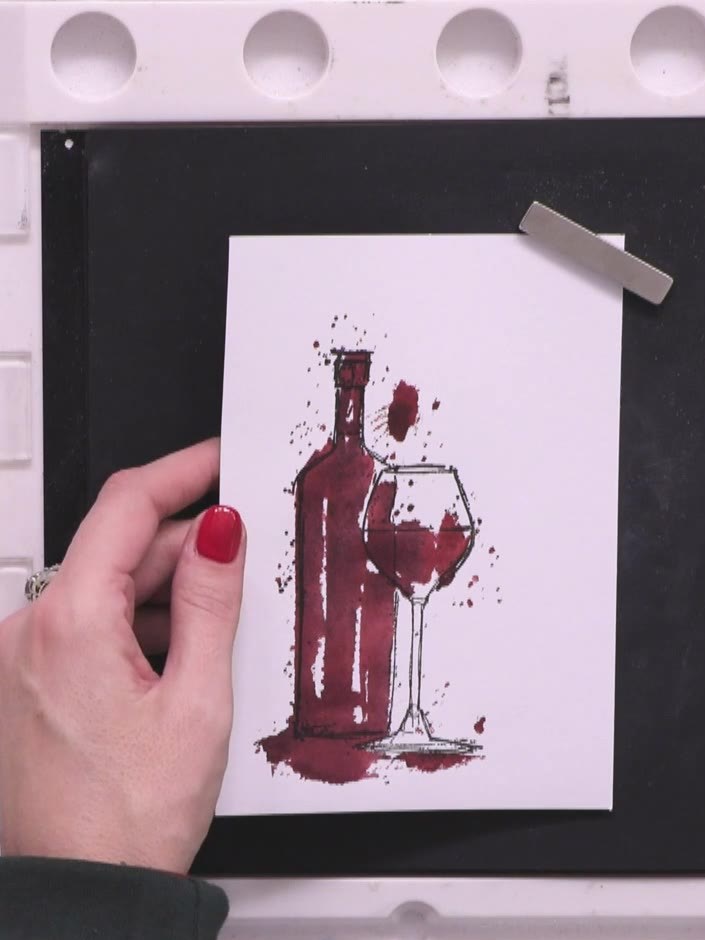
Mount the stamped and coloured wine bottle artwork onto a black mat layer. Position it centrally to create a neat border around the image.
▶ diesen Schritt ansehen (34:30)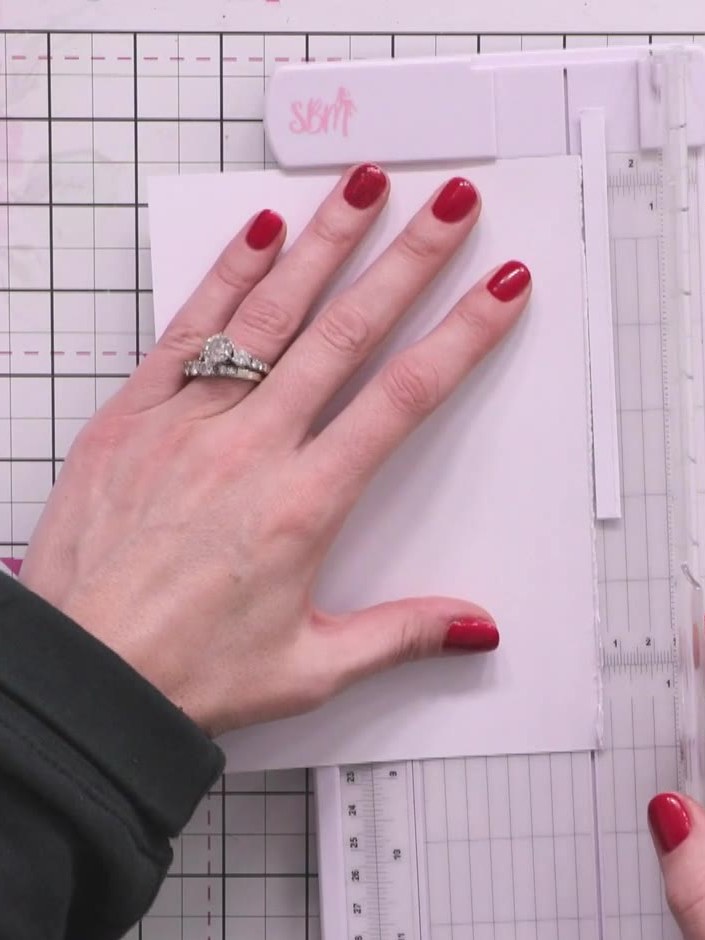
Cut a white mat layer piece for the bottom of the card. This will help the easel card stand upright when assembled. Cut a banner-shaped stopper piece from white card. Stamp the 'drink, drank, drunk' sentiment onto it using burgundy ink.
▶ diesen Schritt ansehen (35:00)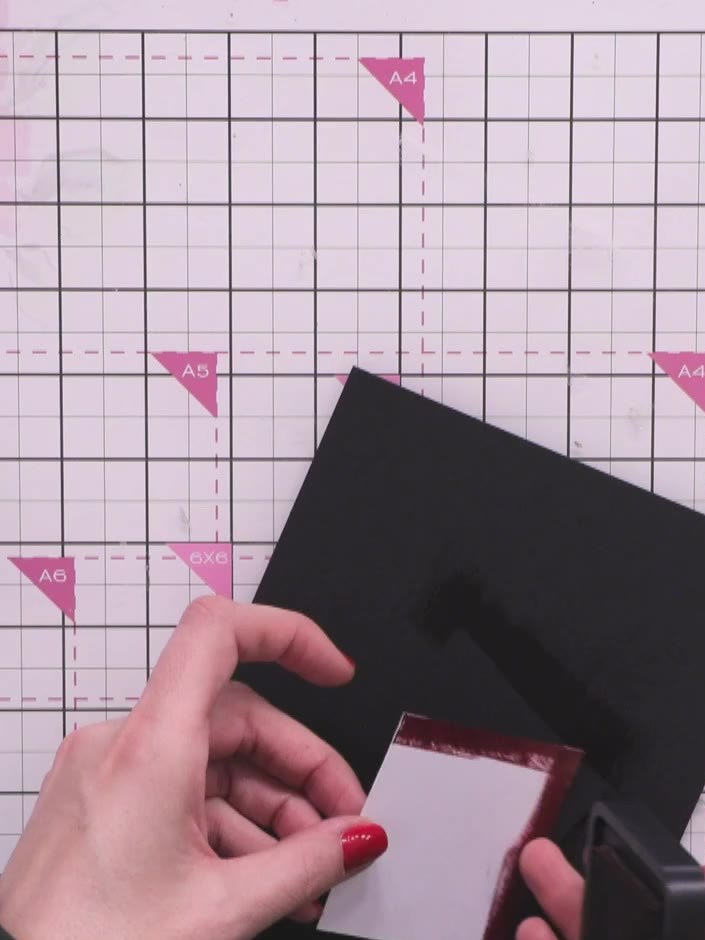
Mount the sentiment piece onto a black mat layer, leaving a narrow border around the edges.
▶ diesen Schritt ansehen (40:00)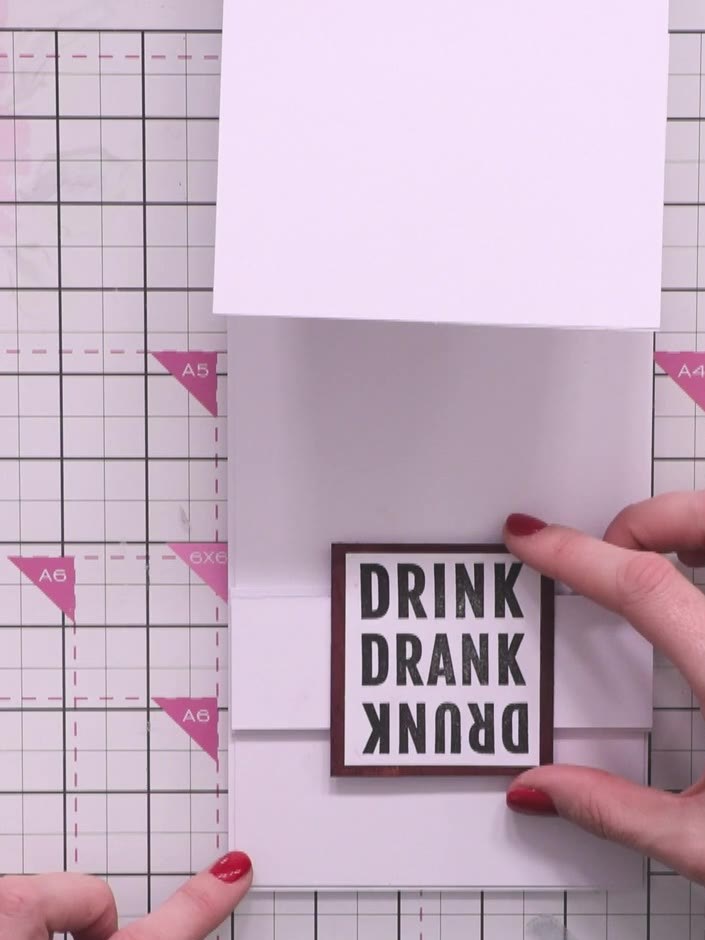
Adhere the matted sentiment stopper piece to the base card to act as the support that holds the easel upright. Position it centrally on the lower half of the card base.
▶ diesen Schritt ansehen (42:45)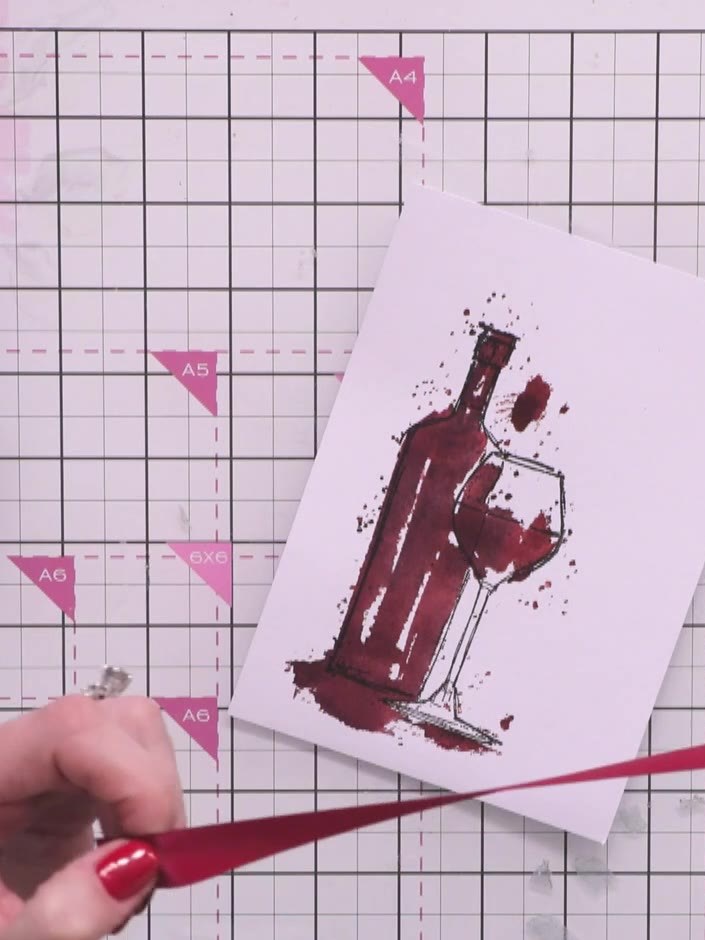
Cut a coordinating burgundy panel piece to sit behind the ribbon. Position it across the centre of your wine bottle artwork.
▶ diesen Schritt ansehen (43:15)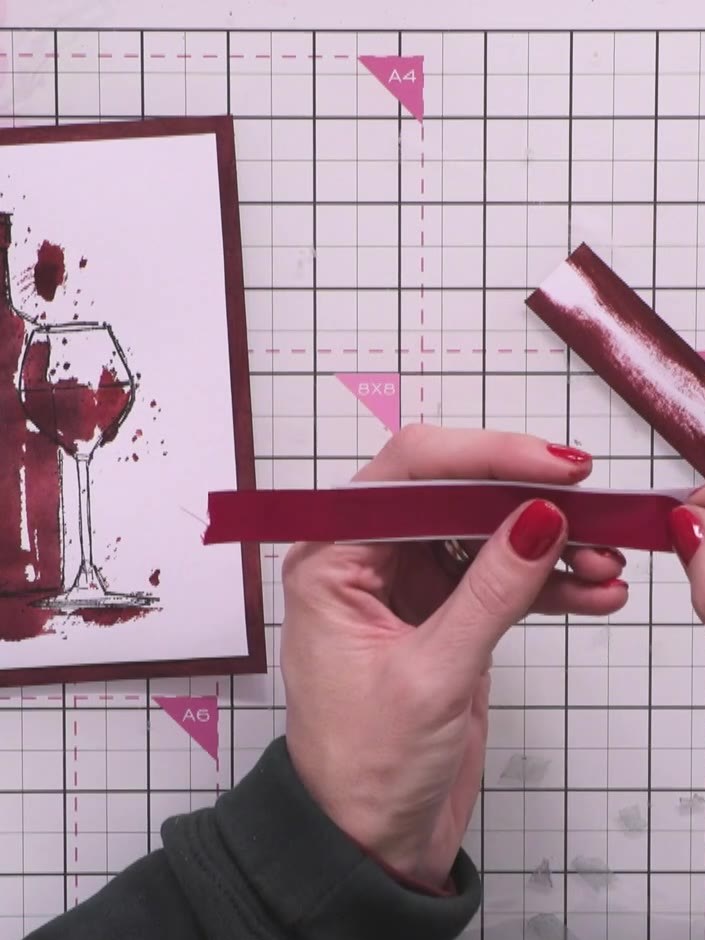
Cut a length of burgundy ribbon and wrap it around the coordinating burgundy panel, securing the ends at the back with tape.
▶ diesen Schritt ansehen (49:15)Direkt aus der Show aufgeschrieben. Alle Anleitungen aus unseren Shows ansehen · kostenlose Anleitungen · live auf My Telly ansehen