Offrez à vos amis 10 € de réduction sur leur première commande !
Parrainez un AMI








 La vitrine de la communautélun. 23 nov. 5 h 00
 Deal Huntersmar. 24 nov. 8 h 00
 Hidden Gemsmer. 25 nov. 5 h 00
Les prix sont mis à jour immédiatement. Chaque langue est notre propre traduction, pas Google.
Une création de notre émission en direct THE THURSDAY DROP - Diffusion du 19 novembre 2026 · 19/11/2026
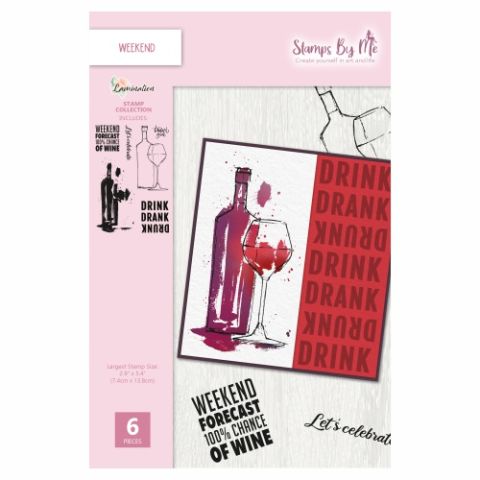
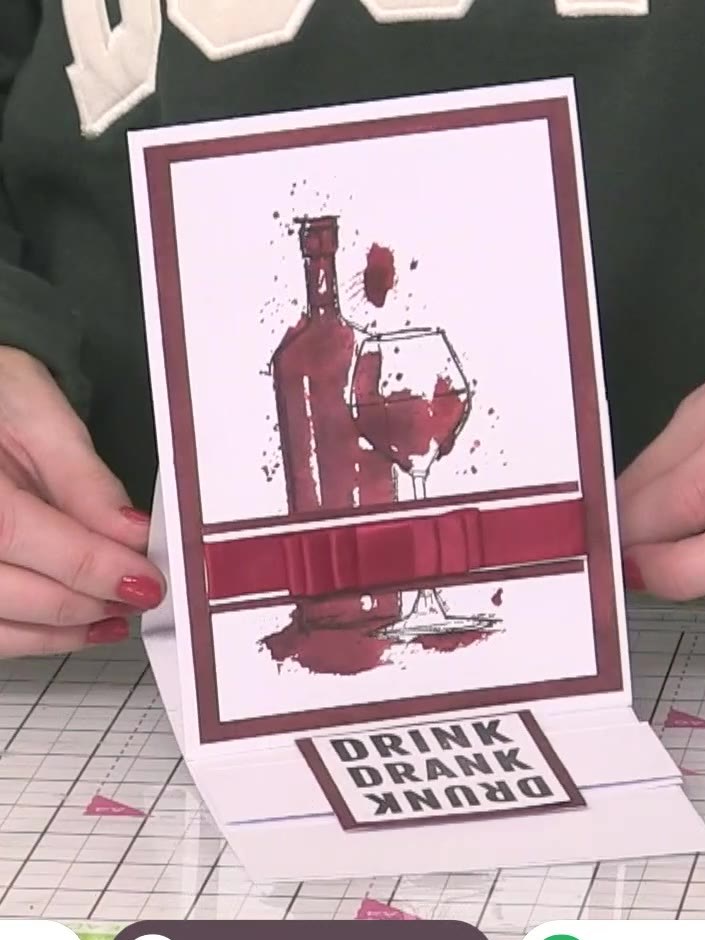
Create an elegant easel-style Christmas card featuring a sophisticated wine bottle and glass design in rich burgundy tones. The card showcases a hand-painted effect achieved through lamination technique with aged mahogany distress ink, complete with coordinating ribbon embellishment and a festive 'Drink Drank Drunk' sentiment. This striking design stands upright as an easel card, making it a perfect statement piece for the festive season.
 1
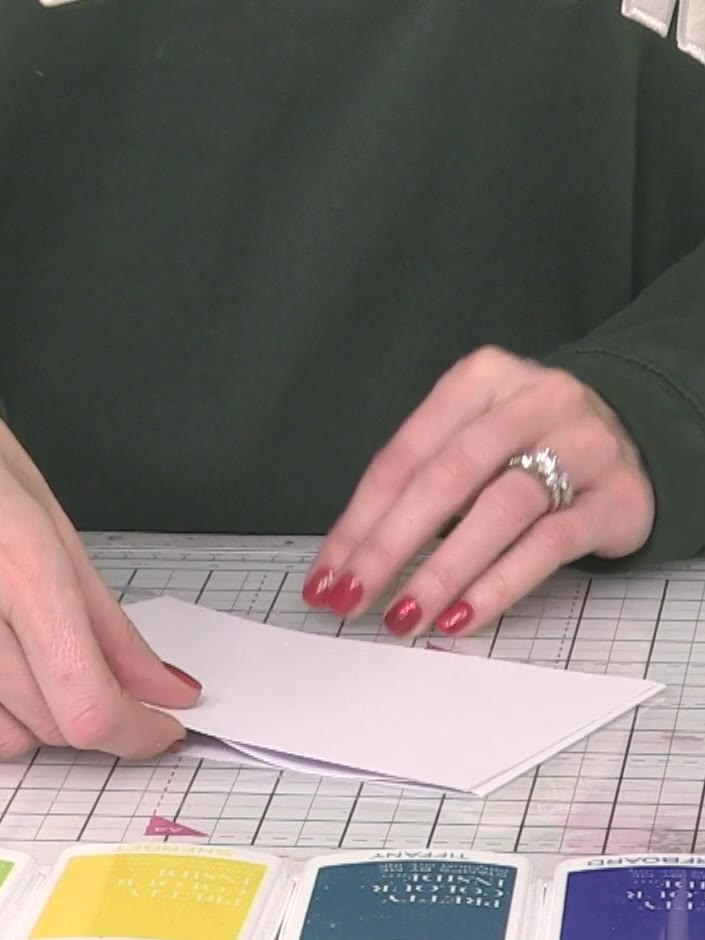
Take a white A5 card blank and score it down the centre vertically using a bone folder, creating a fold line without cutting through the card.
 2
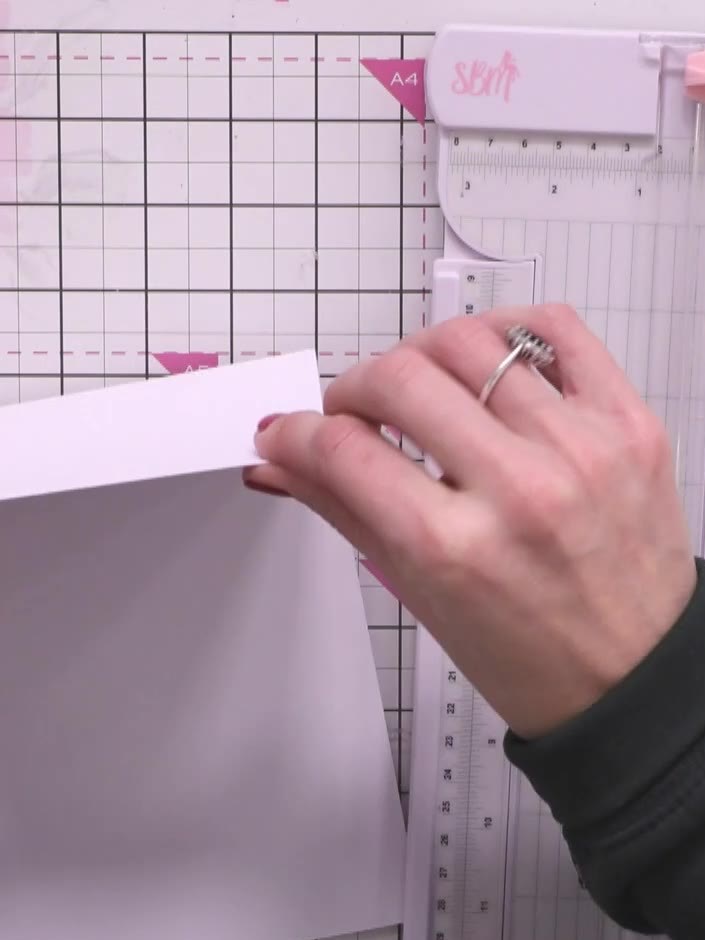
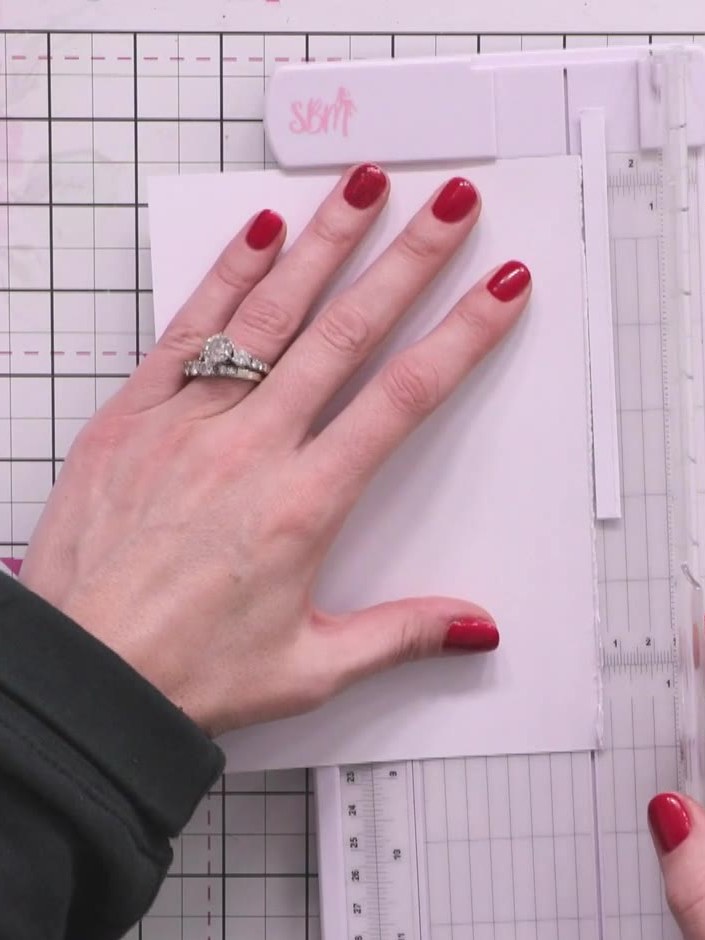
Cut a second piece of white card to the same size as the first. Remove the top portion of this piece to create the easel support.
 3
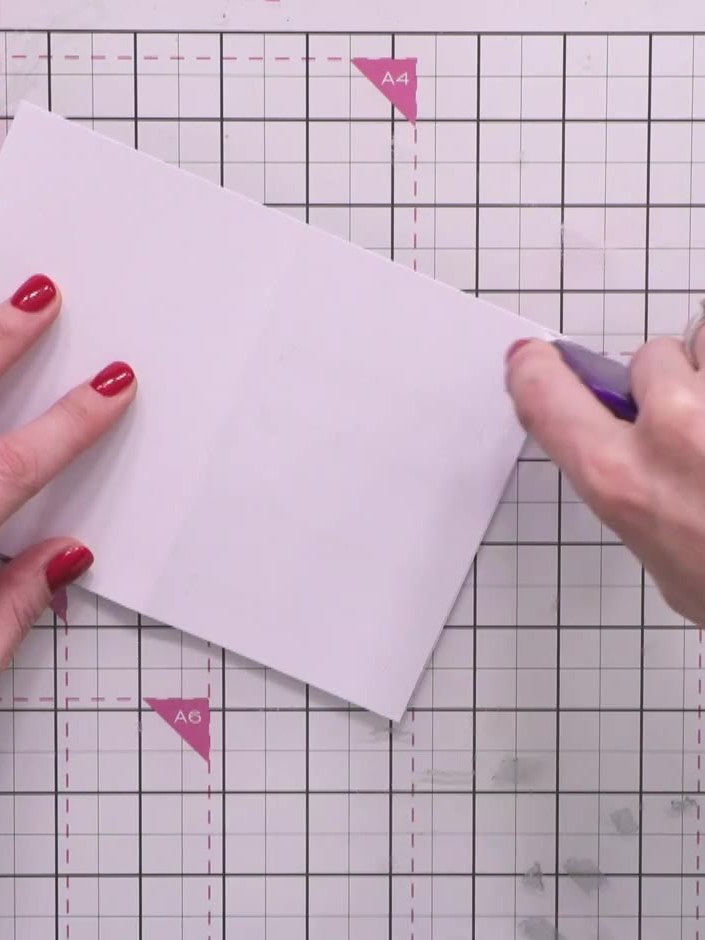
Apply tape to the bottom of the easel support piece and adhere it to the inside of the base card, positioning it to hold the card at an angle when opened.
 4
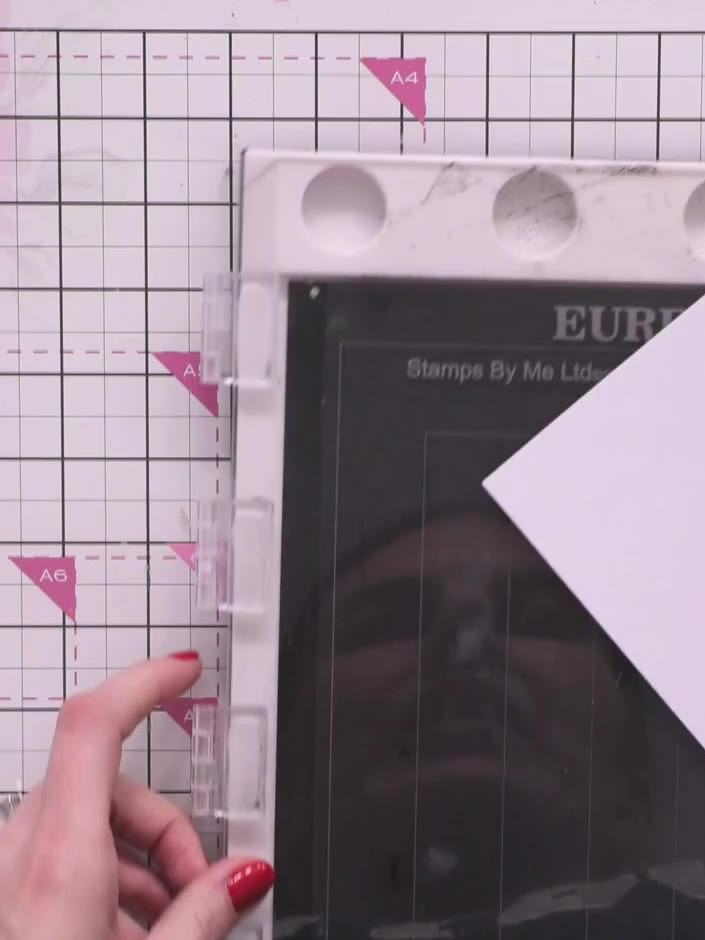
Trim a piece of white card to create a mat slightly smaller than your card front, leaving a narrow border around the edges.
 5
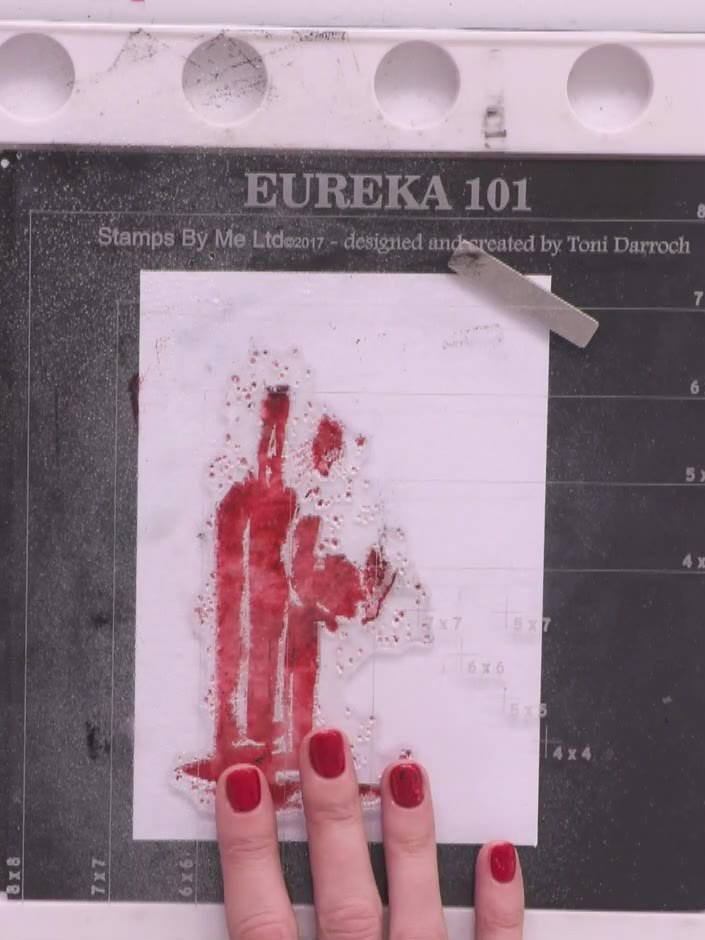
Place a piece of white card on your stamping platform and spray it with water using a spray bottle to dampen the surface evenly.
 6
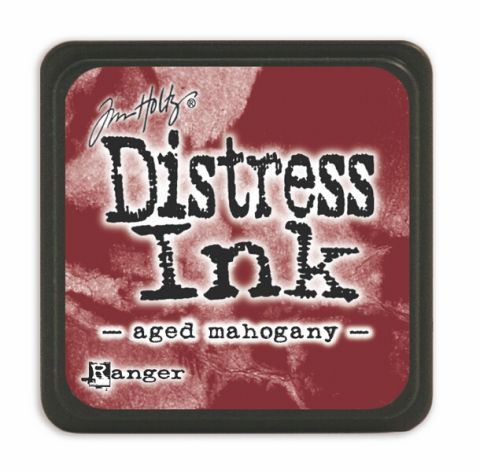
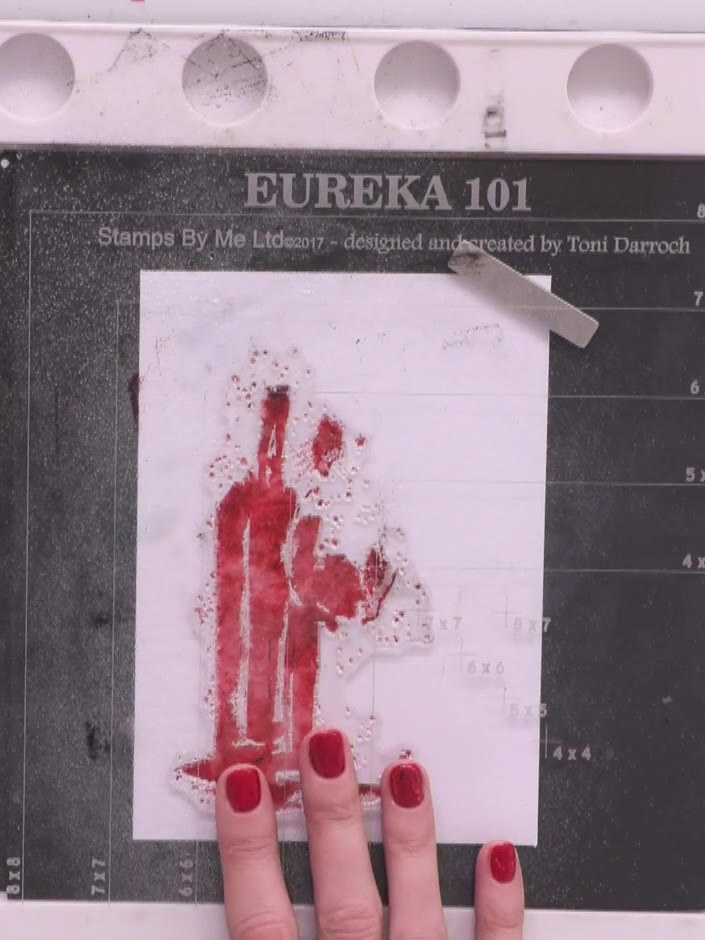
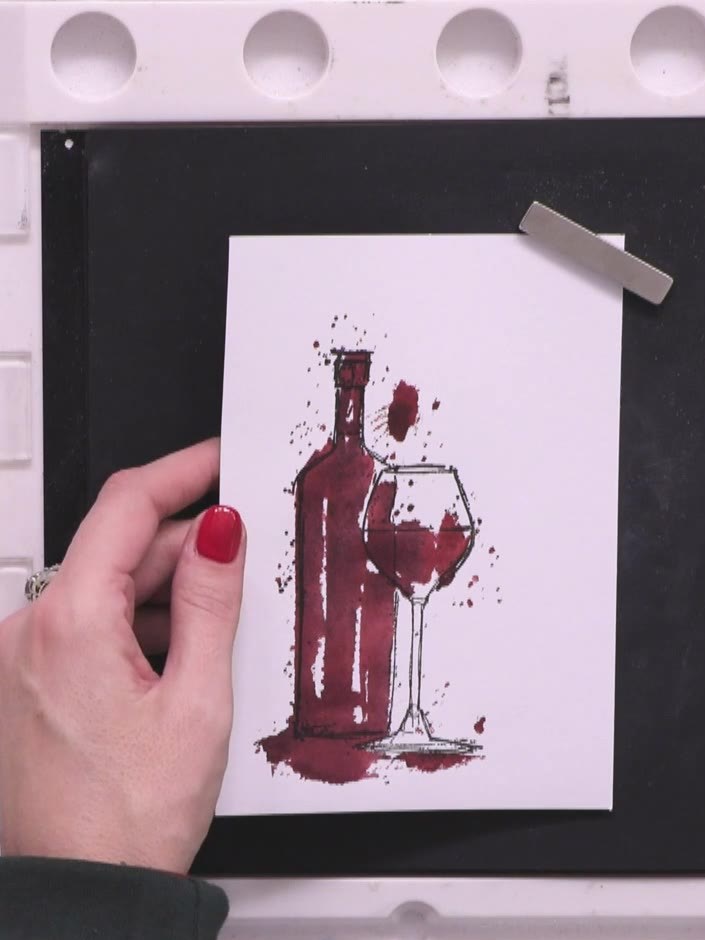
Ink the solid wine bottle stamp with aged mahogany distress ink and stamp it onto the sprayed white card. Press firmly to ensure a clear impression.
 7
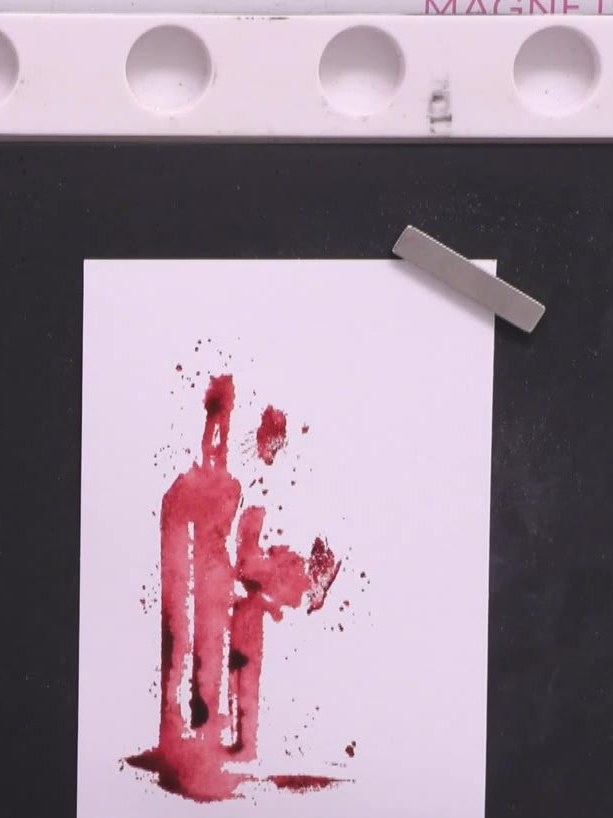
Apply additional aged mahogany distress ink to selected areas of the stamped wine bottle image to create shading and depth. Focus on adding shadows to enhance the dimensional effect of the stamped design.
 8
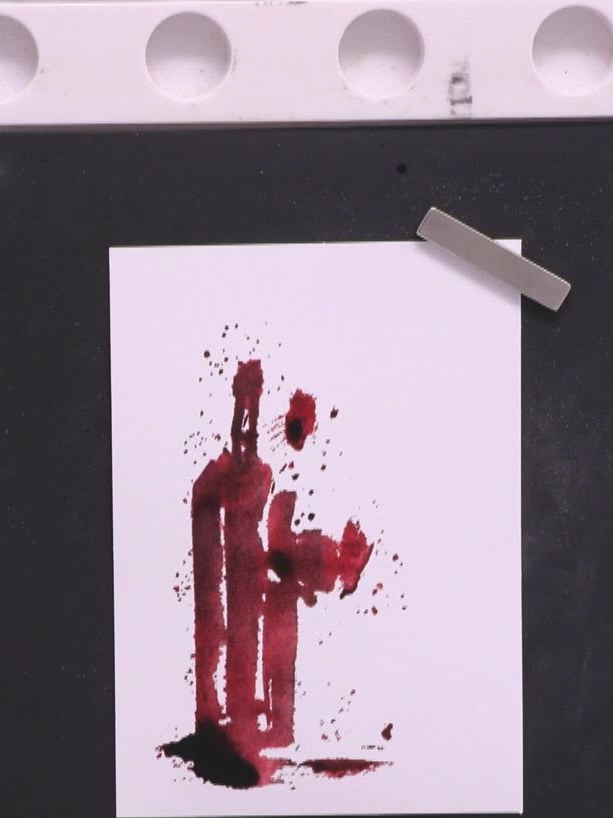
Use a heat gun to thoroughly dry the stamped image on the white card. Ensure the Distress Ink is completely dry before proceeding to the next step.
 9
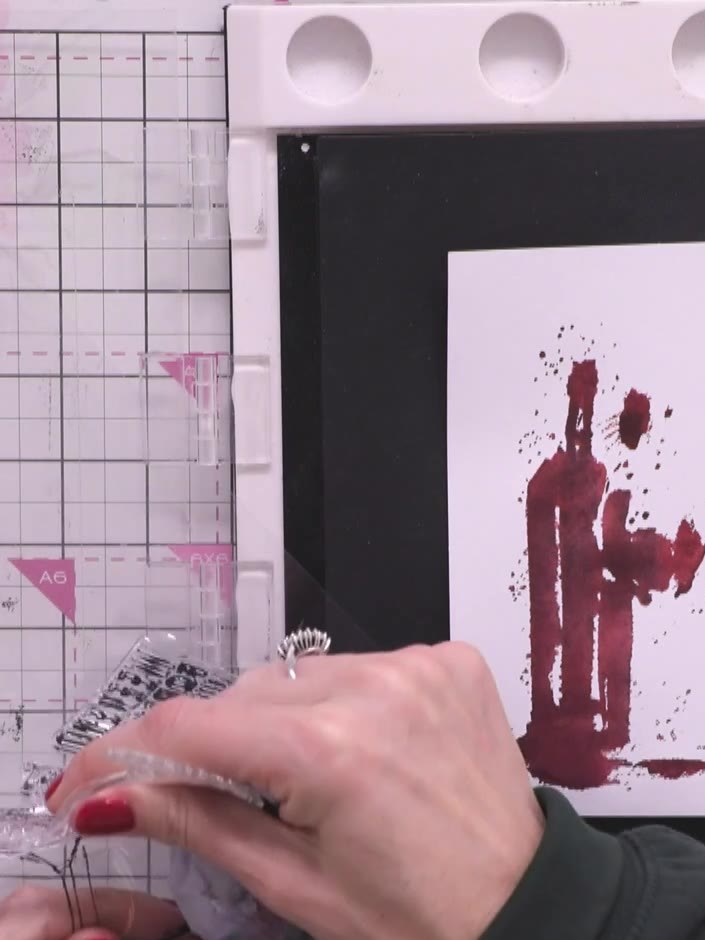
Line up and stamp the outline portion of the lamination stamp in black ink over the coloured wine bottle image on your card panel.
 10
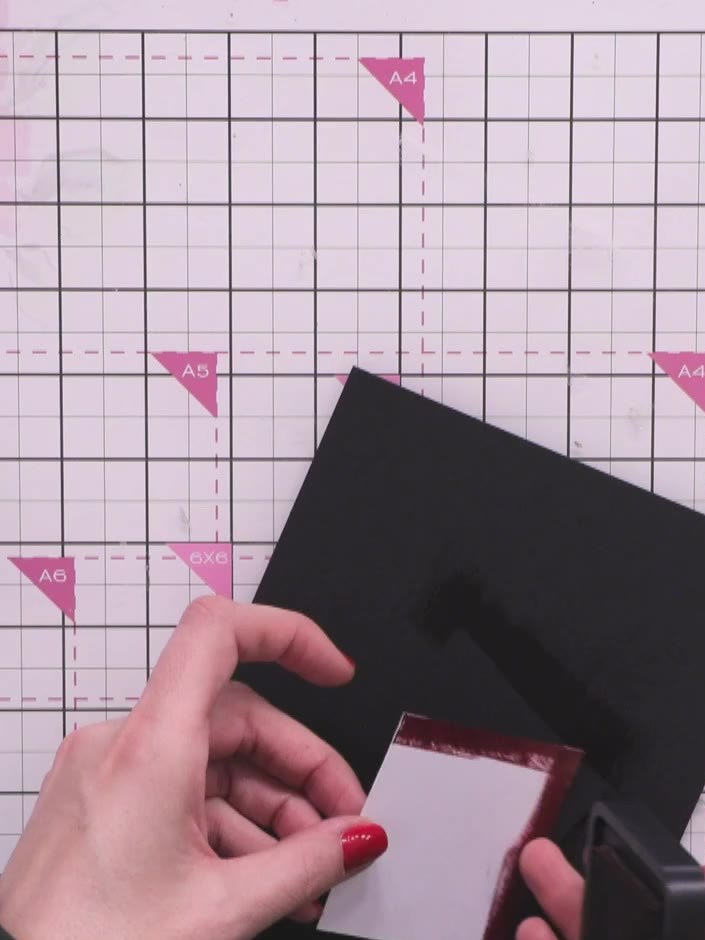
Mount the stamped and coloured wine bottle artwork onto a black mat layer. Position it centrally to create a neat border around the image.
 11
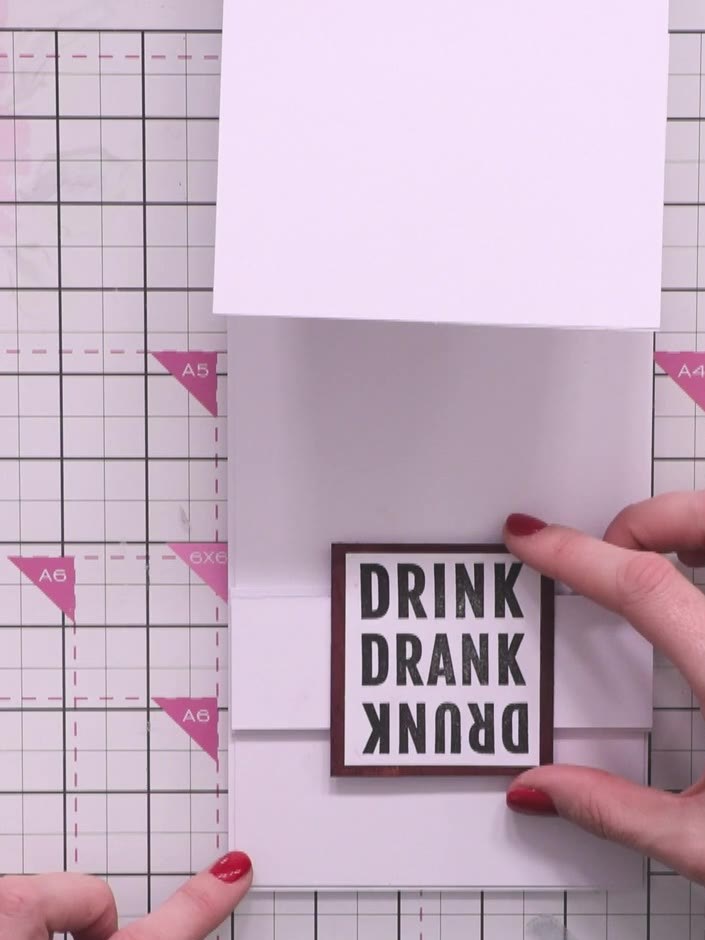
Cut a white mat layer piece for the bottom of the card. This will help the easel card stand upright when assembled. Cut a banner-shaped stopper piece from white card. Stamp the 'drink, drank, drunk' sentiment onto it using burgundy ink.
 12
Mount the sentiment piece onto a black mat layer, leaving a narrow border around the edges.
 13
Adhere the matted sentiment stopper piece to the base card to act as the support that holds the easel upright. Position it centrally on the lower half of the card base.
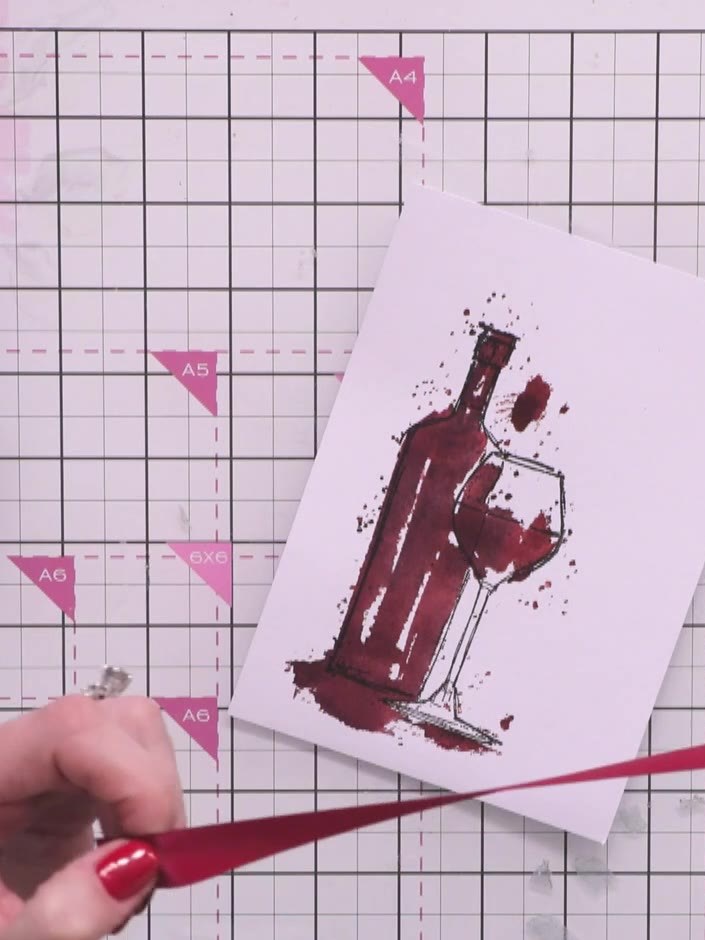 14
Cut a coordinating burgundy panel piece to sit behind the ribbon. Position it across the centre of your wine bottle artwork.
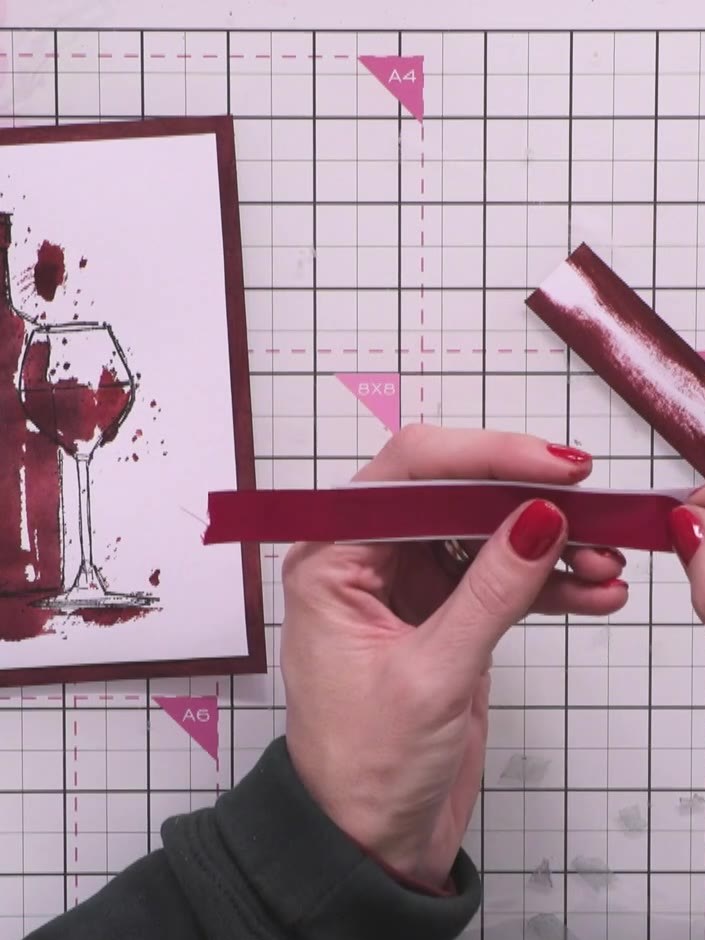 15
Cut a length of burgundy ribbon and wrap it around the coordinating burgundy panel, securing the ends at the back with tape.
Partagez votre création avec la communauté Stamps By Me - et gardez ce tutoriel pour la prochaine fois.
Rédigé à partir de l’émission elle-même. Tous les tutoriels de nos émissions · tutoriels gratuits · en direct sur My Telly · l’ancienne présentation