Schenke deinen Freundinnen und Freunden 10 € Rabatt auf ihre erste Bestellung!
Freunde WERBEN








Ein Projekt aus unserer Live-Show MY PODCAST - Catch my latest updates broadcast 25th August 2025 · 25/08/2025 · watch it from 24:30
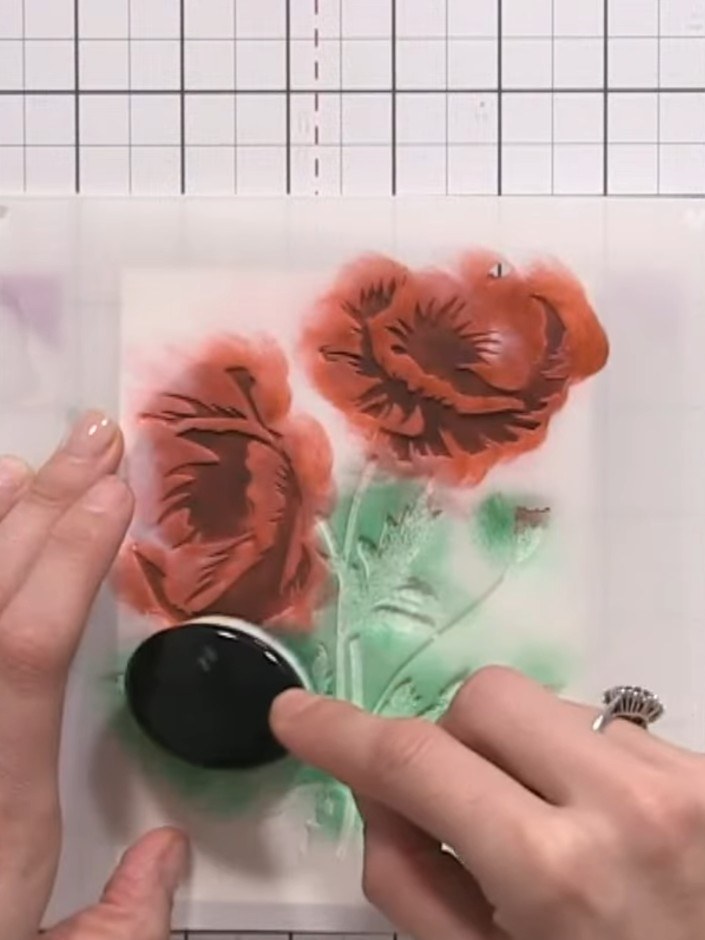
Gestalte eine wunderschöne Karte mit geschichteten Mohnblumen: kräftig rote Blüten und zartes grünes Blattwerk auf einem sanft rosafarbenen Aquarellhintergrund. Mit Schablonen, Stanzschablonen und wasserbasierten Stempelfarben baust du plastisch wirkende Blumen mit realistischer Tiefe und kunstvollen Spritzeffekten auf. Das fertige Werk zeigt elegante Mohnblumen im modernen Aquarellstil – perfekt für besondere Anlässe.
 SCHABLONEN- & STANZSCHABLONEN-SET - CARNATIONS - 090724KSEE IT
 STAMPS BY ME SCHABLONE UND STANZSCHABLONE - POPPY BOUQUET - 030125BSEE IT
 CARTA - TRADITIONELLES AQUARELLPAPIER - A5 - wcpa501SEE IT
DIESE ANLEITUNG HERUNTERLADEN (PDF)
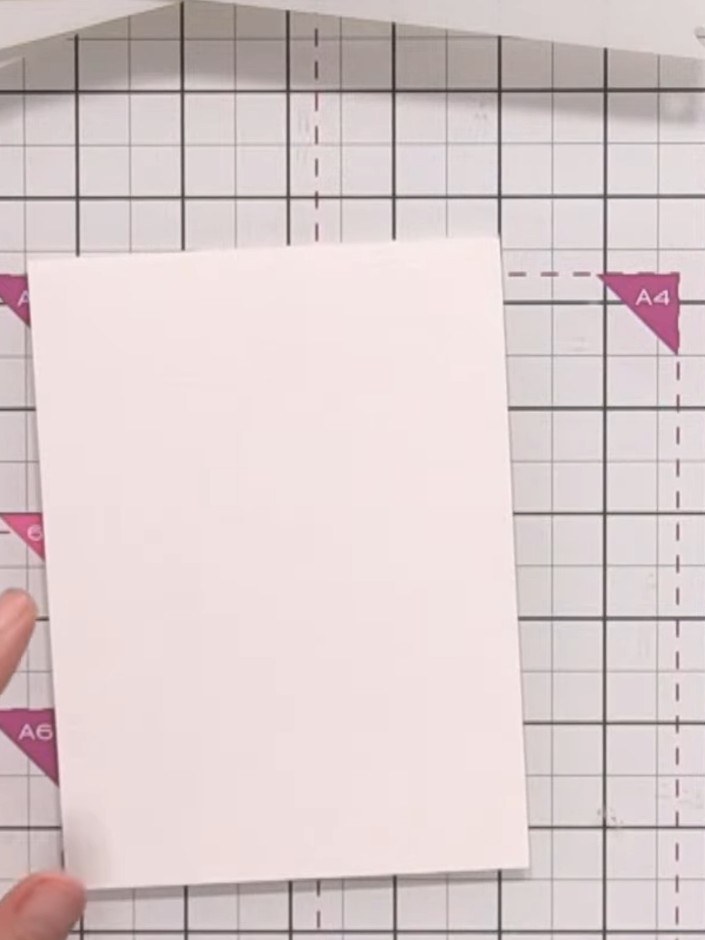
Schneide ein Stück Aquarell-Cardstock auf deine gewünschte Kartengröße zu. Du kannst einen ganzen A5-Bogen nehmen oder ihn ganz nach Belieben kleiner zuschneiden.
▶ watch this step (24:30)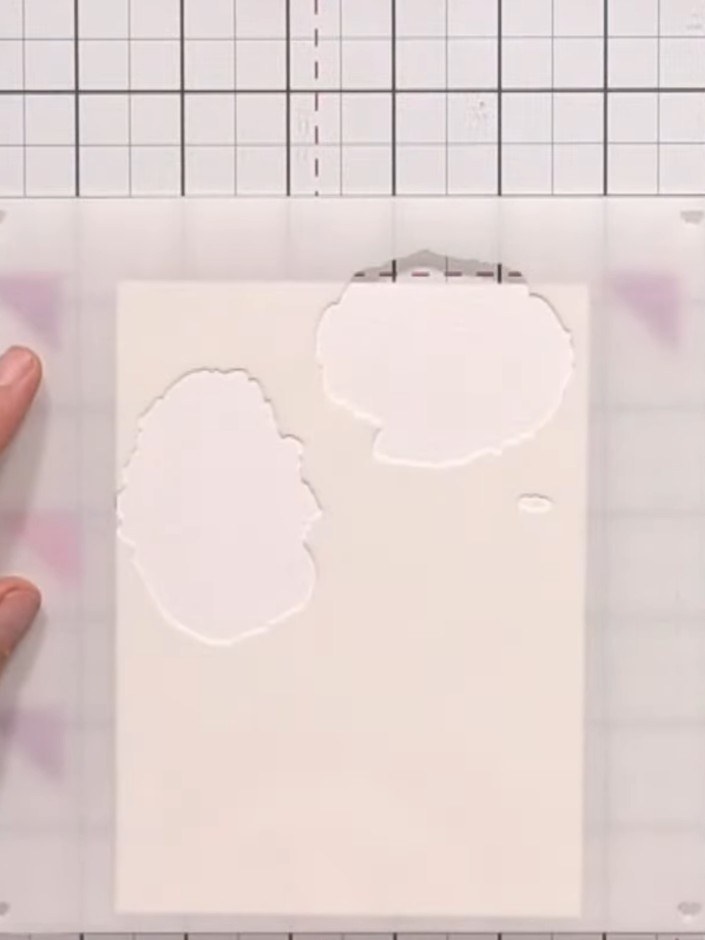
Leg deinen Cardstock auf die Bastelmatte. Platziere die erste Mohnblumen-Schablone darauf und richte sie so mittig aus, wie es dir gefällt.
▶ watch this step (25:00)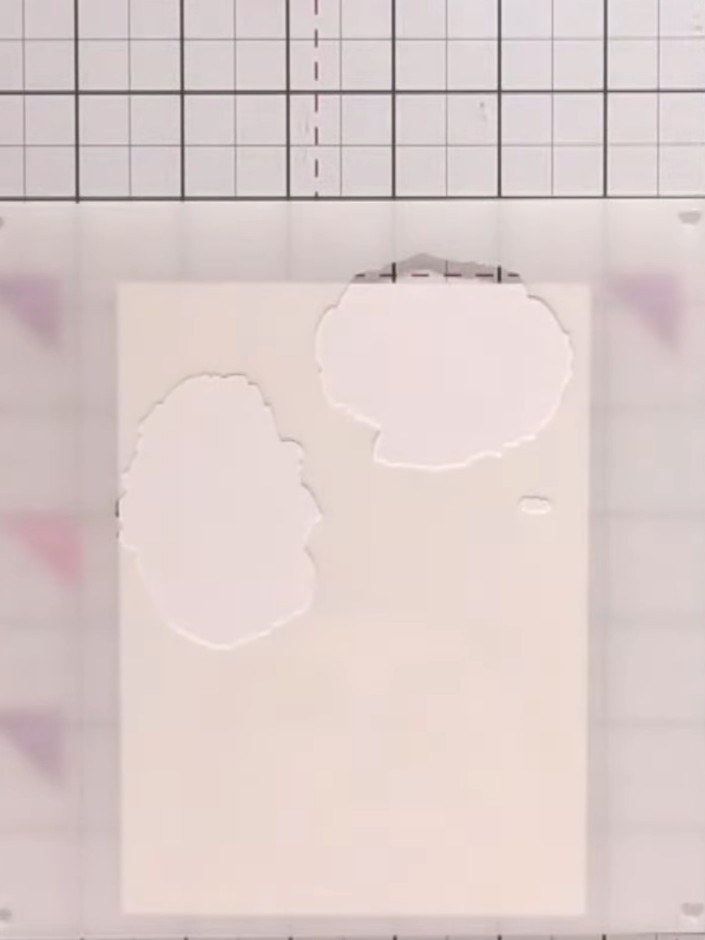
Trage mit einem roten Stempelkissen Farbe auf die erste Mohnblumen-Schablone auf: Tupfe das Kissen dabei fest auf die Schablone über deinem Aquarellpapier.
▶ watch this step (26:30)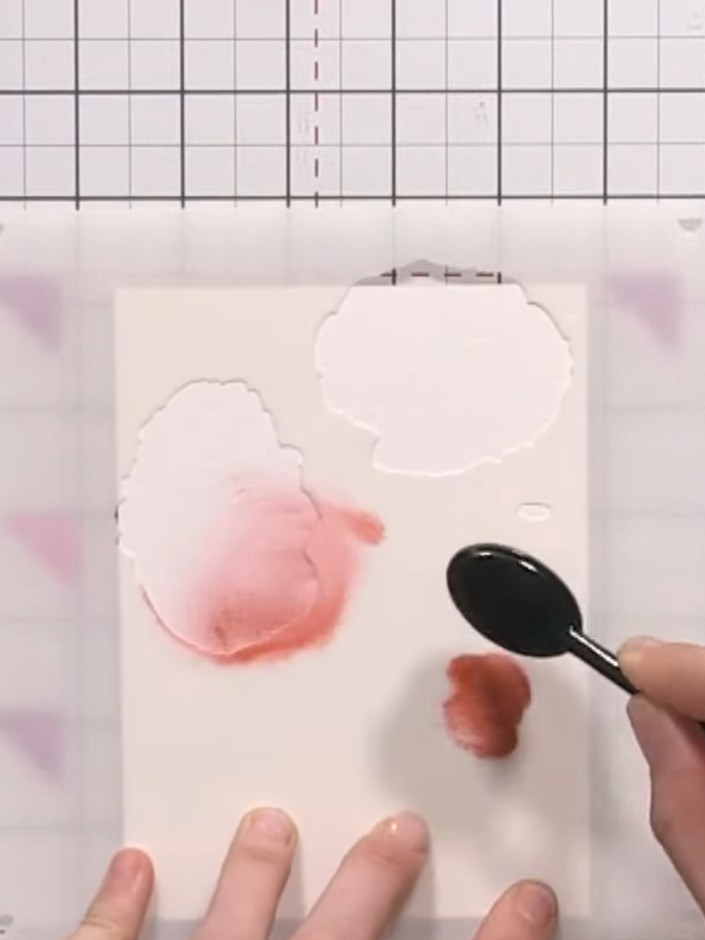
Besprühe die eingefärbte Fläche mit einer Sprühflasche ganz leicht mit Wasser – so entsteht auf deinem Mohnblumen-Motiv ein wunderschön verlaufender Aquarelleffekt.
▶ watch this step (27:00)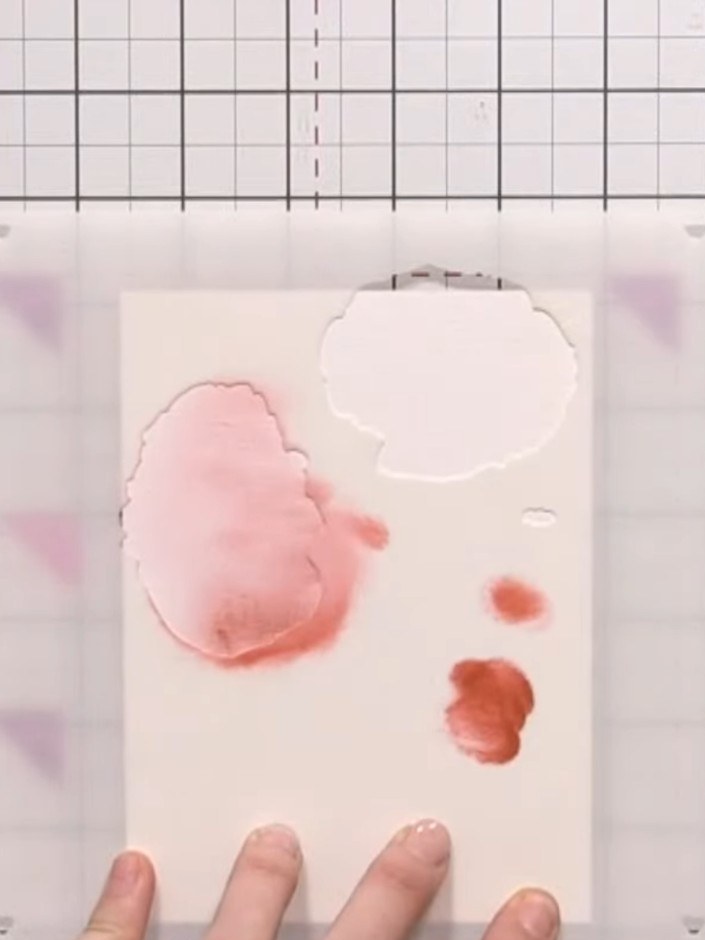
Nimm die erste Schablone vorsichtig ab. Leg dann die zweite Schablone für die Blütenblätter auf deine Karte und richte sie sorgfältig an der ersten Ebene aus.
▶ watch this step (27:30)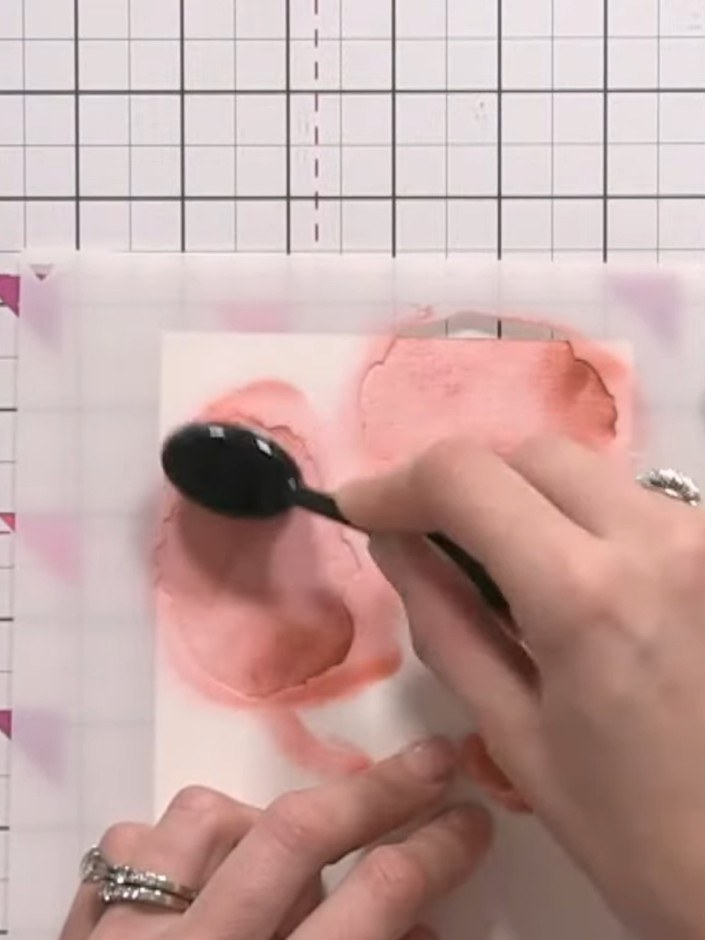
Trage mit sanftem Tupfen rote Stempelfarbe auf Schablone Nummer zwei auf. Tupf ganz leicht, damit du die feinen Blattadern der Schablone nicht verwischst.
▶ watch this step (28:00)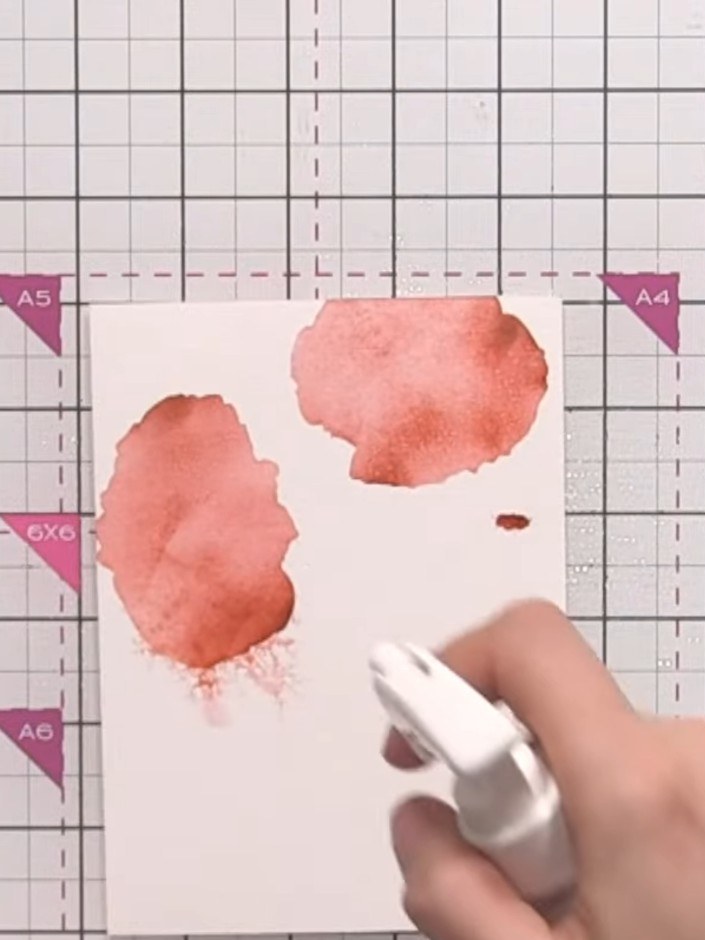
Besprühe die eingefärbte Ebene mit der Sprühflasche leicht mit Wasser. Lass die korallfarbene Stempelfarbe auf dem Aquarellpapier ganz natürlich verlaufen und ineinanderfließen – so bekommst du einen zarten Aquarelleffekt.
▶ watch this step (28:30)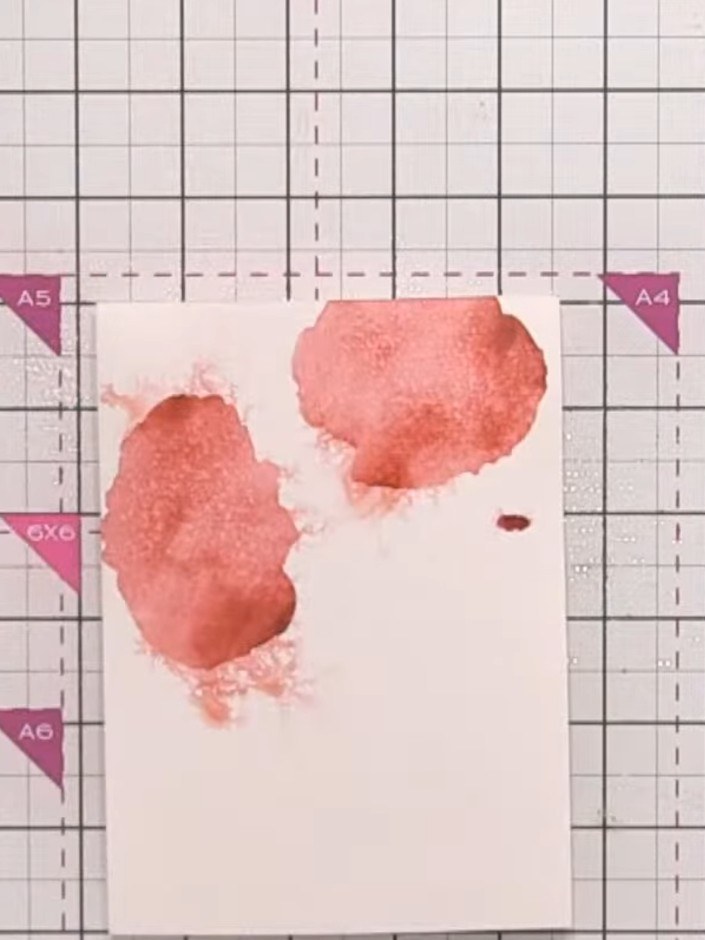
Leg Schablone Nummer drei auf deine Karte und trage die rote Stempelfarbe mit etwas mehr Druck auf, damit dunklere Töne entstehen. Wenn du magst, gibst du noch etwas blaue Farbe darüber – das ergibt ein tiefes Burgunderrot.
▶ watch this step (29:00)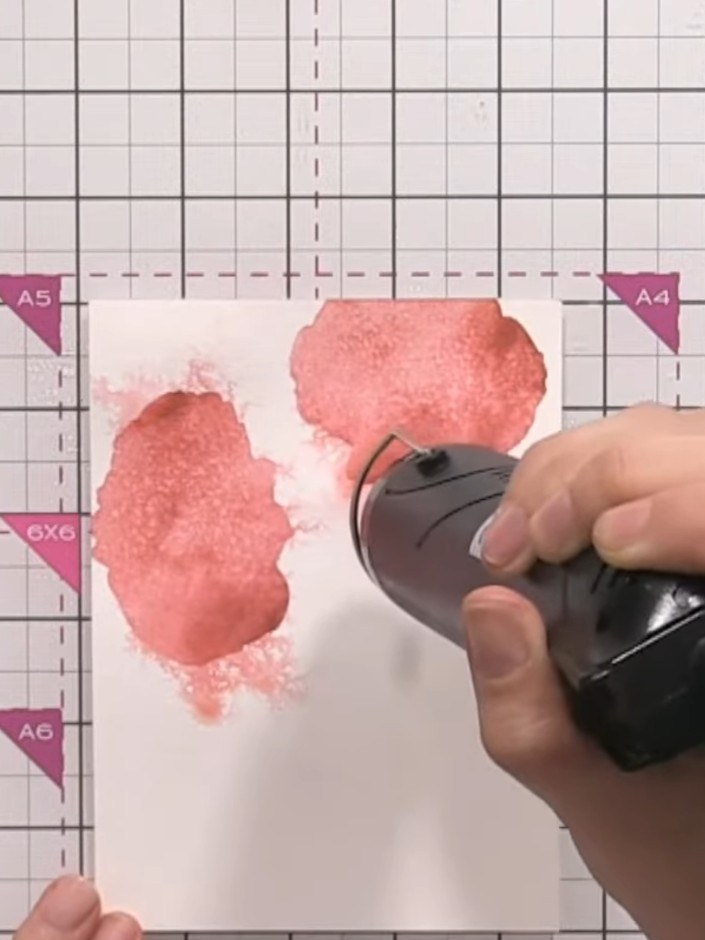
Platziere Schablone Nummer vier über dem Aquarellhintergrund. Drück sie fest an und tupfe das Stempelkissen auf die Schablone, damit die Farbe auch die feinen Details in der Mitte der Mohnblumen erreicht.
▶ watch this step (30:00)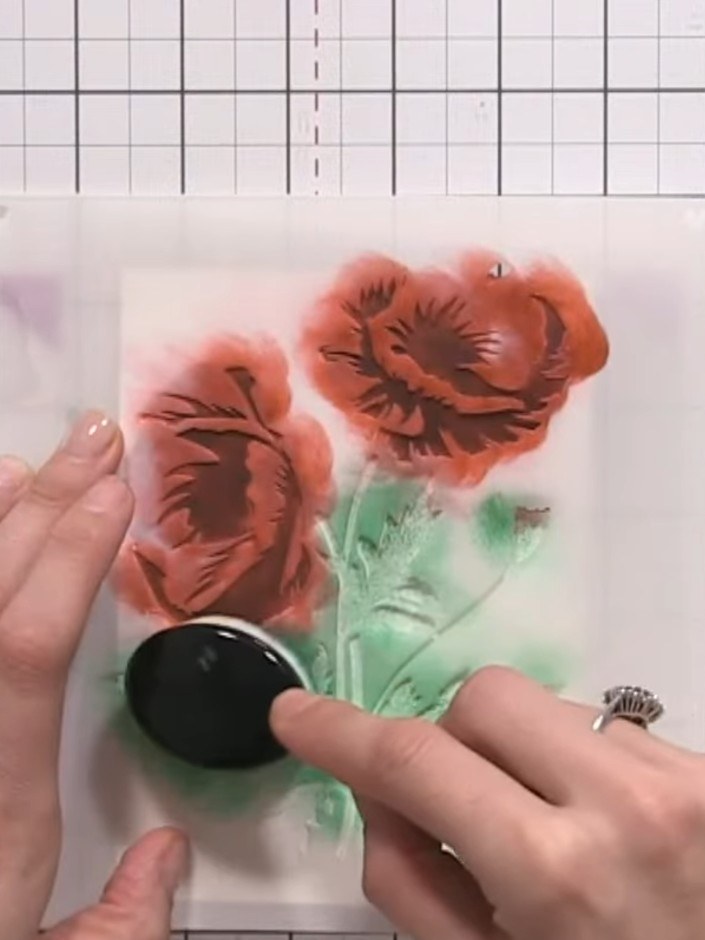
Mit der grünen Detail-Schablone setzt du dunklere Schattierungen am Stiel. Wenn du möchtest, gibst du noch einen Hauch Blau dazu – so bekommt das Blattwerk noch mehr Tiefe und Dimension.
▶ watch this step (37:00)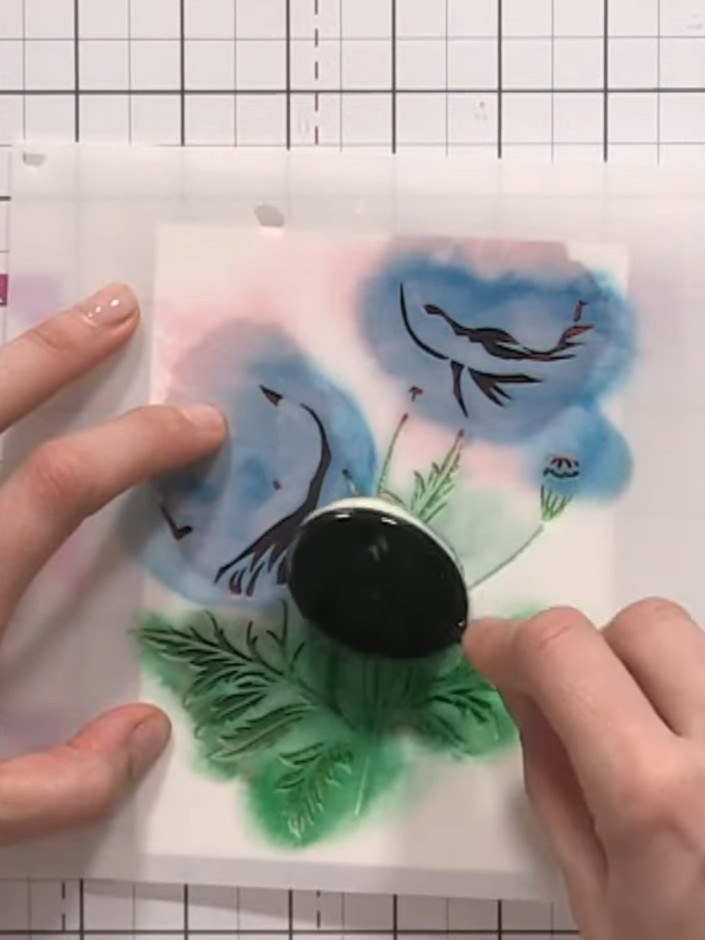
Leg die Schablone für die Blütenmitte aus der oberen Ecke von Schablone vier über die Mohnblüten und richte sie sorgfältig aus. Trage schwarze Stempelfarbe durch die Schablone auf, um die Mitten der Mohnblumen zu gestalten.
▶ watch this step (42:30)Direkt aus der Show aufgeschrieben. Alle Anleitungen aus unseren Shows ansehen · kostenlose Anleitungen · live auf My Telly ansehen