Schenke deinen Freundinnen und Freunden 10 € Rabatt auf ihre erste Bestellung!
Freunde WERBEN








Ein Projekt aus unserer Live-Show MY PODCAST - Catch my latest updates broadcast 21st July 2025 · 21/07/2025 · watch it from 33:00
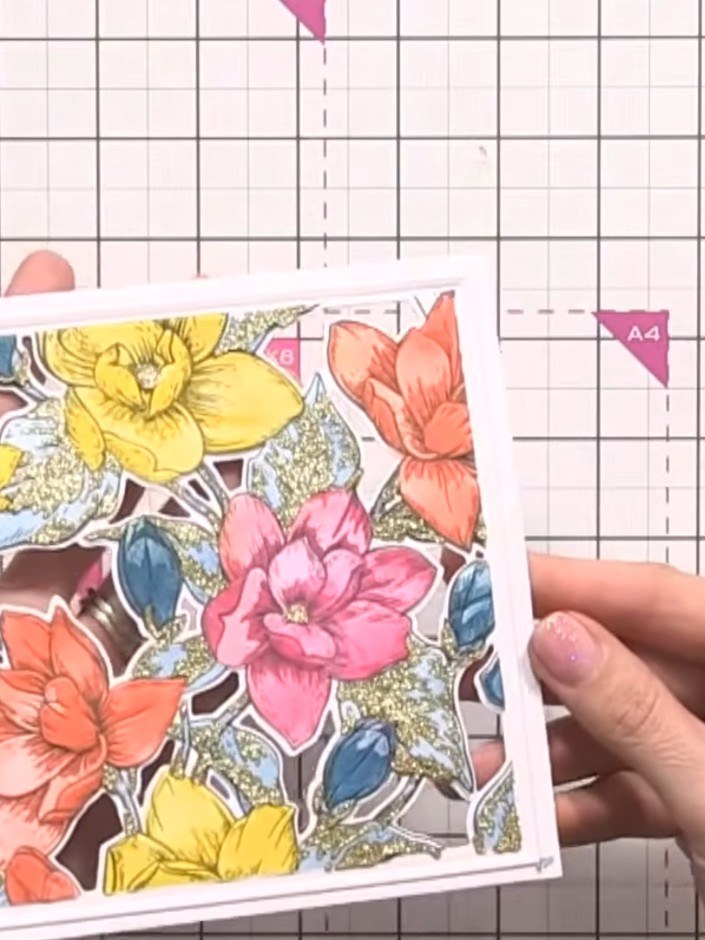
Gestalte eine atemberaubende Karte in vier Ebenen mit einem wunderschönen Magnoliengarten-Motiv in leuchtendem Gelb, Pink, Orange und Blau, akzentuiert mit Glitzer. Diese elegante Karte zeigt räumliche Tiefe durch Schablonieren, Stempeln, Stanzen und 3D-Prägen und wird mit einem dekorativen Rahmen mit abgeschrägter Kante abgerundet.
 SCHABLONEN- & STANZSCHABLONEN-SET - MAGNOLIA DREAMS - 160824ASEE IT
 STAMPS BY ME - PREMIUM DYE STEMPELKISSEN - MAGENTA - 040522CSEE IT
 STAMPS BY ME - PREMIUM HYBRID STEMPELFARBE - MIDNIGHT - 121022NSEE IT
DIESE ANLEITUNG HERUNTERLADEN (PDF)
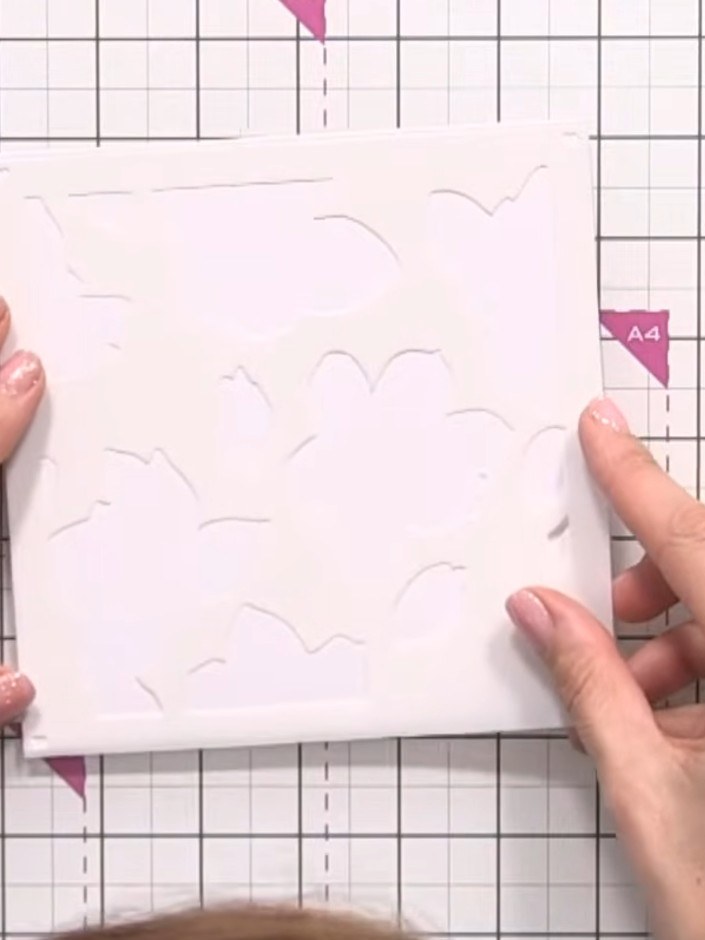
Lege die erste nummerierte Schablone (Nummer eins) auf deinen weißen 6x6 Kartenrohling. Positioniere sie sorgfältig und achte darauf, dass sie richtig ausgerichtet ist.
▶ watch this step (35:15)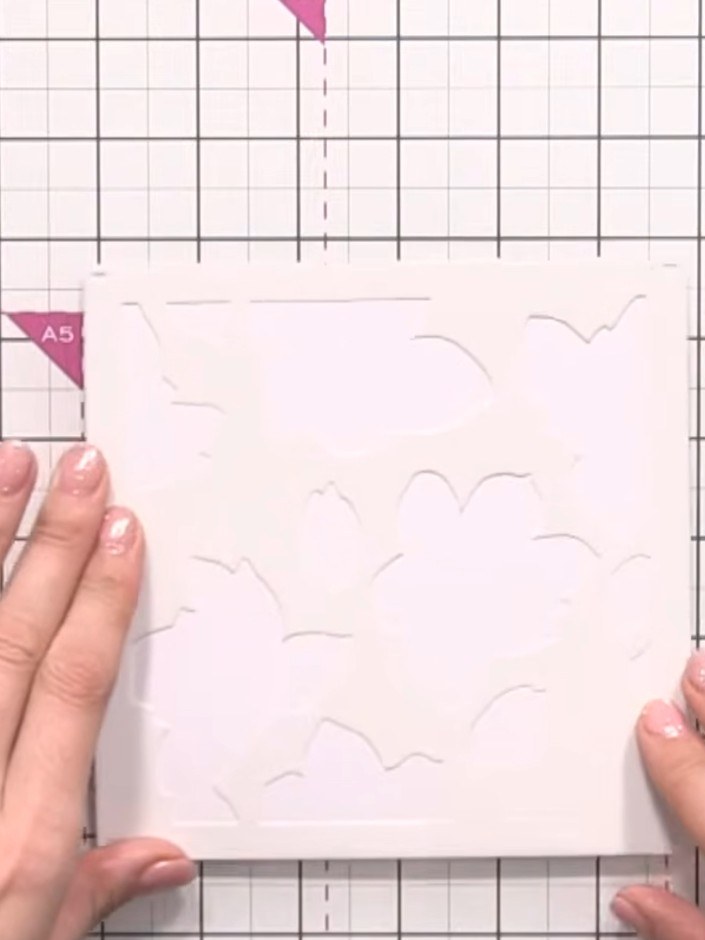
Trag mit Pinseln und Stempelkissen Farbe durch die Schablone auf. Nimm Gelb, Orange und Pink für die Blüten und Petrol für die Blätter und verblende mehrere Farben miteinander.
▶ watch this step (36:30)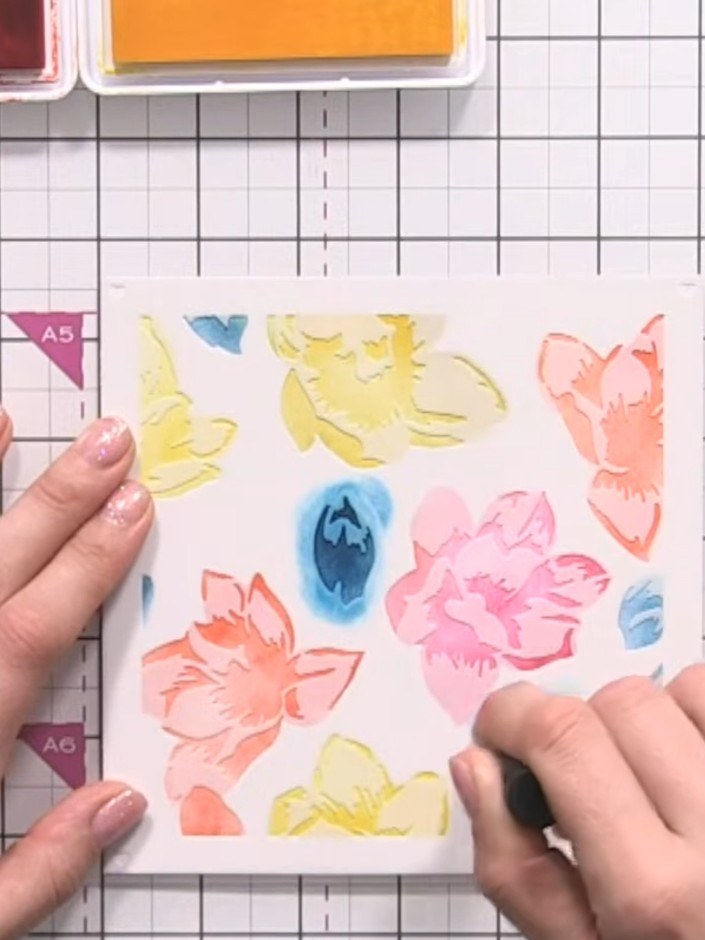
Nimm die erste Schablone ab und lege die zweite Schablone über den eingefärbten Bereich. Trag mit dem Midnight Stempelkissen Blau auf die Blätter auf und wiederhole dann die Blütenfarben (Magenta, Pink, Gelb und Koralle) auf den übrigen Blumenelementen.
▶ watch this step (40:45)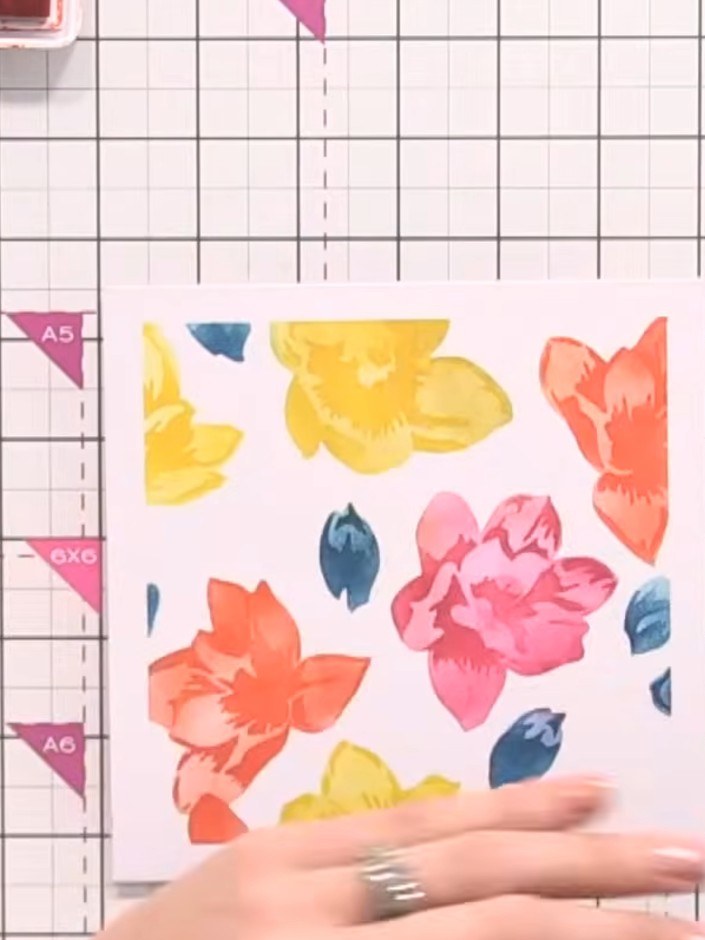
Lege die dritte Schablone auf deine Karte und trag die Farbe mit den Stempelkissen nur leicht auf. Diese Schablone bringt Struktur, Blätter und Stiele in den Hintergrund – arbeite also behutsam, damit die Details erhalten bleiben.
▶ watch this step (43:15)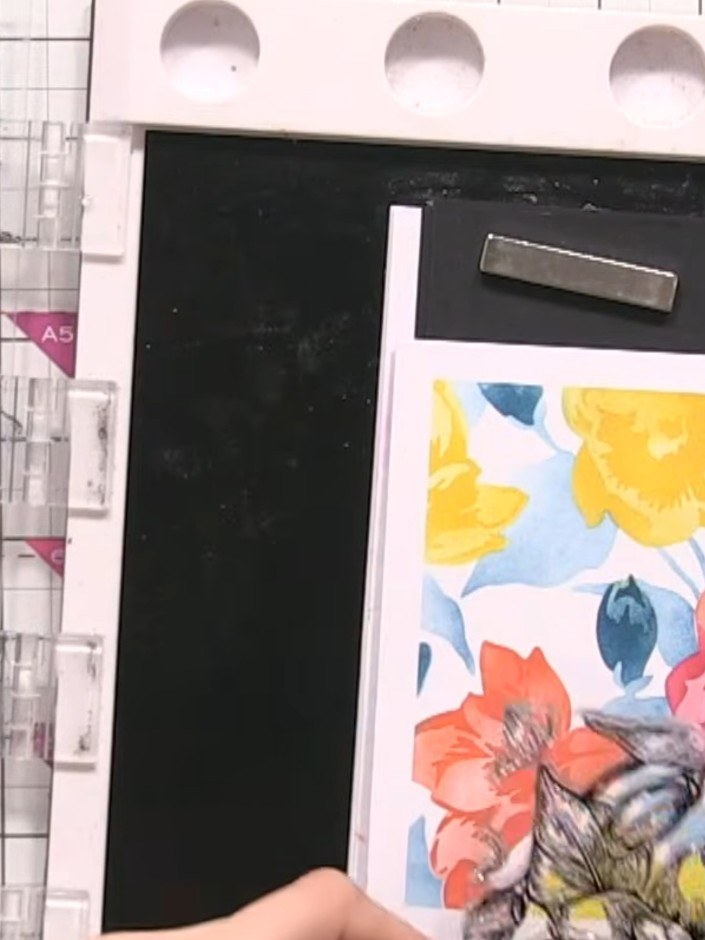
Setz den Magnolien-Stempel passend über dein schabloniertes Blumenmotiv. Stemple zweimal mit dem schwarzen Stempelkissen, damit die Magnolienblüten und Blätter kräftig und detailreich abgebildet werden.
▶ watch this step (46:00)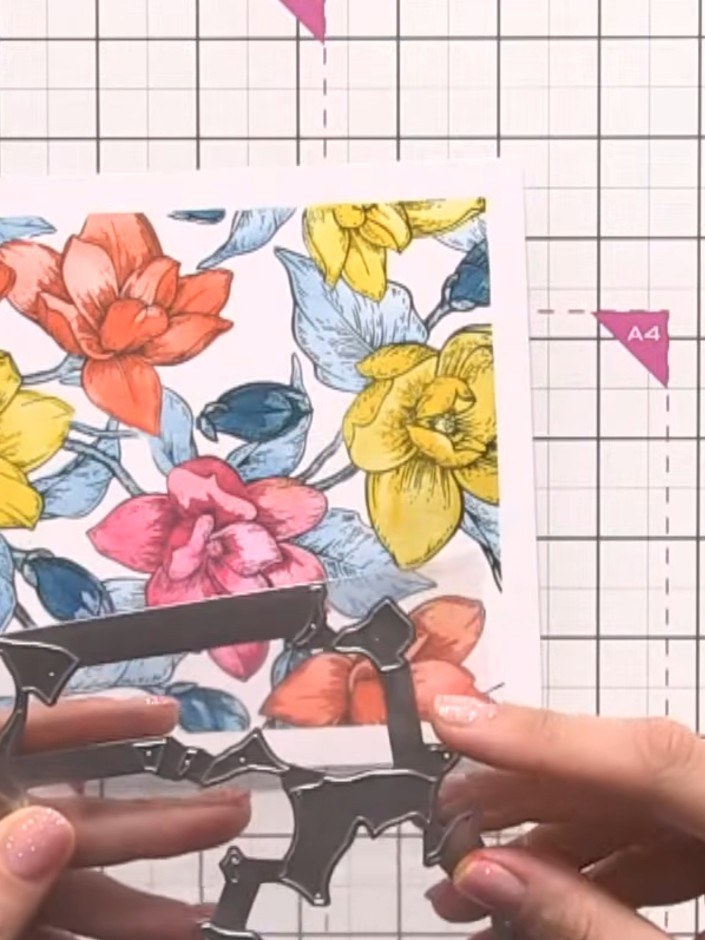
Lege die Magnolien-Stanzschablone über das gestempelte Blumenmotiv und lass alles durch deine Stanzmaschine laufen, um die Magnolienform auszustanzen.
▶ watch this step (50:30)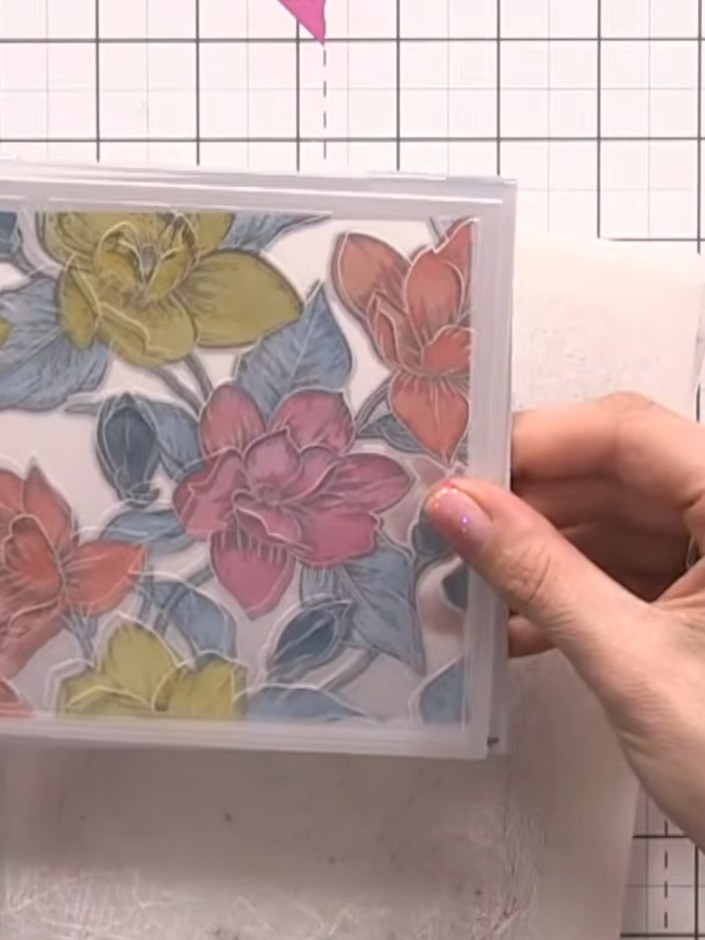
Lege das ausgestanzte Blumenmotiv mit der abgeschrägten Kante nach oben in den Prägefolder und lass es durch deine Stanzmaschine laufen – so bekommen die Blüten erhabene 3D-Details.
▶ watch this step (52:30)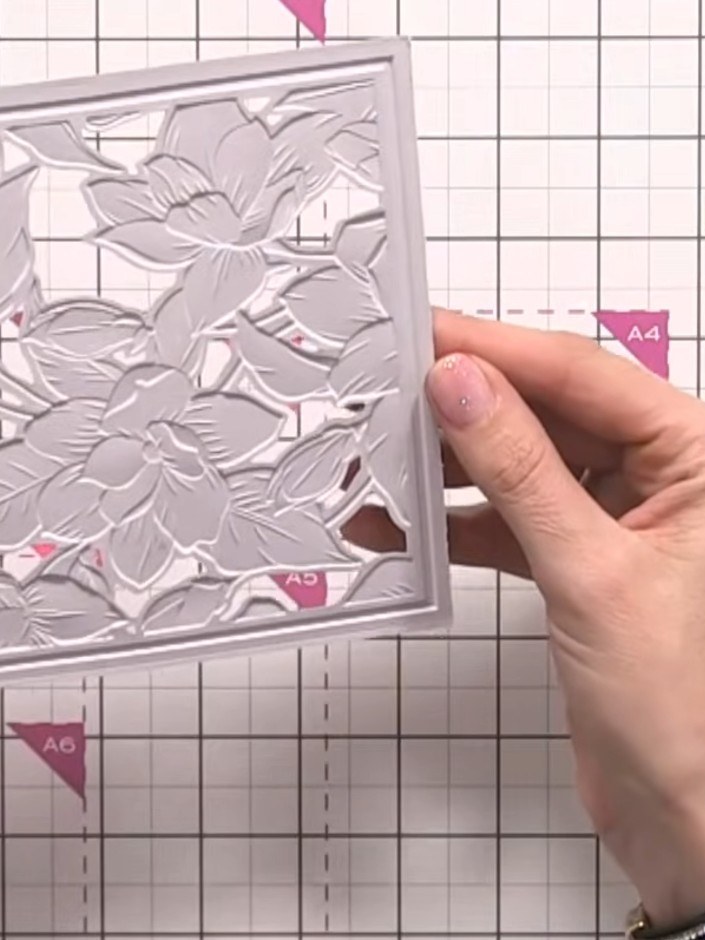
Trag die Stella Paste vorsichtig durch die vierte Schablone auf die geprägte Karte auf und arbeite dabei behutsam um die erhabenen Blumendetails herum, um den letzten Schliff an Struktur zu geben.
▶ watch this step (54:30)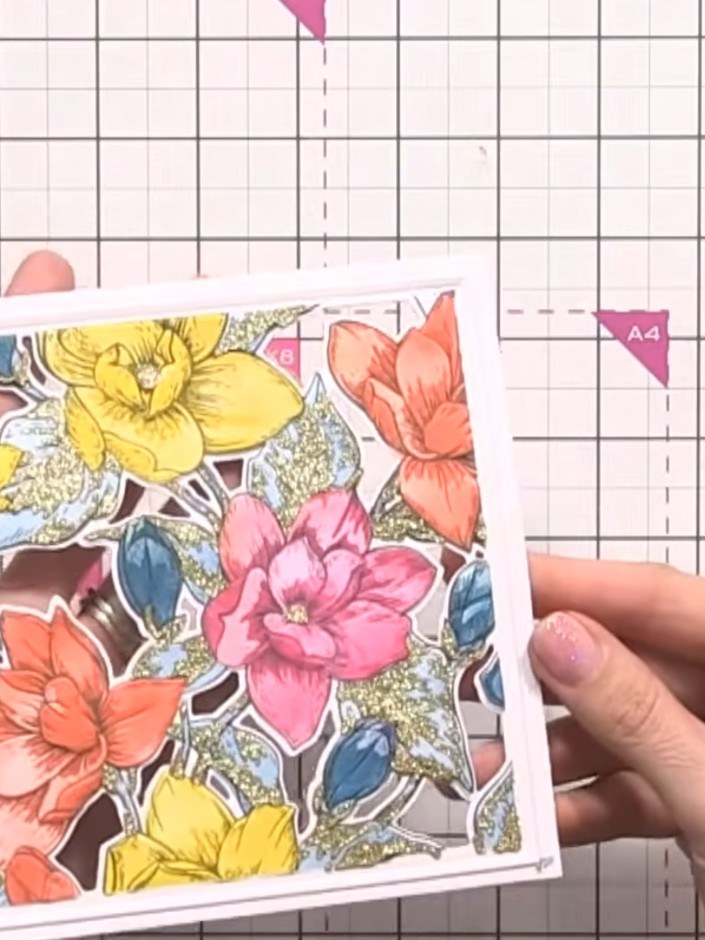
Schneide den fertigen Blumenpanel auf die gewünschte Größe zu. Kleb ihn auf eine weiße Kartenbasis und deine Karte ist fertig – oder setz, wenn du magst, Acetatfolie hinter den Panel für einen Schüttelfenster-Effekt.
▶ watch this step (1:00:15)Direkt aus der Show aufgeschrieben. Alle Anleitungen aus unseren Shows ansehen · kostenlose Anleitungen · live auf My Telly ansehen