Schenke deinen Freundinnen und Freunden 10 € Rabatt auf ihre erste Bestellung!
Freunde WERBEN








Ein Projekt aus unserer Live-Show MY PODCAST - Catch my latest updates broadcast 9th June 2025 · 09/06/2025 · watch it from 32:30
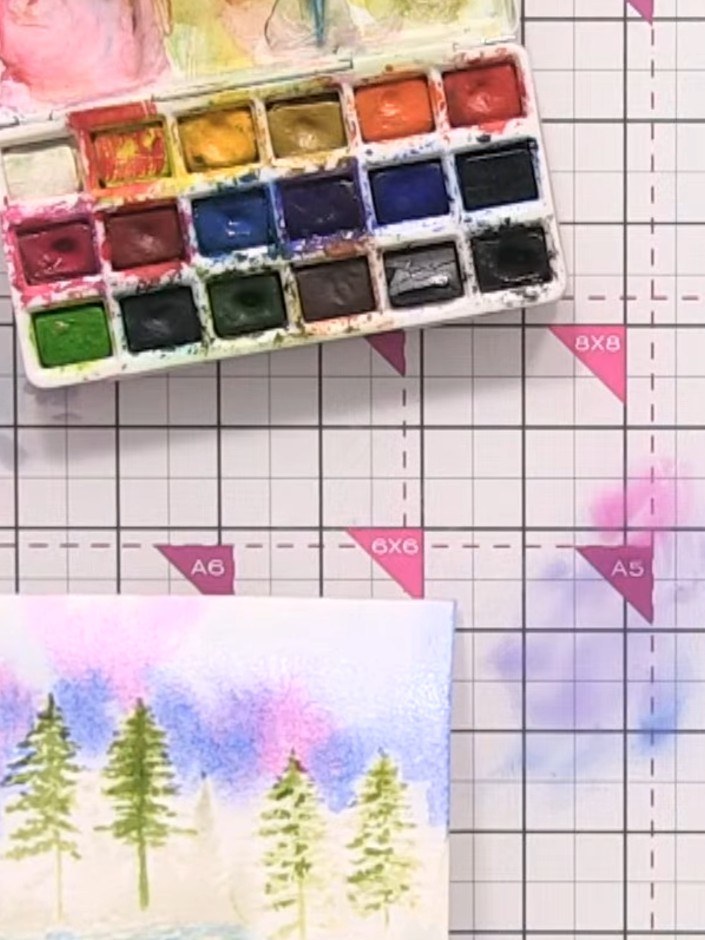
Gestalte eine traumhaft schöne, handgemalte Aquarell-Landschaftskarte mit einer ruhigen, winterlichen Baumreihe. Mit der genialen No-Line-Ink-Pad-Technik malst du zarte immergrüne Bäume vor einem sanften Himmel in Lila, Rosa und Blau – dazu ein verschneiter Vordergrund und ein Gewässer. Der Clou: Unsichtbare Wasserzeichen-Umrisse unter deinen Aquarellfarben helfen dir, alles genau zu platzieren und wunderschön verlaufende Farben zu erzielen – für ein Ergebnis wie vom Profi.
 STAMPS BY ME - WOODLAND WILDLIFE - STEMPEL- UND SCHABLONEN-SET - 020124ASEE IT
 STAMPS BY ME - NO-LINE STEMPELKISSEN - 121022OSEE IT
DIESE ANLEITUNG HERUNTERLADEN (PDF)
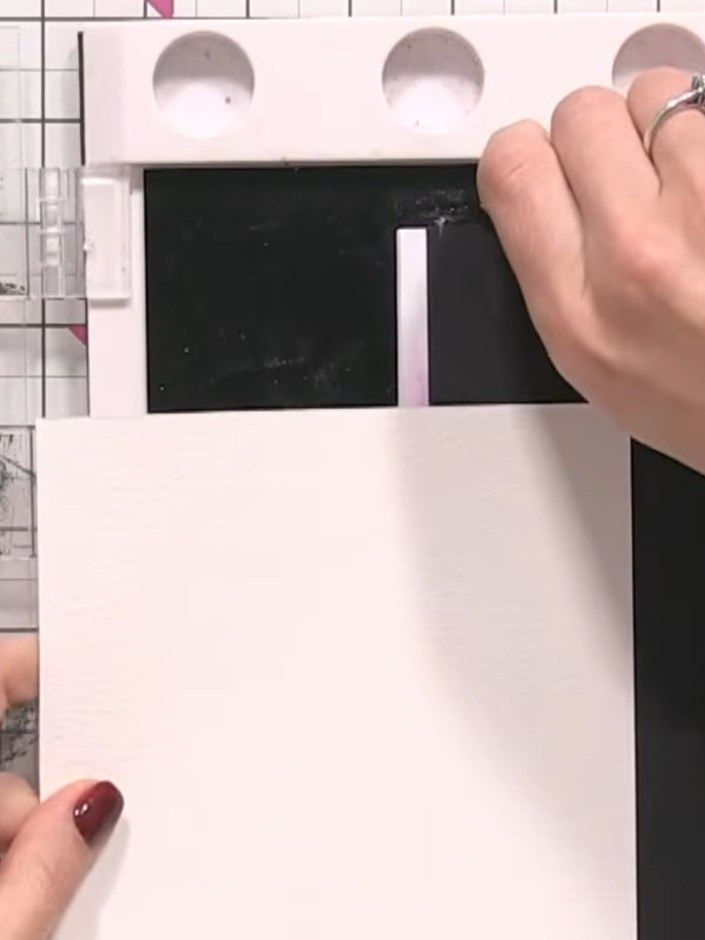
Schneide deinen weißen Aquarell-Cardstock auf etwa die Hälfte eines ganzen Bogens zu – so hast du eine handliche Arbeitsgröße.
▶ watch this step (35:15)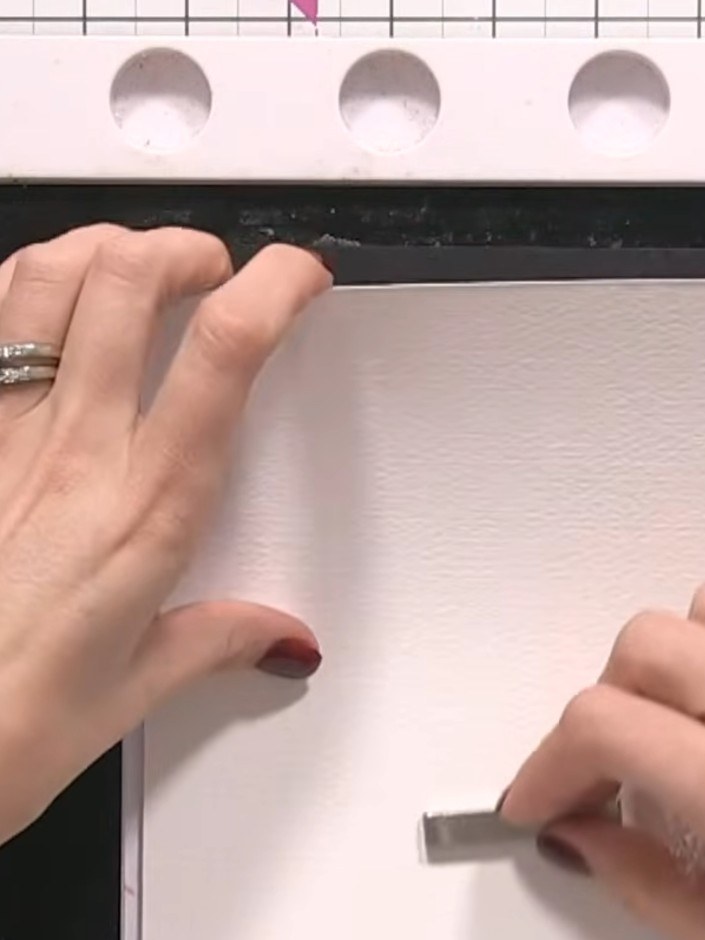
Färbe den Baumreihen-Stempel mit dem No-Line Ink Pad ein. Drück den Stempel kräftig auf den Aquarellkarton, damit ein zarter Wasserzeichen-Umriss entsteht.
▶ watch this step (36:00)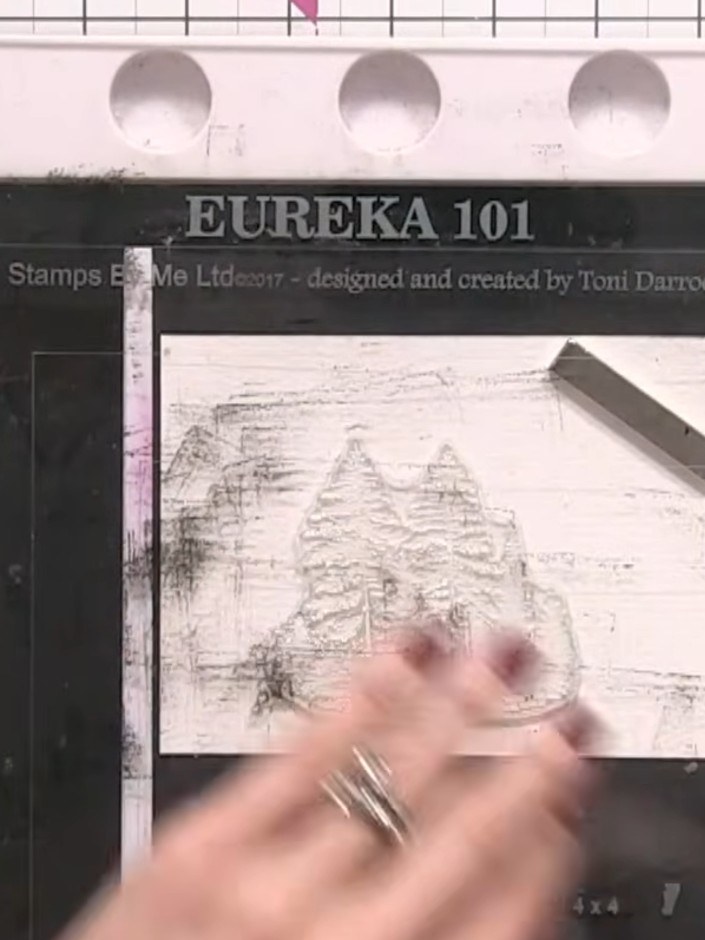
Stempel die Baumsilhouette mehrmals über das weiße Kartenpanel und variiere dabei die Höhe, damit eine natürlich wirkende Baumreihe entsteht. Achte darauf, dass jeder Abdruck genug Details zeigt, damit er dich später beim Aquarellmalen leiten kann.
▶ watch this step (37:00)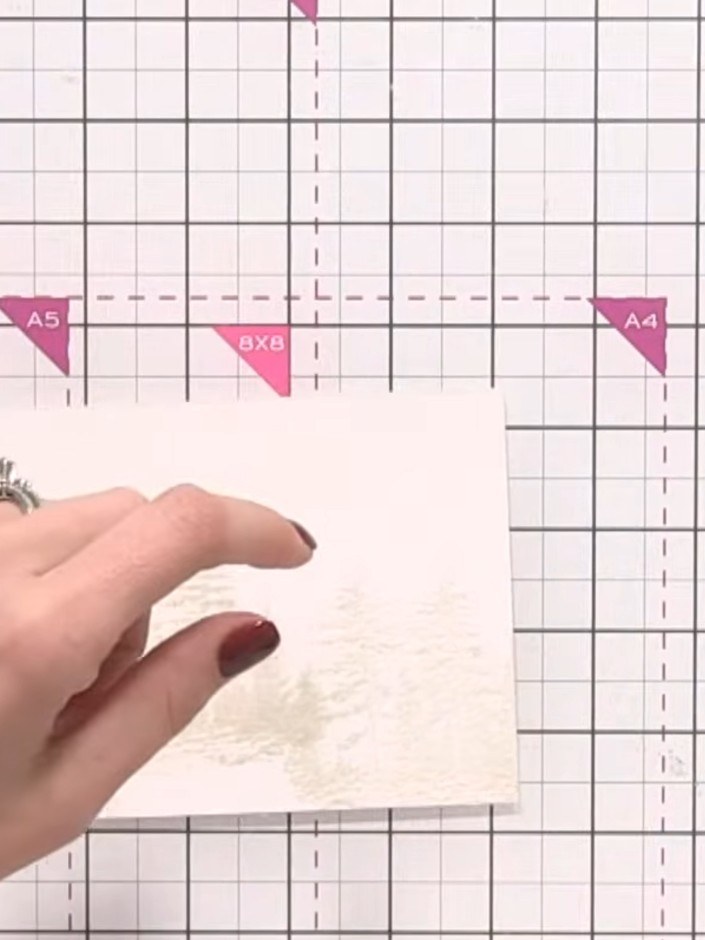
Mach deinen Pinsel mit klarem Wasser nass und befeuchte die Fläche, auf die du den ersten Baum gestempelt hast – folge dabei einfach dem Wasserzeichen-Umriss.
▶ watch this step (41:30)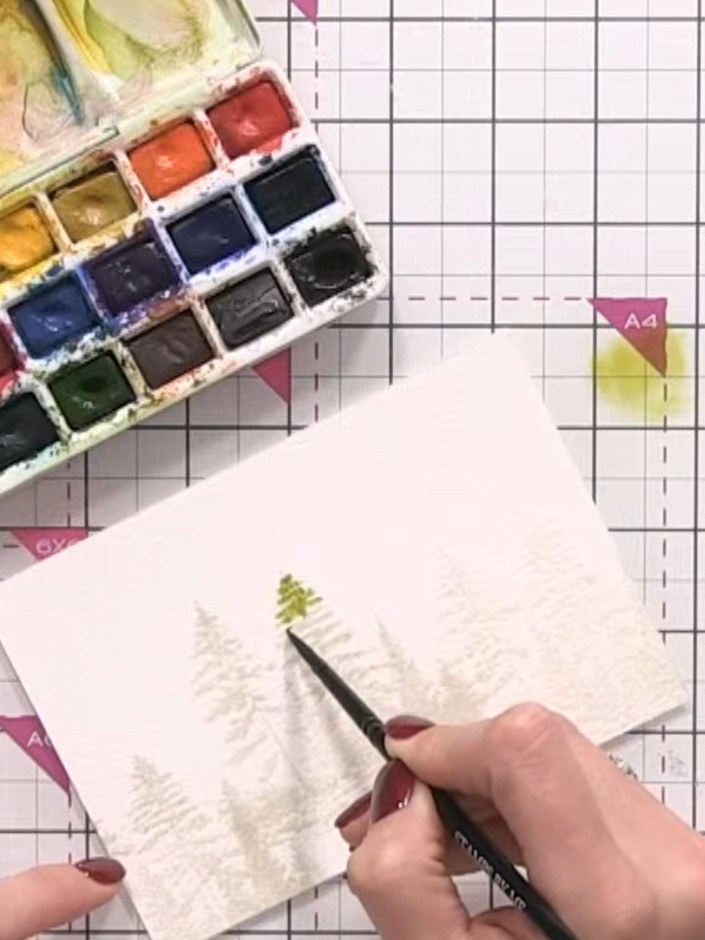
Tupfe grüne Aquarellfarbe auf die nasse Baumform und lass sie innerhalb der befeuchteten Fläche ganz natürlich verlaufen und verschmelzen.
▶ watch this step (42:15)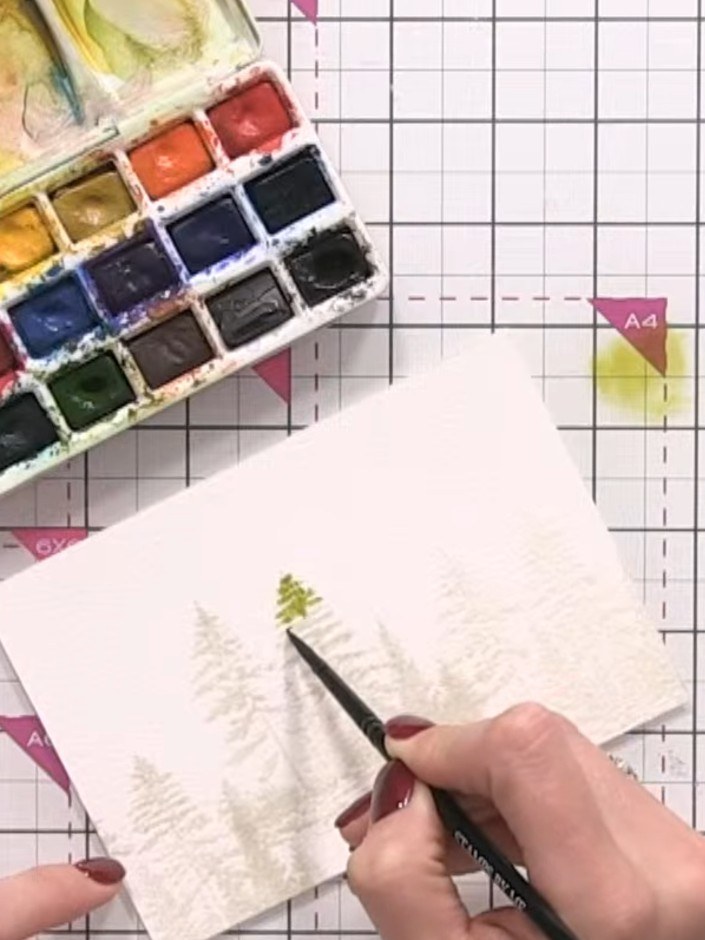
Nimm ein dunkleres Grün aus deinem Aquarellkasten und gib dem Baum damit Tiefe und Schatten. Bau die Farbe mit dem Pinsel nach und nach in Schichten auf, statt sie gleich dick aufzutragen.
▶ watch this step (43:00)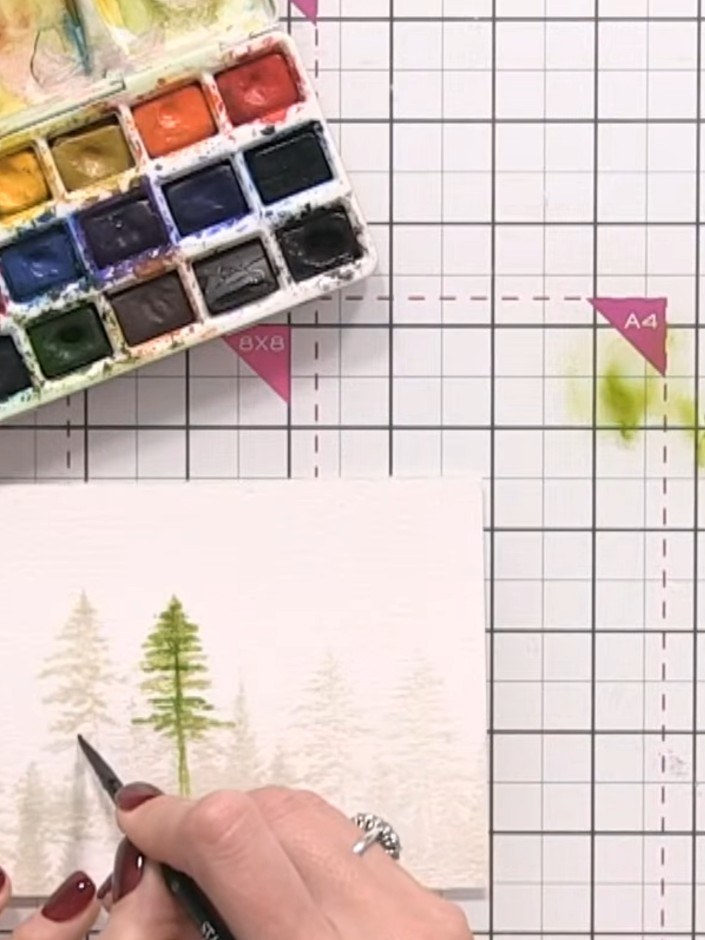
Befeuchte und bemale nun auch alle anderen Bäume mit grüner Aquarellfarbe. Variiere dabei die Intensität des Grüns – so wird deine Baumreihe richtig lebendig.
▶ watch this step (46:30)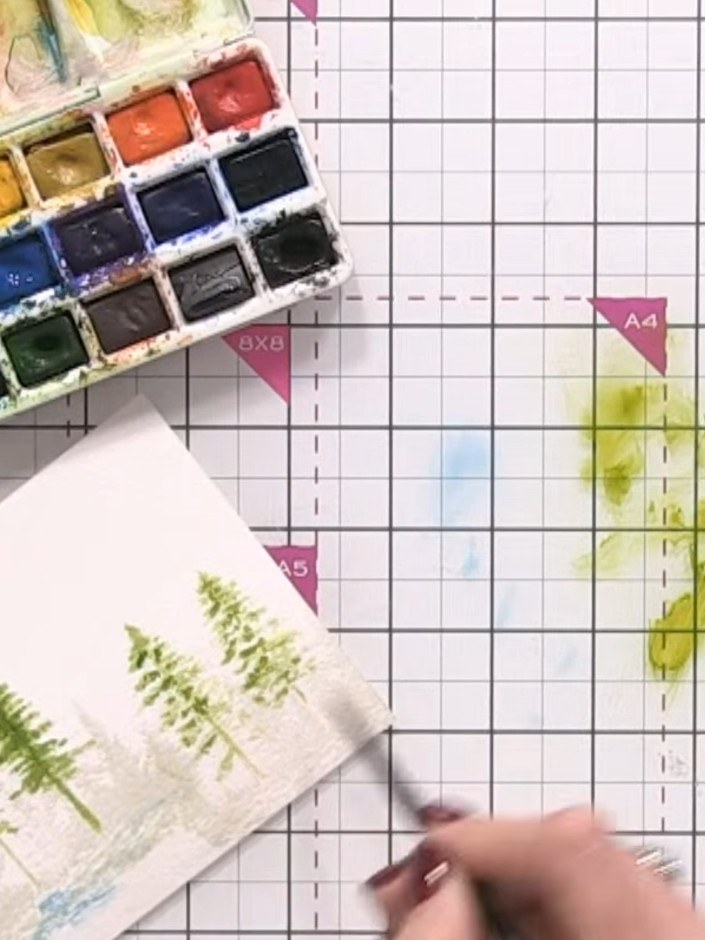
Sobald die Bäume komplett trocken sind, befeuchtest du den gesamten Kartenhintergrund mit klarem Wasser und einem Pinsel – so ist alles bereit für den Himmel.
▶ watch this step (54:00)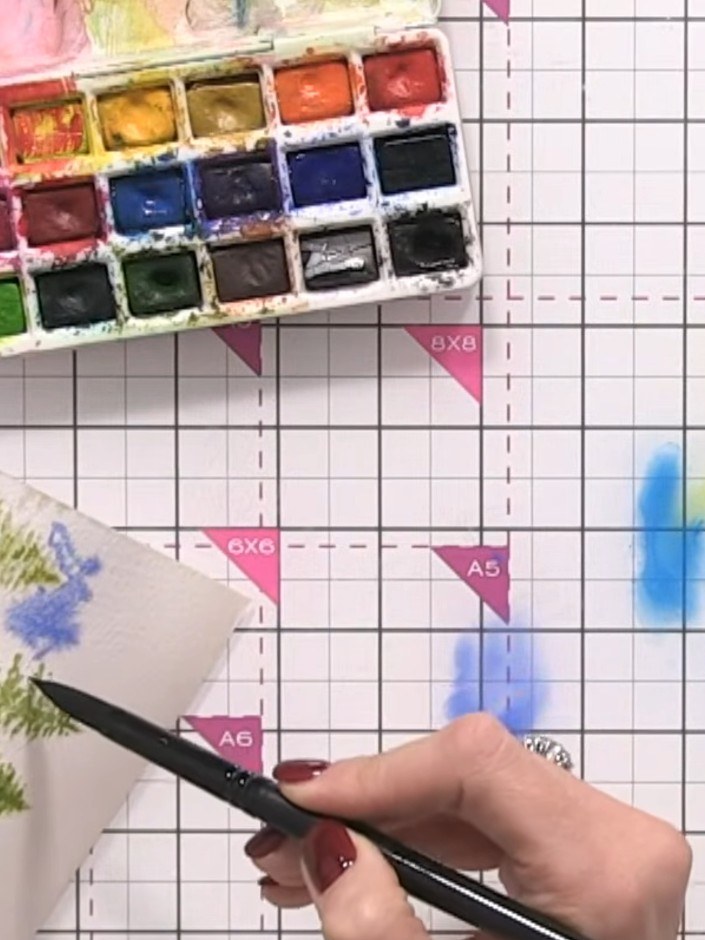
Trag blaue Aquarellfarbe auf den nassen Hintergrund rund um deine Bäume auf und lass die Farben natürlich ineinanderfließen – so entsteht ein stimmungsvoller Himmel.
▶ watch this step (57:00)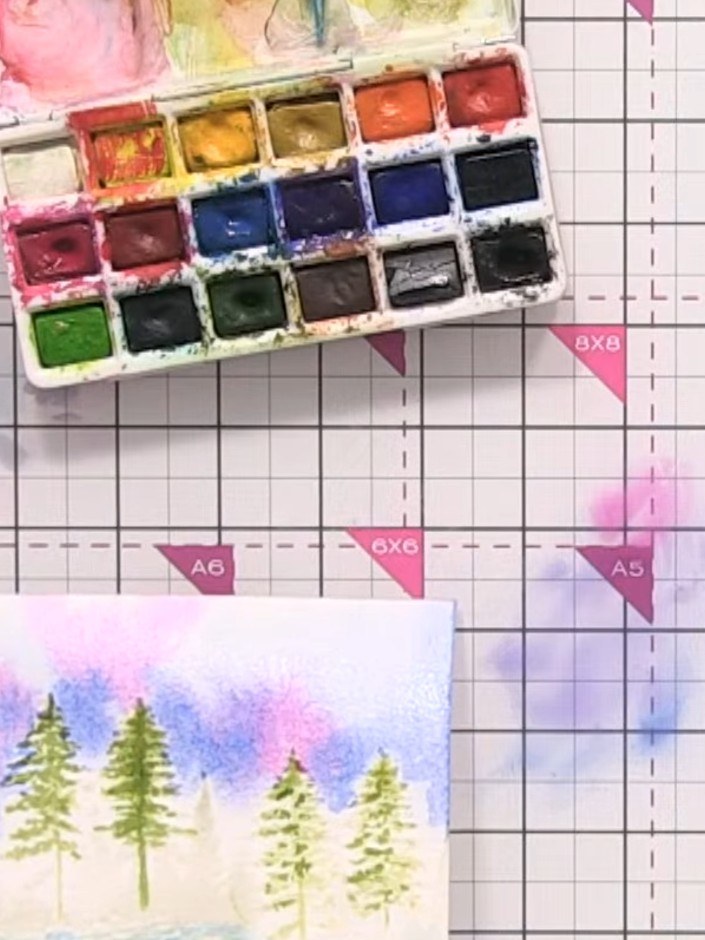
Wenn die Aquarellfarbe vollständig getrocknet ist, kannst du nach Lust und Laune noch weiße Sprenkel aus mit Wasser verdünnter weißer Acrylfarbe hinzufügen – für einen zauberhaften Sternenhimmel.
▶ watch this step (59:30)Direkt aus der Show aufgeschrieben. Alle Anleitungen aus unseren Shows ansehen · kostenlose Anleitungen · live auf My Telly ansehen