Schenke deinen Freundinnen und Freunden 10 € Rabatt auf ihre erste Bestellung!
Freunde WERBEN








Ein Projekt aus unserer Live-Show Create Together Club - 5 Days of Creativity - Broadcast Monday 9TH June 2025 · 09/06/2025 · watch it from 6:15
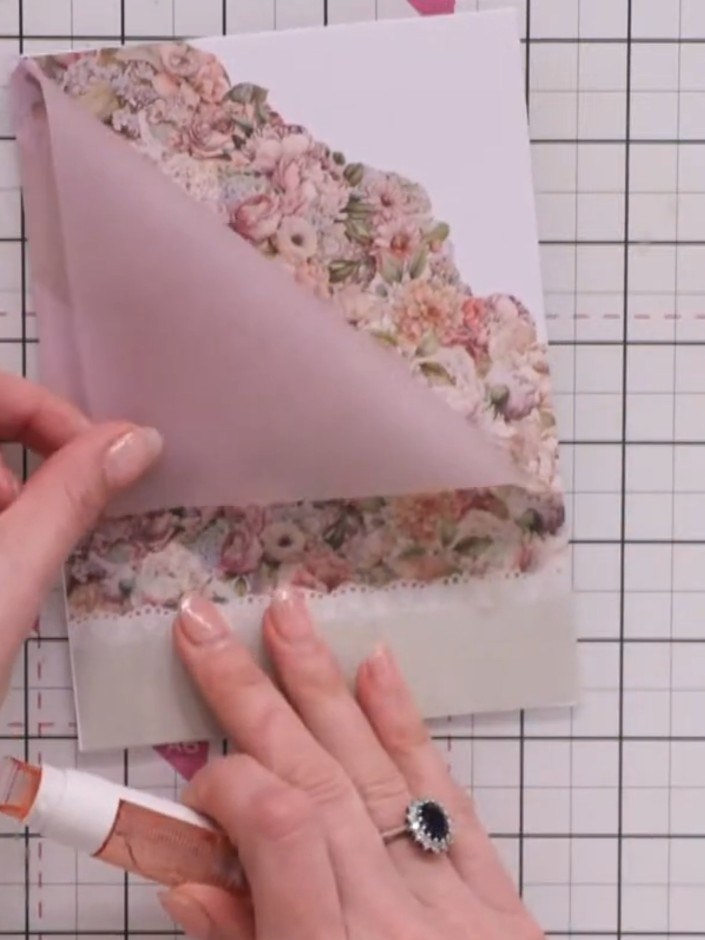
Gestalte eine elegante Karte mit einer Transparentpapier-Tasche und einer dekorativ gefalteten Ecke, hinter der ein mehrlagiges 3D-Element zum Vorschein kommt. Das Design setzt auf zarte Rosatöne, nostalgische Blumenmotive und den Spruch „Crafty Sister“. In diesem Projekt kombinierst du Layering mit Transparentpapier und dreidimensionalen Verzierungen – so entsteht eine raffinierte Karte mit ganz viel Tiefe und Wirkung.
DIESE ANLEITUNG HERUNTERLADEN (PDF)
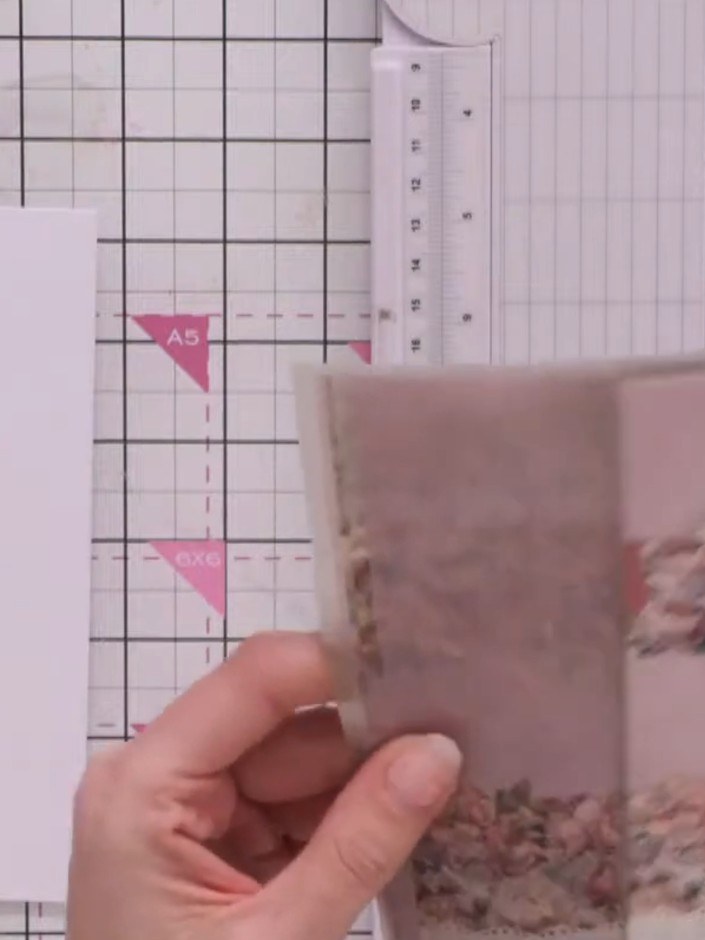
Such dir ein Stück Transparentpapier aus, das ungefähr so groß ist wie deine Kartenbasis, und leg es auf deine Bastelmatte.
▶ watch this step (7:00)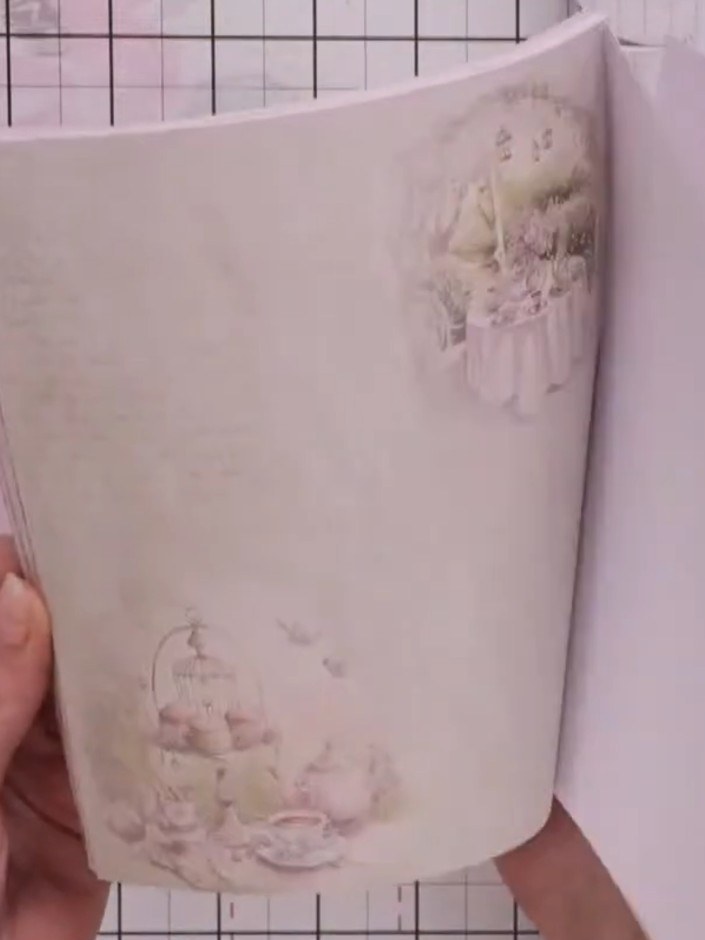
Falte die obere Ecke des Transparentpapiers nach hinten, sodass ein Taschen-Effekt entsteht und das dekorative Blumenpapier darunter sichtbar wird.
▶ watch this step (7:45)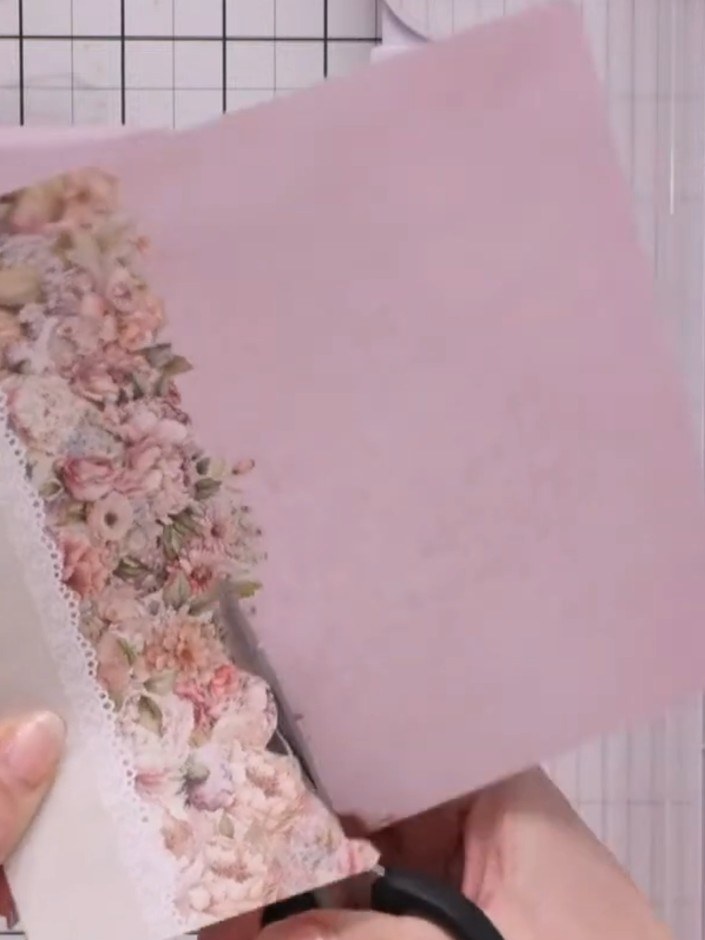
Schneide ein dekoratives Blumenmotiv grob aus. Platziere es hinter der Falte im Transparentpapier, damit es als Blickfang durch das durchscheinende Papier schimmert.
▶ watch this step (8:15)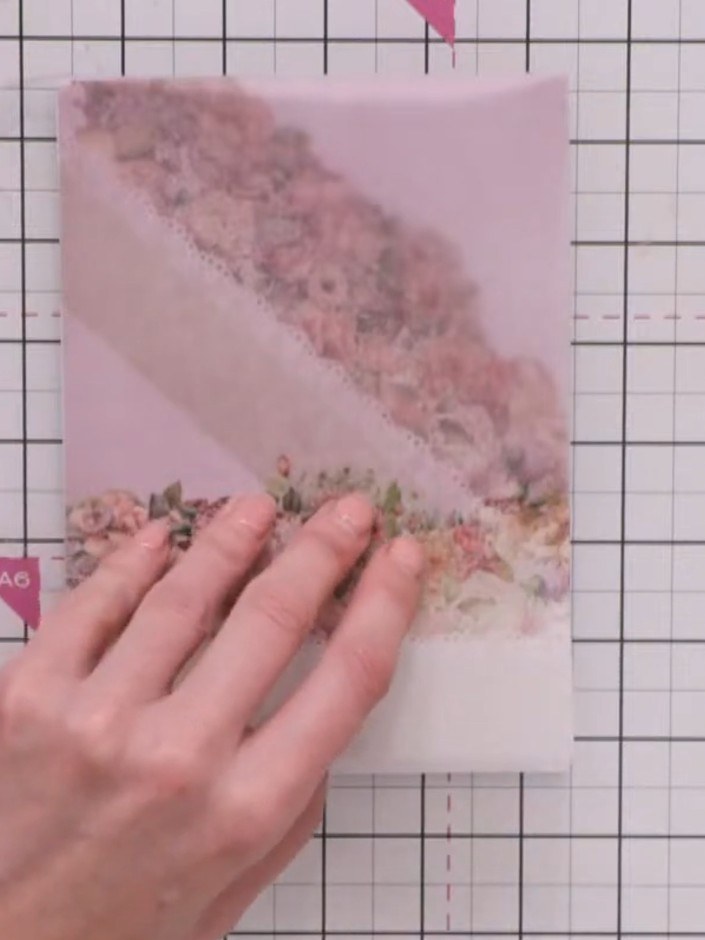
Befestige die Transparentpapier-Tasche mit kleinen Stücken doppelseitigem Klebeband auf der Kartenbasis. Setz das Klebeband unter die Blumenränder, damit es später von den Deko-Elementen verdeckt wird.
▶ watch this step (10:45)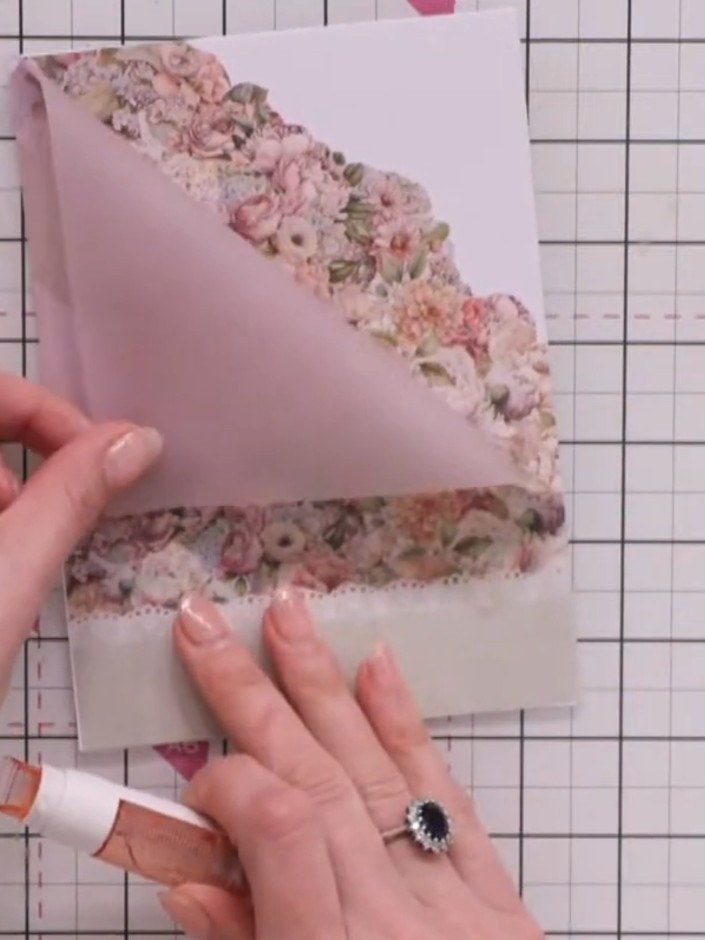
Klebe Abstandspads auf die Rückseite der dekorativen Blumenelemente in der Transparentpapier-Tasche, um Tiefe zu erzeugen. Mit kleinen Klebestreifen kannst du die Elemente beim Platzieren vorübergehend fixieren.
▶ watch this step (11:30)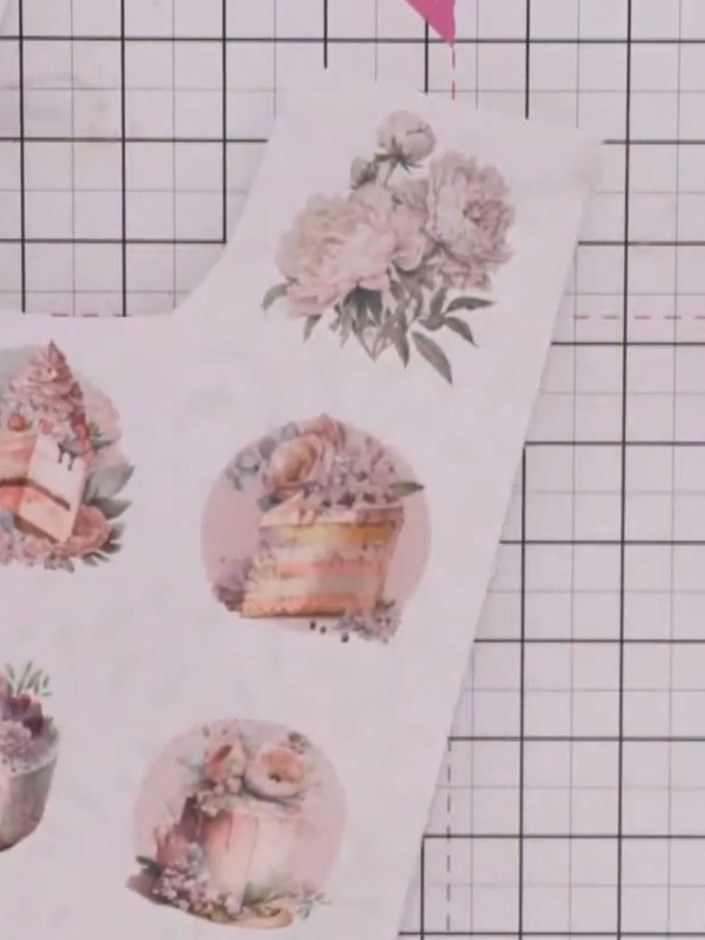
Schneide ein dekoratives Motiv aus der Papierkollektion sorgfältig aus (Fussy Cutting). Bewege dabei die Karte statt der Schere – so gelingen dir rund um die detaillierten Blumen- und Tortenmotive sauberere, kontrolliertere Schnitte.
▶ watch this step (13:30)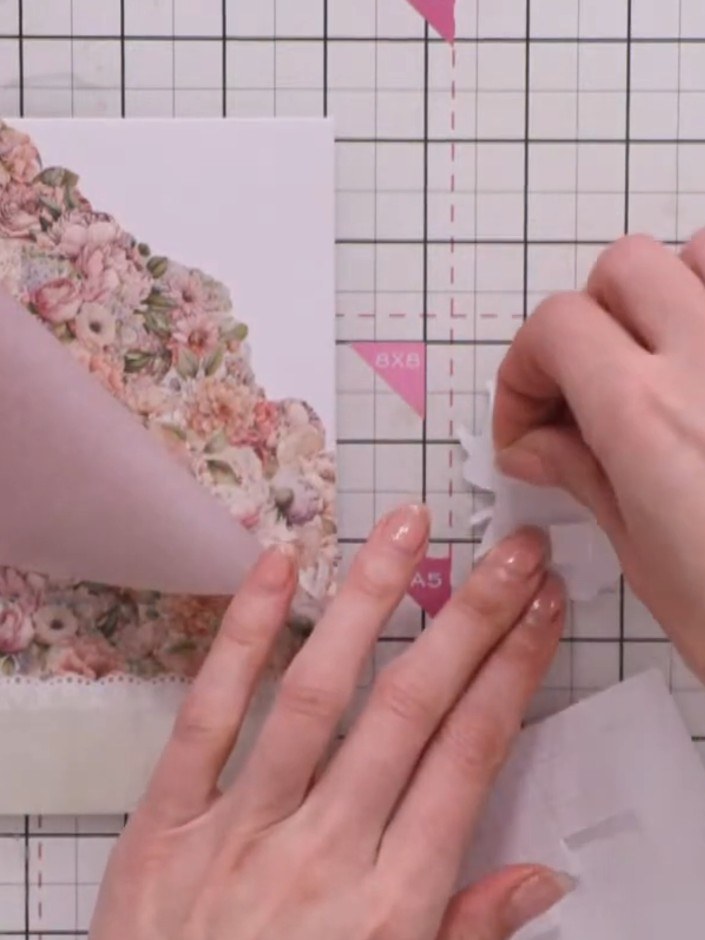
Klebe Abstandspads auf die Rückseite des ausgeschnittenen Blumenmotivs. Platziere es in der Transparentpapier-Tasche und drück es an, damit ein schöner 3D-Effekt entsteht.
▶ watch this step (16:00)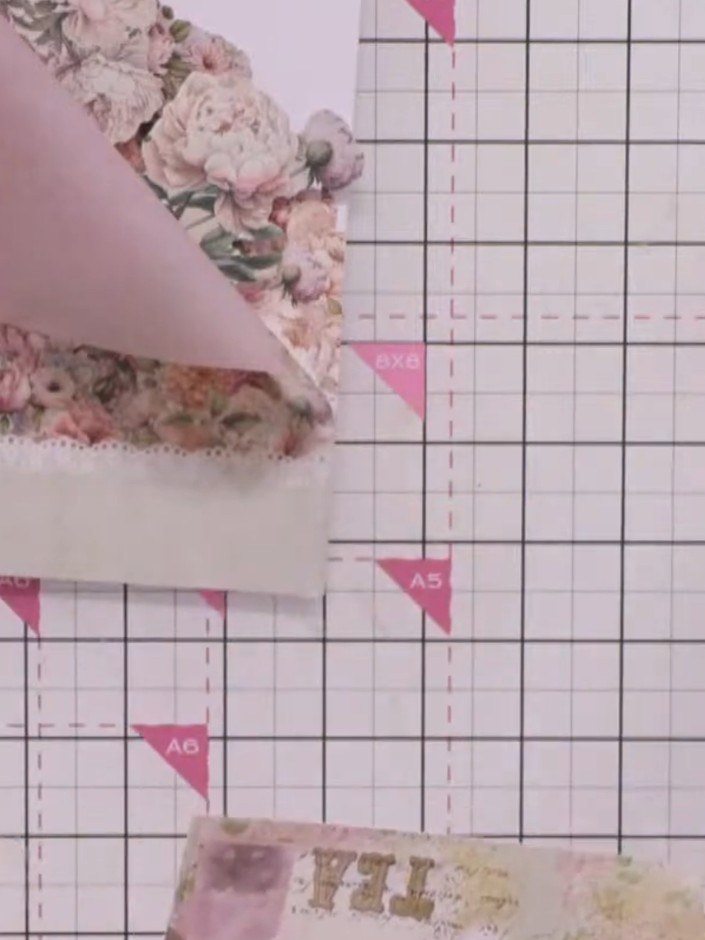
Schneide einen schmalen Streifen aus passendem Papier als Bordüre zu. Damit verdeckst du Klebeband und eventuelle Spuren an deiner Transparentpapier-Tasche.
▶ watch this step (17:15)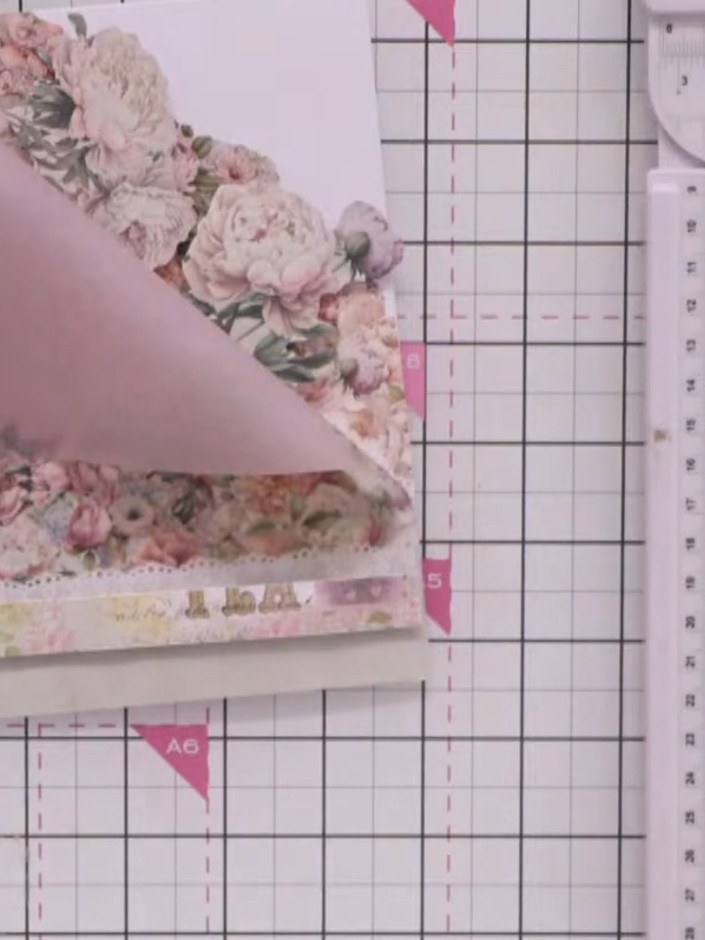
Leg den dekorativen Bordürenstreifen entlang der unteren Kartenkante, sodass alle sichtbaren Klebestellen verdeckt sind. Mit doppelseitigem Klebeband fixieren.
▶ watch this step (19:00)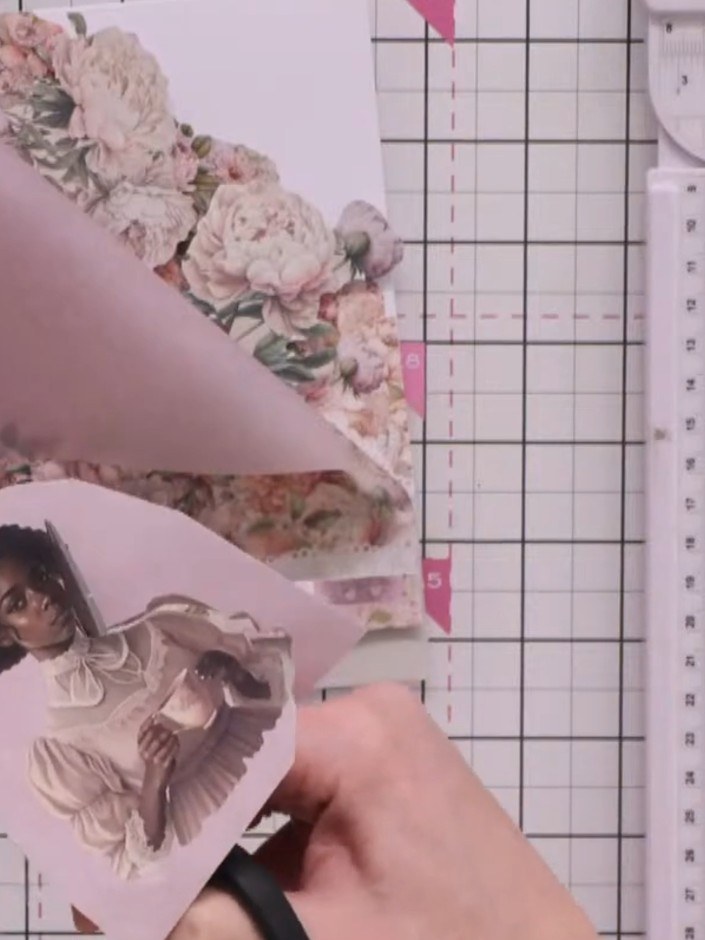
Schneide mit der Schere ein Hauptmotiv aus dem Designpapier aus. Platziere es auf der Kartenvorderseite über dem Bordürenstreifen und klebe es fest – fertig ist dein dreidimensionaler Blickfang.
▶ watch this step (20:00)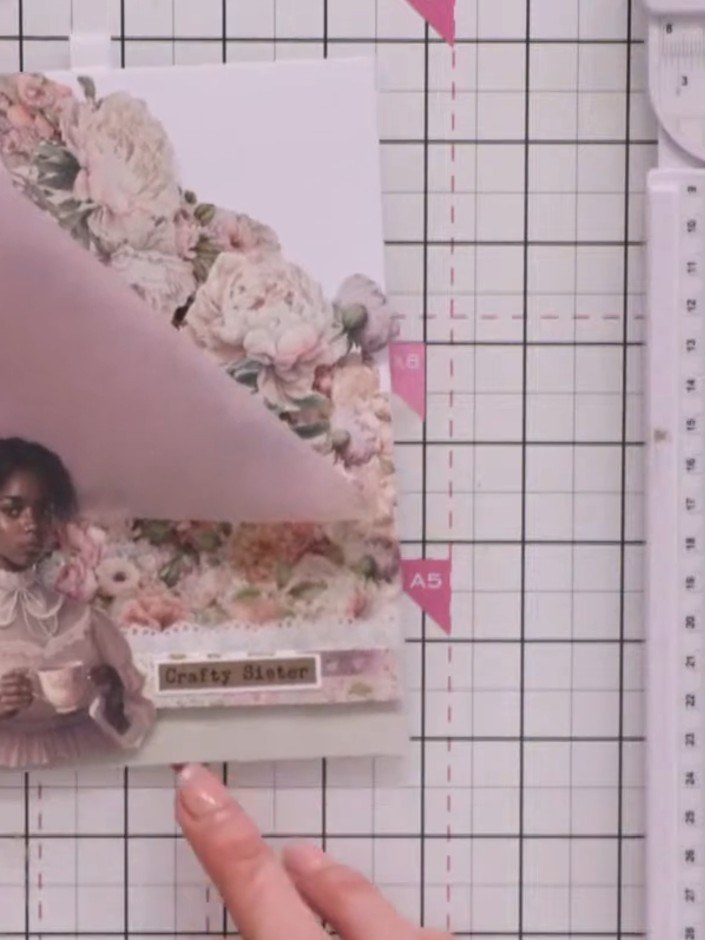
Setz noch eine kleine Deko-Blume aus deiner Verzierungs-Sammlung dazu, um das Hauptmotiv auf der Kartenvorderseite zu betonen.
▶ watch this step (22:15)Direkt aus der Show aufgeschrieben. Alle Anleitungen aus unseren Shows ansehen · kostenlose Anleitungen · live auf My Telly ansehen
